Description
The Norwegian Kettle allows for an extended period of passive cooking without supplying heat. THIS TUTORIAL IS A PROTOTYPE AND NEEDS TO BE GREATLY IMPROVED.
Sommaire
Sommaire
[masquer]- 1 Description
- 2 Sommaire
- 3 Introduction
- 4 Video d'introduction
- 5 Étape 1 - Manufacturing stages
- 6 Étape 2 - Prepare the installation
- 7 Étape 3 - Construct the small box
- 8 Étape 4 - Construct the larger box
- 9 Étape 5 - Line the small box with the foil blanket
- 10 Étape 6 - Line the large box with the insulation
- 11 Étape 7 - Fit everything together
- 12 Étape 8 - Advice for use
- 13 Étape 9 - Educational content to download
- 14 Notes et références
- 15 Commentaires
Introduction
Cooking is an incredibly inefficient process. The thermal efficiency varies from 13% for electric hot plates to 23% for gas hot plates and from 5% to 25% for open fires and biomass stoves. Stoves also cause increased pollution levels in the interior air space, particularly in developing countries but also in modern kitchens.
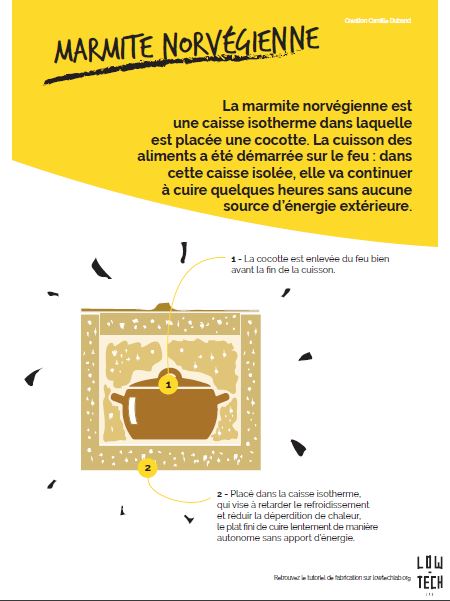
Low-tech solutions do exist for the improvement of these problems. Whilst we can see clear improvements through the use of a pressure cooker, these containers lose significant heat through their inner surfaces which are often poorly insulated or uninsulated. And there is still the problem of losses from heat transfer in the case where the low-tech insulating wrapper has not been used low-tech insulating skirt. But if the food contents are brought to their boiling point and the container placed in a well-insulated box, the heat losses are minimised and the cooking can continue without the addition of further energy.
This is the principle of the Norwegian Cooker, also known as a hay box. By analogy, one can compare this type of cooker with the concept of a passive house: that is a well-insulated building that requires only a little energy for heating or cooling.
Of course the energy economics depend on several factors: the material used for the insulation, the overall design of the cooking pot, the time required to cook the dish, the food and the speed with which it is transferred from the gas cooker to the cooking pot. According to the Partnership for Clean Indoor Air and their comparative test of 18 types of solid fuel stoves, there would be on average a 50% energy-saving from using a Norwegian Cooker.
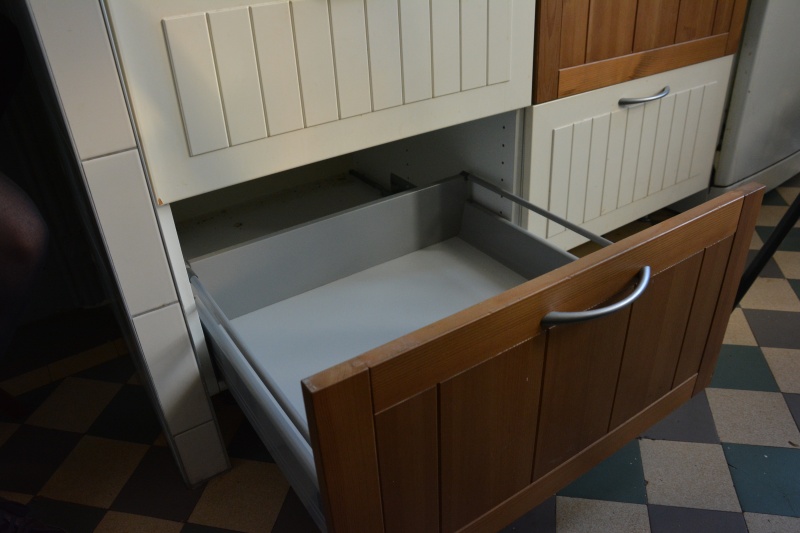
Here we are going to integrate the Norwegian Cooker into a kitchen drawer
THIS TUTORIAL IS A PROTOTYPE AND NEEDS TO BE GREATLY IMPROVED. A MORE COMPLETE VERSION WILL BE AVAILABLE SOON.
Find in this report an analysis of the usage of the Norwegian Cooker as well as 11 other low tech. experiments throughout the project "In Search of a Sustainable Habitat"Youtube
Matériaux
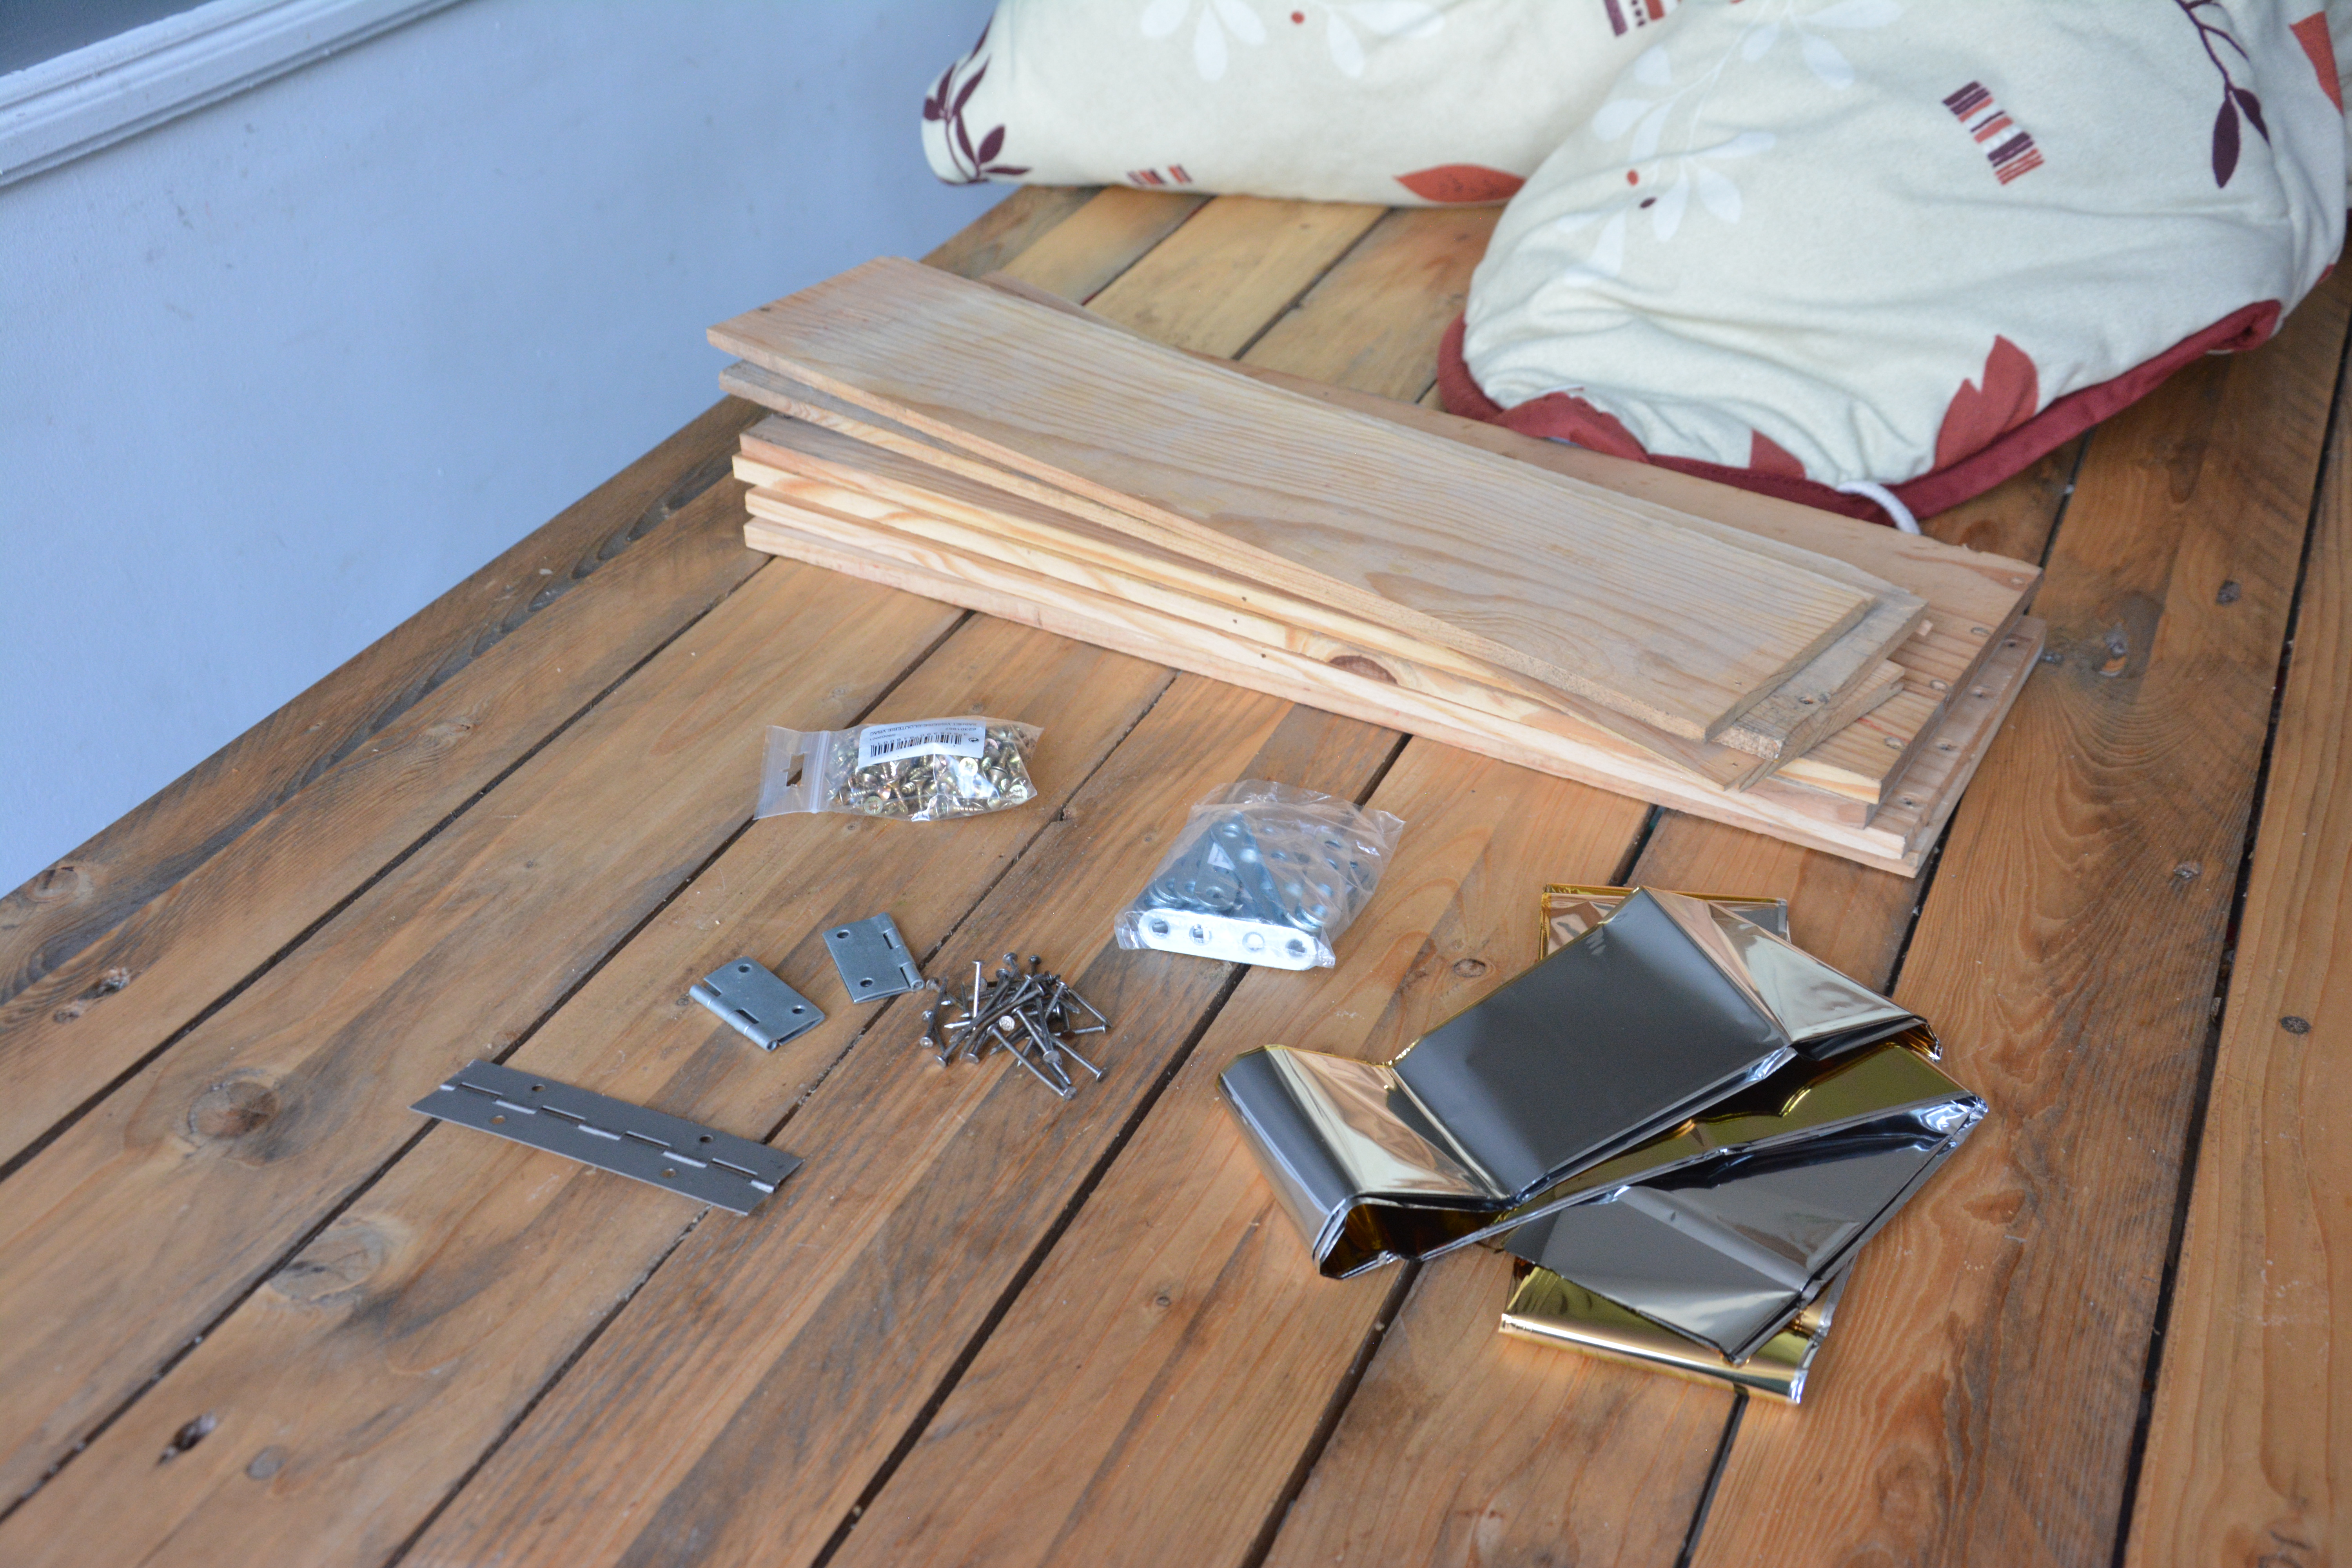
- Wooden planks from wine boxes, palettes, plywood off-cuts, etc. ....
- Nails
- 1 foil blanket
- 1 duvet for insulation
- Assembly feet and screws
- A wooden box
- A box
- A cardboard box
- A chest
- An old polystyrene fish box
- A basket
- A bucket with a lid
- A cooler
- An insulated bag
- A toy box
- A washing tub
- A trunk or a suitcase
- A kitchen cupboard or draw
- A hole in the ground
- ......
You get the idea
Other options for the insulating material
- Blanket
- Duvet
- Eiderdown
- Sleeping bag
- Wool
- Textiles (old pullovers, anoraks, towels, curtains...);
- Cushions
- Jute sacs
- Hemp
- Sawdust
- Bark
- Cork
- Polystyrene
- Foil blanket (survival blanket)
- Straw, hay...
- Glass wool
- Banana leaves
- ...
Outils
If you already have containers, no need for tools!
If you want to make a hay box from wooden planks for example, you will need the usual tools:
- Hammer
- Screwdriver
- Tape measure
- Wood saw or appropriate choice for the selected material
- Gloves
- Safety glasses
- Ruler
- Scissors
Other possible tools
- Wood glue
- Set-square
- Double sided Scotch tape
- Stapler
Étape 1 - Manufacturing stages
1) Prepare the installation
2) Construct the small box
3) Construct the large box
4) Line the small box with the small blanket
5) Line the large box with insulation
6) Fit everything together
Étape 2 - Prepare the installation
The pot
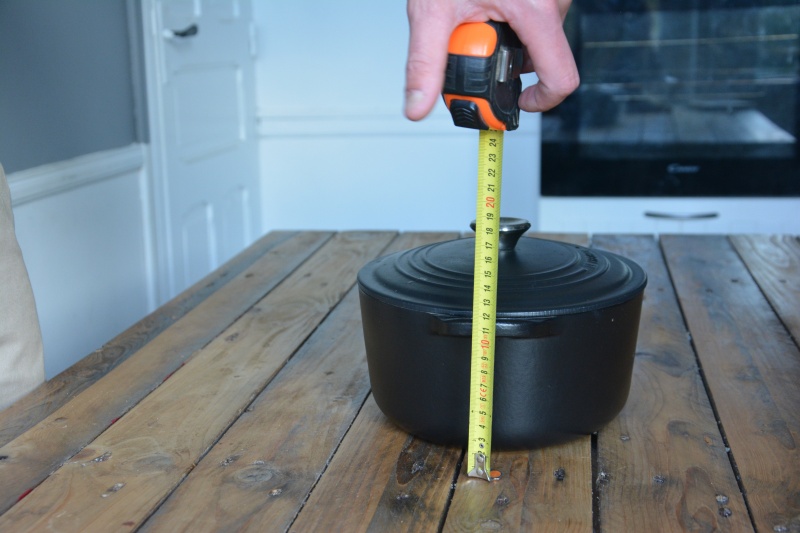
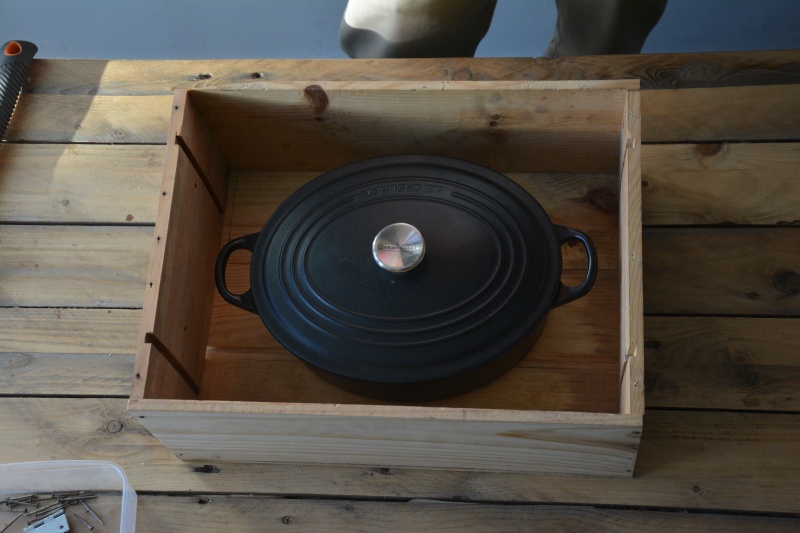
1) Decide which cooking pot or casserole dish you will use for cooking in the Norwegian kettle
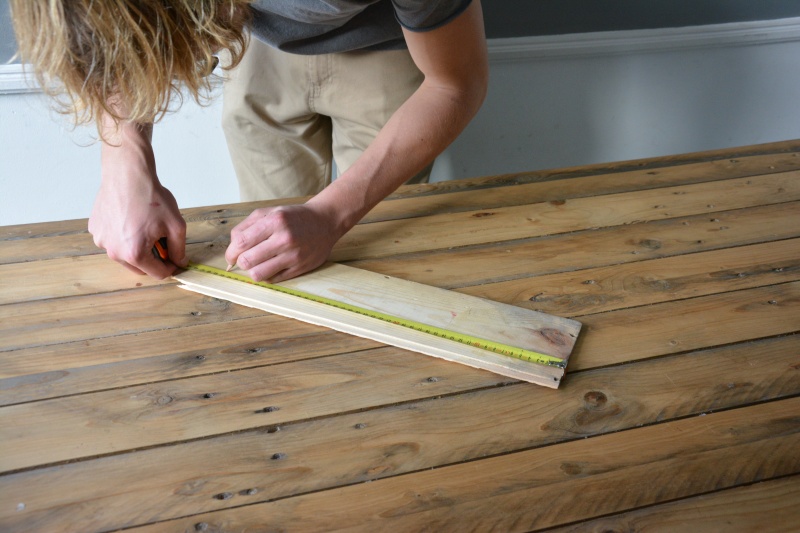
Measure the length, width and depth of the cooking pot
The location of the installation
3) Determine the location of your Norwegian kettle. If it is to be a kitchen drawer or a cupboard, measure the height, width and depth.
Validation
4) Confirm that the space between the two boxes is at least 10 cm so that they can be placed inside each other and that the thickness of the insulation will be sufficient.
Étape 3 - Construct the small box
Note: The small box must be at least 1 cm higher than the cooking pot and at least 4 cm wider or longer
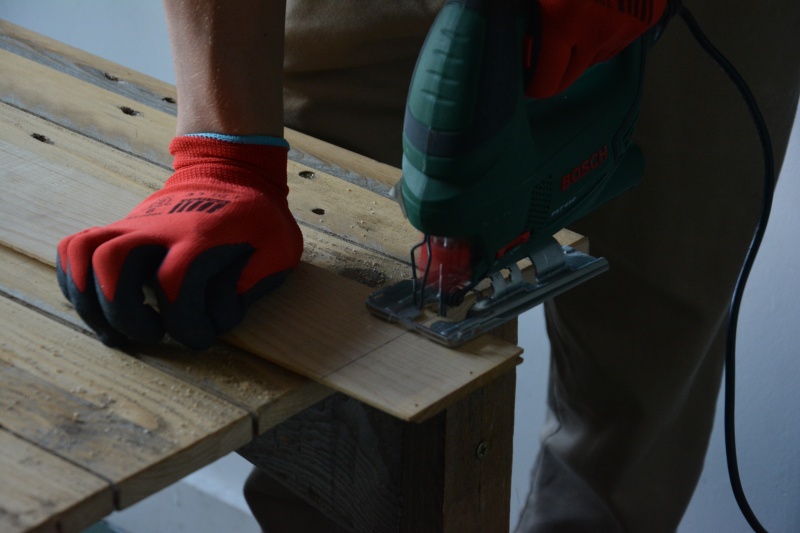
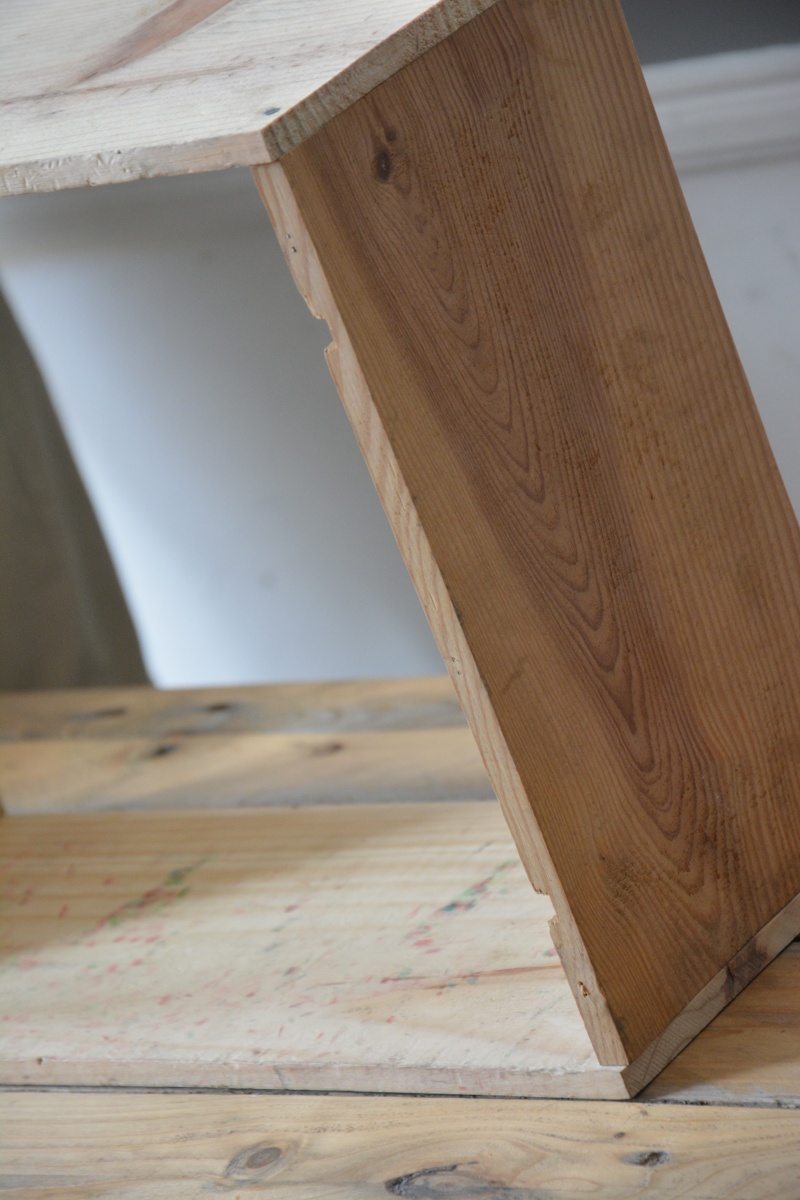
1) Using either a wood saw or a jig saw cut the wooden planks using the measurements taken previously
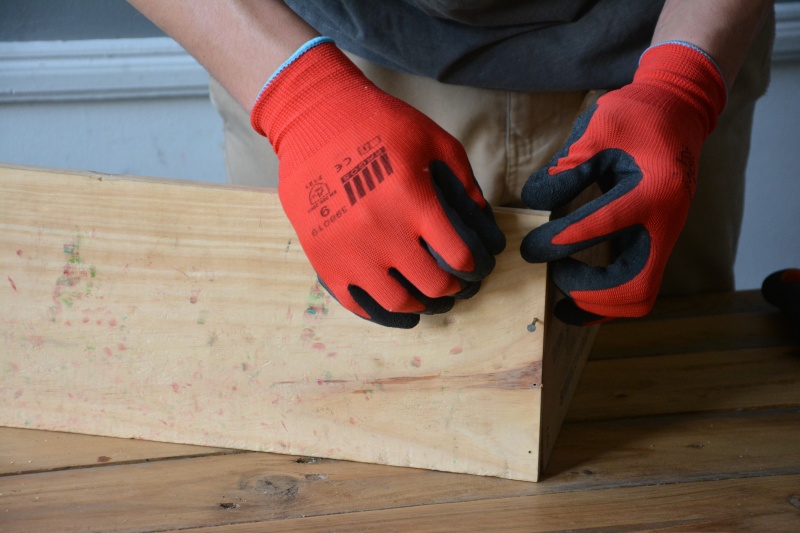
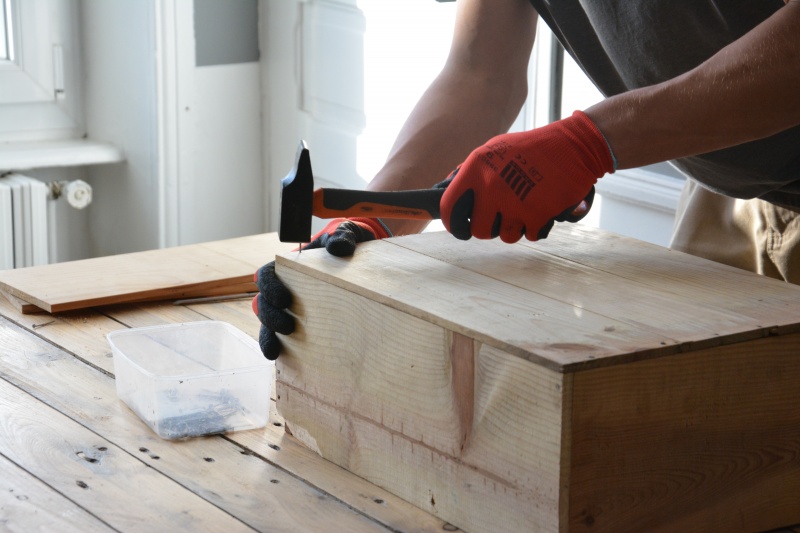
2) Assemble the wooden planks using nails and a hammer
Planks for the small box
- 2 planks (1 cm taller than the cooking pot) x (4 cm longer than the cooking pot)
-2 planks (1 cm taller than the cooking pot) x (4 cm wider than the cooking pot)
- 1 or several planks (4 cm wider than the pot) x (4cm longer than the pot)
Étape 4 - Construct the larger box
1) Take measurements of the location
2) Take 1 cm off these measurements to ensure that the outer box can easily fit
3) Cut the planks using either a wood-saw or a jigsaw
Notes:
The large box must be adapted to the proposed location for the Hay Box, be larger (in length, height and width) than the small box by at least 10 cm to allow the fitting of an insulating blanket at least 5 cm thick on all sides
The bottom of the drawer can be used as the bottom of the box
4) Assemble the wooden planks using nails and a hammer
Planks for the large box
-2 planks (10 cm taller than the cooking pot) x (10 cm longer than the cooking pot)
- 2 planks (10 cm taller than the cooking pot) x (10 cm wider than the cooking pot)
- If you need a bottom for the box: one or more planks (10 cm wider than the the small box) x (10 cm longer than the small box)
Étape 5 - Line the small box with the foil blanket
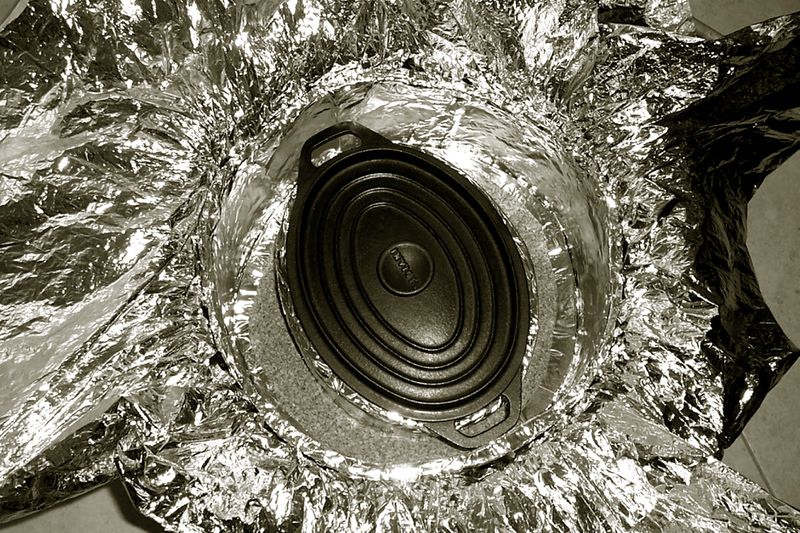
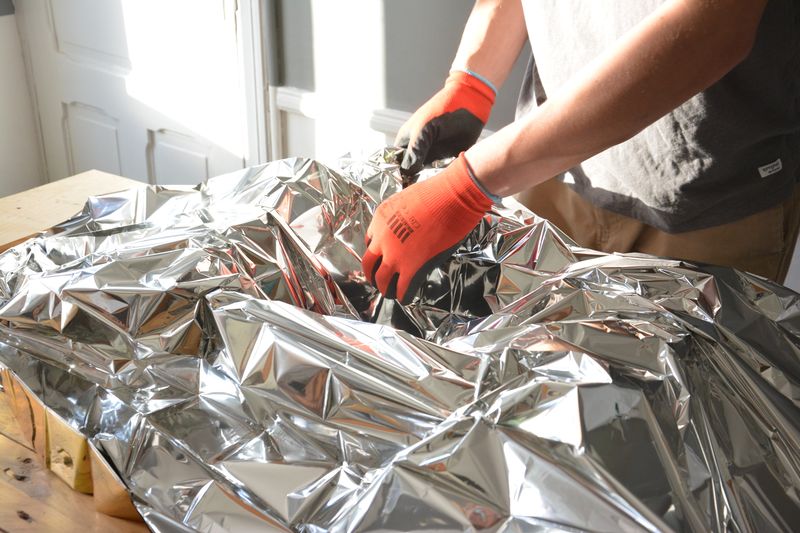
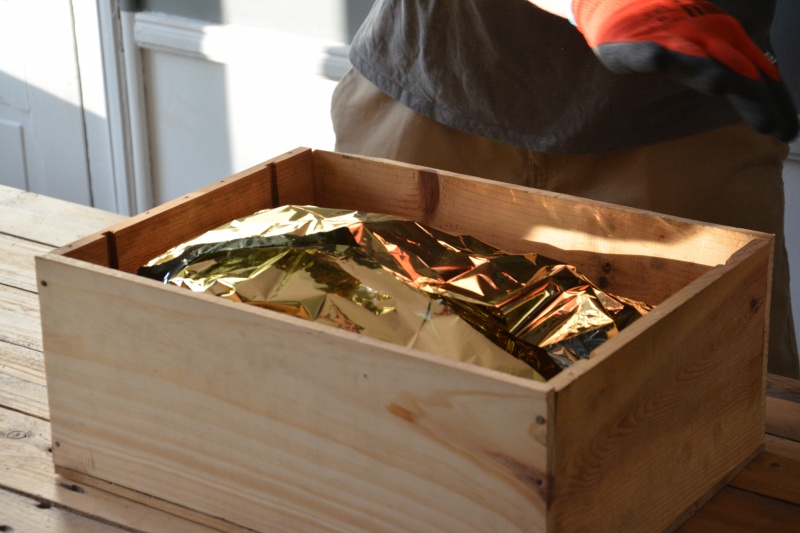
1) Unfold the foil blanket and line the the small box with the silvered side of the blanket facing outwards because this reflects heat
Cutting Out
2) Place the cooking pot in the small box
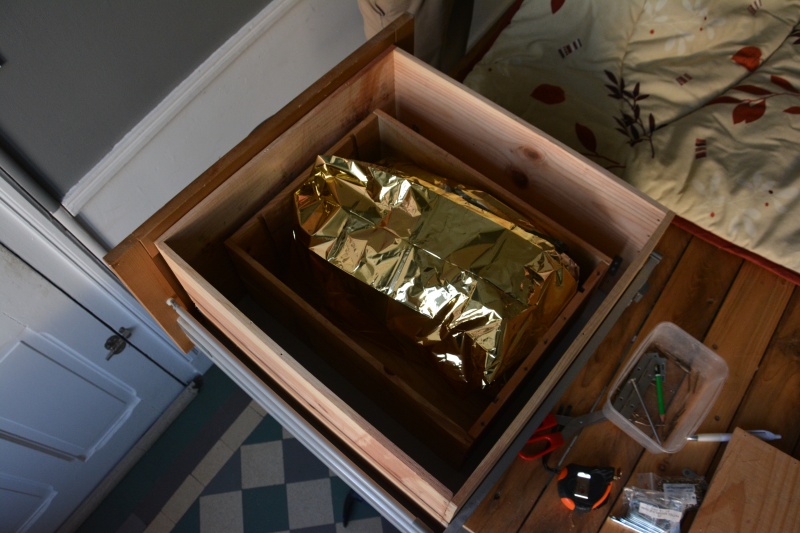
3) Cover the cooking pot with the foil blanket
4) Determine the surplus amount of the foil blanket and cut so that there is not too great an excess
5) If necessary, staple or sellotape the foil blanket to the small box
Étape 6 - Line the large box with the insulation
Note : The goal is to make a cozy home for your pot so that it does not catch cold. The more insulation there is, the more heat the pot will retain.
Cutting Out
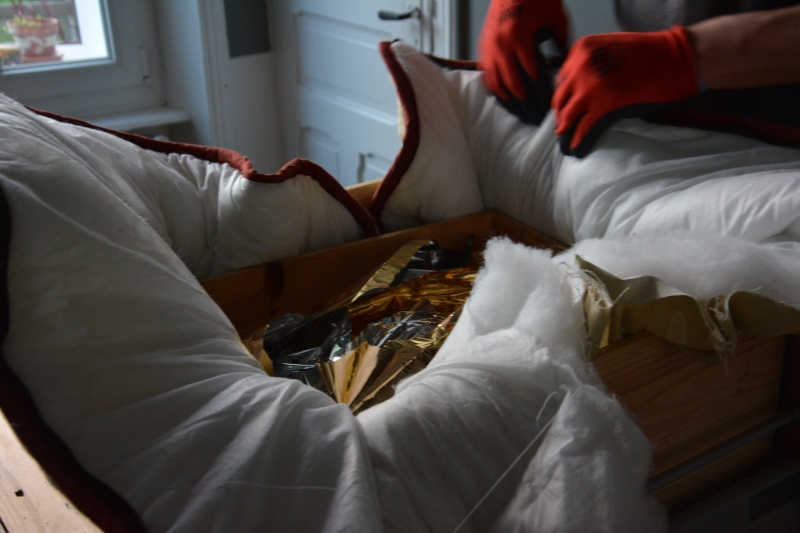
1) Place the duvet (or other insulating material) in the bottom of the large drawer
2) Place the small box inside
3) Fold the insulation on to the small box to estimate how much extra there is
4) Cut off the surplus insulation
Note To make a cover, it's possible to cut a square of insulation which is the size of the larger box
Make sure that the cooking pot is designed to allow complete closure so that there is no space in the insulation
Don't hesitate to try different insulating materials to assess which one performs the best
Étape 7 - Fit everything together
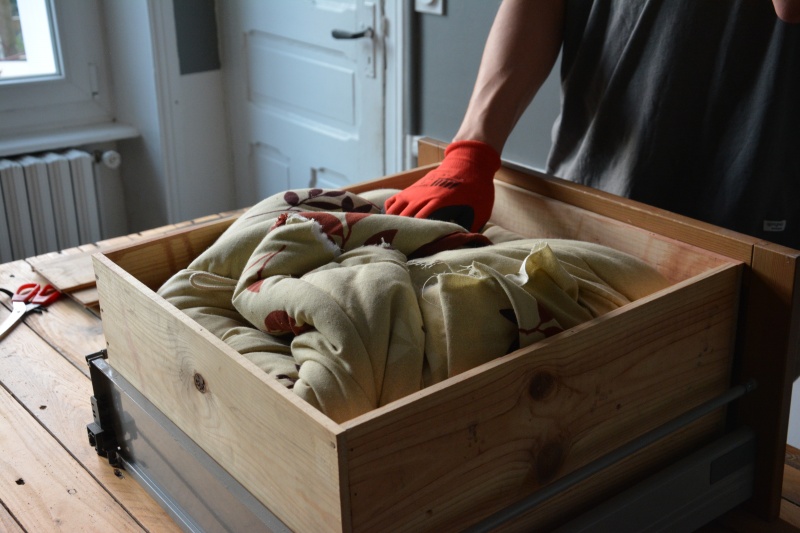
1) Pull out the drawer that will accommodate the cooking pot
2) Nest everything together
Étape 8 - Advice for use
Using the Norwegian cooking bot (Hay-box) is very simple
- Bring your dish to boiling or the desired temperature on a normal hot-plate
- Place it in the cooking pot and close it
- The cooking time in the pot is on average 1/3 longer than on the stove; that might seem like a constraint but imagine all the things you can do whilst waiting, knowing that now you won't have to keep an eye on your pot in order to to stop over-cooking or burning
Étape 9 - Educational content to download
You can download an educational file created by Low-tech lab in the "files" tab of the tutorial (tab under the section Tools & Materials)
Notes et références
- If We Insulate Our Houses, Why Not Our Cooking Pots? : Article from Low-tech Magazine about alternative cooking techniques. Some data is provided regarding the energy performance of cooking without external heat.
Traducción al español: Andrea Hernándiz López
Translation in English: Matthew Bowman
Draft
 Français
 English
 Deutsch
 Español
 Italiano
 Português
Protección contra peligros químicos y en la manipulación de materiales peligrosos durante el mantenimiento industrial, durante la limpieza de contenedores y tanques en emergencias y productos químicos en la agricultura.
Tipo 5- NF EN 13982 Protección contra productos químicos sólidos, partículas en el aire. Equipo completamente impermeable. Por ejemplo, eliminación de amianto, entornos agrícolas durante las operaciones de pulverización.
Tipo 6- NF EN 13034 Protección por tiempo limitado contra salpicaduras de productos químicos líquidos. Por ejemplo, petroquímicos, laboratorios, industria química, entornos agrícolas y riesgos fitosanitarios. <a href="https://www.epitexespana.com/product/buzo-desechables/">Buzo-desechables</a>