Description
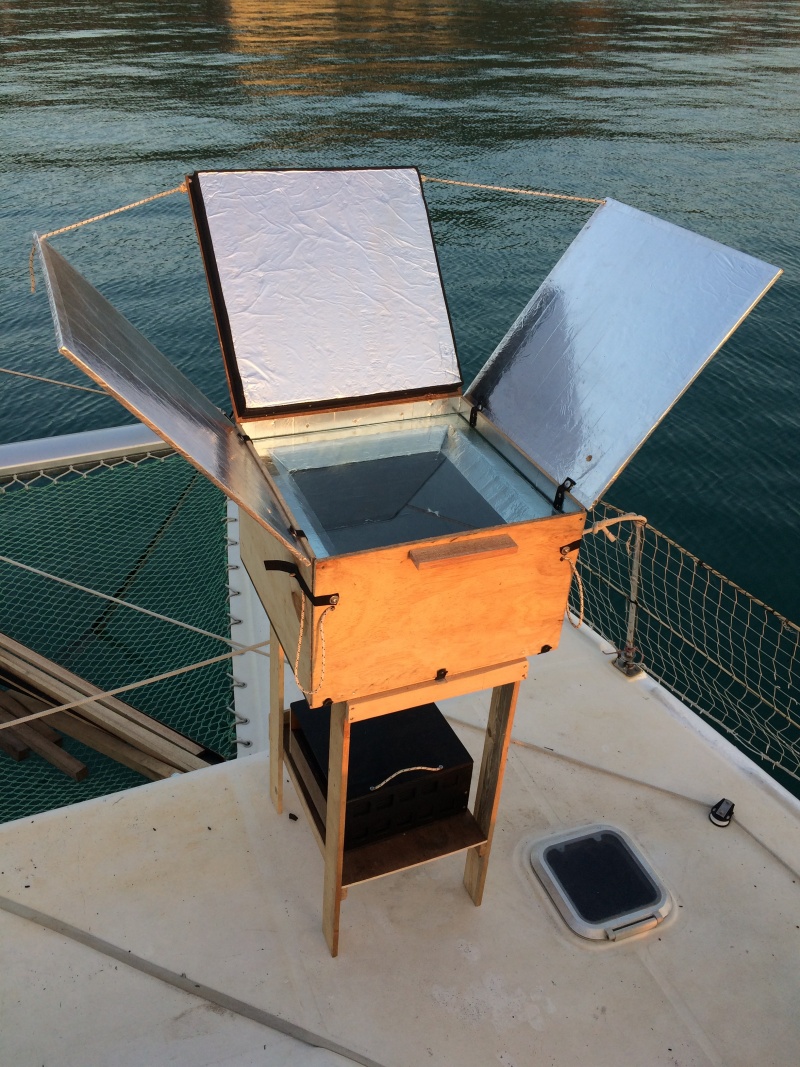
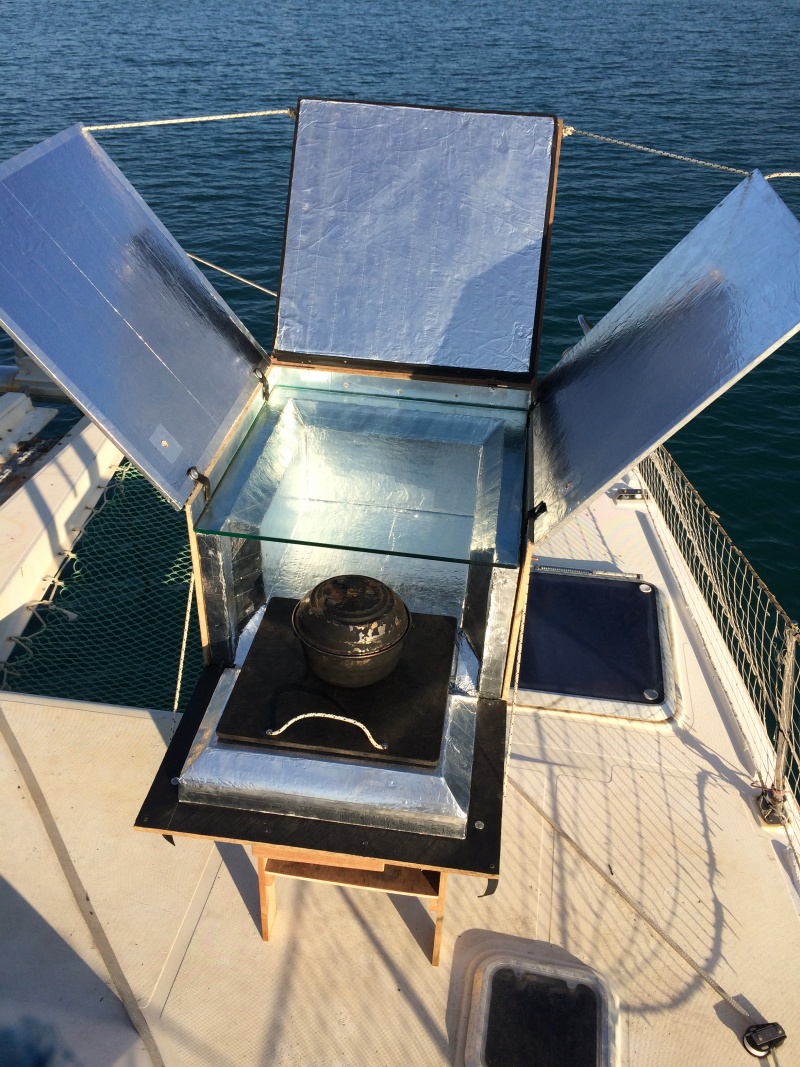
Four solaire + Marmite norvégienne + séchoir
Sommaire
Sommaire
[masquer]- 1 Description
- 2 Sommaire
- 3 Introduction
- 4 Étape 1 - Creation of the polystyrene structure.
- 5 Étape 2 - Cover with aluminium or survival blanket.
- 6 Étape 3 - Make the wood structure.
- 7 Étape 4 - Fixer les panneau réflecteur
- 8 Étape 5 - Construire la porte du four
- 9 Étape 6 - La cuisson
- 10 Étape 7 - Fabriquer le séchoir
- 11 Commentaires
Introduction
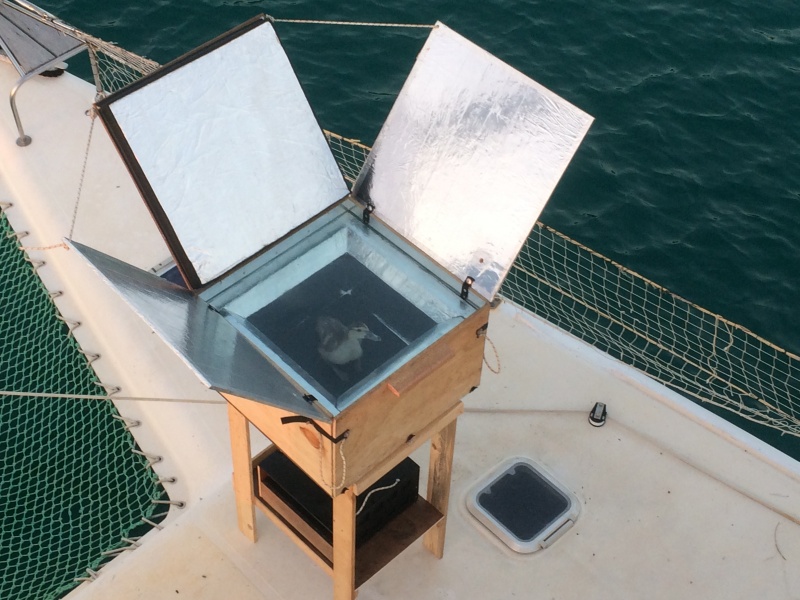
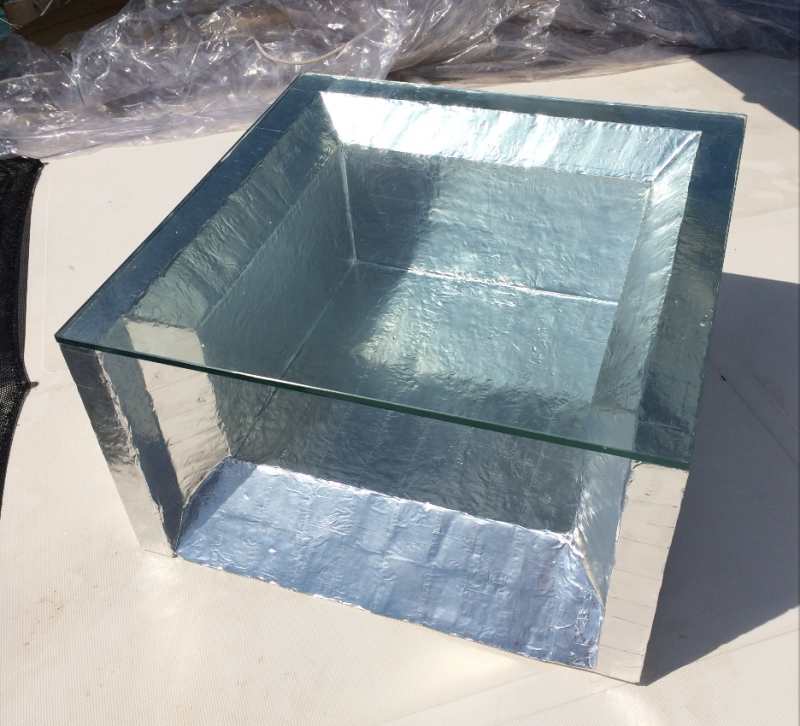
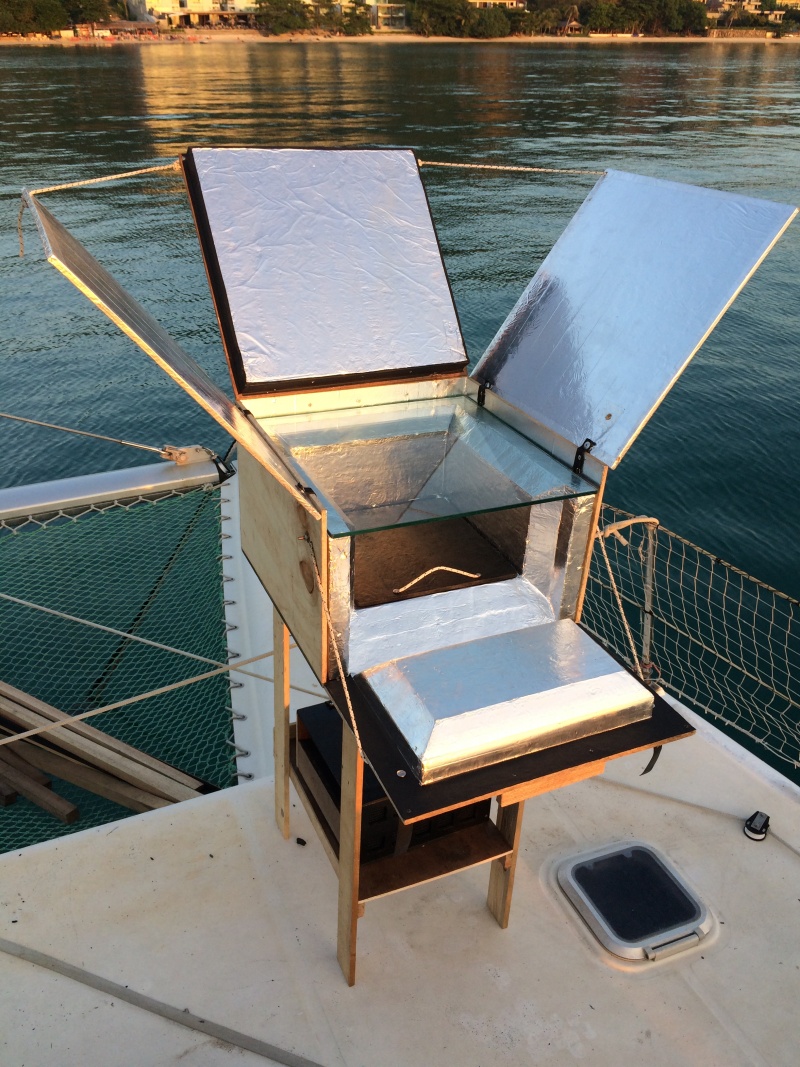
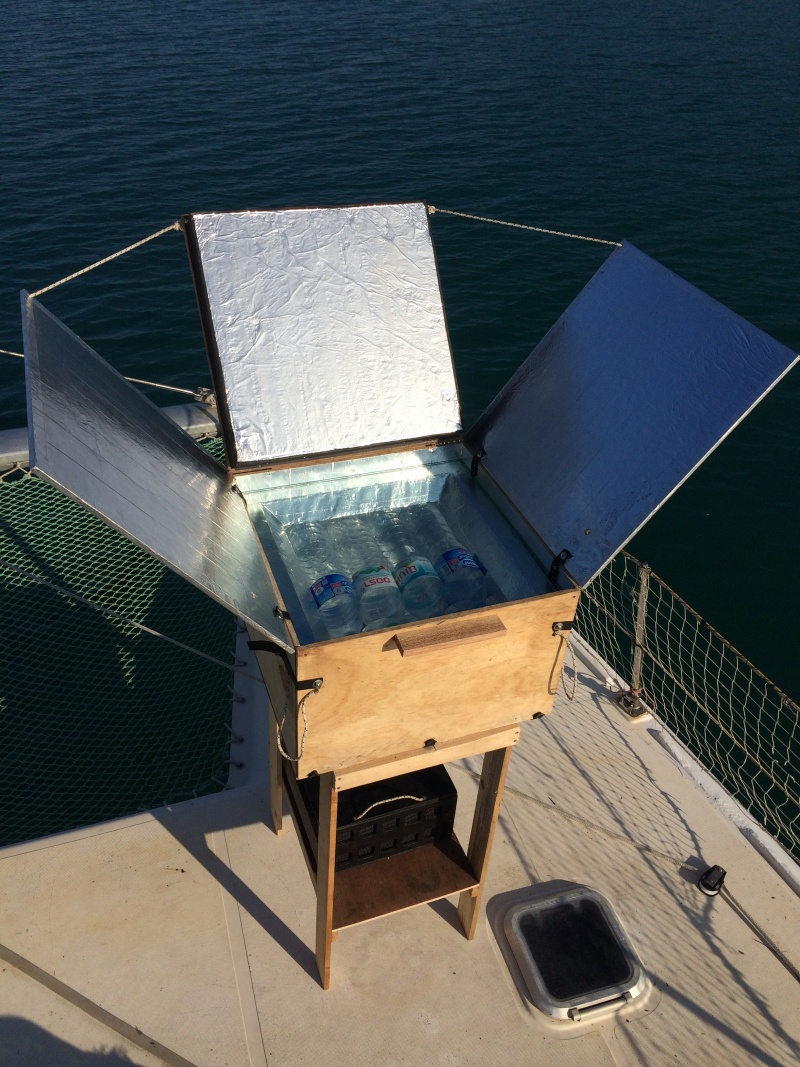
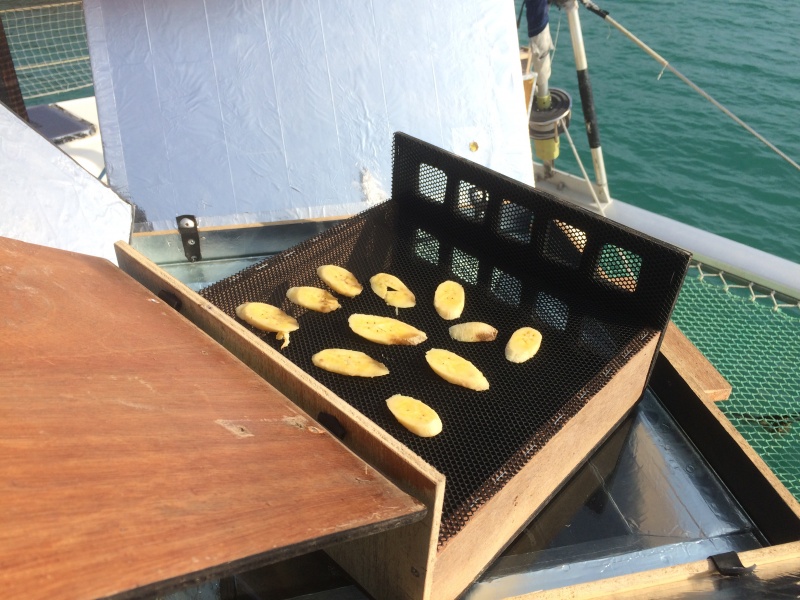
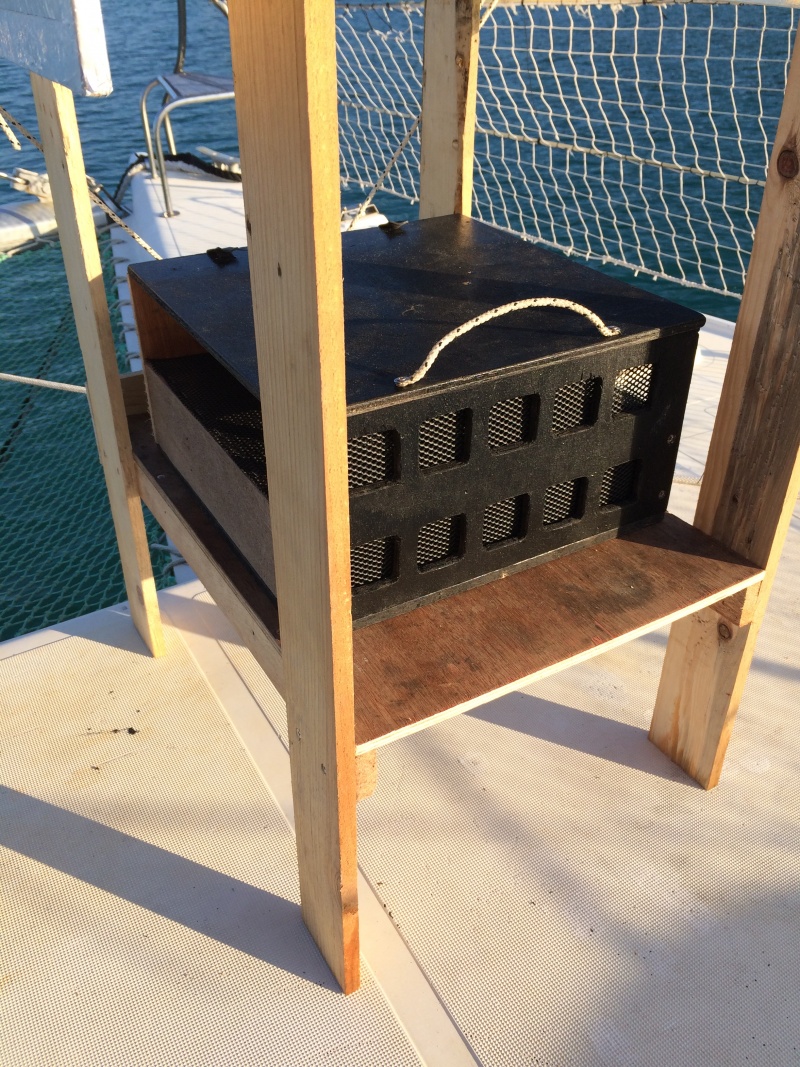
This module offers to combine different low-tech. The solar oven catches the sun's rays and concentrate them behind a window to increased the temperature of the cooking chamber. If the thickness of the oven has a well thermal isulation, the baking may continue once the panels have been tucked. If the door system steal open, the hot environment is perfect to drying fruits if they are protected of the direct sunlight.
Ps : A « Glacial » use is also possible if you not let the sun penetrate
Étape 4 - Fixer les panneau réflecteur
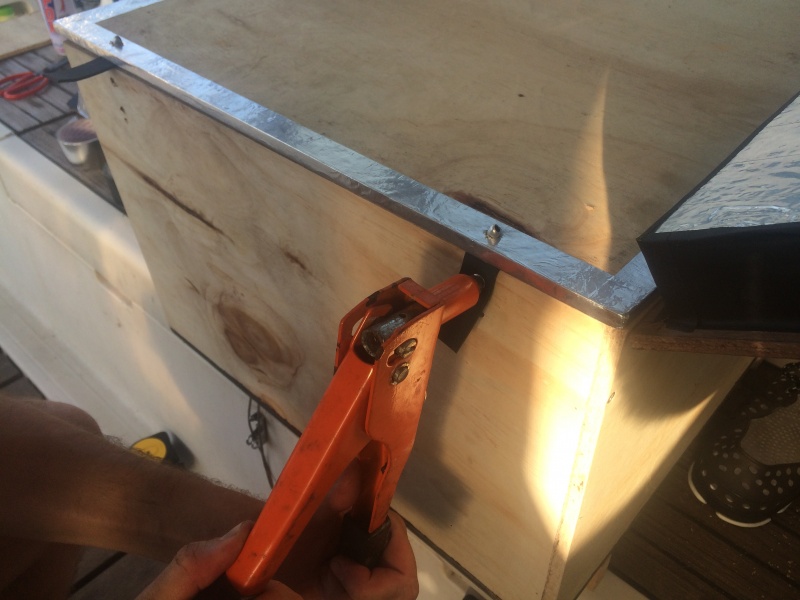
L'utilisation de la chambre à air pour les charnières permet d'assurer une bonne tenue et une tension adéquate. Les cordes serviront à maintenir les panneaux à 90° par rapport aux rayons solaires. Elles fixent également les panneaux au chassis une fois repliés.
Étape 5 - Construire la porte du four
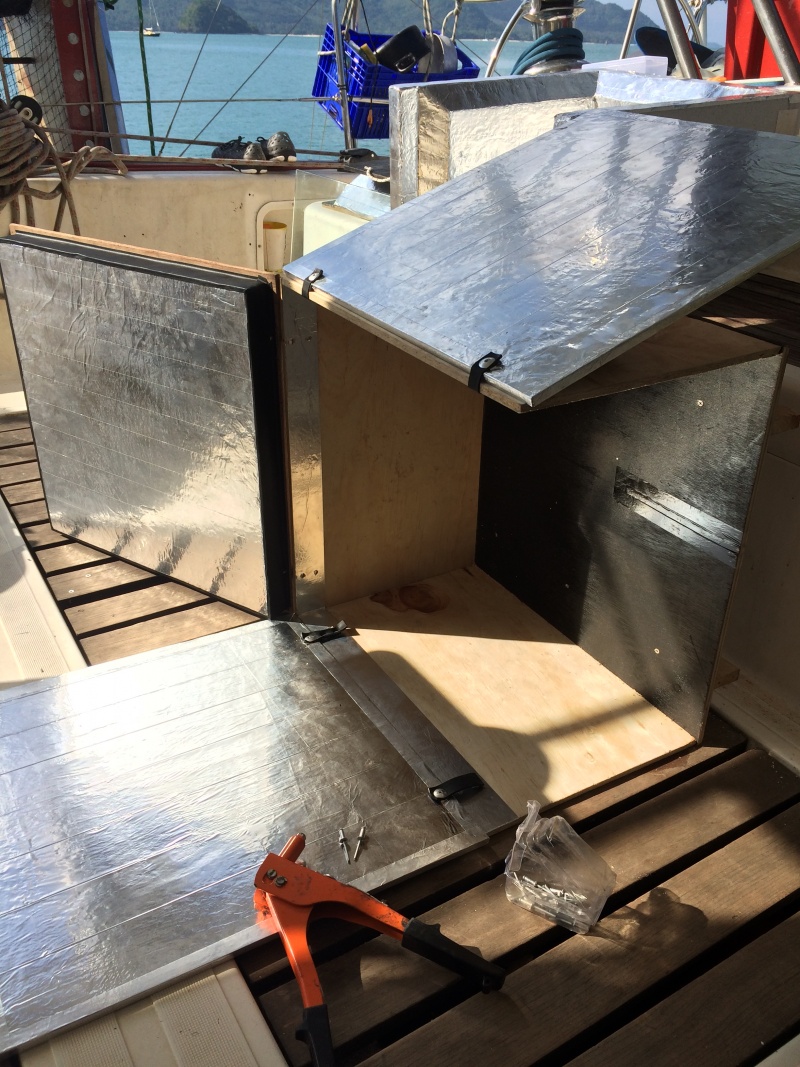
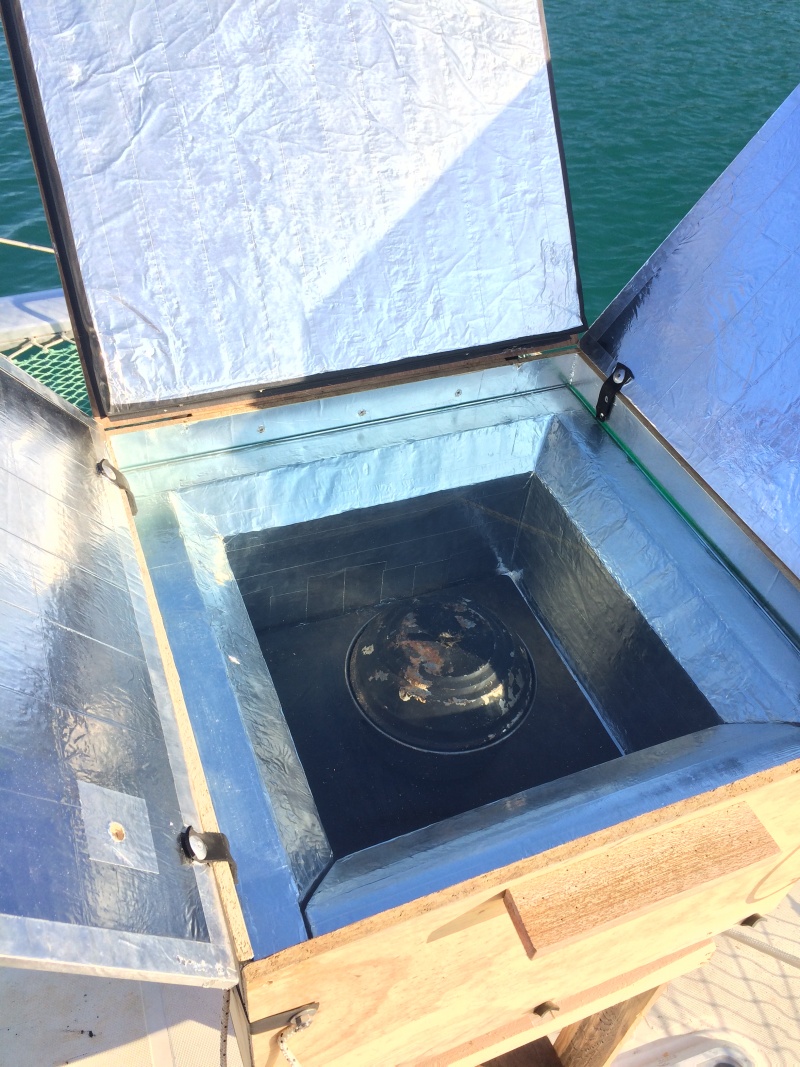
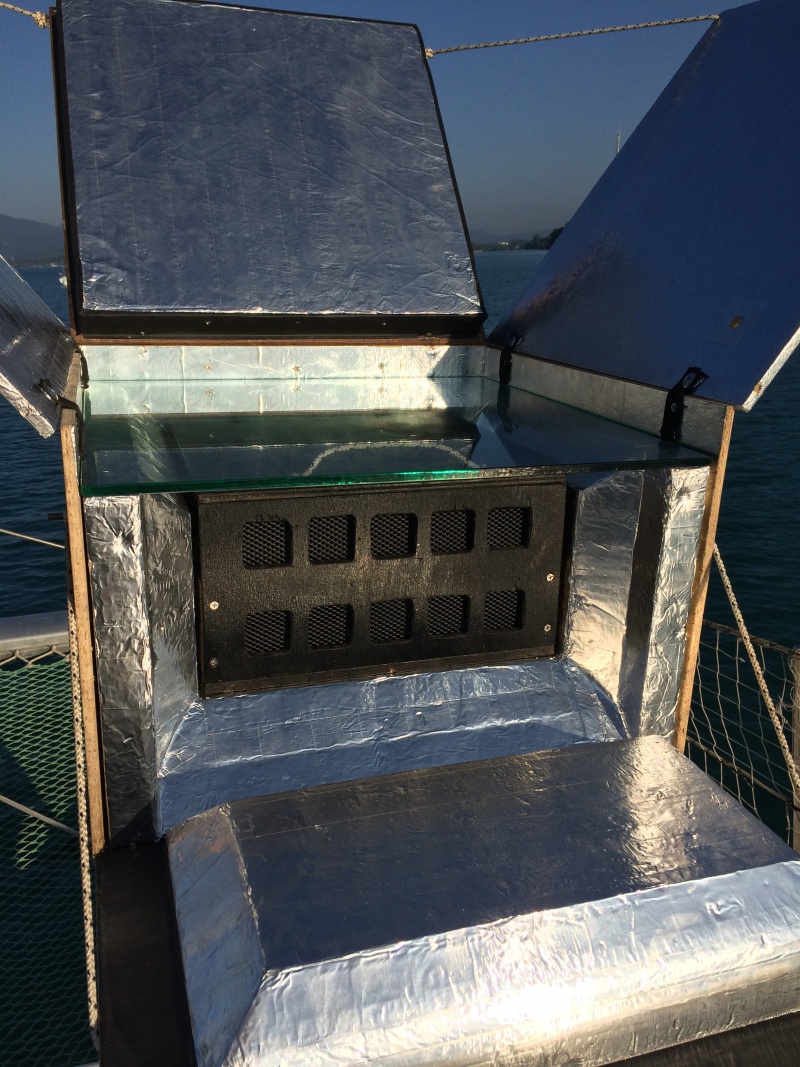
La porte est également isolée pour minimiser au maximum les ponts thermiques.
Étape 6 - La cuisson
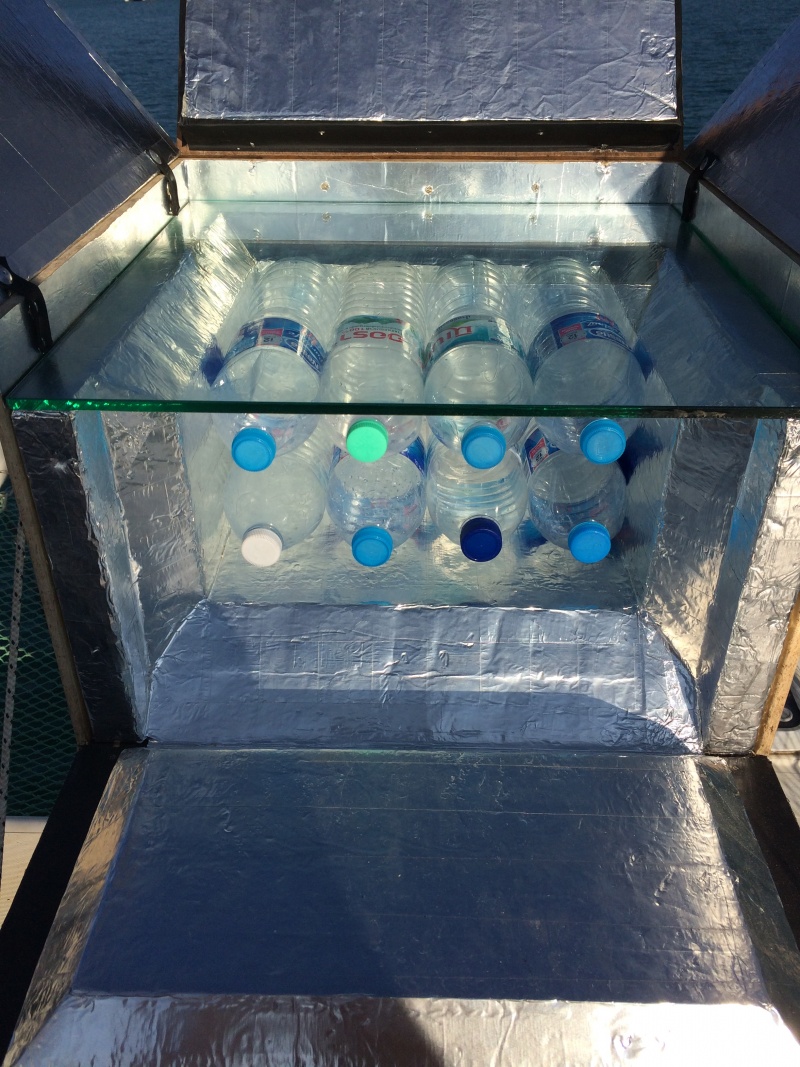
Une fois fermé hermétiquement, la température intérieure du four peut dépasser les 90°C. Le plateau de cuisson noir y participe en absorbant les rayons du soleil. Ce four est conçu pour recevoir et chauffer huit bouteilles d'eau standard d'1,5L.
Published
 Français
 English
 Deutsch
 Español
 Italiano
 Português
There is a duck inside the cooker in the main picture of the tutorial... Poor animal ^^'