(Page créée avec « * Start cooking on the heat using your most isolated pot * Place the lid on the pot and bring to the boil. * Further cook for a few minutes (depending on the recipe chosen... ») |
(Page créée avec « Tips ») |
||
| Ligne 116 : | Ligne 116 : | ||
}} | }} | ||
{{Tuto Step | {{Tuto Step | ||
| − | |Step_Title= | + | |Step_Title=Tips |
|Step_Content=*Une couverture en laine permettra de limiter le nombre d’épaisseurs à utiliser pour l’isolation, mais vous pouvez utiliser d'autres matériaux isolants. | |Step_Content=*Une couverture en laine permettra de limiter le nombre d’épaisseurs à utiliser pour l’isolation, mais vous pouvez utiliser d'autres matériaux isolants. | ||
*Les bandes velcro permettent de pouvoir utiliser différentes tailles de faitout. Assurez-vous de confectionner votre marmite norvégienne avec le faitout le plus grand que vous allez utiliser. | *Les bandes velcro permettent de pouvoir utiliser différentes tailles de faitout. Assurez-vous de confectionner votre marmite norvégienne avec le faitout le plus grand que vous allez utiliser. | ||
Version du 26 janvier 2024 à 23:21

Dernière modification le 26/01/2024
Difficulté
Moyen
Durée
2,5 heure(s)
Coût
7 EUR (€)
Description
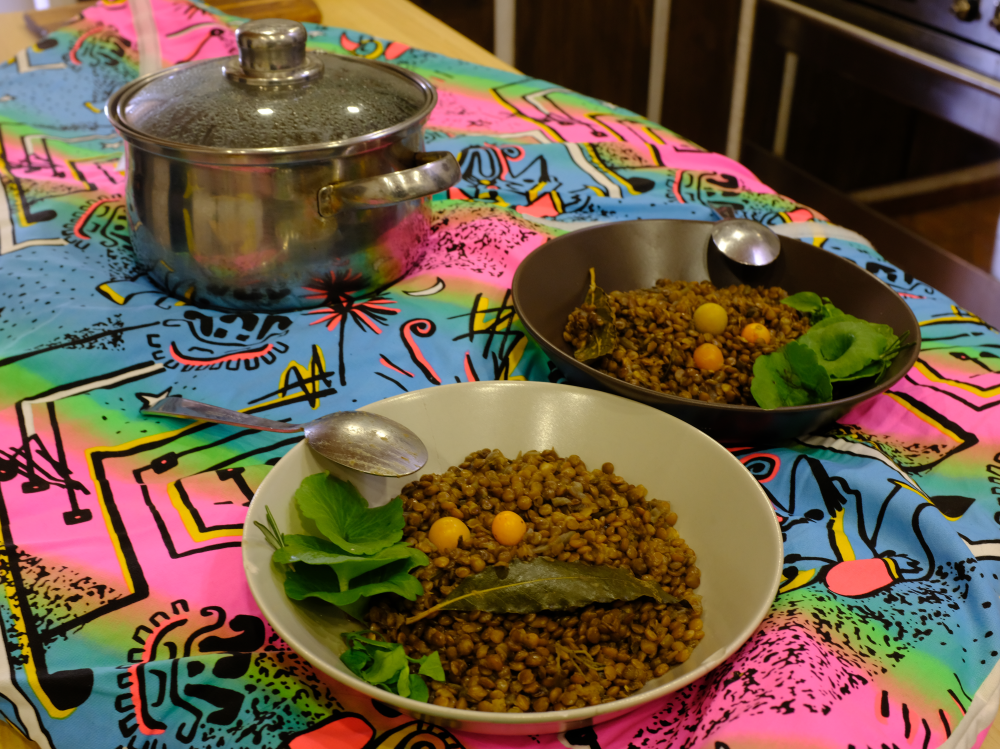
Fireless cooker made of a woollen blanket for stewing food. The principle of the fireless cooker or Norwegian pot is to place a stewpot in an insulating receptacle after boiling for slow cooking without using a heat source. This specific space-saving model is perfectly suited to nomadic life, especially in a van, and can be adapted to various sizes of stewpot or saucepan.
Introduction
The fireless cooker is a stewing device that has been around for thousands of years. The principle is to place a pot in an insulated container after boiling for slow cooking without a heat source. In addition to saving energy, the other advantage is that the nutrients are preserved. The dishes are tasty because they are cooked slowly; we've tested and approved it extensively, particularly with lentil and soups.
Youtube


Matériaux
• A blanket for a double bed (preferably wool)
• Fabric
• Sewing thread
• 2 Velcro strips, approx. 30 cm long
Outils
• A pair of scissors
• Needles
• Pins
• A sewing machine optionally
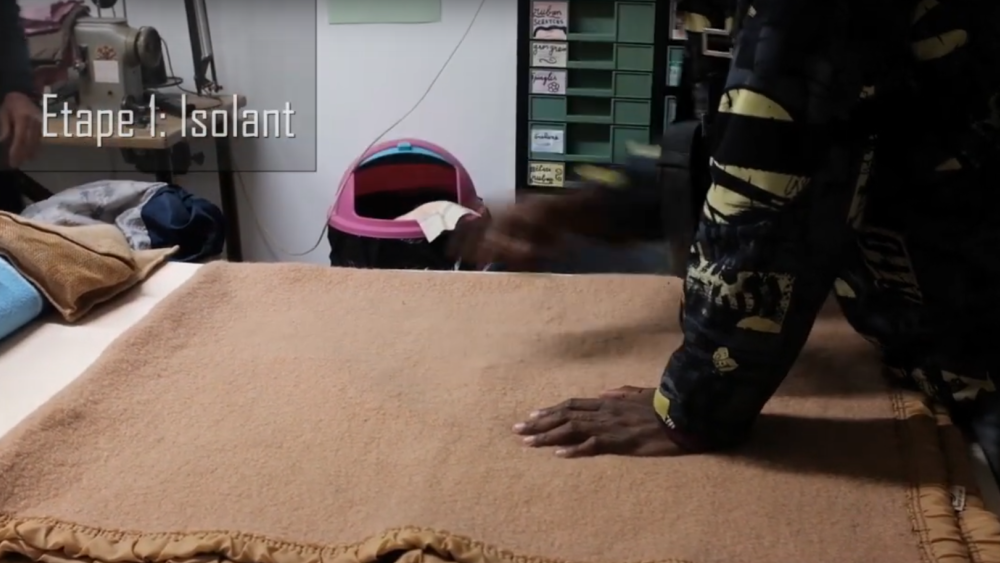
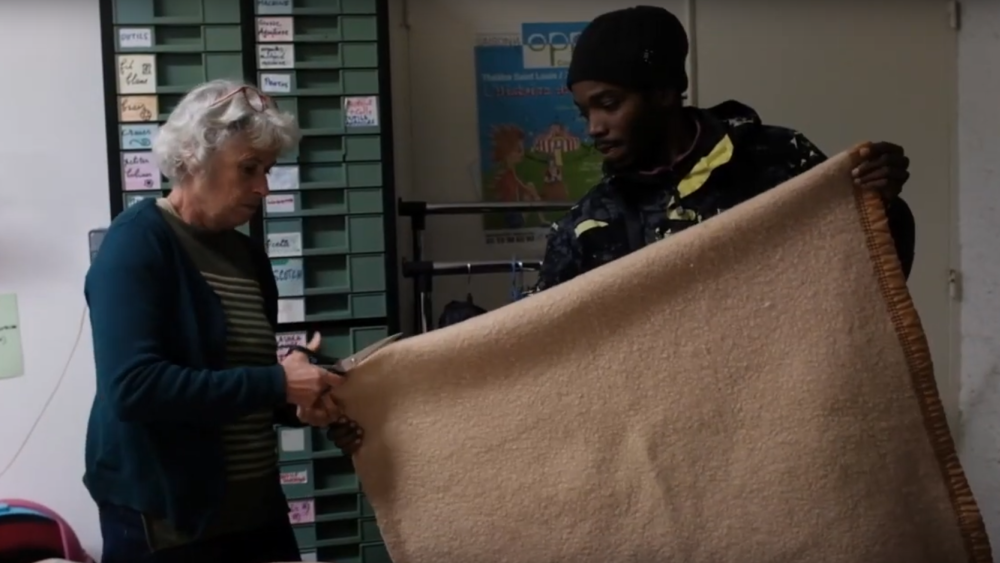
Étape 1 - Preparing insulation
- Fold the blanket into thirds and check that this is enough to enclose your stewpot.
- Cut the blanket into three squares of equal size
- With the rest, cut two squares the width of the stewpot
- Sew these two small pieces in top of each other at the centre of one of the larger squares to make a double base for the stewpot
- Overlay the three large squares on top of each other
- Sew them together by hand around the edges


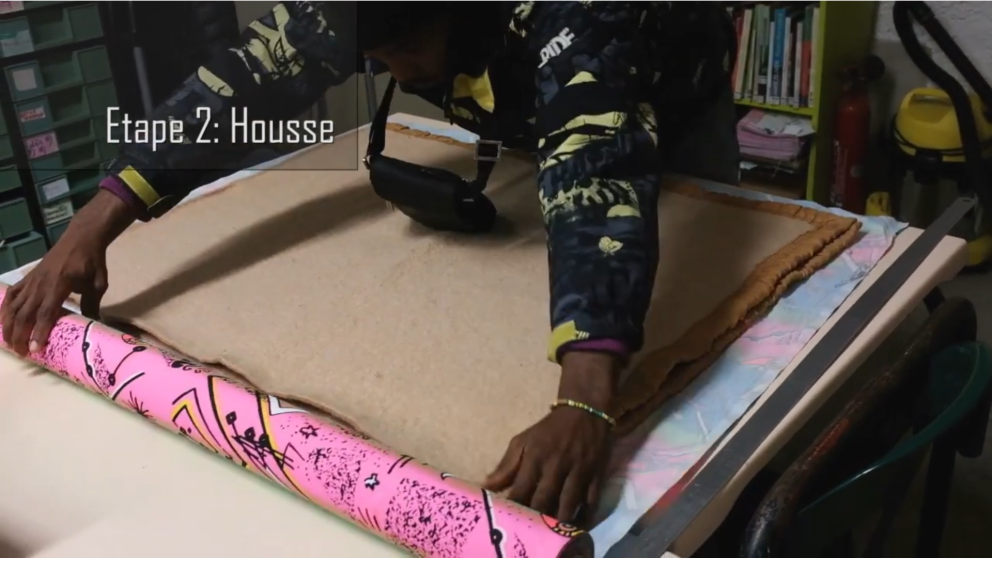
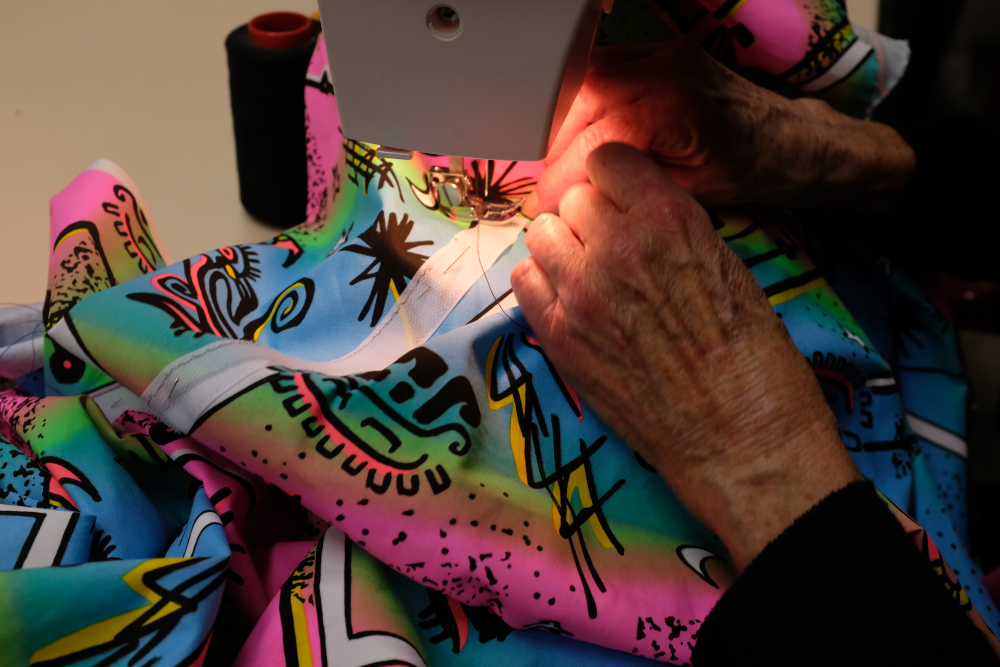
Étape 2 - Making the cover
- Cut the fabric to cover both sides of the blanket squares
- Cut two Velcro strips about 30 cm long
- Position the Velcro strips on the fabric, making sure that the two opposite sides overlap when you close the Norwegian pot on the stewpot.
- Secure the Velcro strips to the fabric with pins
- Sew them to the fabric
- Fold the fabric in half, overlapping the edges
- Sew two edges of the fabric together to make the cover
- Slide the blankets squares into the cover
- Stitch in the centre to keep the blankets in place inside the cover
- Sew the last edge of the cover. You can also sew on a zip to make the cover easier to wash.
- You can now use your Norwegian pot!


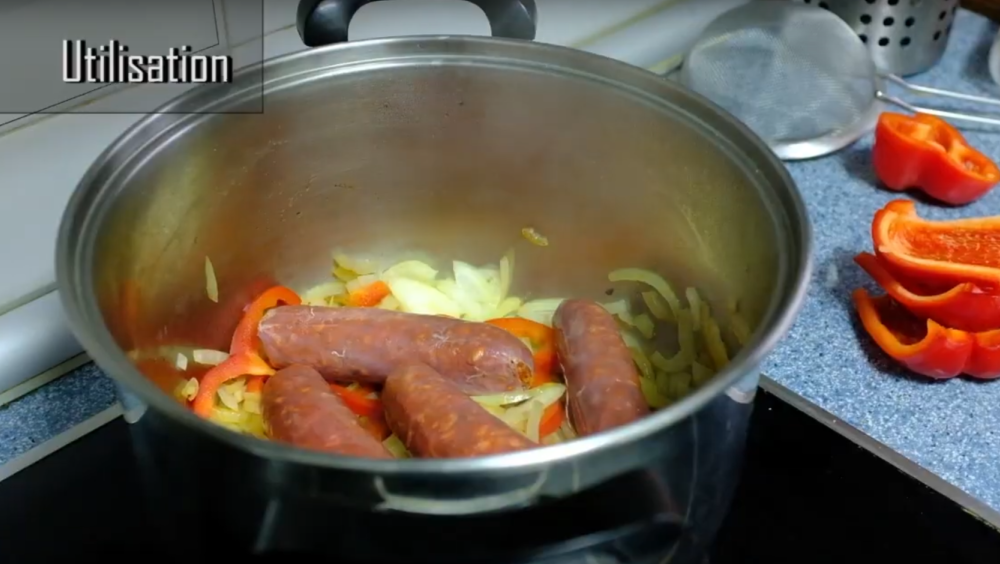
Étape 3 - Using the fireless cooker
- Start cooking on the heat using your most isolated pot
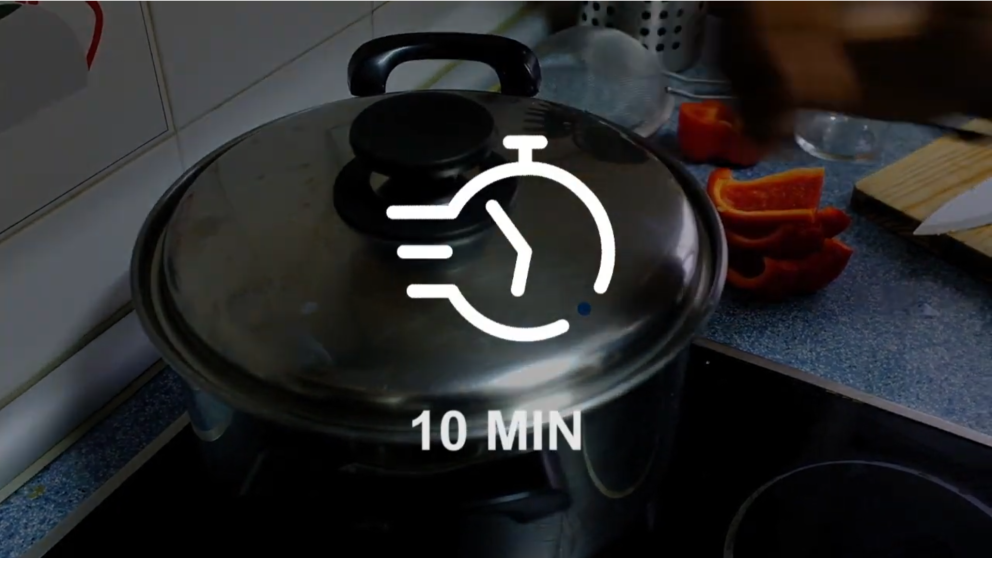
- Place the lid on the pot and bring to the boil.
- Further cook for a few minutes (depending on the recipe chosen, the pre-cooking time will vary).
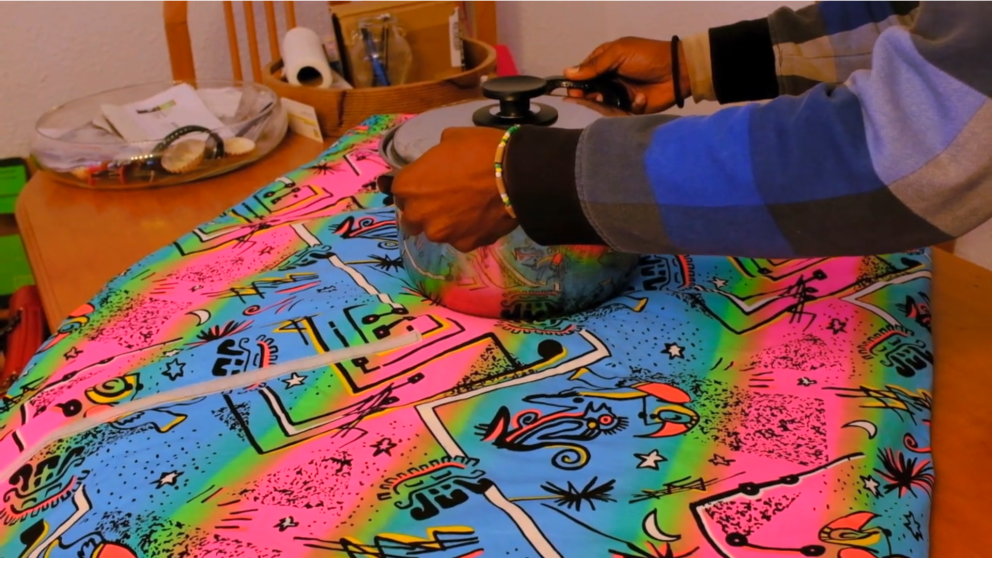
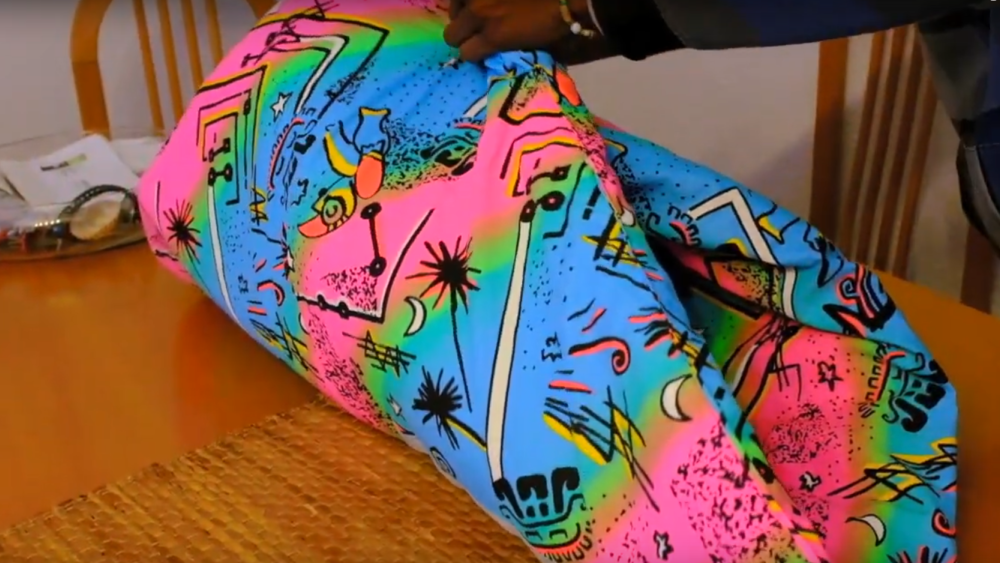
- Place your Norwegian pot wide open on a flat surface
- Stop cooking and place the boiling stewpot in the centre of the Norwegian pot
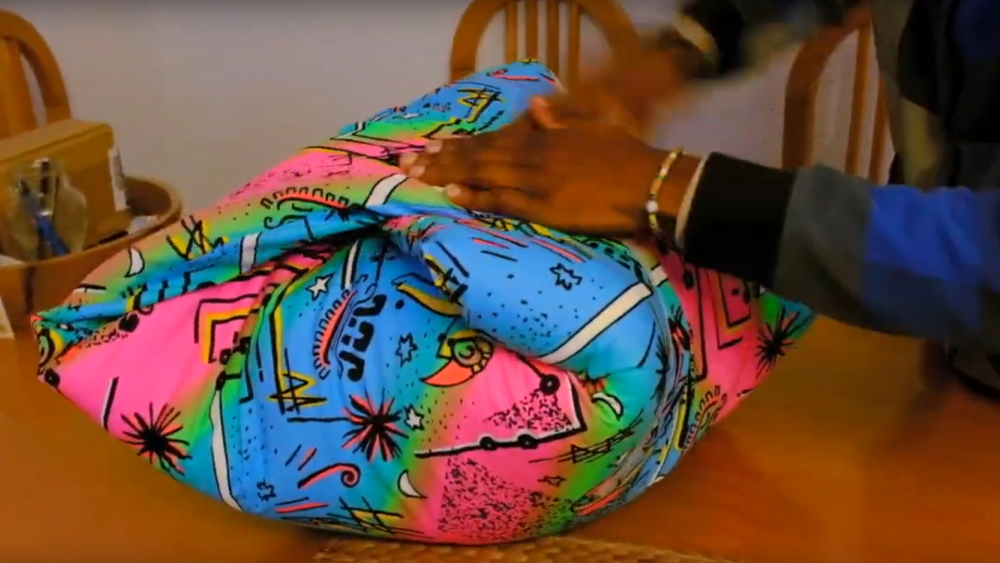
- Close the edges with the Velcro strips, taking care not to leave any gaps between the pot and the fabric.
- Allow to stew inside the Norwegian pot for the minimum time required according to the recipe, usually double the normal cooking time.
- Open the pot and check that it is cooked through and still hot.
- All you have to do now is enjoy your tasty recipe.

Étape 4 - Tips
- Une couverture en laine permettra de limiter le nombre d’épaisseurs à utiliser pour l’isolation, mais vous pouvez utiliser d'autres matériaux isolants.
- Les bandes velcro permettent de pouvoir utiliser différentes tailles de faitout. Assurez-vous de confectionner votre marmite norvégienne avec le faitout le plus grand que vous allez utiliser.
- On vous recommande bien sûr de favoriser le recyclage des matériaux. Vous pouvez trouver des couvertures en laine, ainsi que des tissus en coton, dans des ressourceries.
- Pour la cuisson, choisissez de préférence une cocotte en fonte ou en terre cuite, car la déperdition de chaleur est plus lente, mais le plus important est que le couvercle s’adapte bien à la casserole pour qu’il n’y ait pas de fuite.
- Serrez au maximum les bandes velcro pour éviter les déperditions de chaleur.
- Assurez-vous qu’il y ait assez d’eau dans votre faitout pour que cela mijote pendant plusieurs heures.
- Si vous avez laissé votre plat mijoter plus de 2h, il y a un risque que la température soit tombée au-dessous des 60 degrés et que des bactéries se soient développées. Il est alors prudent de porter votre plat à ébullition avant de le consommer.
- Vous pouvez utiliser votre marmite norvégienne comme édredon par dessus votre couette pour plus de chaleur au niveau des pieds


Notes et références
- Tutoriel du Low-tech Lab d'un prototype de marmite norvégienne en bois
- Blog marmite-norvégienne.com et son recueil de modèles de réalisation
- "Histoire de cuire sans feu ou presque", Mireille Saimpaul
- Recettes de Christine Ackermann avec la marmite norvégienne
Published
 Français
 English
 Deutsch
 Español
 Italiano
 Português