| Ligne 202 : | Ligne 202 : | ||
}} | }} | ||
{{Tuto Status | {{Tuto Status | ||
| − | |Complete= | + | |Complete=Published |
}} | }} | ||
Version actuelle datée du 3 juillet 2023 à 17:02

Difficulté
Moyen
Durée
1 mois
Coût
0 EUR (€)
Description
How to open dialogues on collective laundry practices in shared houses? This tutorial suggests a methodology for shared houses, to shift the individual use of their washing machine to a collective one.
Introduction
We are two housemates and a few months ago we asked ourselves: how to shift our individual practice to a collective one by sharing laundry? Indeed, we have one washing machine in the house that everyone uses for their own personal clothes.
After two months of experimentation, we found our rhythm in a practice that finally meets both our needs. We assumed that sustainability in home appliances relied only on energy saving. Slowly, during the process, we realized that social values were a layer of our practice. They were necessary for the good functioning of our contract, and therefore we started acknowledging them. We stopped focusing on the quantification of our research and start appreciating and giving value to the shared rituals.
We experimented with a relaxed discipline towards chores. Having to commit to each other and to the task gave us greater satisfaction in the achievement of daily life duties. We perceived it as something wholesome.
We share here the methodology that helped us steeping out to our individual practice, because we believe it worth trying it. It is a meaningful opportunity to bring social values in a shared house.
To know before reading:
- The different steps are propositions to open dialogue and consent to a methodology
- The propositions can work independently or together
- They need commitments, time and energy on long-term
- The final goal is for the group to build their own practice
Étape 1 - Discussion 1/2 : make an appraisal of your individual habits and needs
The individual reflection:
Take a pen and a paper, and try to answer to these questions. The goal is to define the habits and needs of each laundry practice.
1. How often do you do the laundry?
2. Do you sort your clothes?
3. If yes, how?
4. Which machine programs do you use?
5. What do you like about your practice?
6. What would you change in your practice?
Étape 2 - Discussion 2/2 : define a contract and a schedule together
The duo reflection:
Now, meet and try to compare your individual reflections. You can see the pints following to define your contract and schedule together.
- The laundry:
- How will you split the clothes?
- Which programs will be used?
- Which laundry product will you use?
- Where will you hang the clothes?
- Who will hand the clothes?
- How will you differentiate the clothes?
- Will you be both present to do the laundry? Or will you split the work?
- Do you agree on your clothes to be ruined? What decision can you take from that?
- The frame of the experience
- Compare your individual reflections
- Establish the house limits/ requirements ex: size of the machine drum, is the machine making noise if you run it at night?
- Decide the time of the experimentation (1 month)
- When will you meet to discuss what went good or wrong every week
- Compare your schedules, when can it be done?
- Write down all the answers
- What can you take from the tools examples that could help you? Could you bring new ideas?
- Commit to the contract
Étape 3 - The Tools library
It can be necessary in the process to be creative for some solutions. You could need to materialise for problem solving. It will depend on your needs.
Here examples we arrived to during our own experimentation.
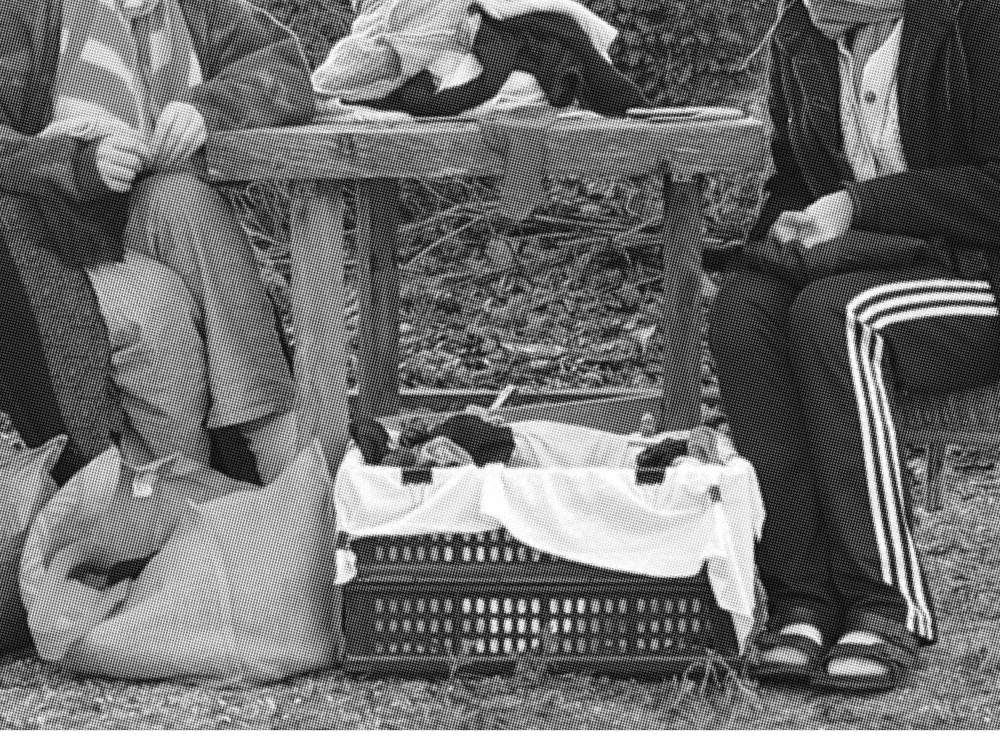
The collective dirty laundry basket :
We realised that our main laundry were a colored clothes, 40degrees Eco mode. We created a basket to put directly the clothes that could be washed on this mode. It helped us gaining time when sharing the clothes.
- a plastic crate (what we had in the house"
- a fabric, to cover it
- clips, to fix the fabric on the crate
The Excel document:
We needed to realise our water and energy consumption. An Excel sheet that could be shared and modified by the both of us was a great solution. It is a nice way to archive the number of machines you do per month, and the programs you do the most. I will share here a screenshot on what ours looked like.
The hand-made washing wood plank:
Introduction:
Building a washing plank to wash your clothes outside but also inside in your sink for example. Our constraint was the size of our sink.
The desire to have a handle to be able to position it on a table for example.
you could also use a washing plank without a handle and place it between your leg for example.It needs to be stable enough to support the pressure you put on it when you wash.
Tools/ materials:
- We used a piece of wood I found in the forest. therefore -1 hand wood saw
- If you have some leftovers of wood to use it’s also perfect.
- One requirement would be to have a piece of wood that won’t crack easily. The piece of wood needs to have square angles to make sure it’s stable.
- Some clamps stabilize the piece of wood while you sculpt it.
- Carving tools or a Dremel/wood angle grinder.
- Sanding paper
The making:
- step 1:
Collect the wood.Go to the forest and get some dead wood (easier to dry). or use some leftovers you have.
- step two:
Clamp the piece of wood.
Use a hand saw ( long enough to go through the piece of wood) and start cutting the wood into a rectangular shape.
Here the measurements are: 23.5(L)x27 (l)cm
- step 3:
Draw lines that go front top to bottom
Start carving/taking off some materials following the lines.
A minimum to take off would be 1cm.
For a length of 27, I have 6 lines. 1 line is a minimum of 1,5cm wide and 1 cm deep.
- step 4:
After the carving/sculpting, it’s important to sand the surface as much as possible to make sure it’s soft enough to not damage your clothes. I’ve used 80-grain sandpaper at first and then 120/180-grain to finish.
- step 5:
For the handle, the idea is that you see where the hand should be placed depending on your bottom angle/ to check the stability.
To create it you should continue carving until you make a whole deep and wide enough so your hand fits in it.
Here it’s 2.5 cm wide
and 10.5 long
and depth
- step 6:
Put oil, to protect
I used poppy seeds oil but you could also use olive oil


Published
 Français
 English
 Deutsch
 Español
 Italiano
 Português