Description
Making coal briquettes with carbonised agricultural waste.
Sommaire
Sommaire
- 1 Description
- 2 Sommaire
- 3 Introduction
- 4 Video d'introduction
- 5 Étape 1 - Discussion
- 6 Étape 2 - How it works
- 7 Étape 3 - The Carbonisation Machine
- 8 Étape 4 - Gathering the straws
- 9 Étape 5 - Filling the Carbonisation Machine
- 10 Étape 6 - Ignition
- 11 Étape 7 - Carbonisation
- 12 Étape 8 - First mixture
- 13 Étape 9 - Second mixture
- 14 Étape 10 - Pressage
- 15 Étape 11 - Séchage et Empaquetage
- 16 Étape 12 - Contenu pédagogique à télécharger
- 17 Notes et références
- 18 Commentaires
Introduction
Global Context
For several decades, Senegal suffers from the huge pressure on their natural resources, 42% of the forest area in Senegal has disappeared since 1960. Strong demographic increase, abusive logging for fuel, non-lasting agricultural practices and bush fires (350000 ha/an) are the principle causes.
Therefore, we assist in irregularities, lack of rain, as well as recurring droughts.
Energy situation in Senegal
In Senegal, 84% of the household fuel consumption is represented by wood and charcoal. For example, every year, the population uses 58kg of coal per habitant. This consumption encourages logging and puts pressure on the country's natural resources.
Advantages of Bio-Coal
The bio-coal, made from agricultural waste (such as straws, peanut shells, or even bush straws) can replace charcoal.
Bio-coal can also offer economical and social advantages on the ecological level:
Due to the economic framework, although a light consumption of regular coal is necessary, bio-coal is more advantageous to family users. In the Kaolack region, the bio-coal sells for 150 CFA per kilo, whereas charcoal sells for 250 to 300 CFA per kilo.* (NEBEDAY association)
On the environmental framework, the development of bush straws and agricultural wastes as renewable biomasses decreases the risk of starting a bush fire. And therefore strengthen the preservation of the forest and its biodiversity.
Finally, charcoal made from straws is used on the same conditions as charcoal, hence respecting the local culinary traditions, which could make the local population accept using bio-charcoal quicker.
"This tutorial is produced in partner with the Nebeday association , who developed numerous programmes for the participative management of natural resources by and for the local population in Senegal."Youtube
Matériaux
- Agricultural residue : straws
For 50 kilo of straws
- 100L water
- 5.5kg clay
- 15 kg crushed peanut shells
Outils
- 200L metal barrel turned pyrolyzer (for carbonisation)
- Shovel
- Rake
- Mask and safety gloves
- Big container for mixing
- Tarpaulin
- Pestle
- Sieve
- Baler
- Drying racks
- Metal mould for standardising the size of the briquettes
Étape 1 - Discussion
Provide us with you remarks, ideas, experiences here to help us improve this lowtech!
Étape 2 - How it works
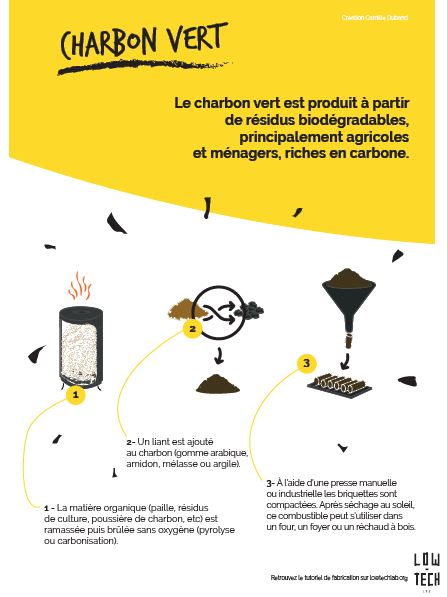
The most important stage in the making of bio-coal briquettes is 'Carbonisation'.
This process is usually done within a carbonisation machine, here, it is done with the metal barrel. The driest biomasses are placed in the barrel and ignited so that it progressively reaches around 400 to 500°C.
Attention : The best carbonisation proceeding depends on the good management of the supply of oxygen in the system. It's the oxygen that allows combustion and energy releasing reaction. However, if the supply of oxygen is too strong, it risk burning the raw materials in place of producing the desired coal.
1 - Ignition
2 - After igniting, the temperature will gradually rise to 100°C, where the humidity (around 10%) contained in the biomass evaporates.
The temperature then rises to 280°C. This phase is called endothermic reaction, where energy is needed in order to work. This energy is supplied by a complete combustion of a small part of the straws in the carbonisation machine. The dryer the straws, the less energy will be necessary.
3 - Once it passed 280°C, the pyrolyse phase starts. The straws decompose into coal, tar and other elements. This is called the exothermic reaction, where energy is released. Therefore, it is necessary to limit the oxygen supply when closing the carbonisation machine to avoid total combustion of the straws. The unconstrained heat by the pyrolyse would raise the temperature to 400°C, until all straws are reduced to coal, tar and other compounds.
Attention : the quality of coal obtained at 400°C is not the optimal (65% pure carbon). A temperature of 500°C allows the production of better quality coal (around 85% of pure carbon). Therefore, a supply of energy is needed by the combustion of a part of the created coal, to raise the temperate to 500°C. The difficulty of carbonisation is therefore controlling the inflow of oxygen in order to ensure that the combustion of coal is kept as minimal as possible for the production of good quality coal.
"Experiments and attempts allow us to have a better understanding of this procedure to reach maximum productivity."
Étape 3 - The Carbonisation Machine
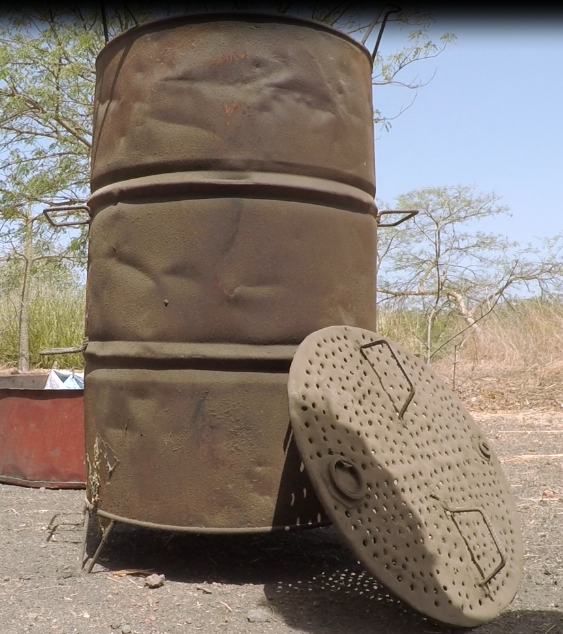
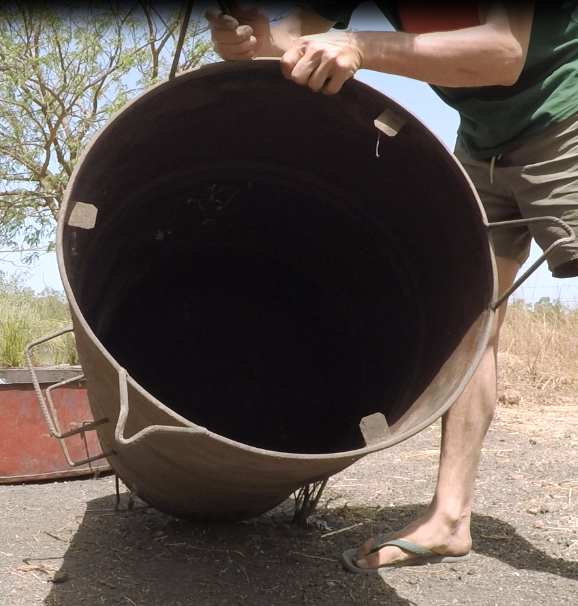
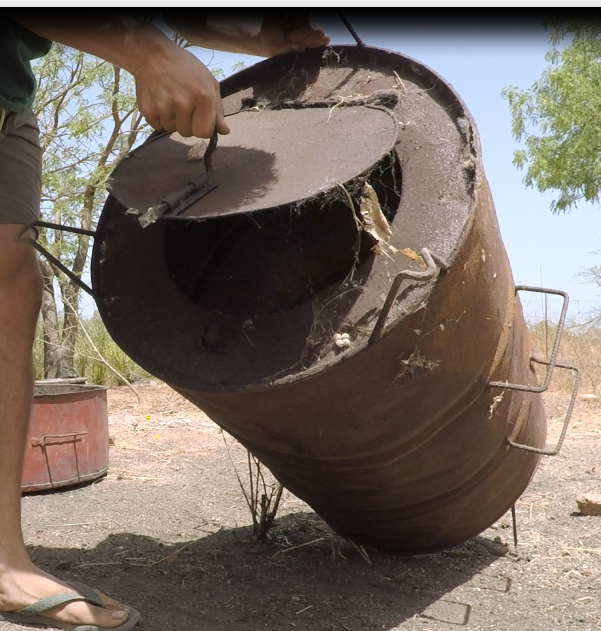
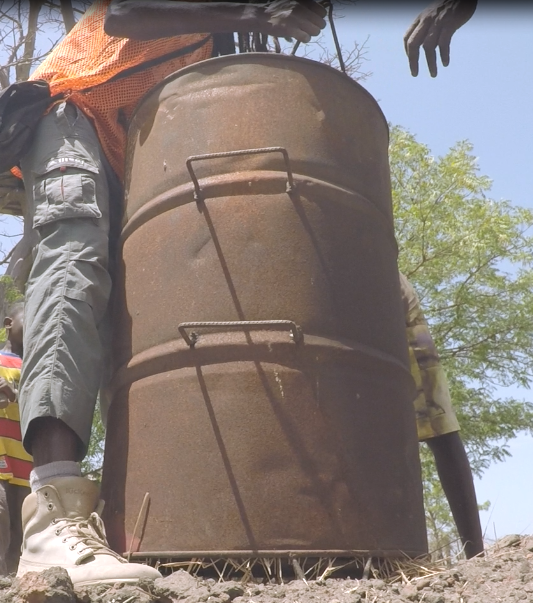
1) Open the trapdoor on one end (1) of the 200L metal barrel.
2) Pierce a number of holes on the other end (2).
3) Make a removable cover with this end (2).
4) Weld the foot and handle for manipulating the Carbonisation machine, with the removable end (2) being the base of the system during carbonisation.
Étape 4 - Gathering the straws
Gather the straws in bushes or in the field after harvest, depending on the availability.
Attention It is important to dry the straws under the sun after gathering.
Étape 5 - Filling the Carbonisation Machine
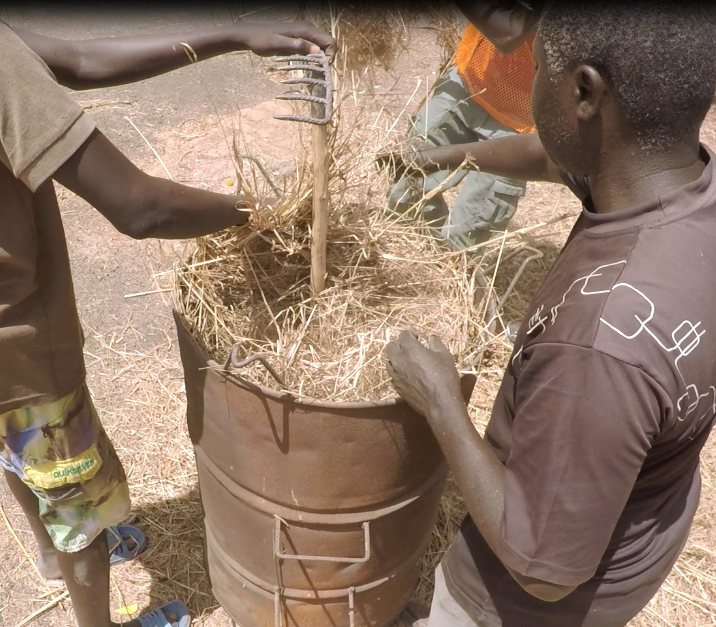
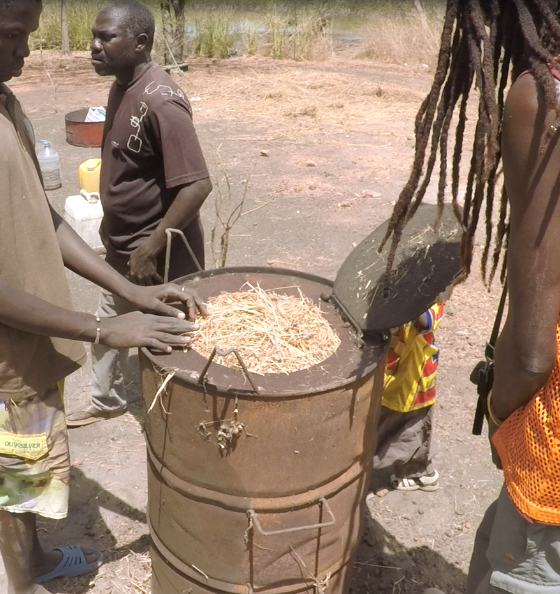
1) Place the carbonisation machine with the removable end facing upwards.
2) Place a cylinder in the middle of the barrel, for example, a tool handle could be used for this step.
Remark The hole in the middle, made with a cylinder, will be used to start the system.
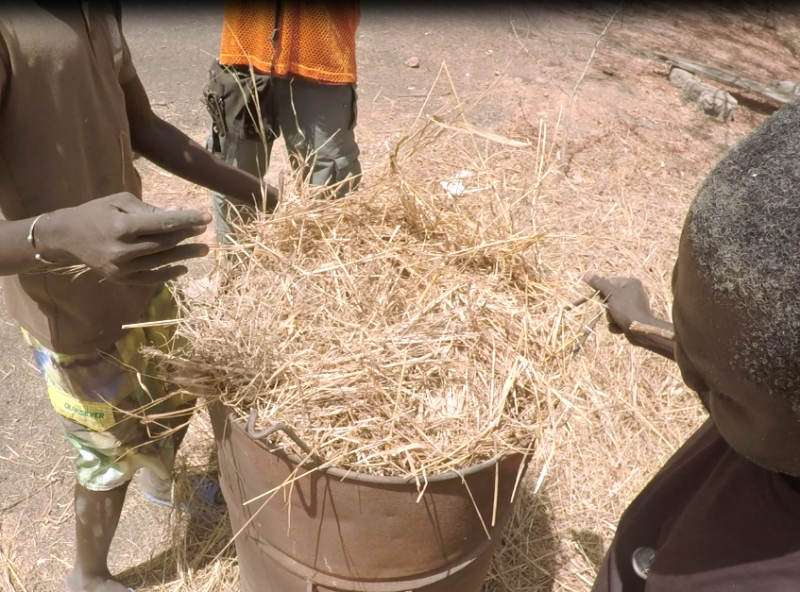
3) Fill the straws, making sure it is pressed down.
4) Pull out the cylinder
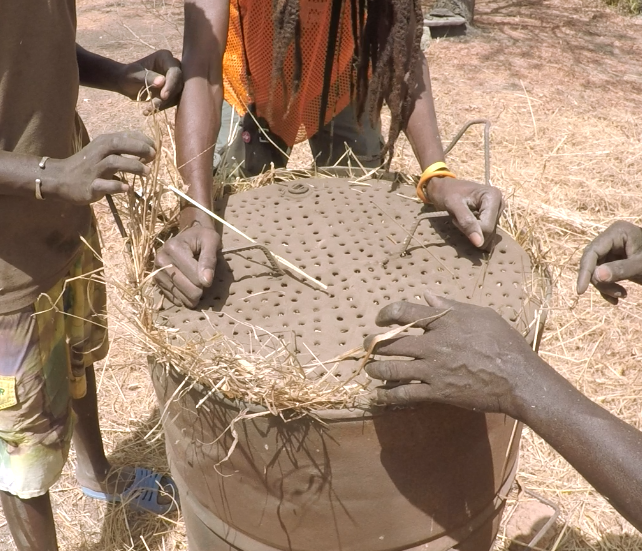
5) Reposition the removable cover, making sure that it is well covered.
Étape 6 - Ignition
1) Turn the carbonisation machine over, the end with the open trapdoor should be facing upwards.
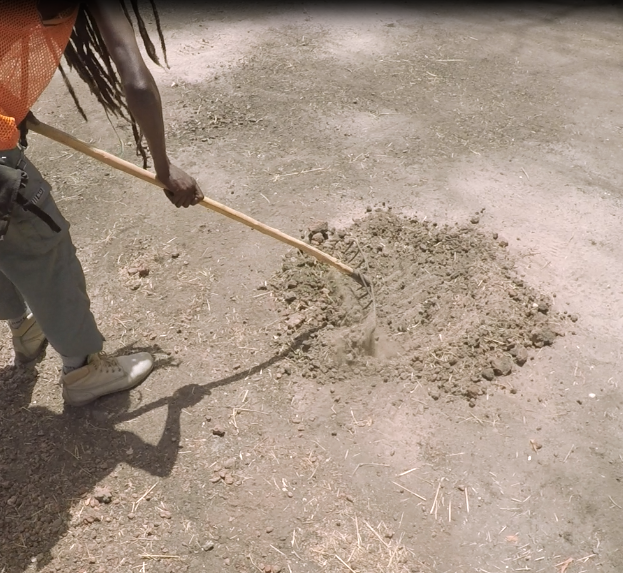
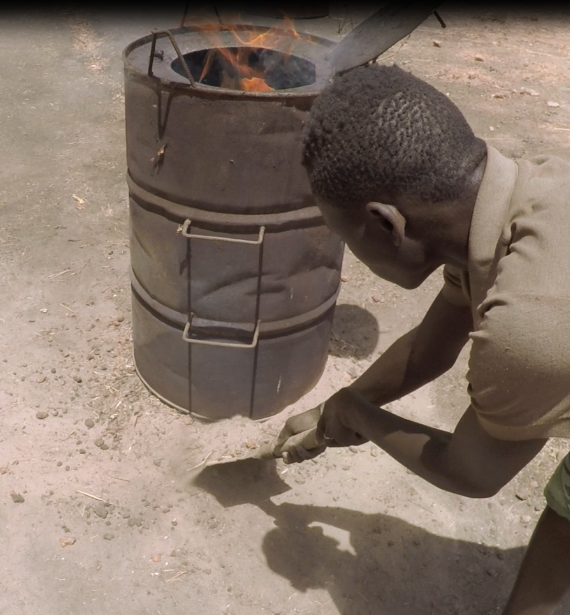
2) With the help of a rake, remove a bowl of soil with a diameter slightly bigger than the carbonisation machine. Keep a ring of soil all around.
3) Position the barrel in the centre of the ring, the air should be able to circulate under the carbonisation machine.
Attention Before igniting, make sure the work area is outdoors and well ventilated. The process releases smoke and gas.
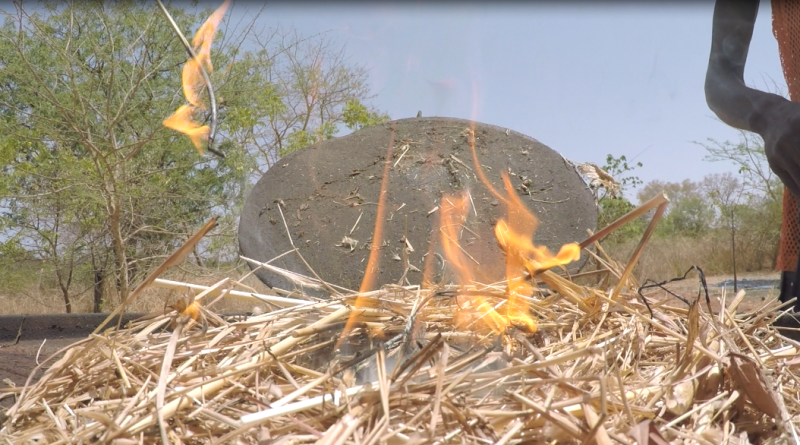
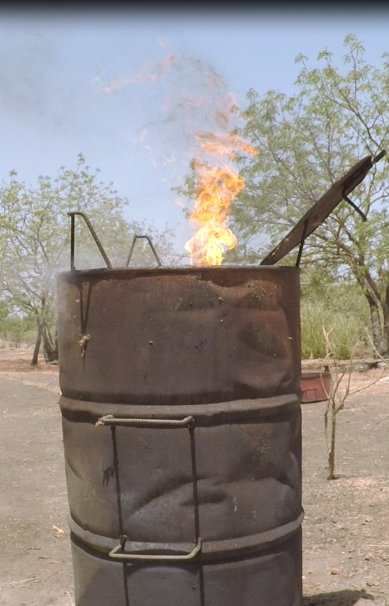
4) Light up the straw by the trapdoor and leave it open.
Étape 7 - Carbonisation
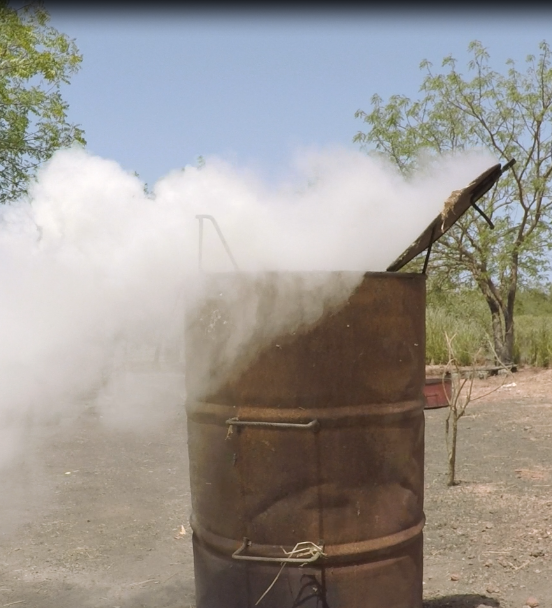
1) Leave the straw to burn around 30 minutes until the flames become more clear, with less visible smoke.
2) Close the trapdoor
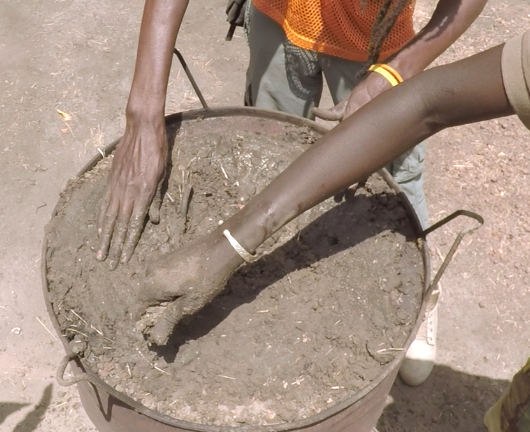
3) Seal the trapdoor with moist soil to stop the inflow of oxygen.
4) Move the soil back under the bottom of the barrel to stop the oxygen from entering from the base.
5) Leave it closed for 15 minutes.
Étape 8 - First mixture
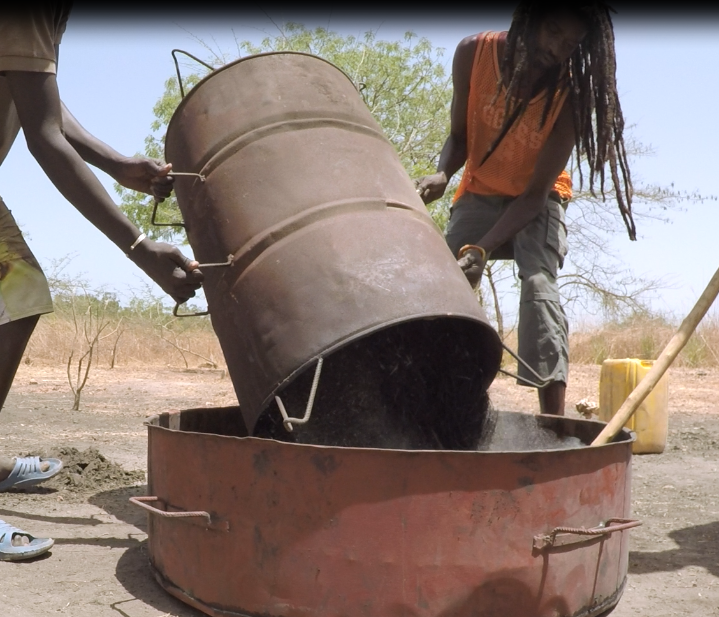
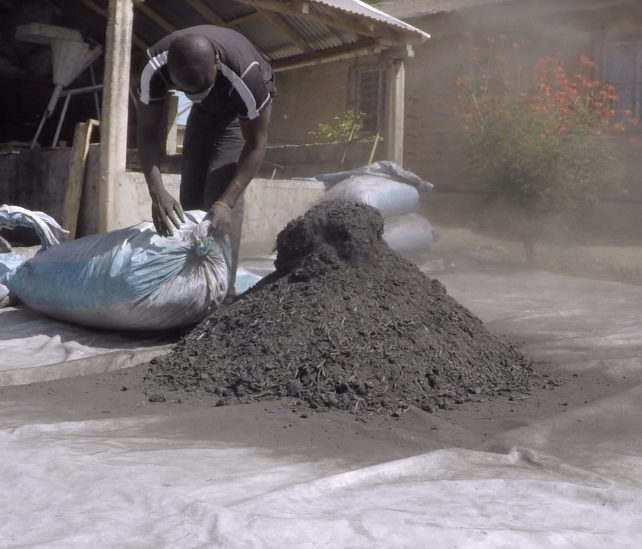
1) Open the carbonisation machine and empty it out in a container.
Attention Work with safety gloves and goggles at all times, the barrel is extremely hot.
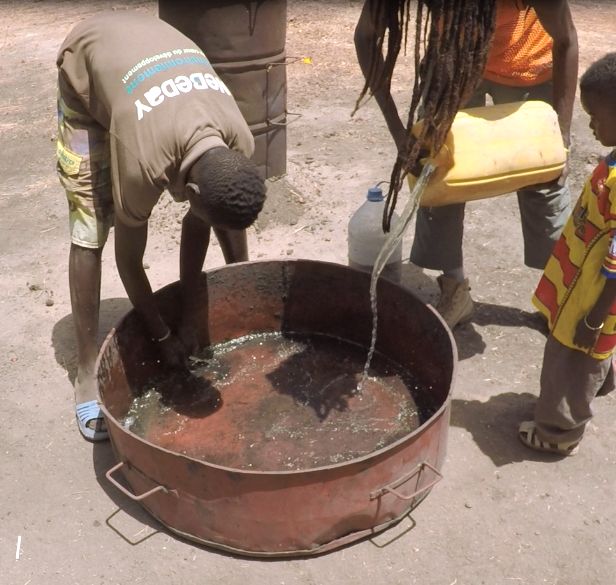
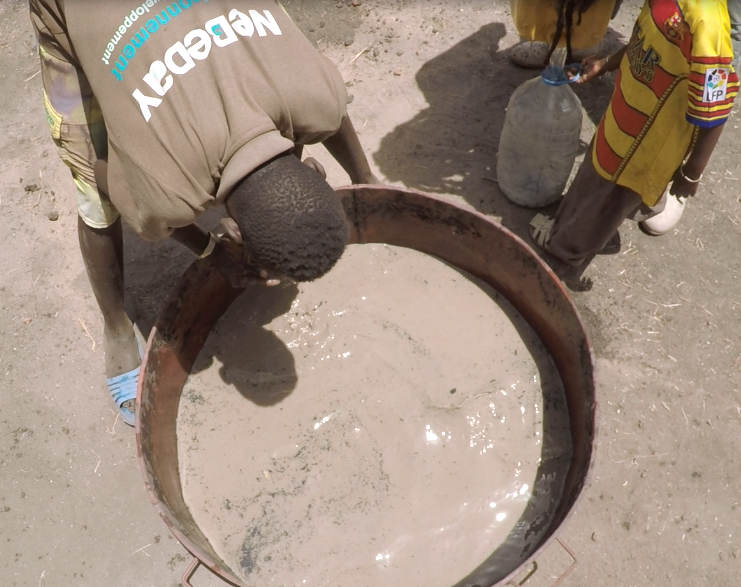
2) For 20kg of carbonised material (coal-dust), add 20L of water and 4 kilo of clay.
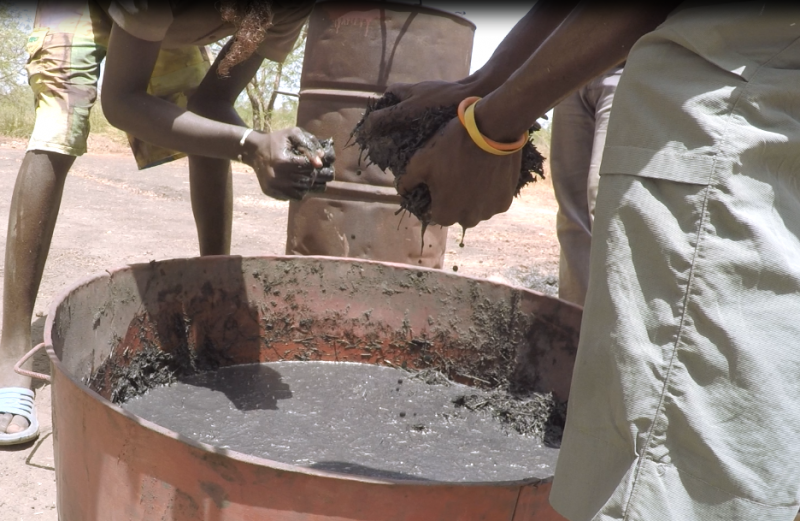
3) Mix well with a rake.
4) Gather the mixture and drain properly.
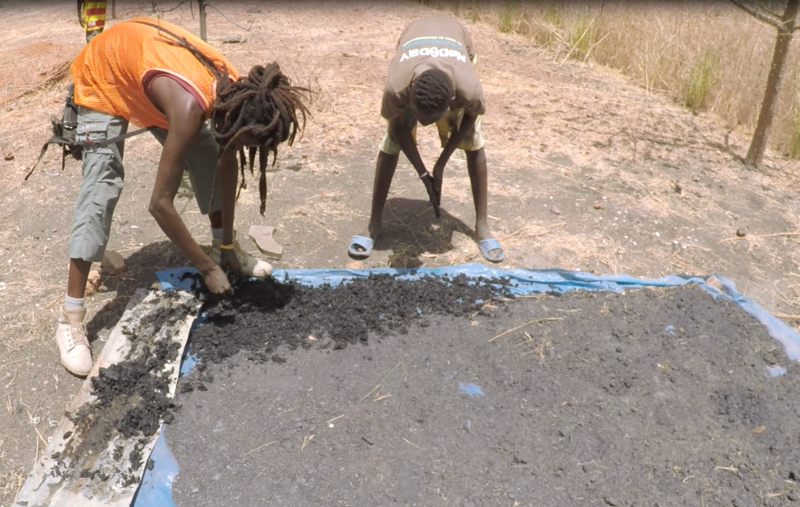
5) Spread the mixture across the drying rack to dry it under the sun.
6) Store the dried coal-dust in a cool and dry place.
Étape 9 - Second mixture
Le poussier ne peut être utilisé tel quel pour faire des briquettes, on lui applique un second mélange :
1) Étendre une bâche au sol.
2) Préparer sur la bâche 50 kg de poussier sec issus du mélange précédent.
3) Pour 50 kg de poussier, peser et préparer 15 kg de coques d'arachide broyées.
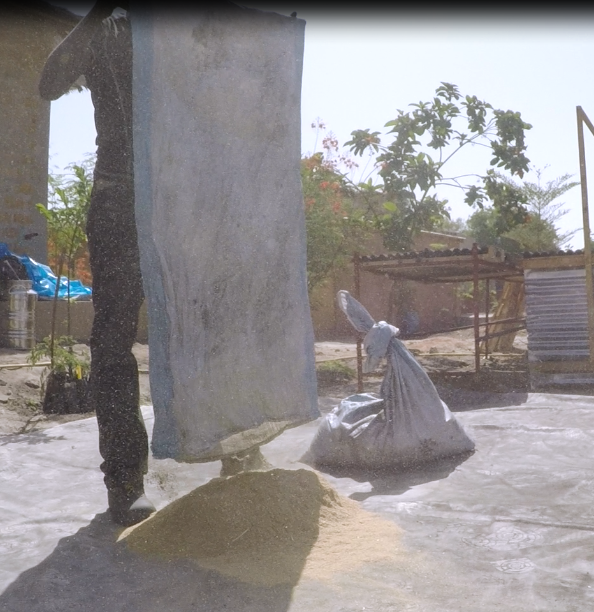
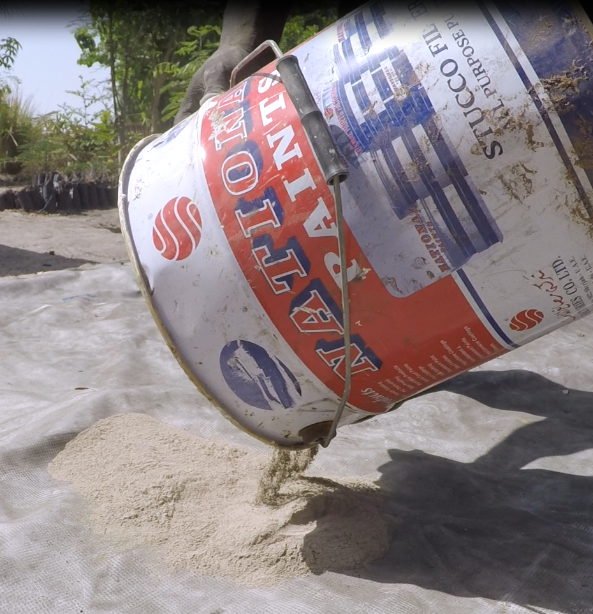
4) Peser et préparer 1.5 kg d'argile pilée et tamisée.
Remarque 1 La coque d'arachide broyée, non carbonisée, permet à la briquette d'être plus puissante, notamment à l'allumage. L'argile sert de liant.
5) Incorporer l'argile à la coque d'arachide en prenant soins d'homogénéiser le mélange.
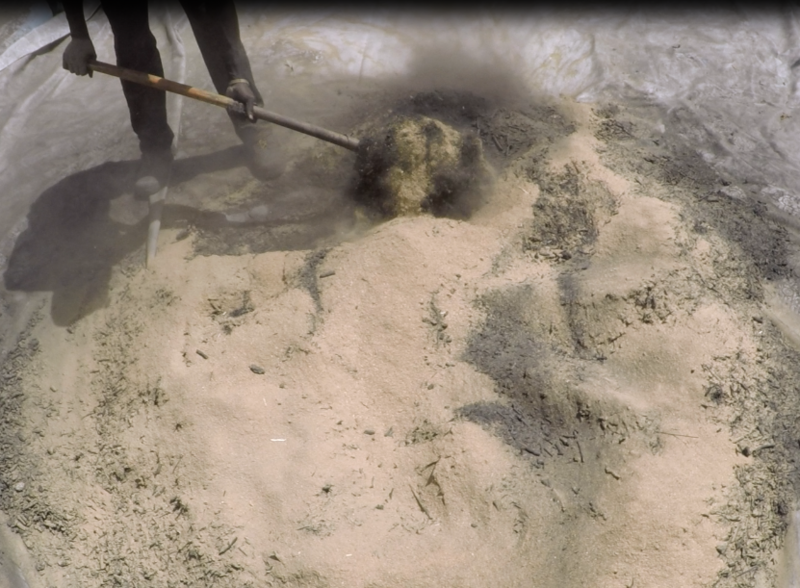
Remarque 2 Pour rendre le mélange argile/arachide/poussier homogène, étaler l'un des ingrédients au sol, disposer le second par dessus. A l'aide d'une pelle, rabattre le mélange par petites pelletées, d'abord vers l'extérieur puis vers l'intérieur.
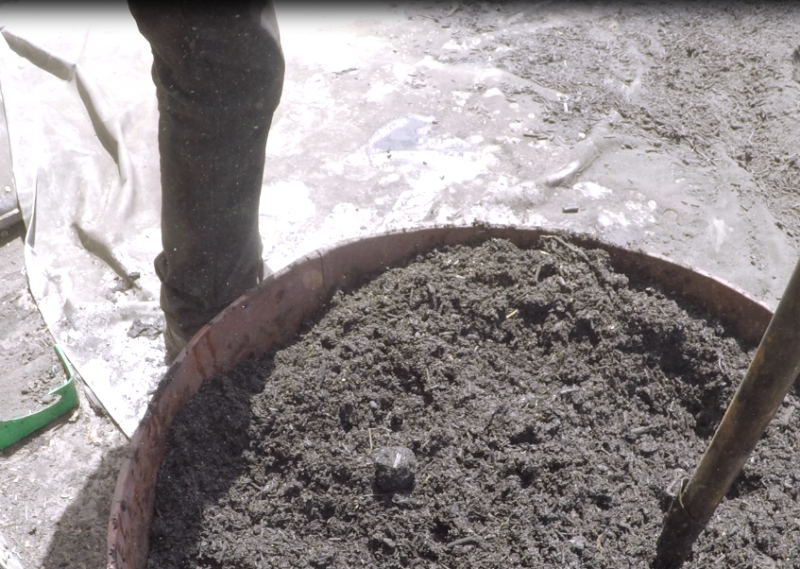
6) Incorporer le mélange argile/arachide au poussier, en prenant soins d'homogénéiser le mélange.
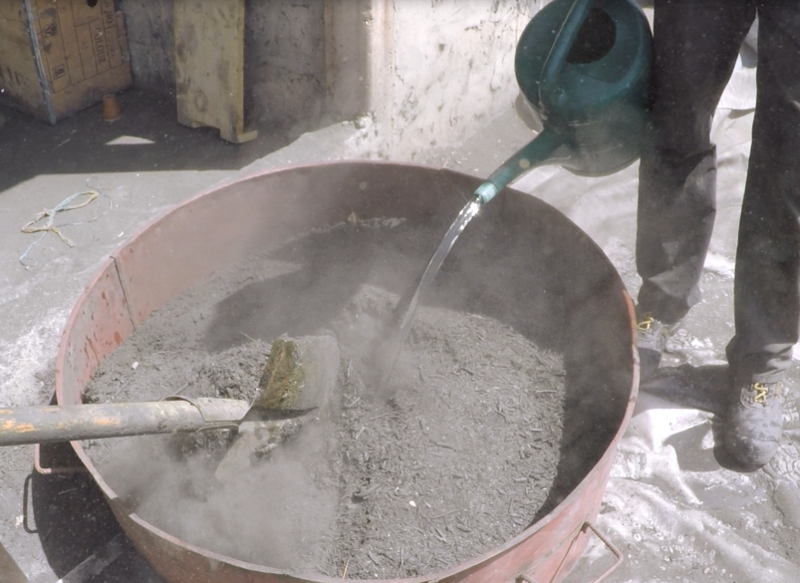
7) Mettre le mélange dans un récipient et y ajouter 50 L d'eau tout en mélangeant.
8) Réaliser le test de bonne proportion du mélange: Faire une boule avec les mains puis la lâcher d'1 m de hauteur. La boule doit se tenir. Si elle se casse, il n'y a pas assez d'eau, si elle s'écrase de façon importante, il y a trop d'eau.
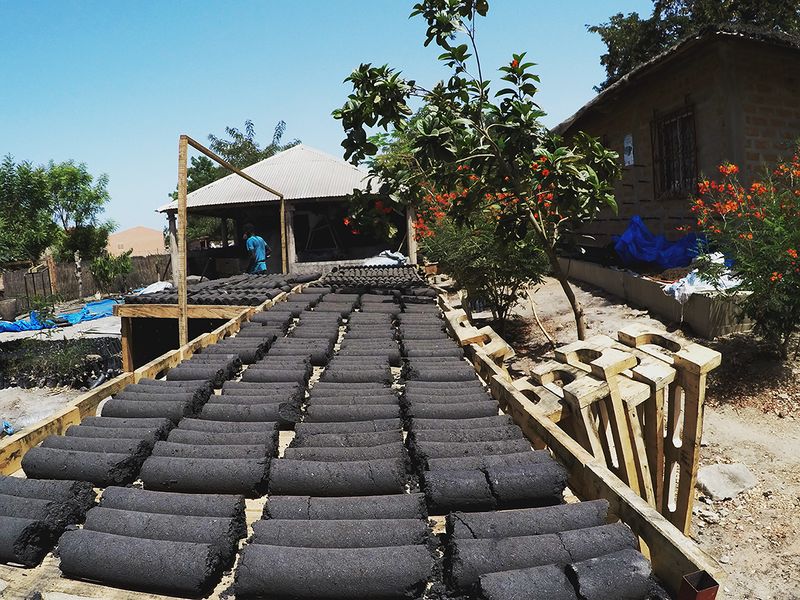
Étape 10 - Pressage
Remarque Il existe de nombreux types de presses, de très accessibles d'autres plus complexes et coûteuses comme les presses à vis sans fin utilisées ici. Celle-ci a un réel avantage quand il y a accès à l’électricité. Sinon des presses manuelles plus simples sont préférables pour réduire la pénibilité du travail.
1) Une fois la presse en action, insérer le mélange au fur et à mesure.
2) Extruder les briquettes à la longueur souhaitée (ici 20 cm).
3) Disposer les briquettes sur des claies de séchage.
4) A l'aide de l'empreinte, couper les bords des briquettes afin de standardiser le format à la longueur voulue.
Attention L'utilisation des presses à vis sans fin nécessite une attention particulière pour la sécurité lors de l'approvisionnement en mélange. Il faut au moins 2 personnes pour être efficace: une personne chargée de l'approvisionnement et une personne chargée des briquettes.
Étape 11 - Séchage et Empaquetage
1) Mettre les claies au soleil durant 3 ou 4 jours le temps que les briquettes sèchent.
2) Empaqueter les briquettes pour le stockage et la vente.
Attention Bien protéger les briquettes en cas de pluie.
Remarque Ici, les briquettes sont empaquetées 2 par 2 dans des sacs de ciments revaloriser.
Étape 12 - Contenu pédagogique à télécharger
Vous pouvez télécharger une fiche pédagogique créée par le Low-tech Lab dans la partie "Fichiers" du tutoriel (onglet au niveau de la section "Outils-Matériaux").
Notes et références
- Association Nebeday: www.nebeday.org
- FAO: www.fao.org
Visionner la vidéo Arte Future - Cap sur l'innovation.
N'hésitez pas à commenter, partager, et agrémenter le tutoriel d'informations utiles à son amélioration.
L’équipe du Low-Tech Lab vous invite également à consulter sa Biblilowtech.
Published
 Français
 English
 Deutsch
 Español
 Italiano
 Português