Description
Domestic cultivation of a highly nutritious micro-algae
Sommaire
Sommaire
- 1 Description
- 2 Sommaire
- 3 Introduction
- 4 Video d'introduction
- 5 Étape 1 - Building a Spirumeter or Disc of Secchi
- 6 Étape 2 - Preparing the culture environment: the living medium
- 7 Étape 3 - Préparer le milieu de culture : l'alimentation
- 8 Étape 4 - Preparing the culture medium: food dosing
- 9 Étape 5 - Cultivation: acquisition
- 10 Étape 6 - Cultivation: quick sowing with freshly pressed spirulina
- 11 Étape 7 - Cultivation: rapid sowing with concentrated spirulina
- 12 Étape 8 - Cultivation: growth phase
- 13 Étape 9 - Growing spirulina: Agitation
- 14 Étape 10 - Growing spirulina: concentration
- 15 Étape 11 - Growing spirulina: Evaporation
- 16 Étape 12 - Growing spirulina: Shade
- 17 Étape 13 - Growing spirulina: Purging
- 18 Étape 14 - Cultiver la spiruline : Hivernage
- 19 Étape 15 - Cultiver la spiruline : Conservation
- 20 Étape 16 - Récolter
- 21 Notes et références
- 22 Commentaires
Introduction
Spirulina is a micro-algae, more precisely a spiral cyanobacterium of about ¼ millimetres. It has thrived in hot, desert regions for more than three billion years. At the origin of plant and animal life, Spirulina has largely contributed to the creation of the earth's atmosphere by producing oxygen from carbon dioxide. If it is of particular interest to us today it is because it is also a super-food. Spirulina's rich constitution is due to the fact that its cell wall is made of protein. On the other hand, in the plant world, the cells have a cellulose wall, which is difficult to digest. Spirulina also has a high concentration of vitamins and iron. This ideal composition and its ease of assimilation make spirulina a food supplement coveted by great athletes. But Spirulina is sold expensive while it is simple and quick to grow. Its yield is very good: on the same space Spirulina produces five hundred times more protein than a cattle breeding. In the same way it takes about 13,500 litres of water to produce one kg of bovine proteins whereas only 2,500 litres are needed for micro-algae. Numerous associations and NGOs (Univers la Vie, Antenna, etc) cultivate it to fight against famine and malnutrition in the world. It exists in its natural state around the tropical belt (Peru, Mexico, Chad, Ethiopia, Madagascar, India...) and even in France, in the Camargue. The family culture makes it possible to integrate spirulina into its daily diet. The French Spirulina Federation recommends a consumption of fifty grams of fresh spirulina per day, or about 10 grams of dry spirulina. In this objective of local production, it is necessary to have 1m² of cultivation basin per person.
Preliminary information
The growing medium
Spirulina lives naturally in volcanic lakes, rich in salt and bicarbonate of soda, with a high PH, close to 10. This is its environment but not its food, as fish do not feed on sea salt. In the culture of spirulina, the objective is to recreate as close as possible the native environment of spirulina. In its natural state, Spirulina is rarely taken except by pickers and flamingos. In pond the harvests are much heavier, it is thus necessary to regularly bring food to the culture to allow its renewal. In the culture of spirulina, it is thus necessary to dissociate the culture environment from the living environment and the food:
culture medium = living environment + food
The development environment.
Spirulina lives naturally in warm climates. When the temperature of its living environment is below 18°C, it hibernates. From 20°C it starts to develop. From 30°C its production intensifies strongly. At 37°C, the optimal temperature of the environment, the population increases by a quarter every eight hours. Above 42°C, spirulina dies. In France, outdoor cultivation, with a translucent cap, is possible from mid-April. The deep green colour of spirulina is obtained by photosynthesis. For this, spirulina needs a strong luminosity but not a long exposure to the sun. It is important to shake the pool to prevent the spirulina on the surface from burning and to allow the deep ones to benefit from the light. The culture must be 20cm deep maximum so that all the spirulina can benefit from good sunlight.
The concentration
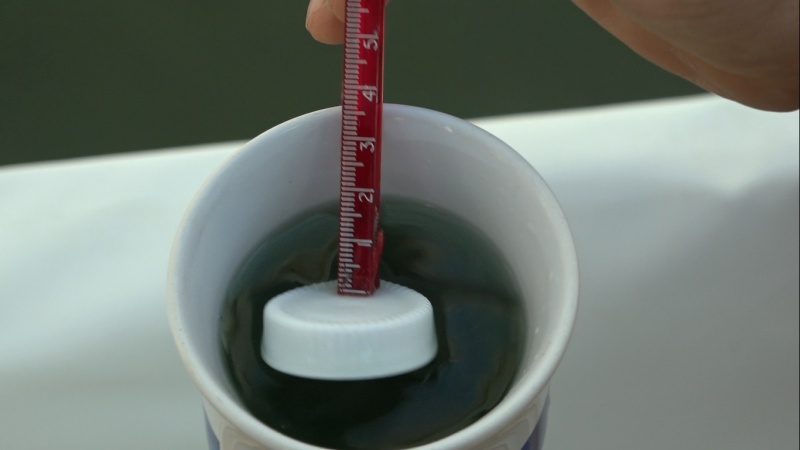
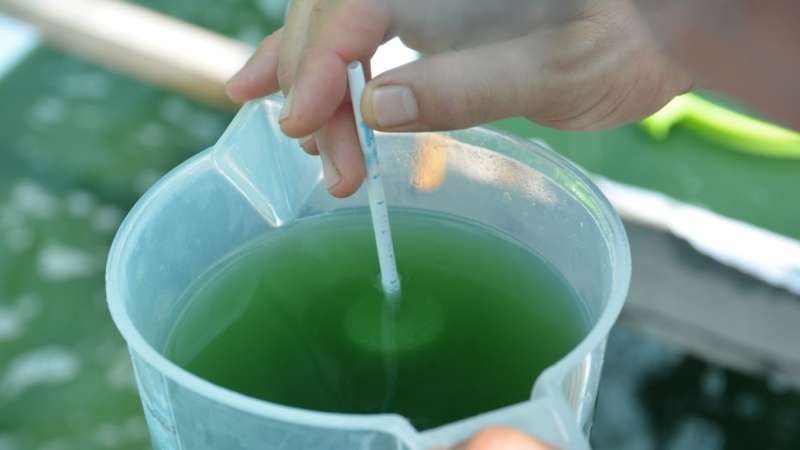
One of the health indicators of spirulina is its concentration. To measure it there is a very simple instrument: the Spirumeter or Secchi disk. It is a white disc at the end of an axis graduated in centimetres. The concentration of spirulina is measured by dipping the disc into the culture solution. When the disc disappears, the graduation on the surface is read, the Secchi concentration index. The lower the index, the more concentrated the spirulina is. For a healthy spirulina, the concentration should be between 2 and 4. At 2 it is very concentrated, it can be harvested. At 4 it is at its minimum cultivation concentration, for example after a harvest.
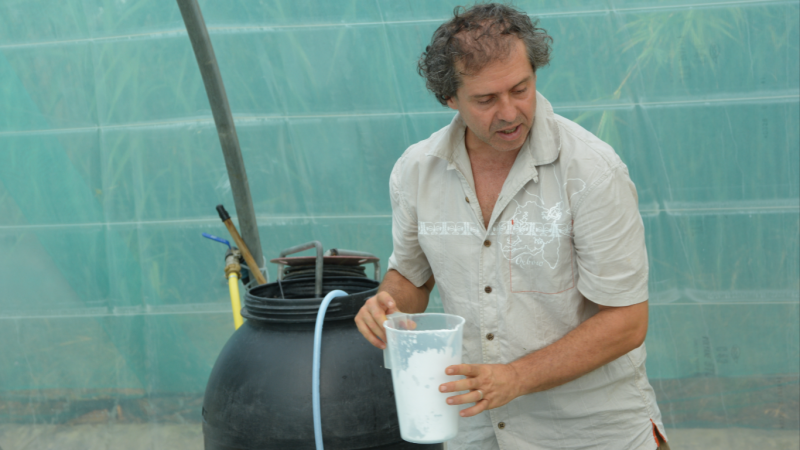
This tutorial is produced in collaboration with Gilles Planchon, a specialist in the domestic culture of spirulina, trainer and researcher on the natural living environments of microalgae.
Retrouvez ici la vidéo tuto et la construction d'un bassin de culture familiale.Youtube
Matériaux
Spirumeter.
- White plastic cap
- Screws
- Wooden or plastic rod or ruler
Medium of culture.
- Drinking water
- Sea salt
- Bicarbonate of soda
Mineral Food
- Potassium Nitrate
- Monoammonium phosphate
- Iron Sulfate
- Potassium Sulfate (optional)
- Magnesium sulfate (optional)
or
Natural food
- White vinegar
- 100g rusty nails
- 5 to 10 lemons or citric acid
Outils
Spirumeter
- Rule
- Screwdriver
Medium of culture
- Tray of 200L or more
Mineral Food
- Food canister (>10 liters)
- Balance
Natural food
- 2 bottles of one liter
- Balance
Seeding, cultivation and maintenance
- Garden hoses
- Strainer
- Aquarium pump (500 to 1000 liters/hour)
- Cans of different volumes (from 20 to 200 liters for example)
- Measuring glass
- Balance
Étape 1 - Building a Spirumeter or Disc of Secchi
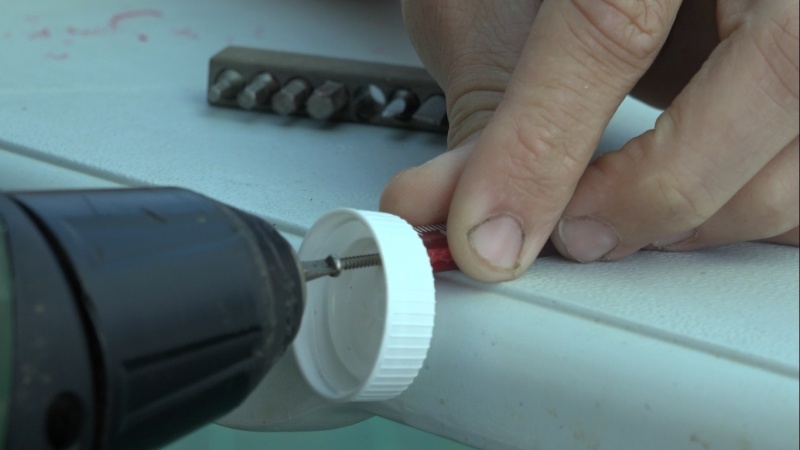
- Screw a white plastic cap at the end of a ruler or a plastic or wooden rod of about 20 centimeters,
- Scale the stem from 0 to about ten centimeters, with the 0 at the level of the cap.
Étape 2 - Preparing the culture environment: the living medium
- Fill a large volume canister (100 to 200L) with water, ideally from a rainfall or a low calcareous source.
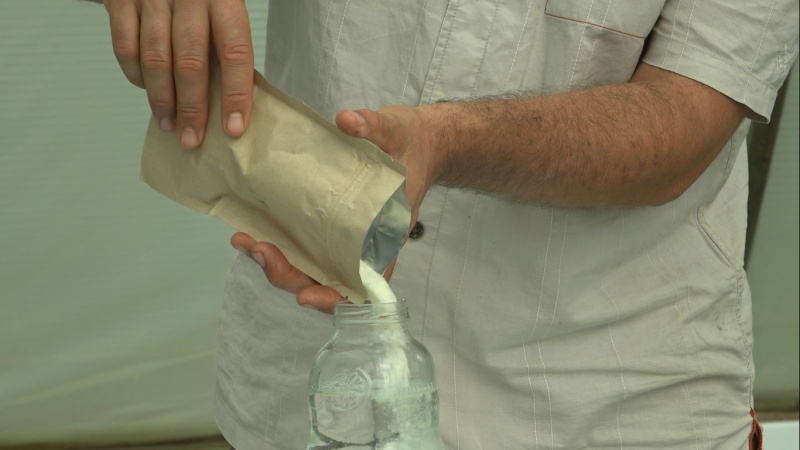
- Add the baking soda at a rate of 1kg/100liters of water.
- Add the sea salt at a rate of 500g/100litres of water.
- Shake well to dissolve them
- Transfer the volume of the canister into the culture basin with a pump (aquarium type or natural siphon). Repeat the operation until the tank is full.
- Make a mark 20 cm from the bottom to see if the water evaporates and top up with water if necessary.
WARNING If tap water: Shake (pump or bubbler) during ½ day: the chlorine in the water evaporates and the limestone precipitates with the bicarbonate of soda, when the living medium is transferred to the pool, the limestone remains at the bottom of the canister. If rainwater: filter
Étape 3 - Préparer le milieu de culture : l'alimentation
The rich composition of spirulina comes from its diet, it is mainly composed of nitrogen, phosphorus, potassium, magnesium and iron. The food used in the family culture can be of mineral or natural origin. Mineral fertilizers obtained by chemical synthesis or by the exploitation of natural deposits are less ecological than natural food produced locally. Both preparations are presented.
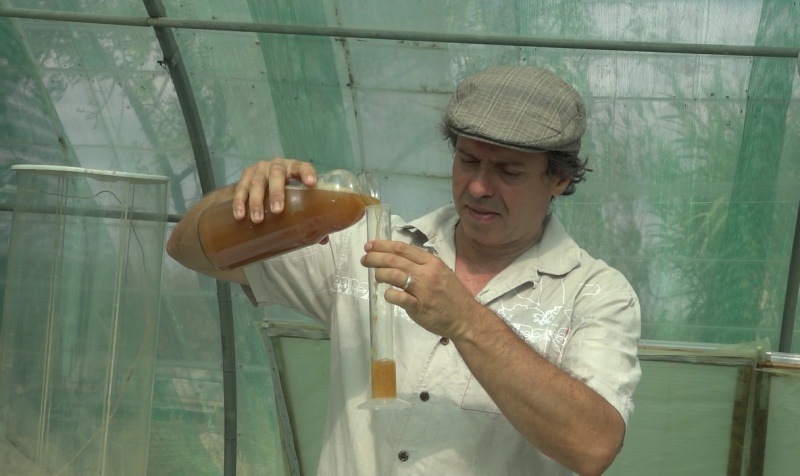
Mineral Food The components of this preparation are agricultural fertilizers, they must be water-soluble. They can be found in agricultural cooperatives or garden stores. For about 10 litres of food (Milieu LIB from the book La Spiruline pour Tous - Culture Familiale') :
- Put 10 liters of water in a bucket
- Add 1kg of Potassium Nitrate
- Add 100g of Monoammonium Phosphate
- Add 10g of Iron Sulphate
- Add 50 g of Potassium Sulphate (optional)
- Add 50g of Magnesium Sulphate (optional)
- Shake well until all components are diluted.
- Transfer to a closed container
- Label and keep away from the sun.
Or
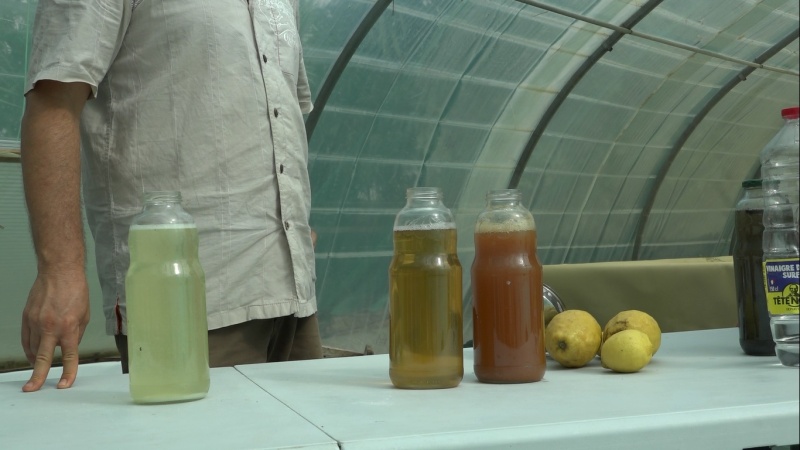
Natural food The components of the mineral food are found in ideal proportions in the urine [1]. By adding a solution of iron oxide or "juice of rusty nails" spirulina benefits from a local and organic food ideal for its productivity and resistance. The high pH and salinity of the culture medium reduces the risk of contamination. However, only "organic" urine should be used, from people with a healthy diet (non-smokers, without medication or contraceptives). Human urine is now widely used in agriculture and many studies exist on the subject [2]. For 1 litre of urine-based food:
- Put 10cl of white vinegar in a 1 litre bottle. It eliminates odours, eliminates bacteria and preserves ammonia.
- Complete with healthy urine
- Label and keep away from the sun.
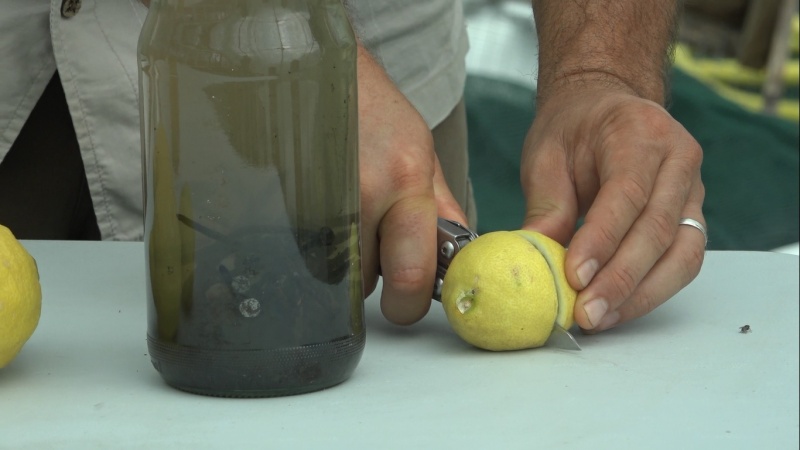
Jus de clous rouillés : pour 1litre de jus de clou
- Mettre 100g de clous dans une bouteille. (Idéalement des clous déjà rouillés, ils indiquent une composition uniquement ferreuse et non d’autres alliages)
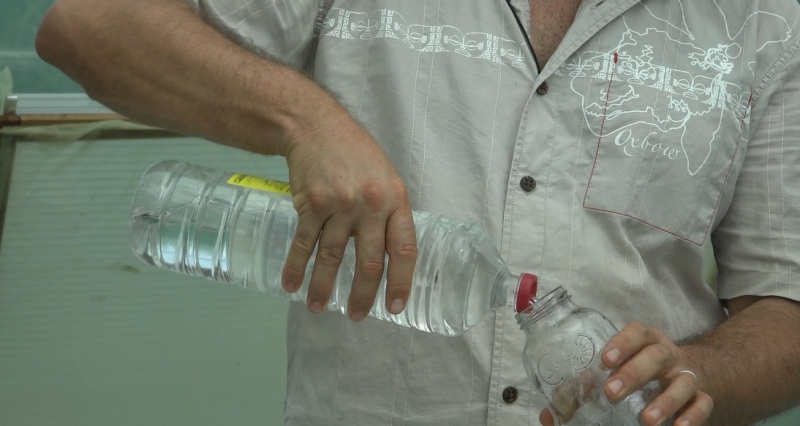
- Ajouter un litre de vinaigre blanc
- Ajouter le jus de 5 à 10 citrons ou une cuillère à soupe d’acide citrique
- Attendre 10 jours (durée nécessaire à obtenir la concentration adéquate en oxyde de fer)
- Filtrer le jus, étiqueter et conserver à l’abri du soleil
- Mettre les clous de côté pour une prochaine utilisation
WARNING Prepare the iron solution at least 10 days before the starting date of spirulina culture. If you leave the nails more than 10 days in the solution, the iron oxide concentration will rise. It will be necessary to dilute the juice with water.
Étape 4 - Preparing the culture medium: food dosing
The basin was filled with the living environment in the previous stage. Now it is time to bring in the food:
- Mineral: 2 liters/100liters of medium
Or
- Organic: 1 litre of urine + 200ml of Iron solution/100 litres of culture medium
Étape 5 - Cultivation: acquisition
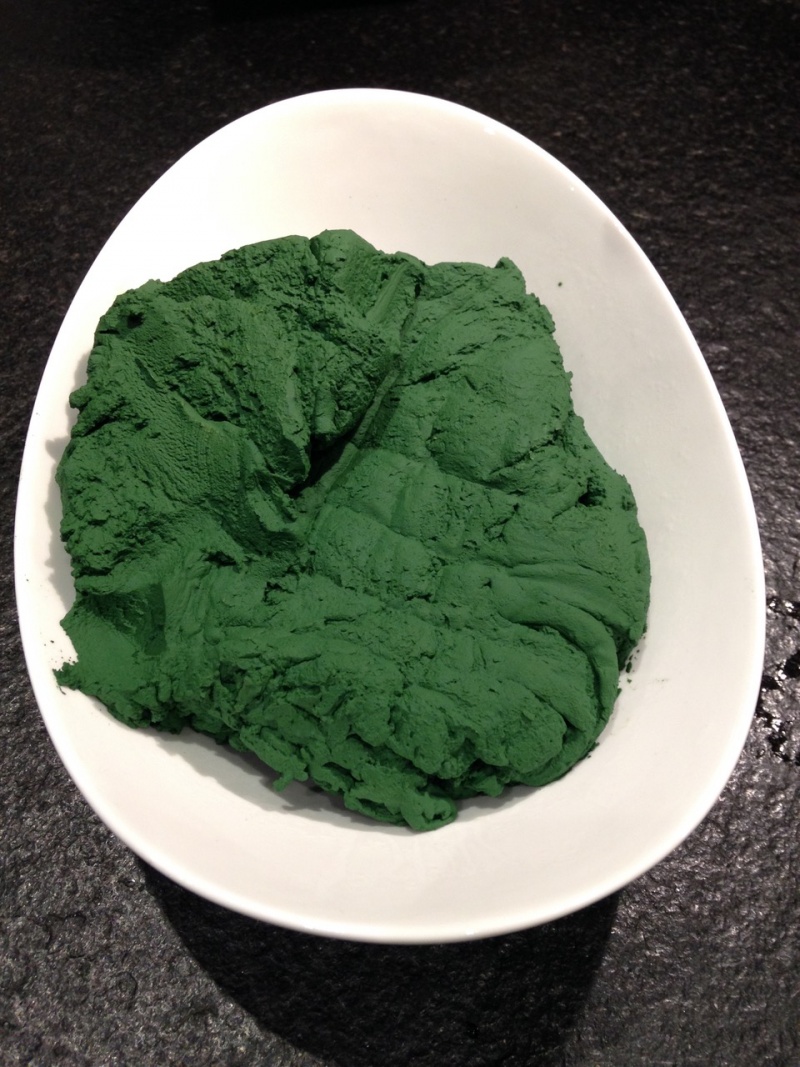
The culture medium is ready to welcome spirulina, you just have to get some. It is possible to get spirulina from anyone who has a family culture. It is also possible to contact a producer near you to know if he can supply fresh or concentrated spirulina (Gilles Planchon can make shipments to France). One kilogram of fresh pressed spirulina normally costs around 50€.
Étape 6 - Cultivation: quick sowing with freshly pressed spirulina
With freshly pressed spirulina, cultivation can begin as early as the harvesting phase, for this purpose a large quantity of unwashed spirulina must be introduced directly into the basin. It can be kept for 3 to 5 days in a refrigerator. It takes about 500g of freshly pressed spirulina to seed a 500 litre basin. A concentration of about 4cm will be obtained with a spirum meter. The first harvest will be possible one week later.
- Dissolve the freshly pressed spirulina in a small volume of culture solution (around 30l) first by hand and then with a strainer to break up lumps.
WARNING Foam indicates an increase in protein so spirulina that breaks: let it rest and shake more gently.
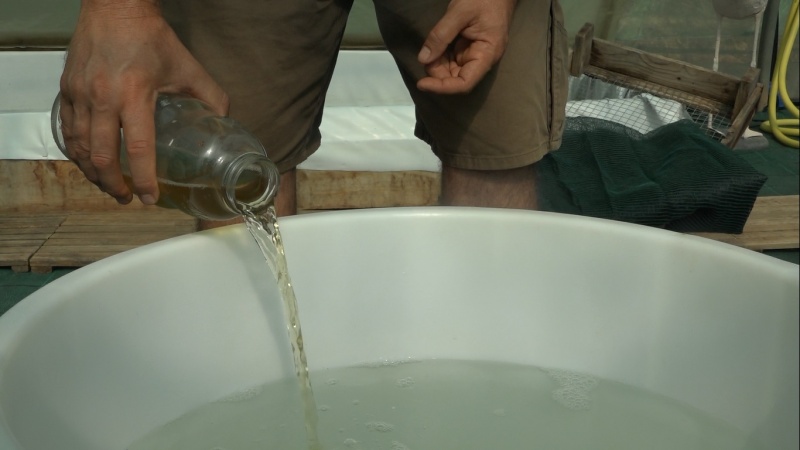
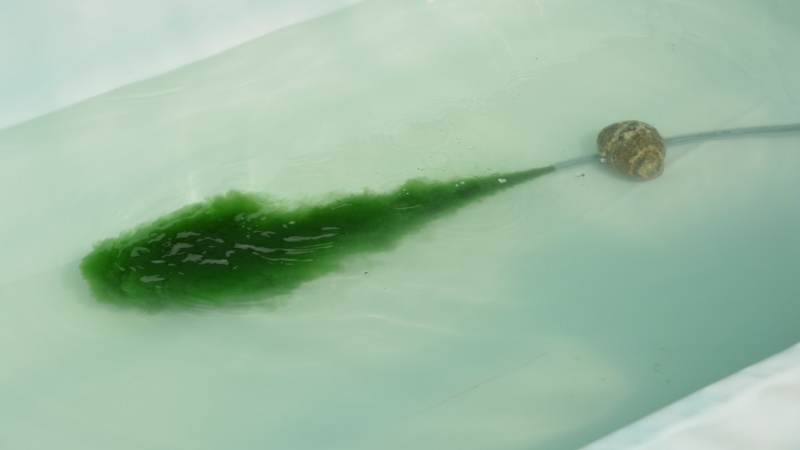
- Gently transfer the concentrated spirulina into the basin, preferably in the evening. The contents of the canister can be gently poured directly into the pond or you can use an aquarium pump or a natural siphon.
- Check the concentration and add culture medium if it is higher than 3 %.
- Ensure good agitation during the first 4 days (but not at night)
- Shade the pool for the first few days
Étape 7 - Cultivation: rapid sowing with concentrated spirulina
It is possible to seed his pond with concentrated spirulina. Unlike pressed spirulina, spirulina has not been separated from its living environment. It has a very high concentration, it must be quickly transferred to its new growing basin. It should not remain more than 12 hours in transfer.
- Gently transfer the concentrated spirulina into the basin, preferably in the evening. It is possible to pour the contents of the canister directly into the pond gently or to use an aquarium pump or a natural siphon.
- Check the concentration and add culture medium if it is higher than 3 %.
- Ensure good agitation during the first 4 days (but not at night)
- Shade the pool for the first few days
Étape 8 - Cultivation: growth phase
It is also possible to start the spirulina culture with a smaller volume and grow it to the final volume of the basin. Under ideal conditions, it takes 30 days to go from one litre of culture to 500 litres. The growth phase is more economical because very little spirulina is needed at the beginning. The growing phase can start indoors from the beginning of April.
- Get fresh or concentrated spirulina (see steps above).
- Dilute it with culture medium to obtain a concentration of 3 to 4 on the Secchi disc (For 100 litres of culture solution you need 2 litres of mineral feed or 1 litre of urine and 200ml of iron solution).
- When the concentration approaches 2, increase the culture volume by 1/4. Change container if necessary.
- Repeat the above two steps until a volume equivalent to 10 cm in height is obtained in the final basin, transfer to the basin. Under ideal conditions, the increase in culture volume can be done daily.
- Continue to add culture medium until the final culture volume of 20 cm is reached.
- Make a mark at 20 cm from the bottom to see if the water evaporates and top up with water if necessary.
Étape 9 - Growing spirulina: Agitation
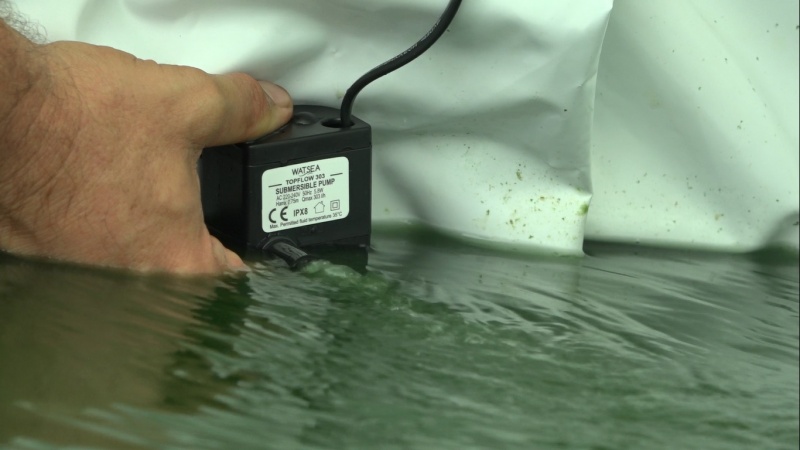
Spirulina needs a lot of light but should not be left in direct sunlight for long periods of time. For this, it makes the growing medium stir regularly during the day. The simplest solution is to use an aquarium pump, which can be found in pet shops. An ideal pump should be able to move the volume of the pond in one hour. In our case, the pump has a flow rate of 1000l/hour for a 500 litre pond.
- Install the pump underwater, as close to the surface as possible to allow good mixing.
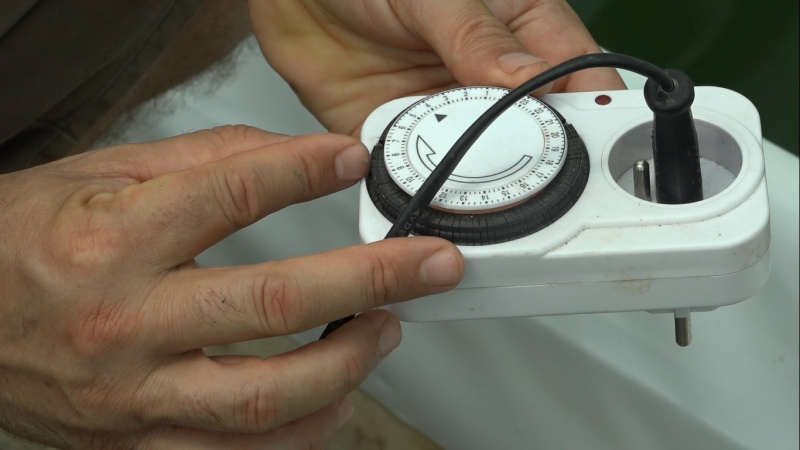
- Install a timer to not stress the spirulina too much: alternate 15 minutes of agitation for 30 minutes of agitation rest.
- Turn off the pump at night for the breathing phase of spirulina
TIP For small volumes, stirring can be done by hand, with a strainer, at least four times a day.
Étape 10 - Growing spirulina: concentration
Check the concentration of spirulina regularly, ideally once a day.
- If the concentration of Spirulina exceeds Secchi 2 the PH becomes too high and Spirulina may die: harvest
- If the concentration of Spirulina falls below Secchi 4, the culture medium is too bright: shade.
Étape 11 - Growing spirulina: Evaporation
With the heat of the pond, the water evaporates but the food, salt and baking soda remain in the pond.
- Add water regularly to return to the initial volume, indicated by a marker 20cm from the bottom.
REMINDER Tap water can be calcareous, it must be softened or use rainwater or osmosis water (see Preparing the culture medium: the living environment)..
Étape 12 - Growing spirulina: Shade
Spirulina needs a lot of light but not direct exposure to strong sunlight.
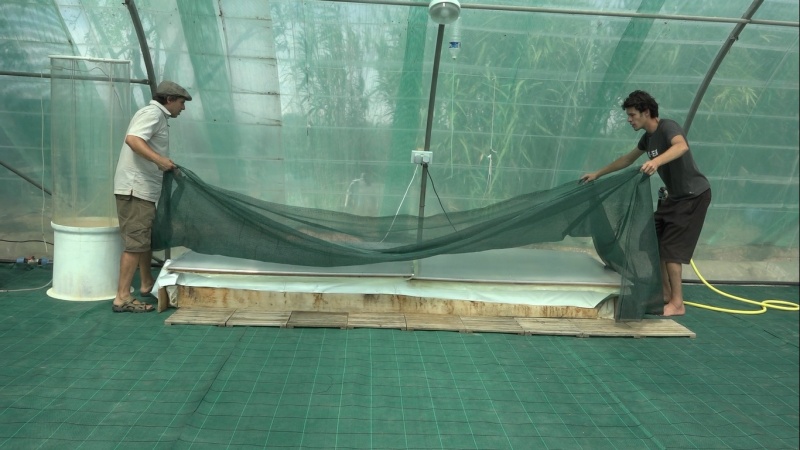
- Adjust the shade according to the seasons, brightness and temperature.
WARNING If the spirulina is exposed to strong luminosity while the culture medium is at low temperature, for example at the end of winter, there is a risk of photolysis (the spirulina breaks and dies). Shade the pond when the culture medium is cool.
Étape 13 - Growing spirulina: Purging
Avec le temps le bassin se charge en matière organique (spiruline morte, autres algues...). Pour garder un milieu de culture sain il faut en remplacer ¼ une à deux fois par an :
- Récolter la spiruline au-dessus d’un bac et non pas du bassin de culture. Ainsi le milieu de culture ne retourne pas dans le bassin.
- Refaire un milieu de culture comme vu dans la partie 'phase de croissance' et l’ajouter au bassin
- Se débarrasser de l’ancien milieu de culture (non dilué on peut s’en servir de désherbant, dilué à 10% il enrichit le compost, sinon le mettre à l’égout)
Étape 14 - Cultiver la spiruline : Hivernage
Lorsque la température extérieure devient trop faible pour la culture (température du bassin inférieur à 18°C) il faut mettre la culture en hivernage
- Isoler le bassin par l’extérieur (carton, paille, etc)
- Couvrir le bassin pour que la luminosité soit faible. La spiruline ne doit pas être dans l’obscurité totale sinon elle meurt.
Étape 15 - Cultiver la spiruline : Conservation
Lorsque l’on se procure de la spiruline ou pour l’hivernage, on peut en mettre une partie, pressée mais non lavée, au réfrigérateur. On pourra la remettre en culture en suivant la phase d’ensemencement rapide.
Étape 16 - Récolter
- Contrôler la concentration de la spiruline, si le Secchi est supérieur à 2,5 (si le disque de Secchi n’est plus visible à partir de 2,5 cm ou moins), la récolte est possible.
ASTUCE La récolte est plus efficace le matin. Tant que le bassin n’a pas été agité, la spiruline est en plaques à la surface du bassin.
Récolter
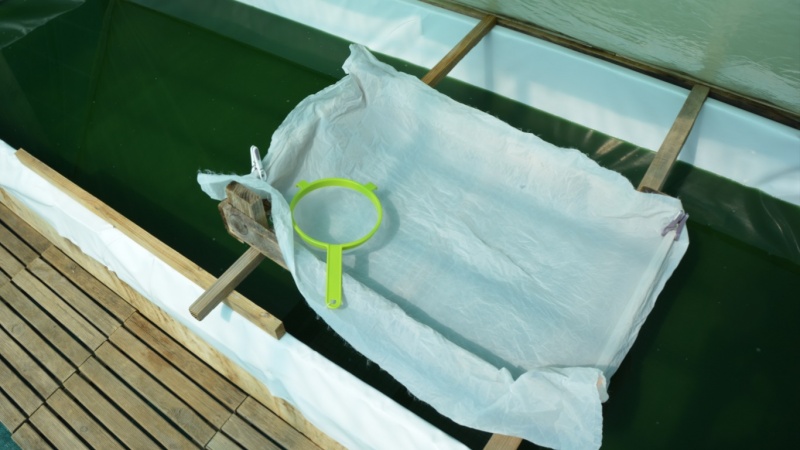
- Installer un support (cadre, passoir) au-dessus du bassin de culture
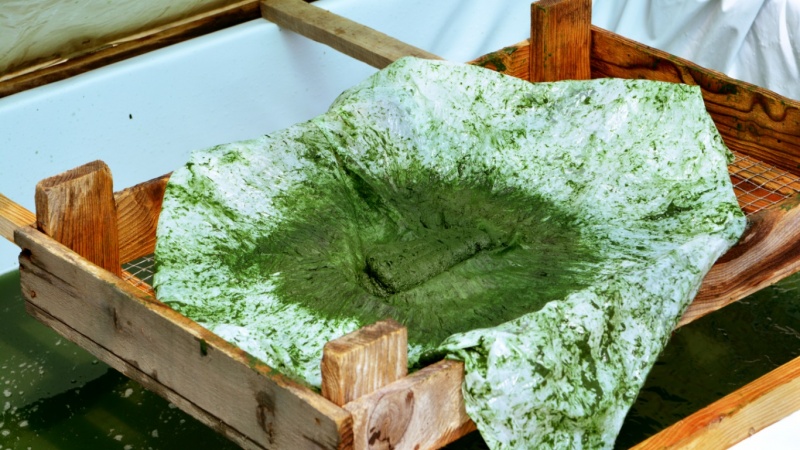
- Déposer dans le support un tissu de nylon 30micron qui fera office de filtre.
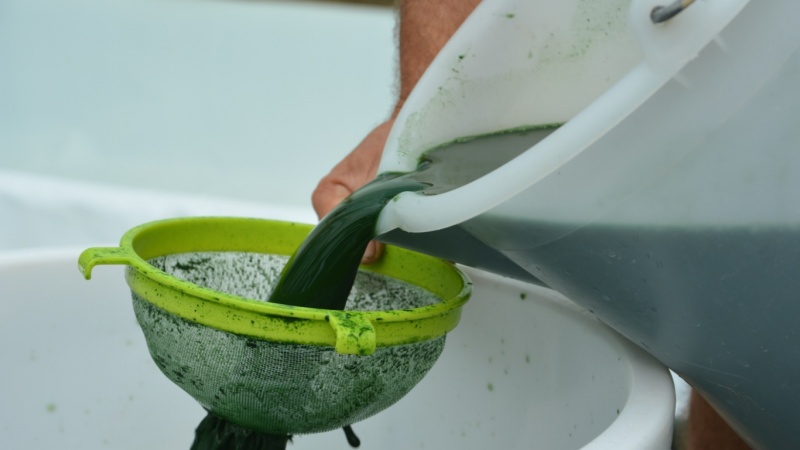
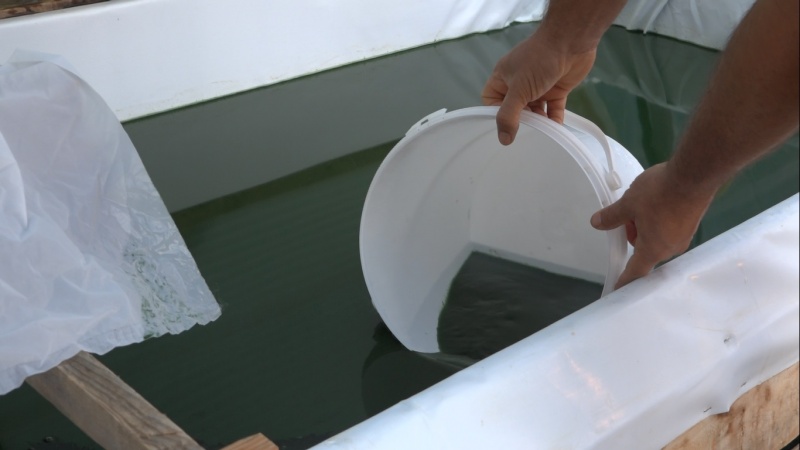
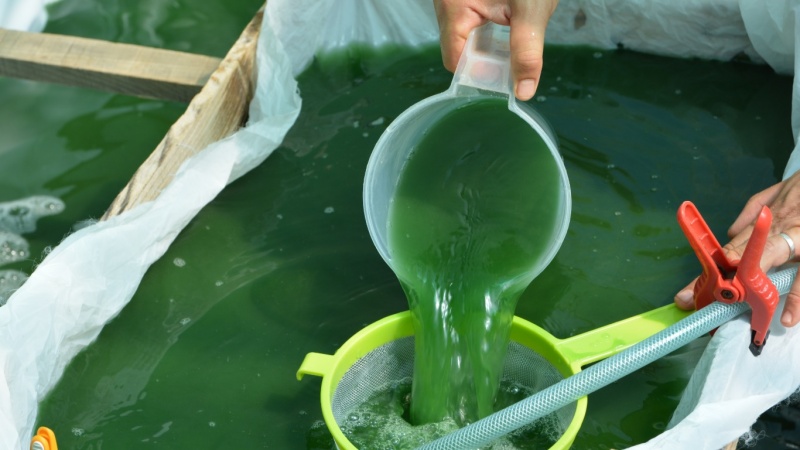
- Pomper le milieu de culture (ou utiliser un pichet) et le faire passer dans le filtre, le milieu de culture retourne dans le bassin, la spiruline reste dans le filtre. Récolter au maximum ¼ du bassin.
ASTUCE Avec une pompe de 1000/heure et un bassin de 500 litres, on peut filtrer jusqu’à 125 litres soit environ 8 minutes de pompage
ATTENTION Contrôler la concentration pendant la phase de récolte, agiter le bassin et prélever un pichet, la concentration doit rester supérieure à 4. Si concentration inférieure, stopper la récolte et ombrer.
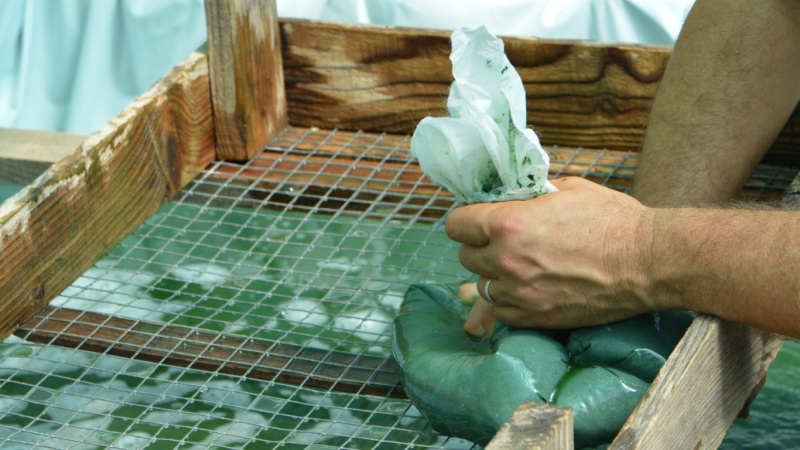
- Rassembler la spiruline au centre du filtre
ATTENTION Une fois la spiruline récoltée, éviter de la toucher à la main, son milieu de culture (forte concentration de sel et de bicarbonate de soude) la protégeait des agressions bactériennes
- Presser la spiruline à la main en faisant tourner le tissu de nylon et en appuyant sur la biomasse. Le pressage doit être progressif. Maintenir la pression jusqu’à ce que le liquide qui s’échappe devienne légèrement vert/
- Mettre la spiruline au frais
- Rincer le matériel (nylon, cadre, passoir) au-dessus du bassin cela permet de compenser l’évaporation
- Peser la spiruline pressée
- Compenser en nourriture par rapport à la spiruline récoltée pour qu’elle puisse se développer à nouveau et revenir à la concentration maximale pour une nouvelle récolte :
- Nourriture minérale : 200 ml pour 100 grammes de spiruline fraiche pressée
ou
- Nourriture organique : 200 ml d’urine + 10ml de solution de fer pour 100 grammes de spiruline fraiche pressée
- Pour une bonne répartition de la nourriture, agiter le bassin à la main, avec une passoire.
ATTENTION La spiruline respire la nuit, il ne faut pas la nourrir le soir. Privilégiez les récoltes le matin.
Notes et références
Pour plus d’information sur la culture familiale de la Spiruline :
Pour souches, matériels et produits nécessaires à la culture de spiruline ainsi que l'inscription aux formations :
Pour la construction bassin :
Autres références :
- Documentation réalisée par Amandine Garnier, Camille Duband & Clément Chabot, Aout 2017
Published
- Vérifier que le milieu de culture qui retourne au bassin est transparent,
Si vert : présence de chlorelle : ajouter du sel dans le milieu de culture Si marron : forte concentration de spiruline morte : ombrer
- Rassembler la spiruline au centre du filtre
ATTENTION Une fois la spiruline récoltée, éviter de la toucher à la main, son milieu de culture (forte concentration de sel et de bicarbonate de soude) la protégeait des agressions bactériennes
- Presser la spiruline à la main en faisant tourner le tissu de nylon et en appuyant sur la biomasse. Le pressage doit être progressif. Maintenir la pression jusqu’à ce que le liquide qui s’échappe devienne légèrement vert/
- Mettre la spiruline au frais
- Rincer le matériel (nylon, cadre, passoire) au-dessus du bassin cela permet de compenser l’évaporation
- Peser la spiruline pressée
- Compenser en nourriture par rapport à la spiruline récoltée pour qu’elle puisse se développer à nouveau et revenir à la concentration maximale pour une nouvelle récolte.
Nourriture minérale, 200 ml pour 100 grammes de spiruline fraiche pressée ou Nourriture organique, 200 ml d’urine et 10 ml de solution de fer pour 100 grammes de spiruline fraiche pressée
- Pour une bonne répartition de la nourriture, agiter le bassin à la main, avec une passoire.
ATTENTION
- La spiruline respire la nuit, il ne faut pas la nourrir le soir. Privilégiez les récoltes le matin.
}}

 Français
 English
 Deutsch
 Español
 Italiano
 Português