Description
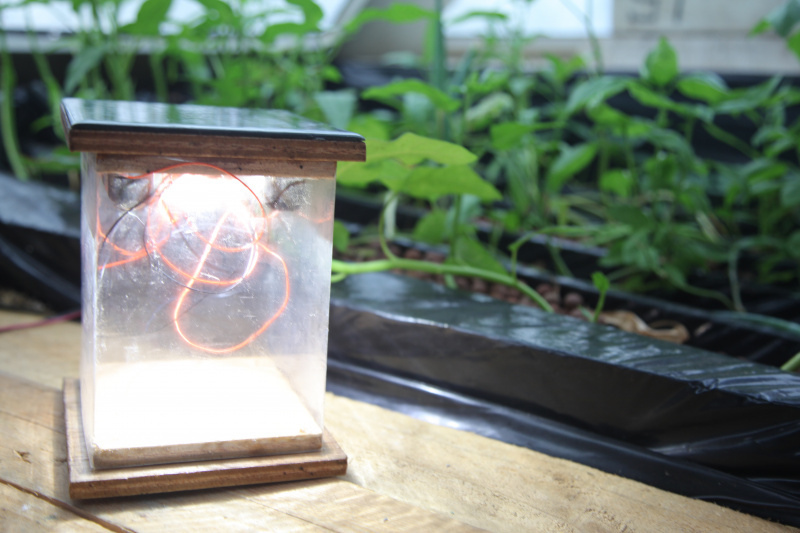
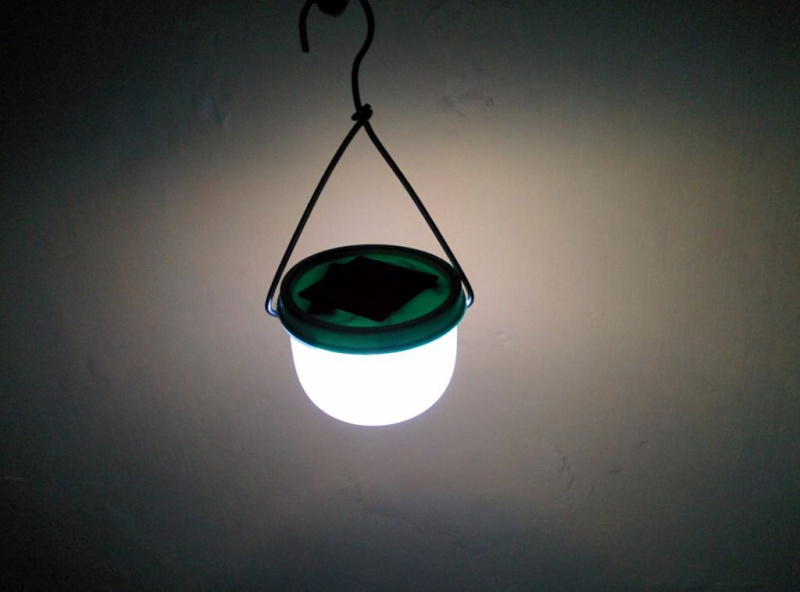
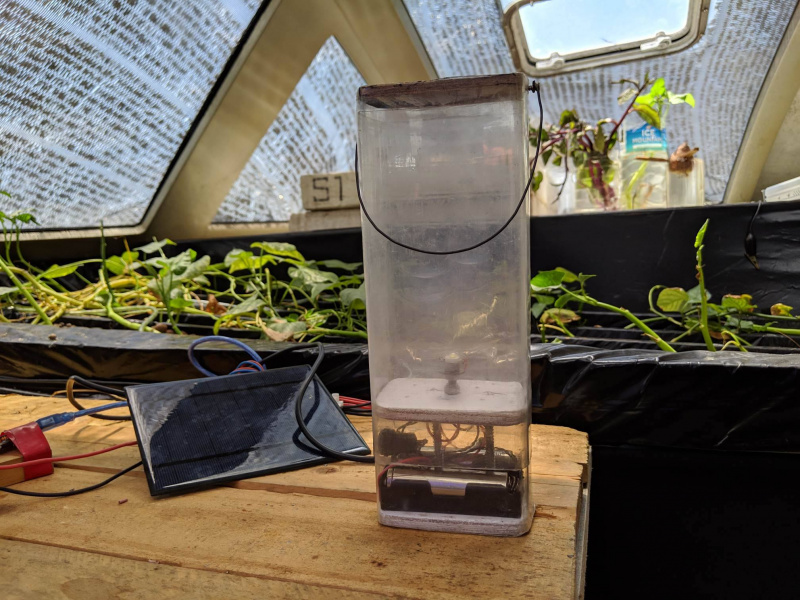
This tutorial allows you to make a solar lamp equipped with a USB charger. It uses lithium cells that are reused from a old or damaged laptop. This system, with a day of sunlight, can fully charge a smartphone and have 4 hours of light. This technology have been documented during a stopover of the " Nomade des Mers " expedition on the island of Luzong in the northern part of Philippines. The association Liter of Light has already installed this system since 6 years in remote villages which don't have access to electricity. They also organize training for the villagers in order to teach them how to fix the solar lamp ( already 500 000 lamps installed).
Sommaire
Sommaire
- 1 Description
- 2 Sommaire
- 3 Introduction
- 4 Video d'introduction
- 5 Étape 1 - How it works
- 6 Étape 2 - Manufacturing stages
- 7 Étape 3 - Extraction des cellules de la batterie d’ordinateur
- 8 Étape 4 - Mesure du voltage des cellules
- 9 Étape 5 - Réalisation des chacun des 3 modules
- 10 Étape 6 - Liaison des 3 modules
- 11 Étape 7 - Construction du boitier - Version 1
- 12 Étape 8 - Construction du boitier - Version 2
- 13 Étape 9 - Construction du boitier - Version 3
- 14 Commentaires
Introduction
Lithium is a natural resource whose stocks are increasingly used for electric cars, telephones, and computers. This resource is gradually being depleted over time. Its increased use in battery manufacturing is mainly due to its ability to store more energy than nickel and cadmium. The replacement of electrical and electronic equipment is accelerating and it is becoming an increasingly important source of waste (DEEE: Waste electrical and electronic equipment). France currently produces 14kg to 24kg of electronic waste per inhabitant per year. This rate increases by about 4% per year. In 2009, only 32% of young French people aged between 18 and 34 years old, have once recycled their electronic waste. In the same year 2009, according to Eco-systèmes, from January to September 2009, 113,000 tonnes of CO2 were avoided through the recycling of 193,000 tonnes of DEEE, one of the four eco-organisations in the DEEE sector.
However, this waste has a high recycling potential. In particular, lithium present in the cells of computer batteries. When a computer battery fails, one or more cells are defective, but some remain in good condition and can be reused. From these cells it is possible to create a separate battery, which can be used to power an electric drill, recharge your phone or be connected to a solar panel to operate a lamp. By combining several cells it is also possible to form larger device storage batteries.Youtube
Matériaux
- Used laptop battery
- Solar panel 5V-6V / 1-3W
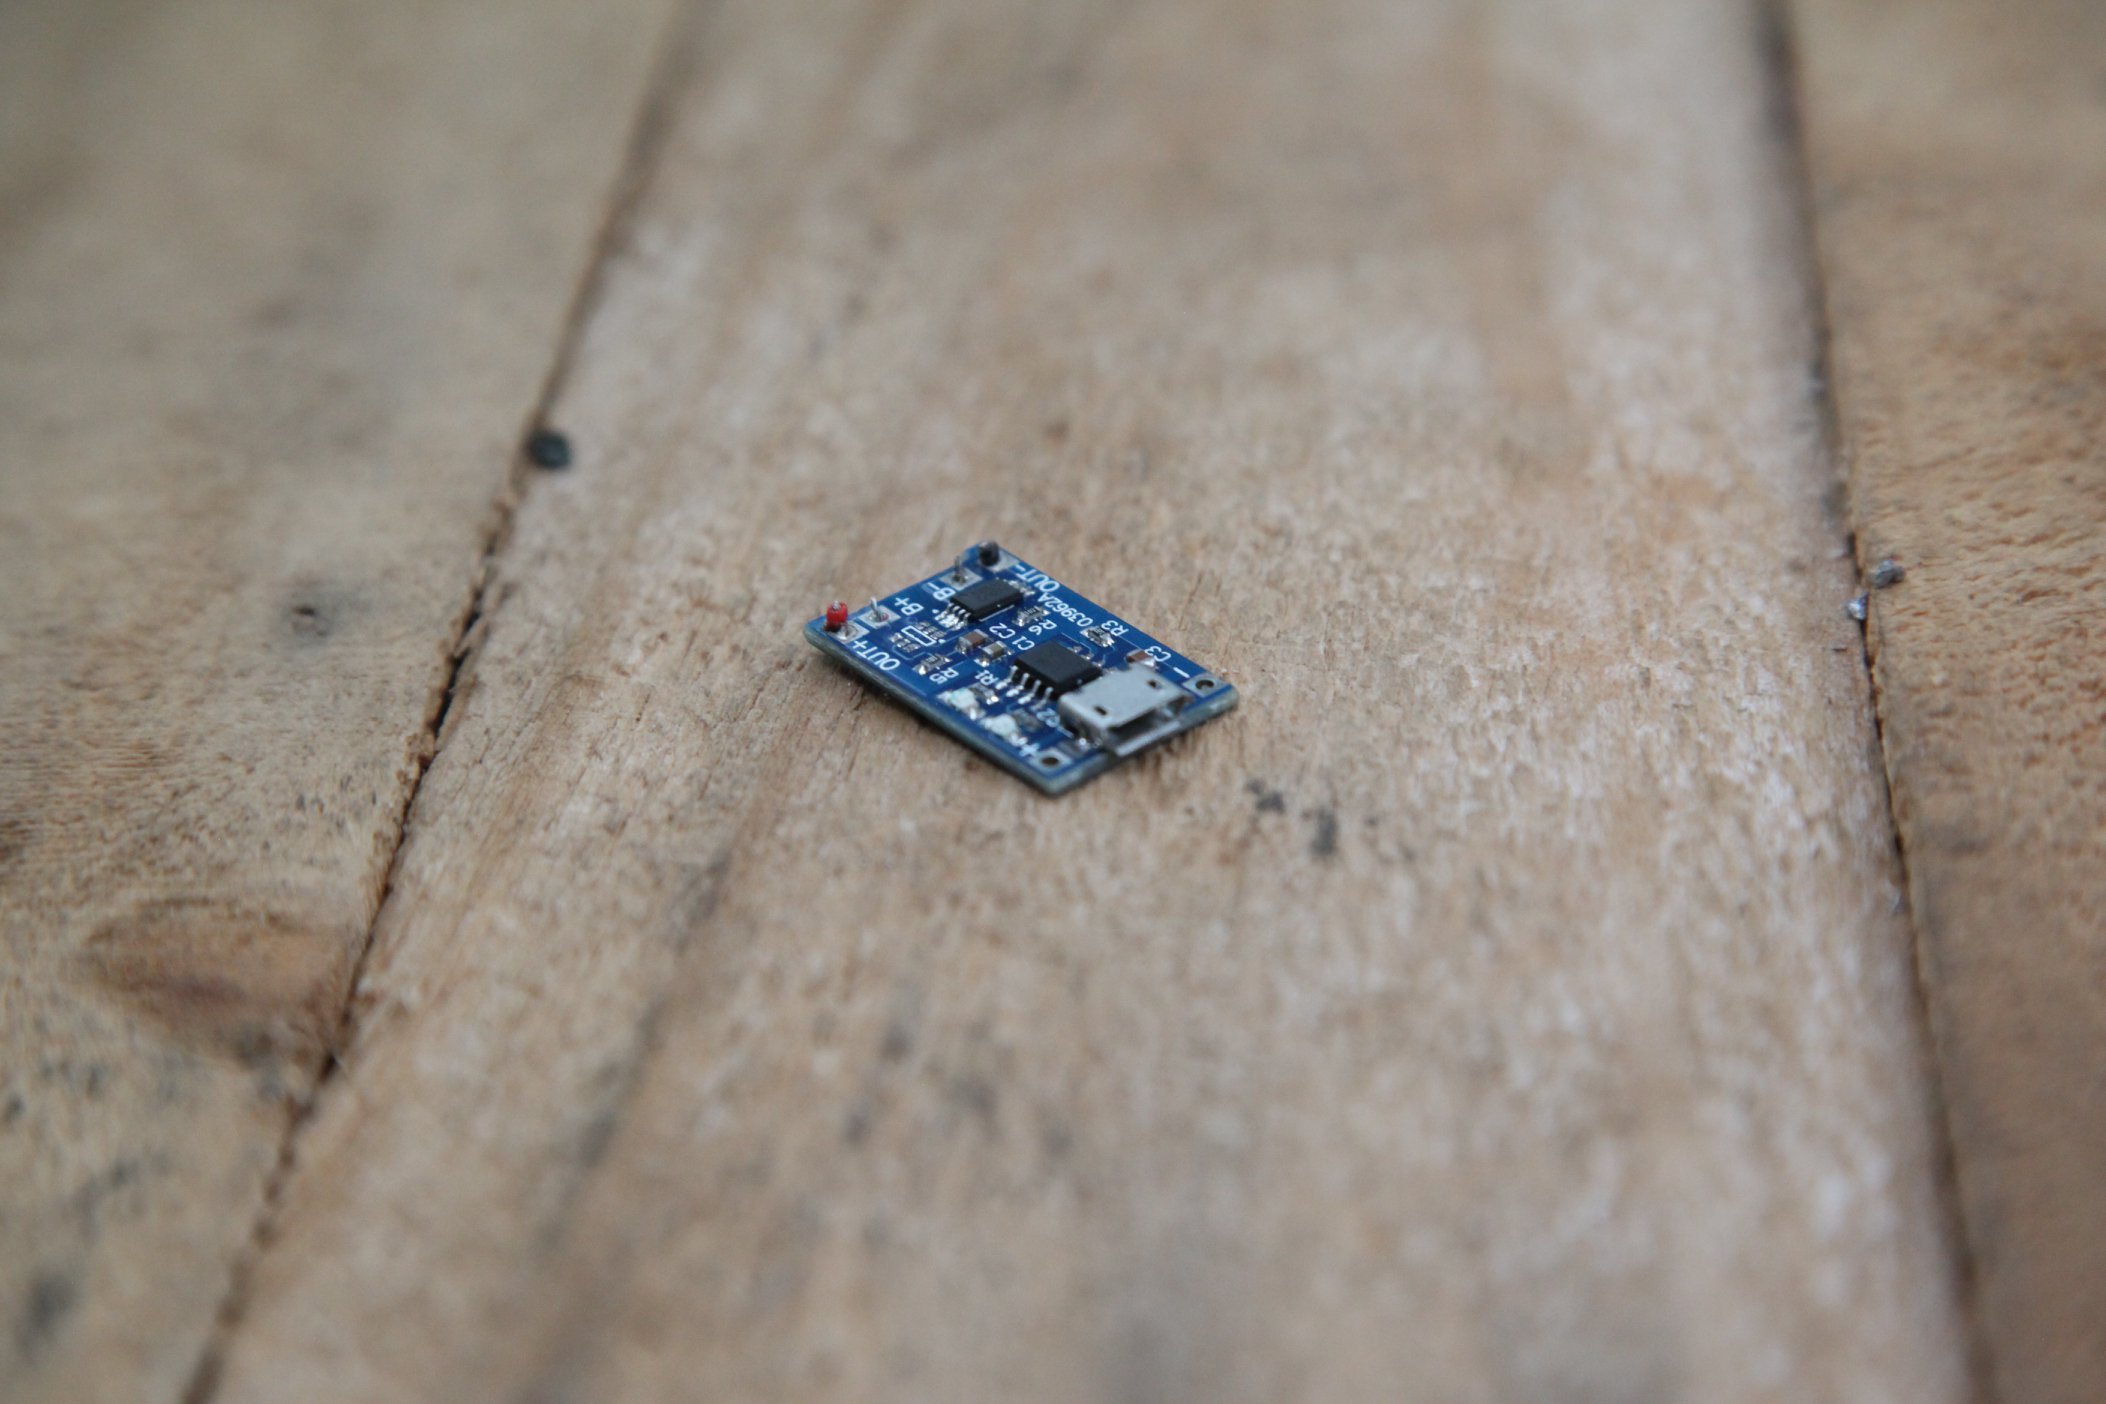
- Charge and discharge regulator (ex: 4-8V 1A Mini Li-ion USB Arduino Battery Charger TP4056)
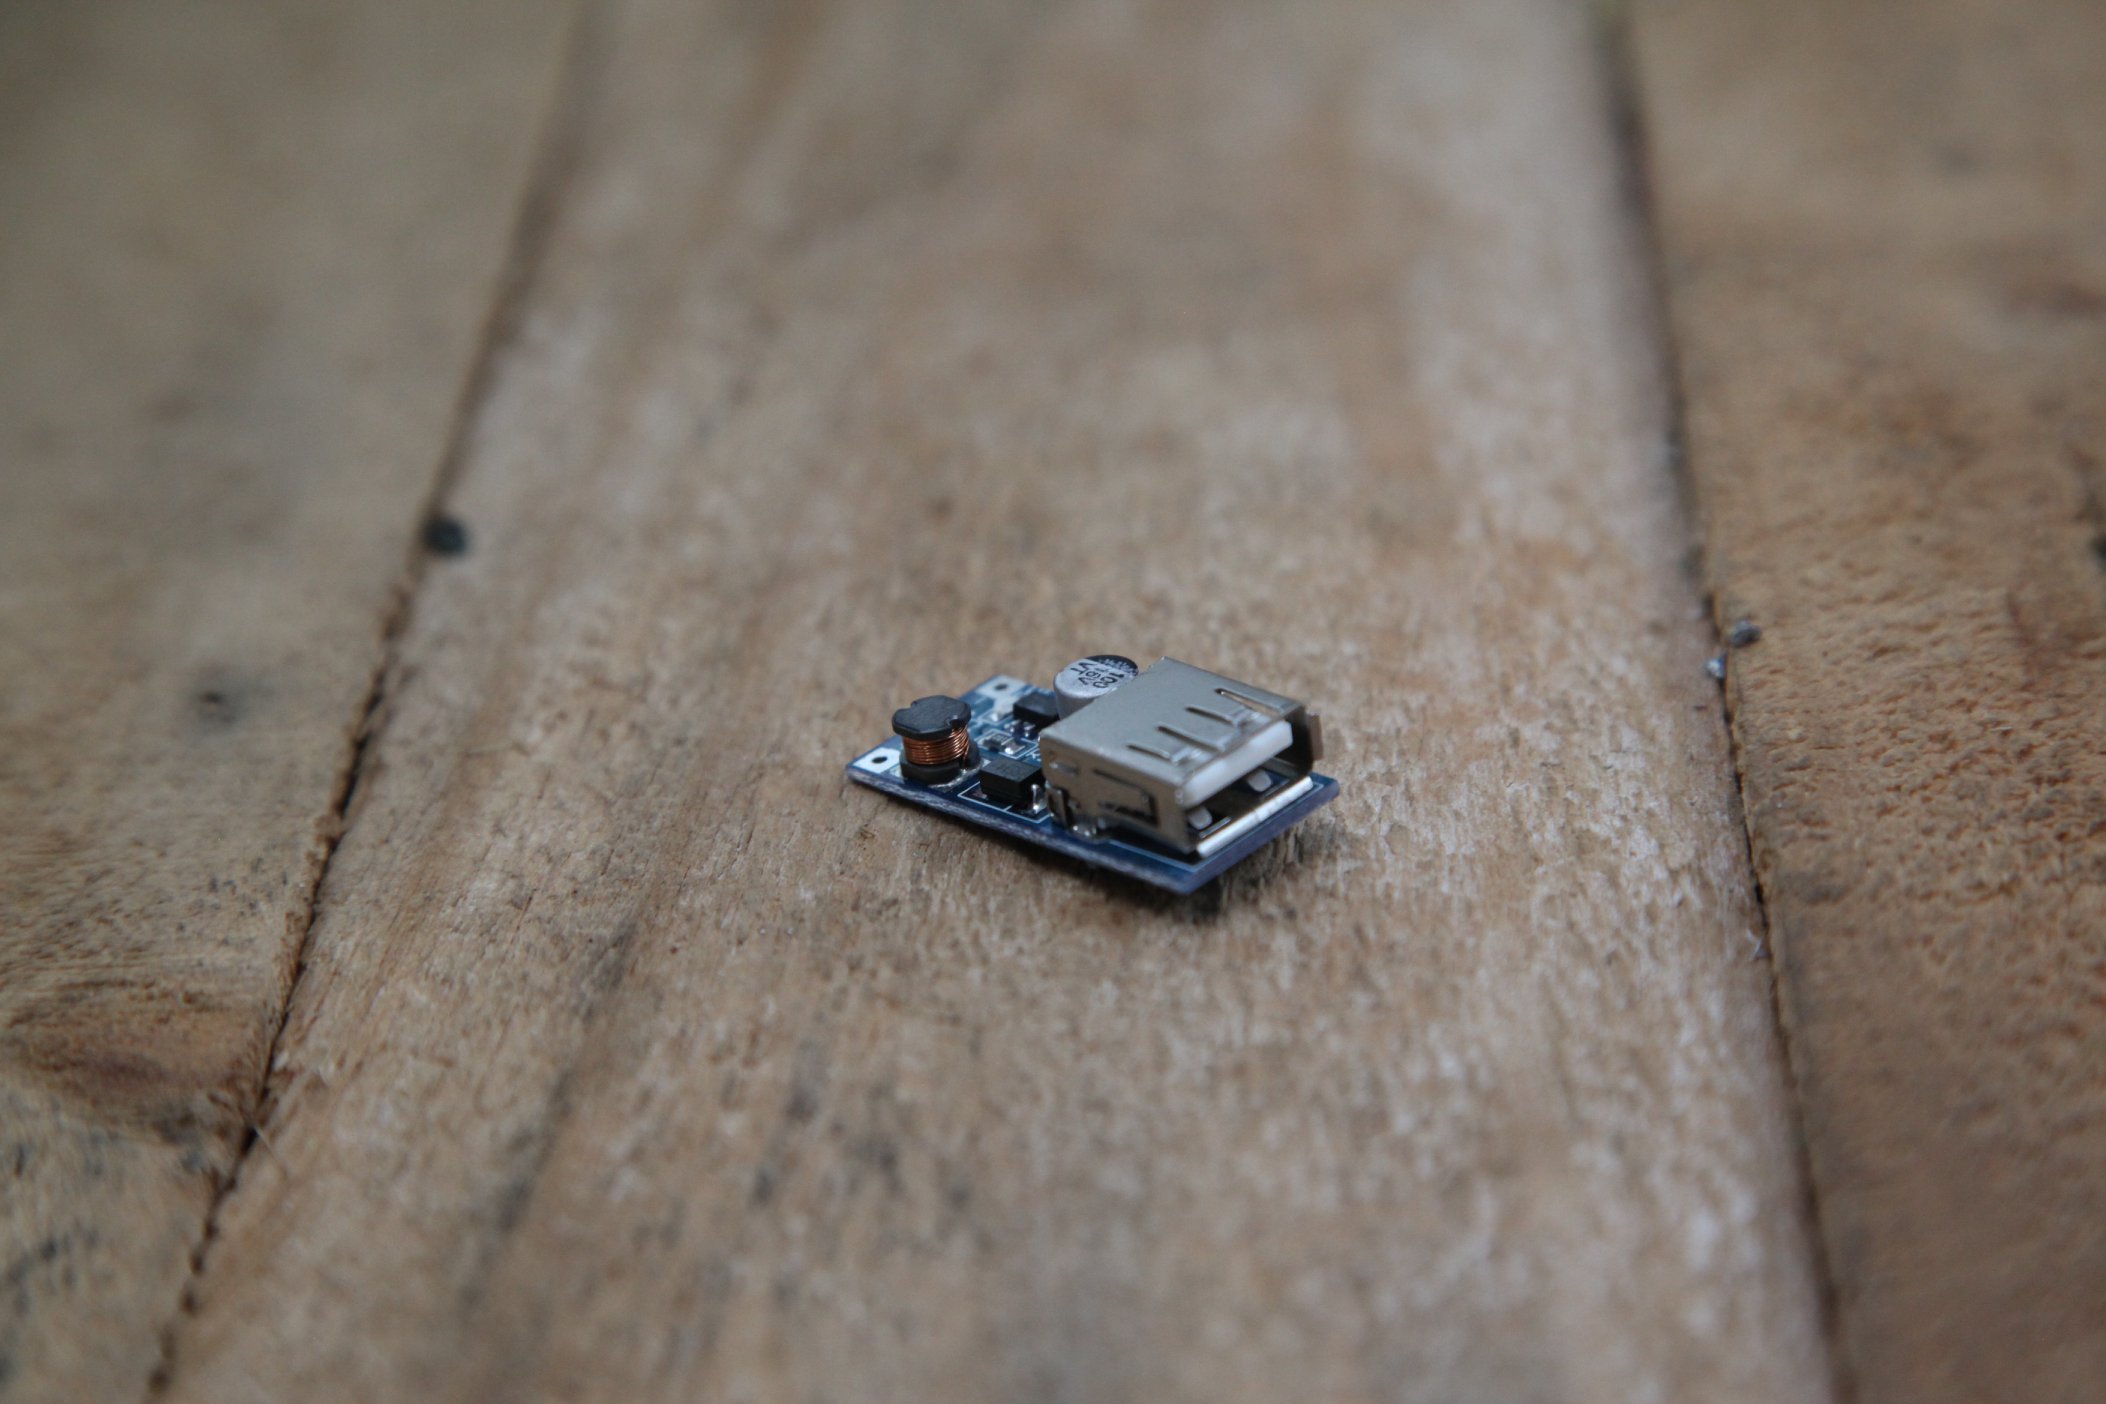
- DC/DC tension converter DC/DC booster MT3608 (electrical component that will transform the 3.7 V of the batteries into 5 V)
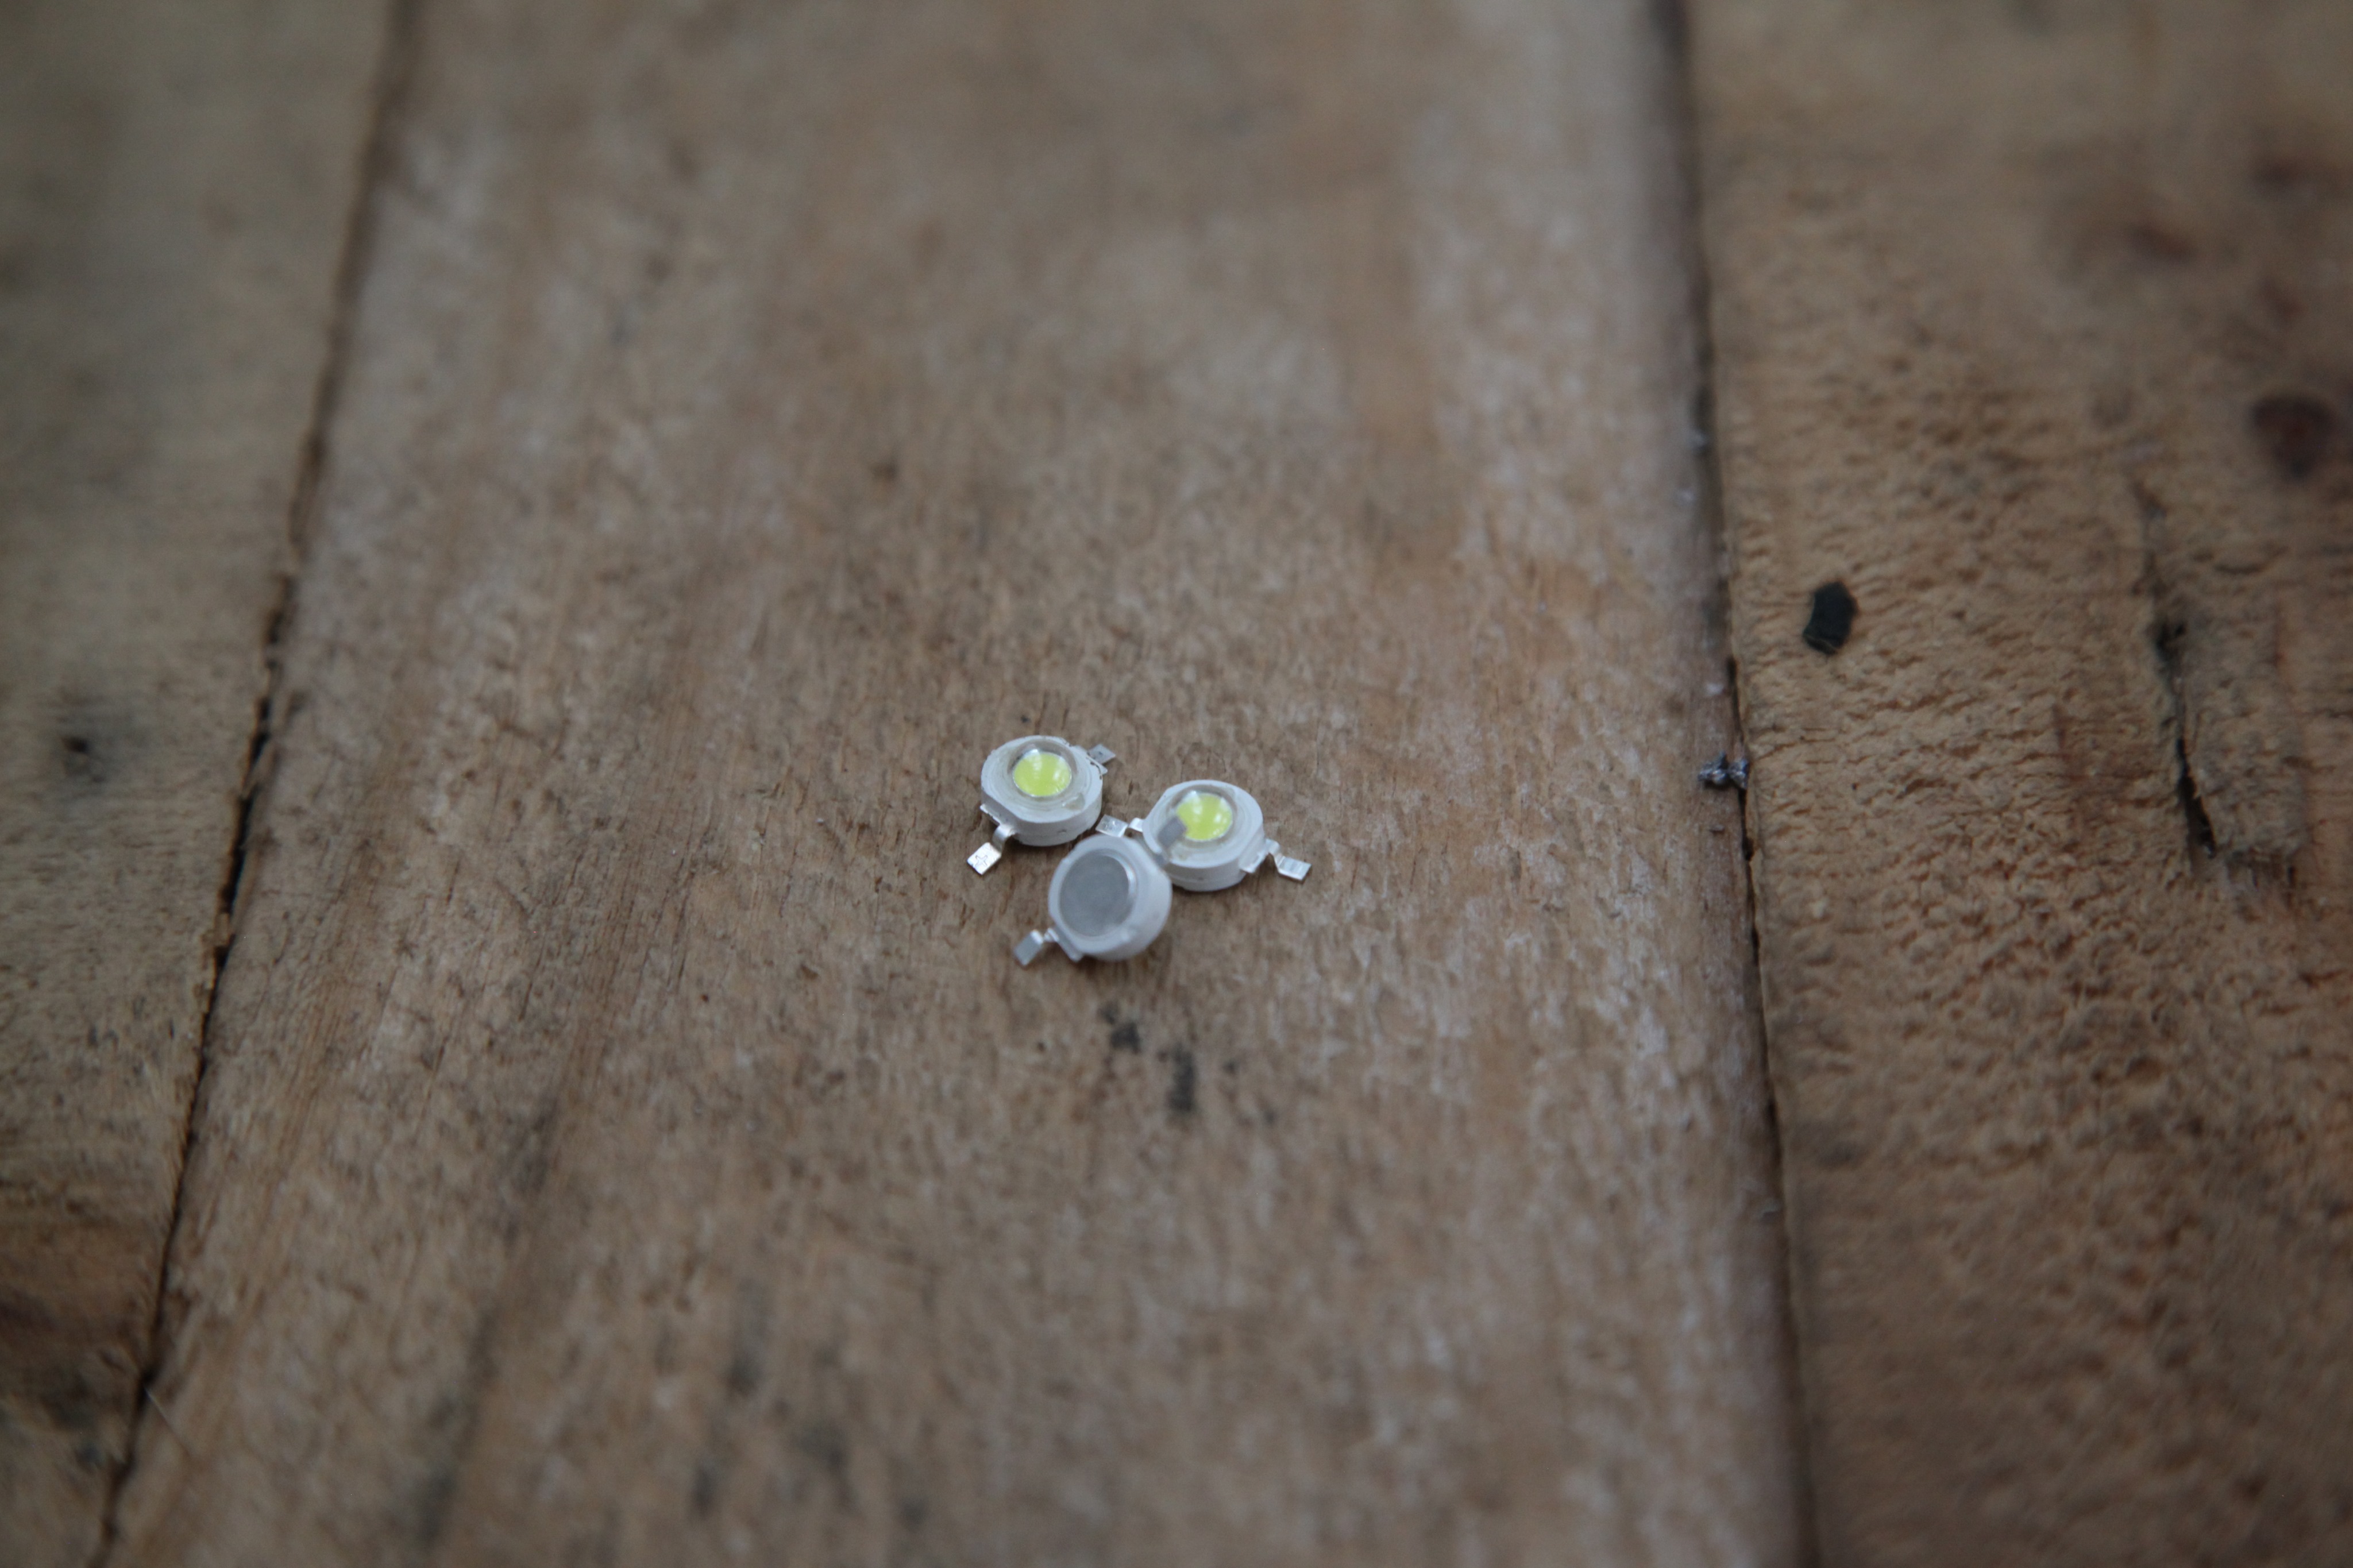
- High power LED Lamp (ex : LED boutons 3W )
- Switch (to open the circuit and cut off the light)
- Electric tape
- Box
Outils
Cells extraction
- Gloves (to avoid cutting with the plastic of the computer battery or with the nickel ribbons that connect the cells)
- Hammer
- Chisel
- Cutting pliers
For the lamp fabrication :
- Glue gun (and glue sticks)
- Heating gun or small torch
- Wood saw
- Screw driver
Étape 1 - How it works
This tutorial shows how to recover computer cells to make a new battery. Powered by a solar panel, or by a USB port, it will allow you to light an LED lamp.
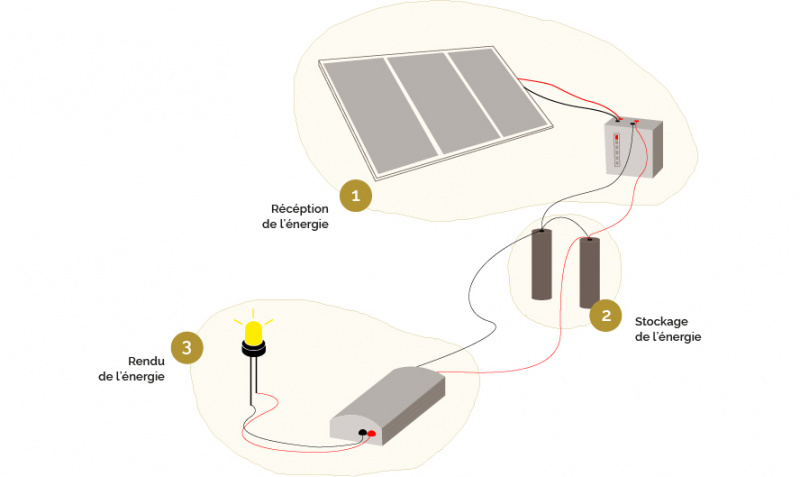
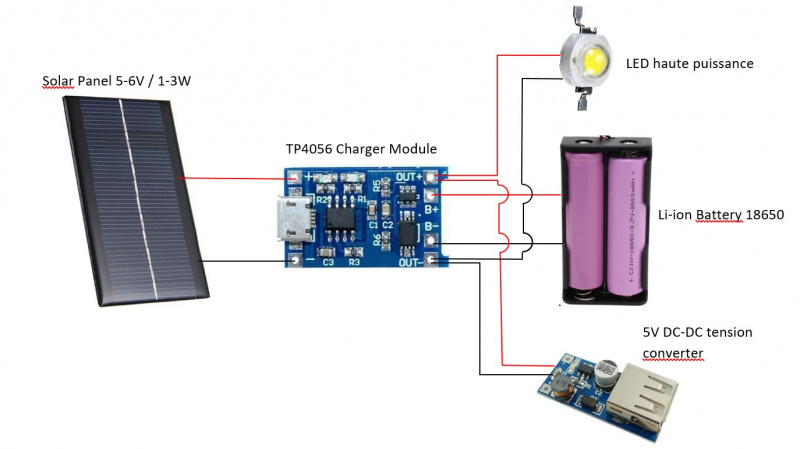
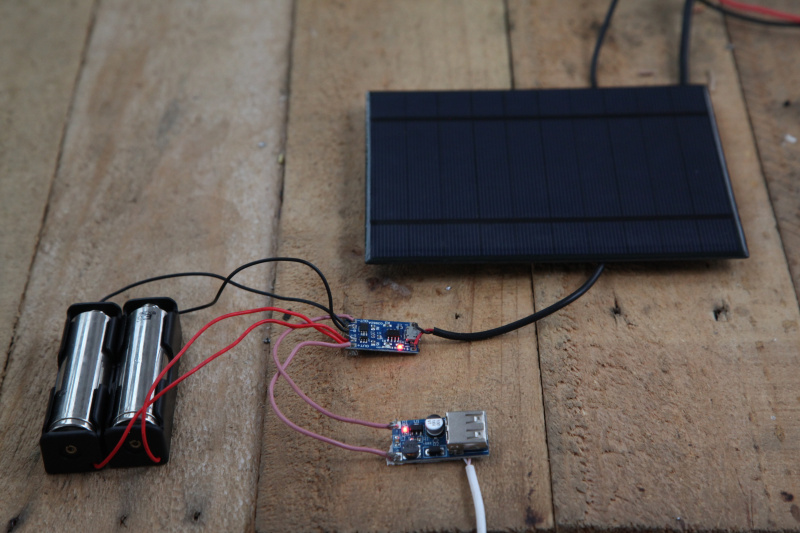
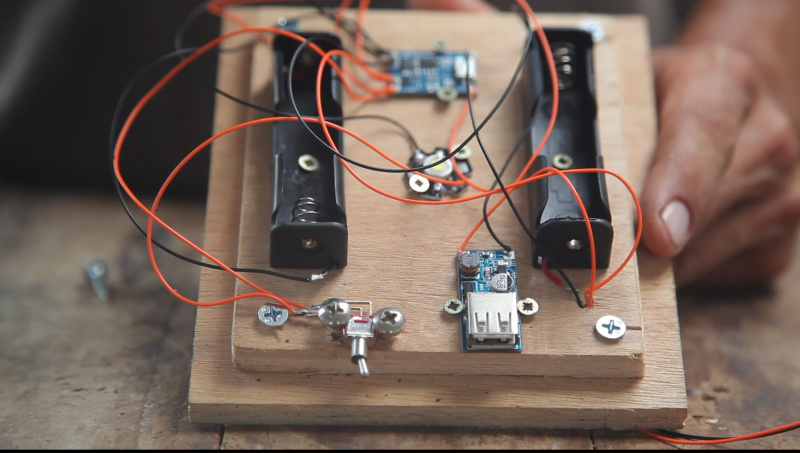
The system works around three modules:
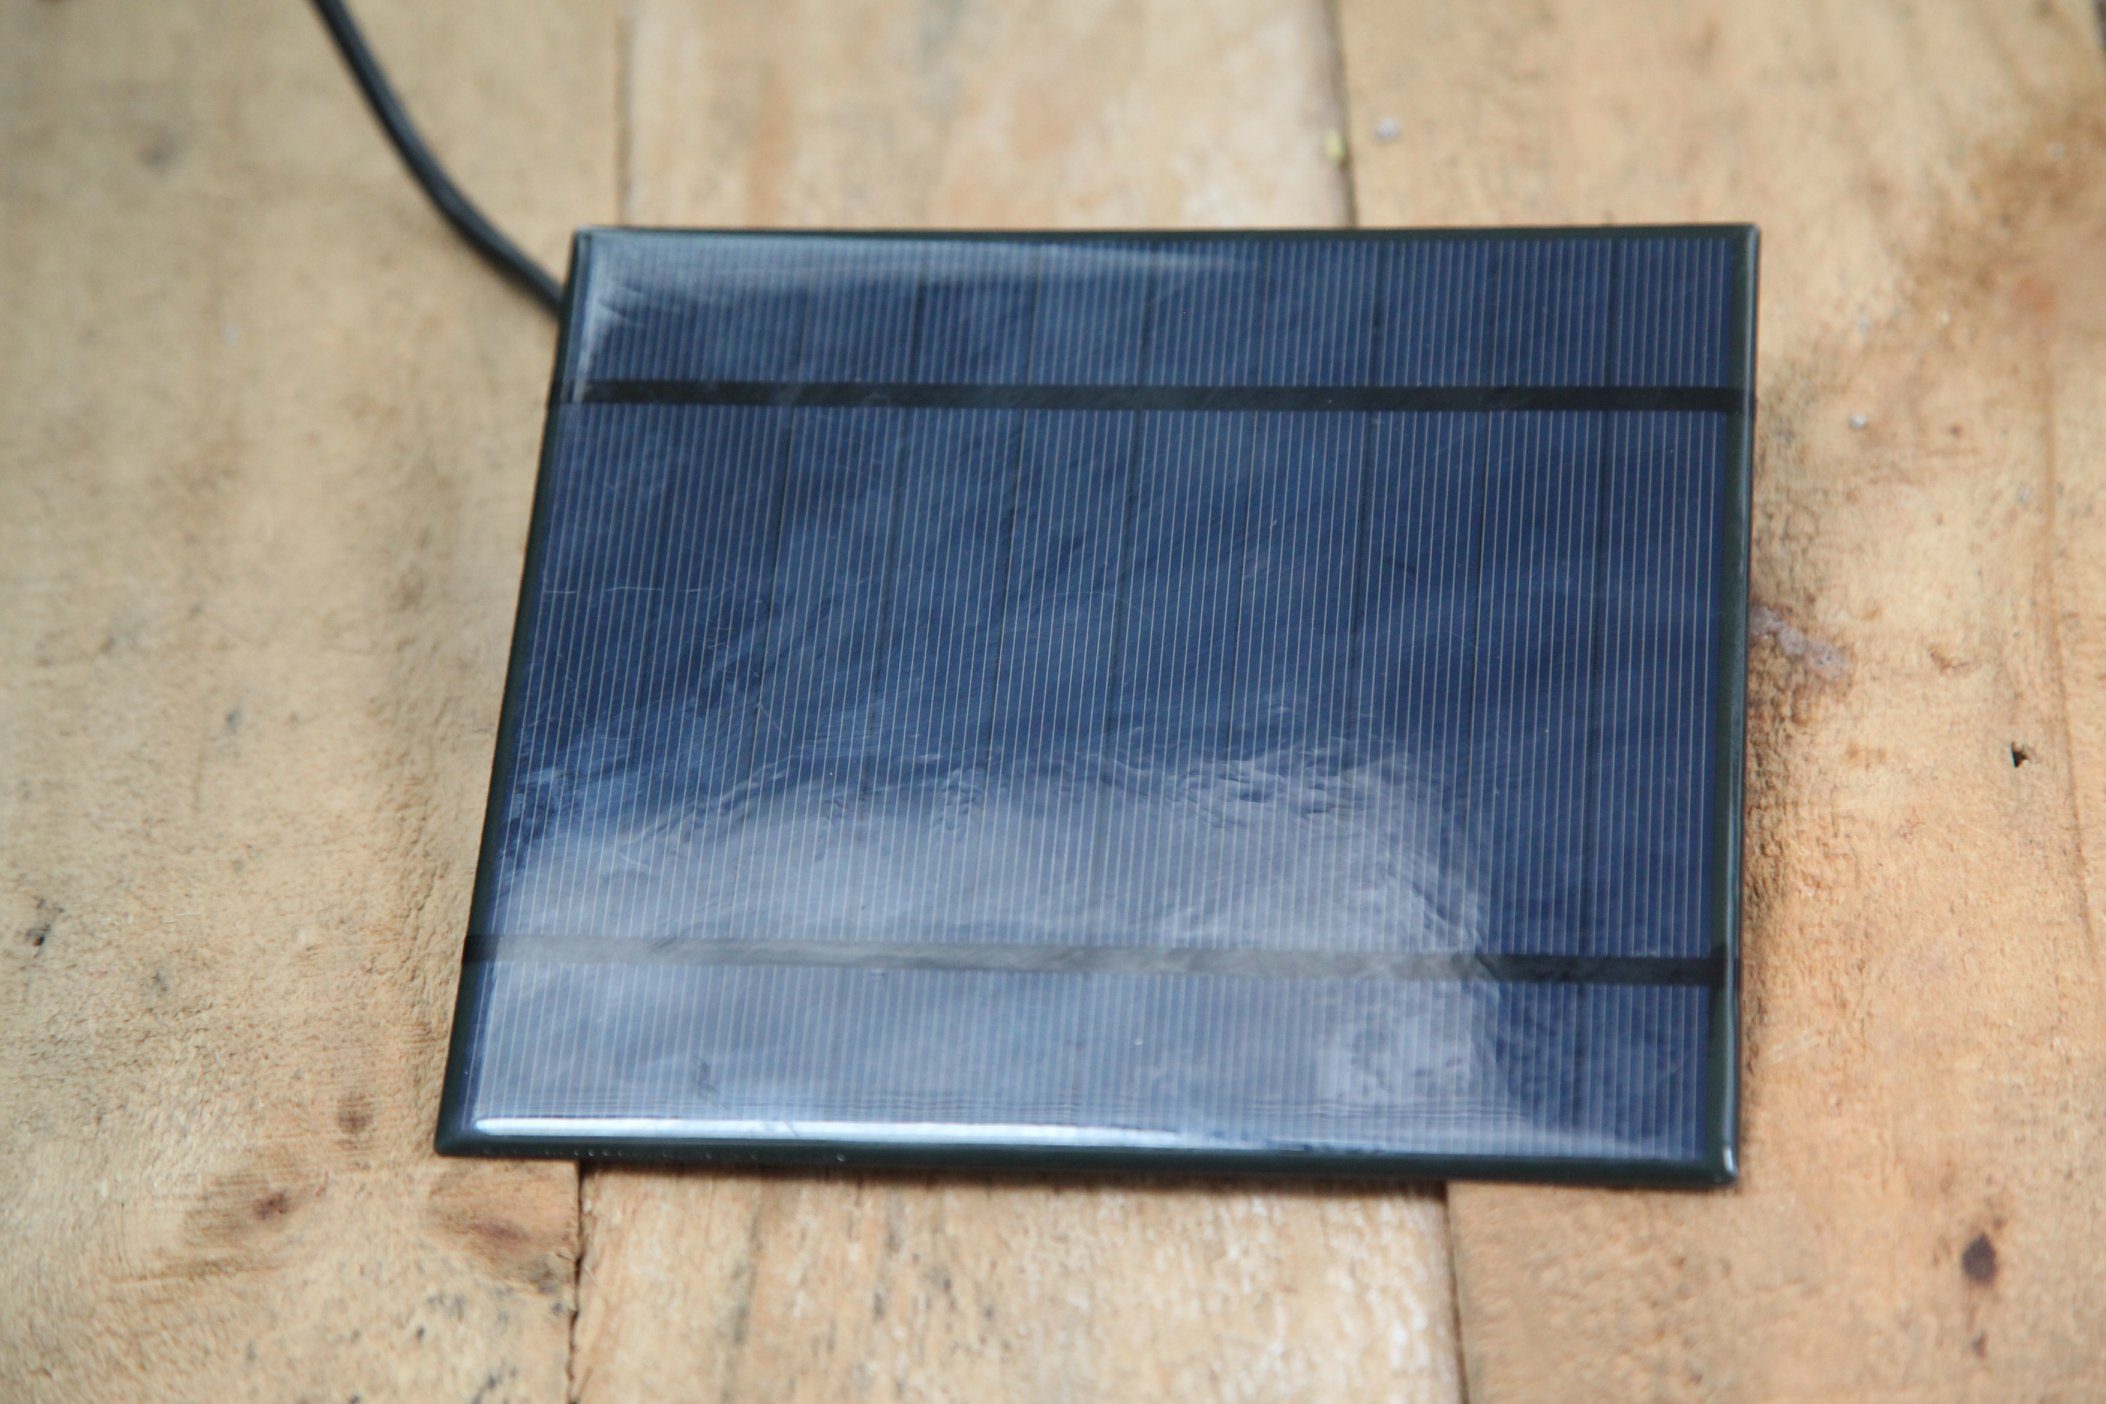
- the energy reception module: the solar panel and its charge controller
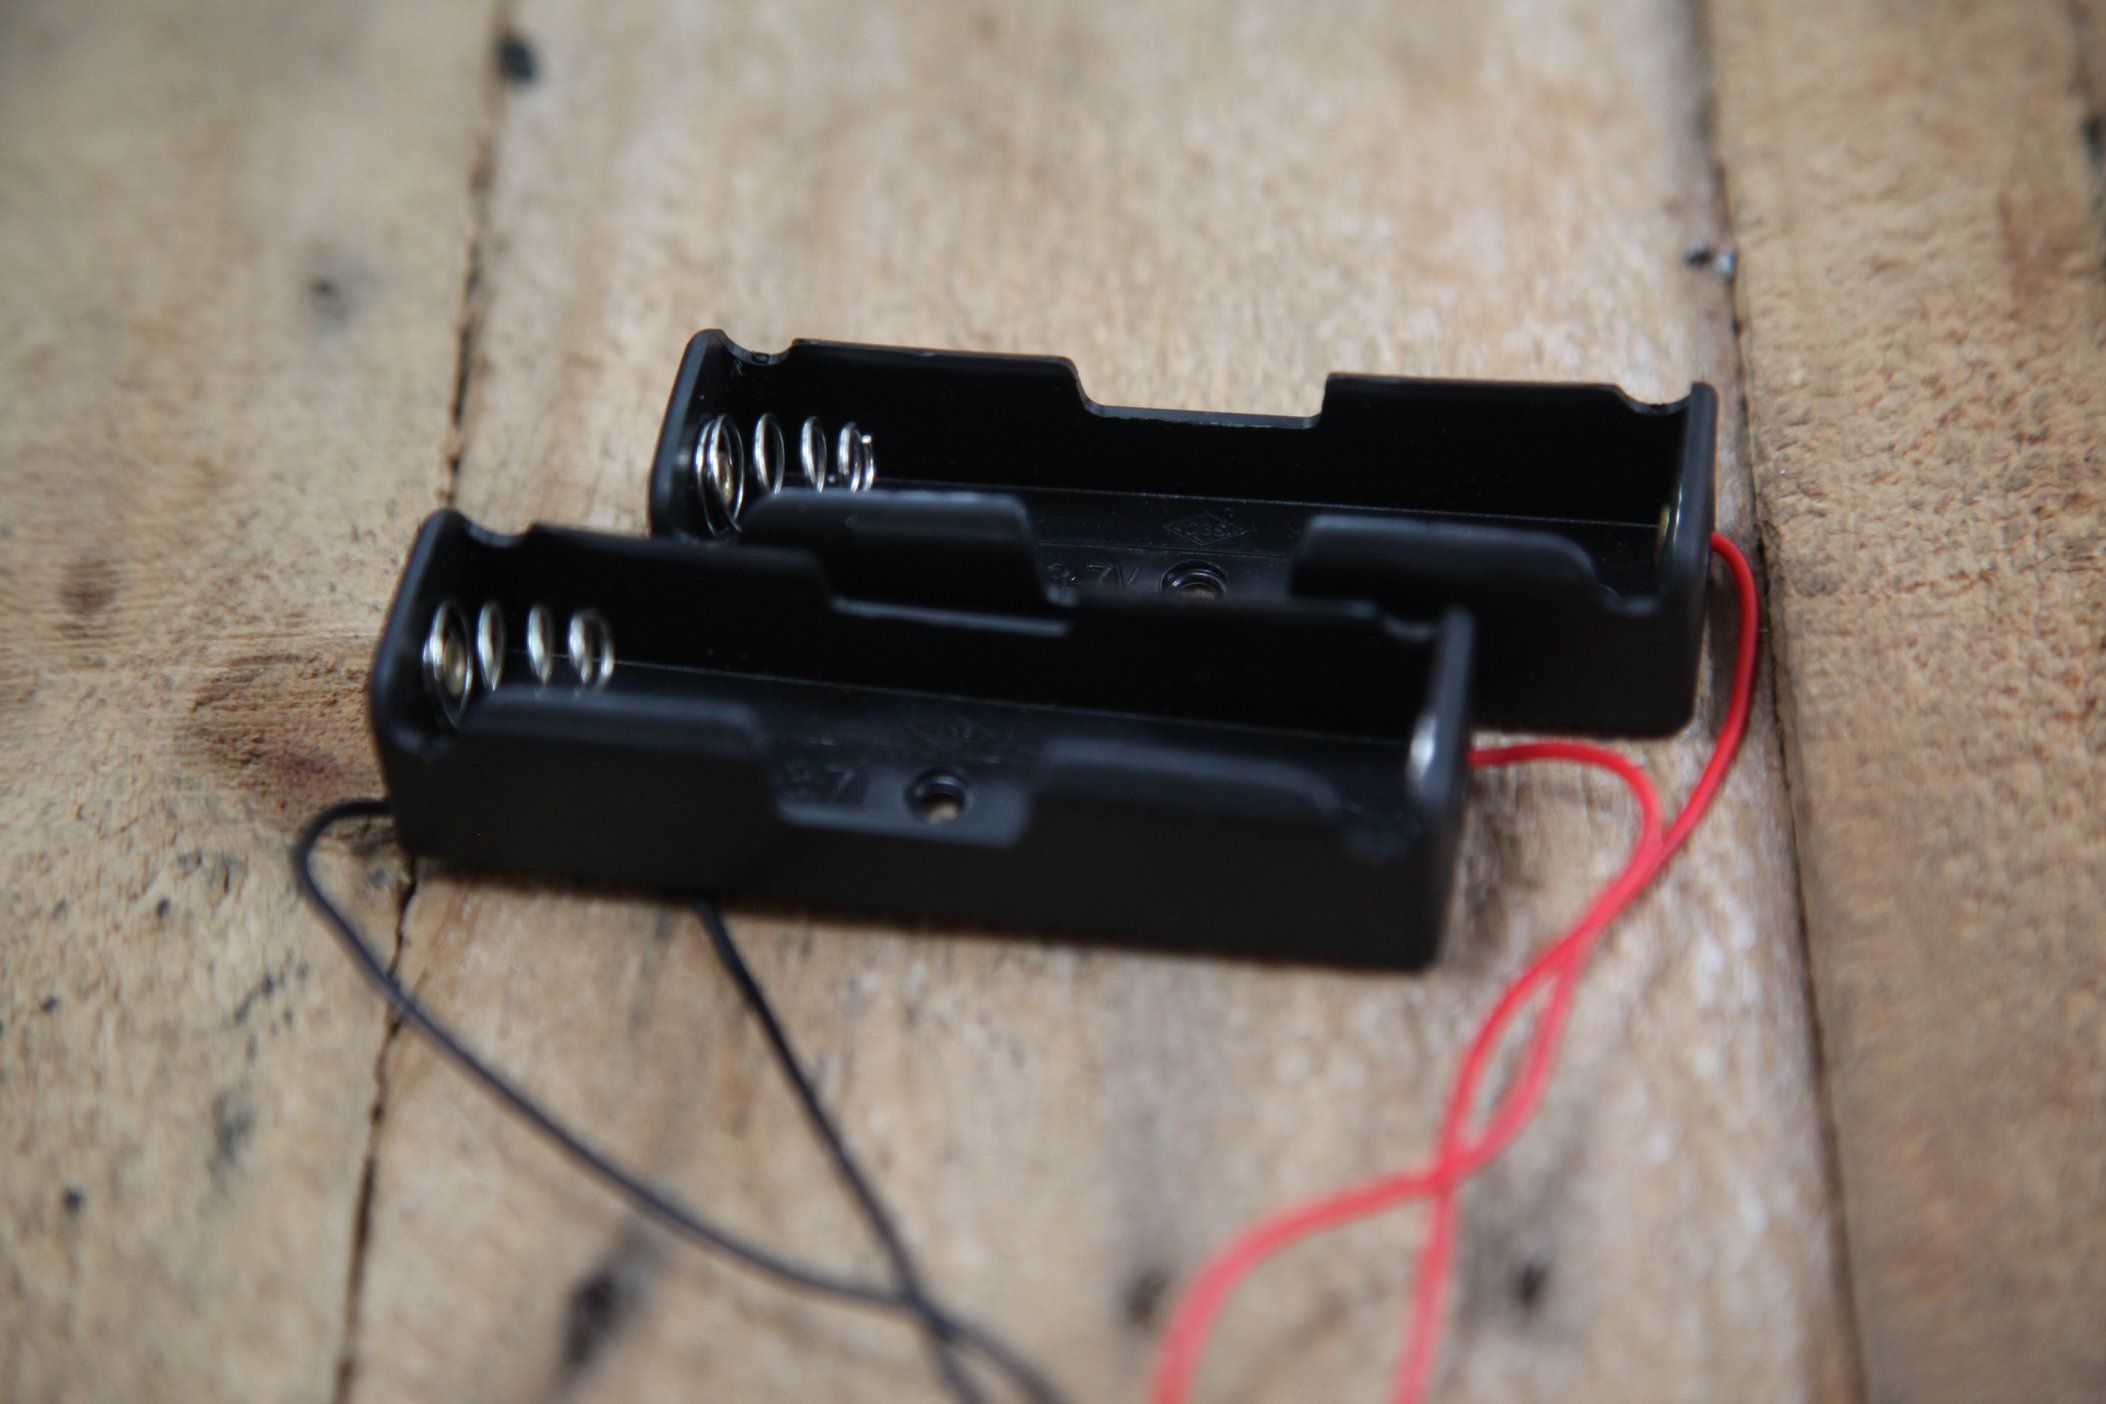
- the energy storage module: the battery
- the module that gives back the energy: the LED lamp and its voltage regulator
Energy Receiving Module: Photovoltaic Panel & Charge Controller
The photovoltaic panel concentrates the energy of the sun. It allows to recover its energy in order to store it in the battery. But be careful, the amount of energy received by the panel is irregular depending on the time of day, the weather... it is important to install a charge/discharge regulator between the panel and the battery. This will be protected against overload, among other things.
Energy storage module: the battery
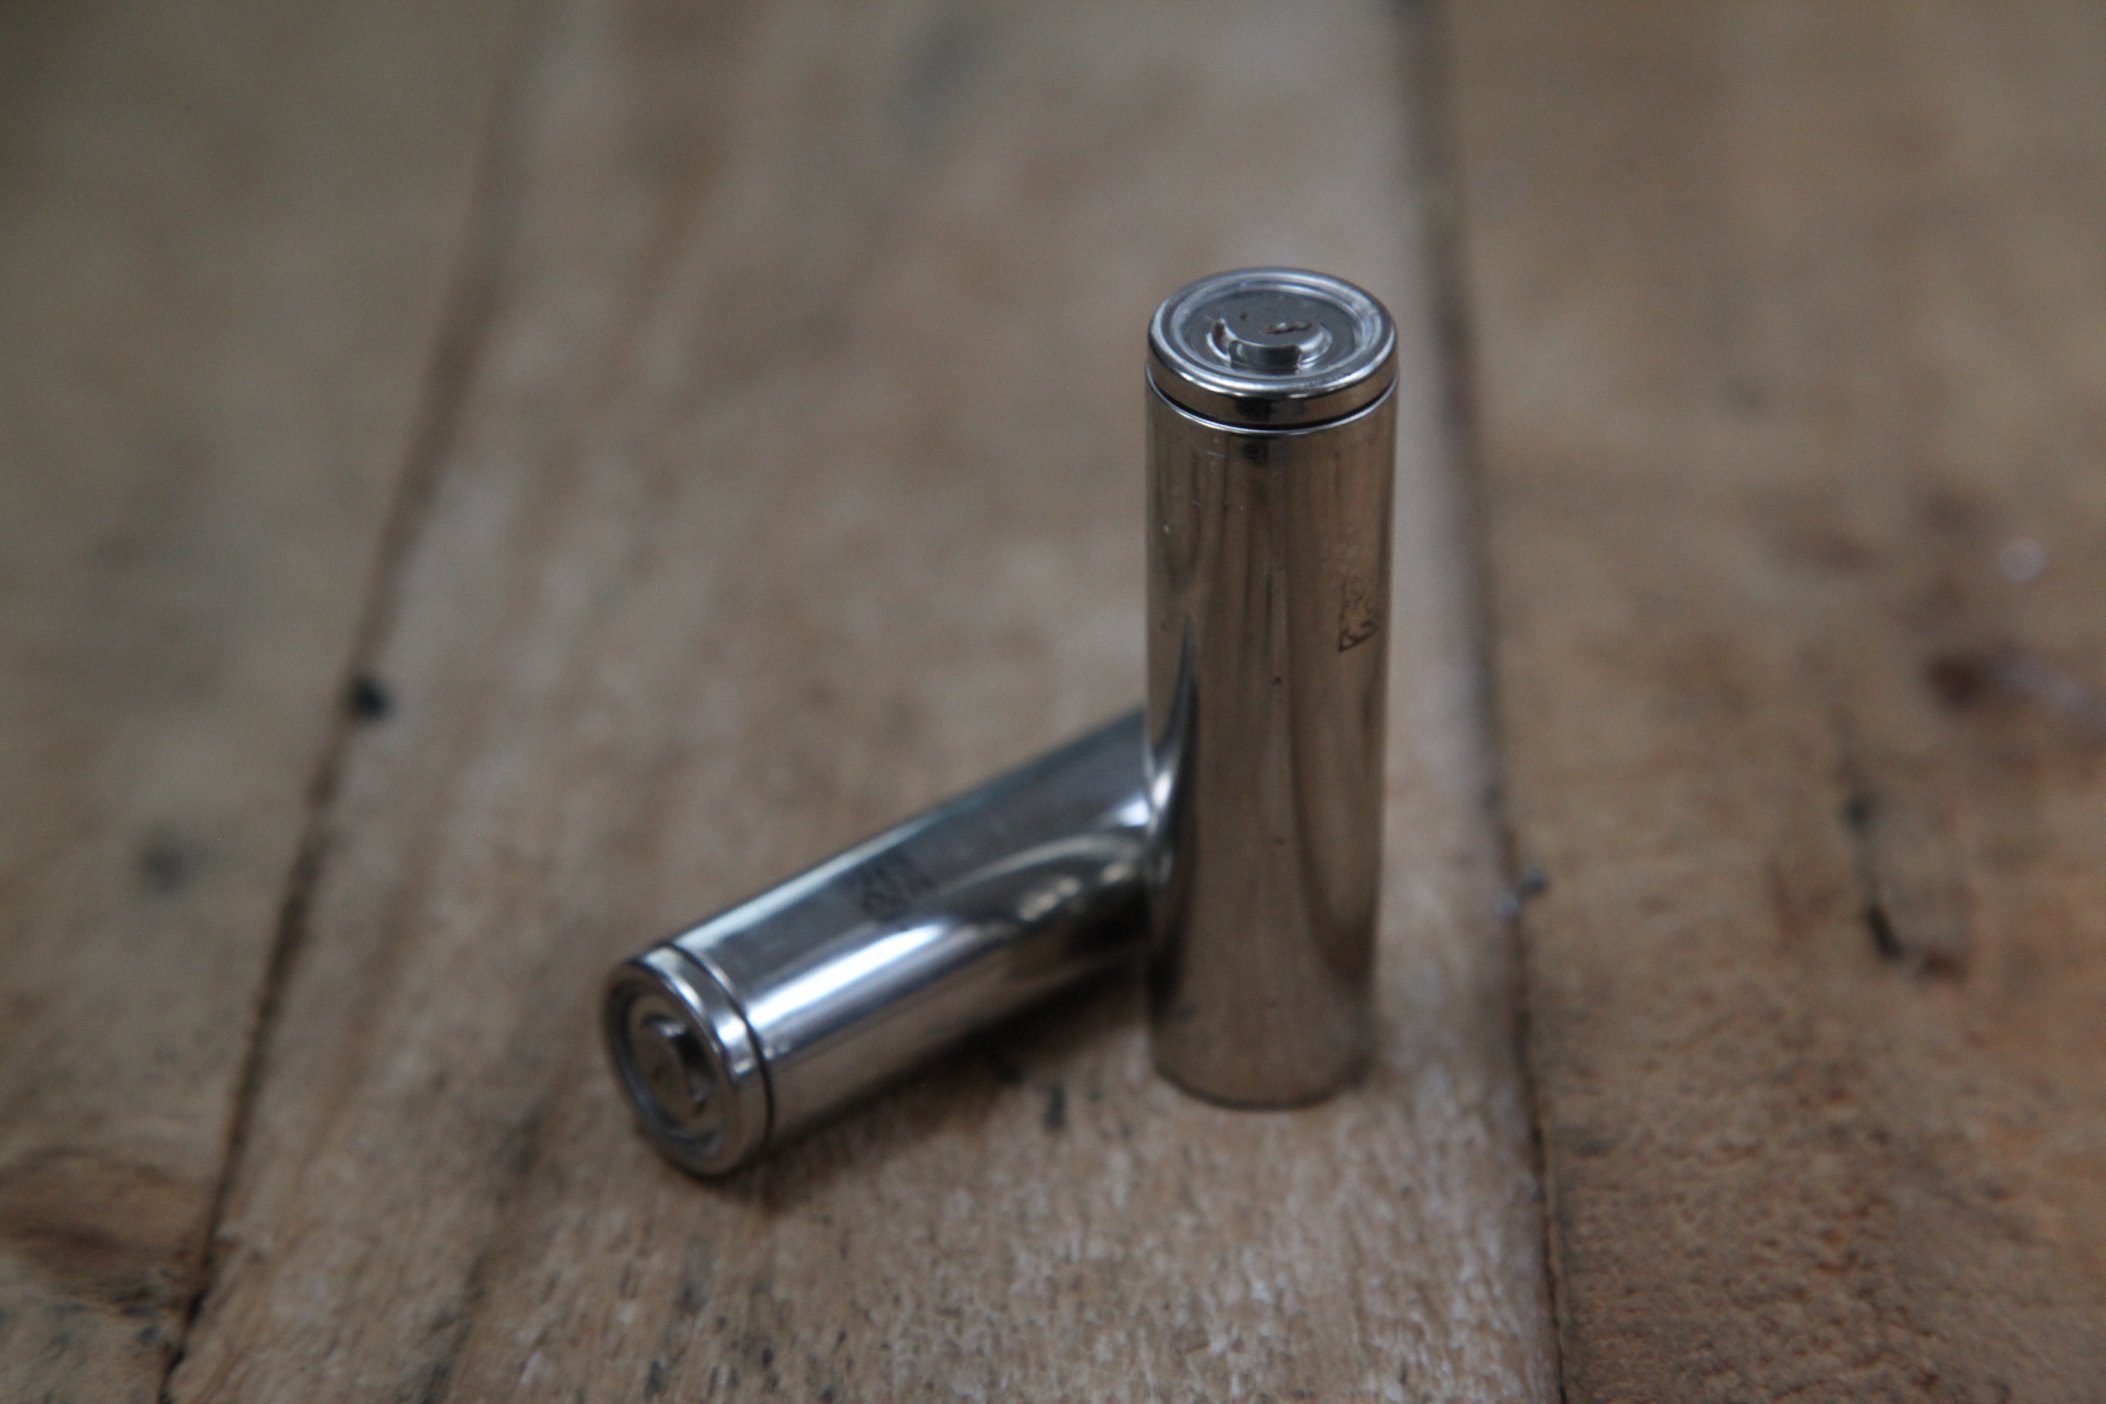
It is composed of two lithium cells recovered from a computer. To put it in a nutshell, a battery is a bit like a box containing several batteries: each of them is a cell, a unit that supplies power to the device by electrochemical reaction.
The cells found in computers are lithium cells. They all have the same capacity to store energy, but their ability to make it is different for each. To form a battery from cells it is important that they all have the same ability to deliver energy. It is therefore necessary to measure the capacity of each cell to compose homogeneous batteries.
'Module that renders the energy: the LED lamp, the 5V USB port and its voltage converter
Our battery supplies us with 3.7V power and the LED lamps we used operate at the same voltage. In addition, the USB ports provide a voltage of 5V. We therefore need to transform the cell energy from 3.7V to 5V: using a voltage converter called DC/DC booster
Étape 2 - Manufacturing stages
1) Removing the cells from the computer battery
2) Mesure du voltage des cellules
3) Réalisation des 3 modules :
- panneau solaire + régulateur de charge
- batterie
- régulateur de tension + lampe à LED
4) Liaison des 3 modules :
- le panneau solaire et son régulateur
- la batterie
- la lampe et son régulateur de tension
5) Construction du boîtier
6) Intégration des modules dans le boîtier
Étape 3 - Extraction des cellules de la batterie d’ordinateur
Pour cette partie, nous vous invitons à consulter le tutoriel Récupération de batteries
1) Enfiler des gants pour protéger les mains.
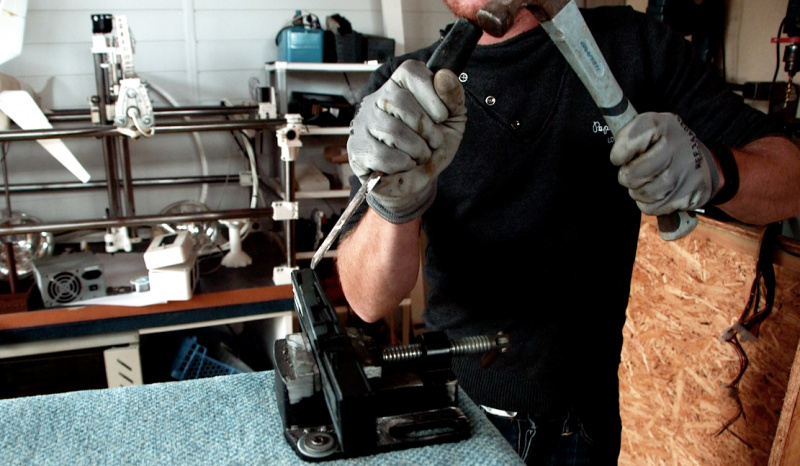
2) Fixer la batterie sur un étau afin qu’elle ne bouge plus, et avec l’aide d’un marteau et d'un burin l'ouvrir. (image 1)
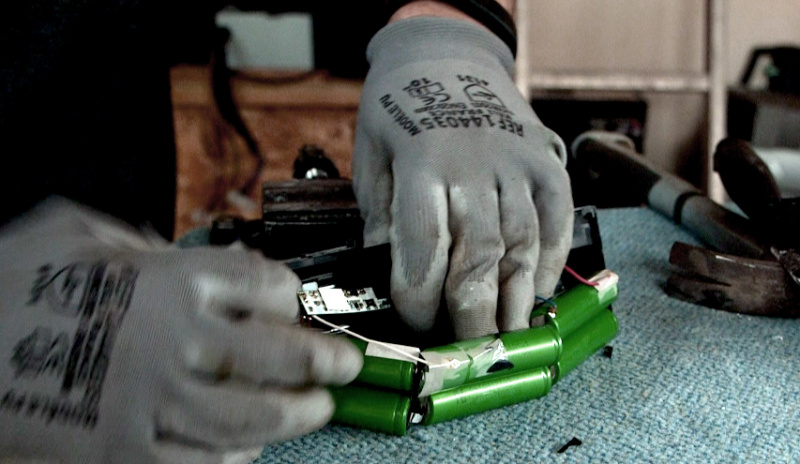
3) Isoler chaque cellule : décortiquer les cellules à l’aide d’une pince coupante, afin d'enlever tous les autres composants. (image 2)
Étape 4 - Mesure du voltage des cellules
Pour cette partie, nous vous invitons à consulter le tutoriel Récupération de batteries
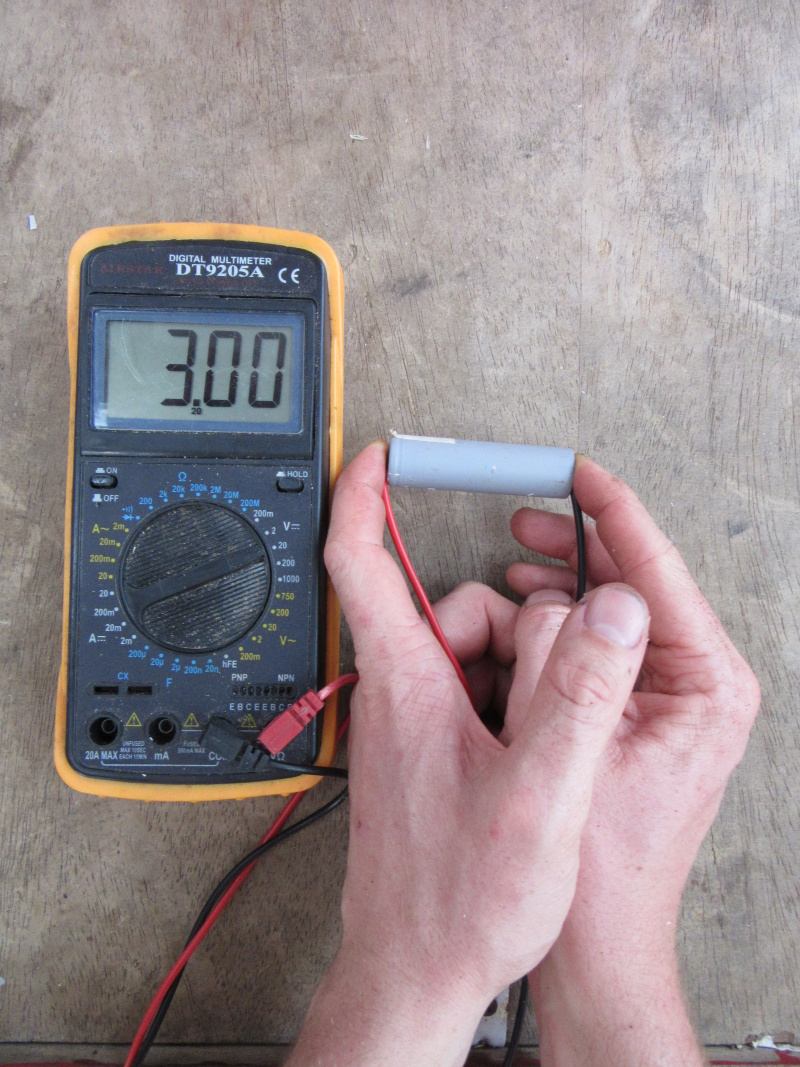
A l’aide d’un voltmètre, à utiliser en mode courant continu, mesurer la tension des cellules pour repérer celles qui sont réutilisables.
Toutes les cellules ayant une tension inférieure à 2,5 volt ne sont pas récupérables.
Attention : Si des cellules ont coulé (visible à l’extérieur de la batterie d’ordinateur), ne pas les démonter, à forte dose le lithium est dangereux pour la santé.
Remarque : Il est important de réaliser des batteries homogènes avec des cellules ayant à peu près la même capacité.
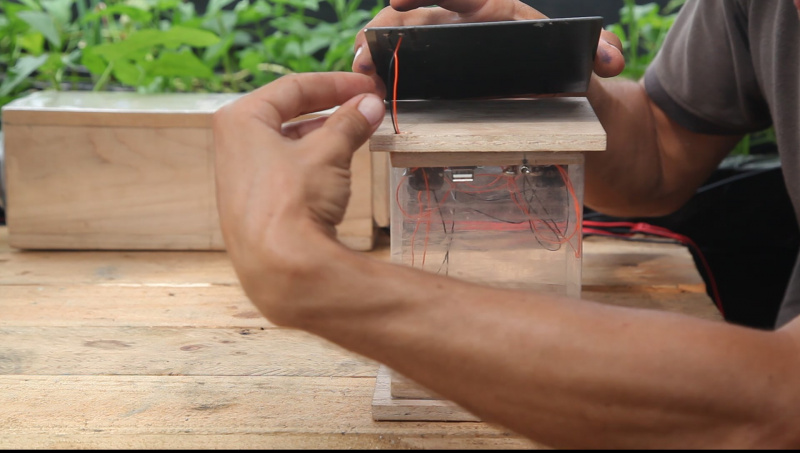
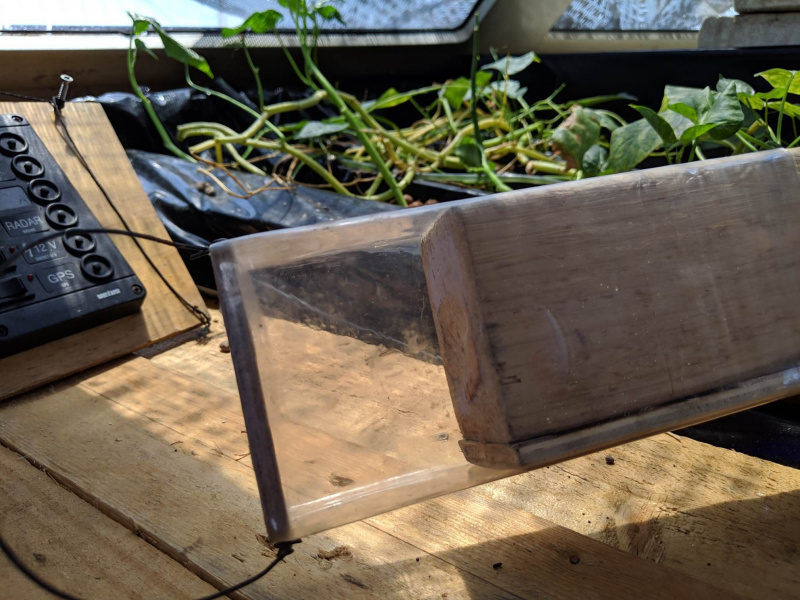
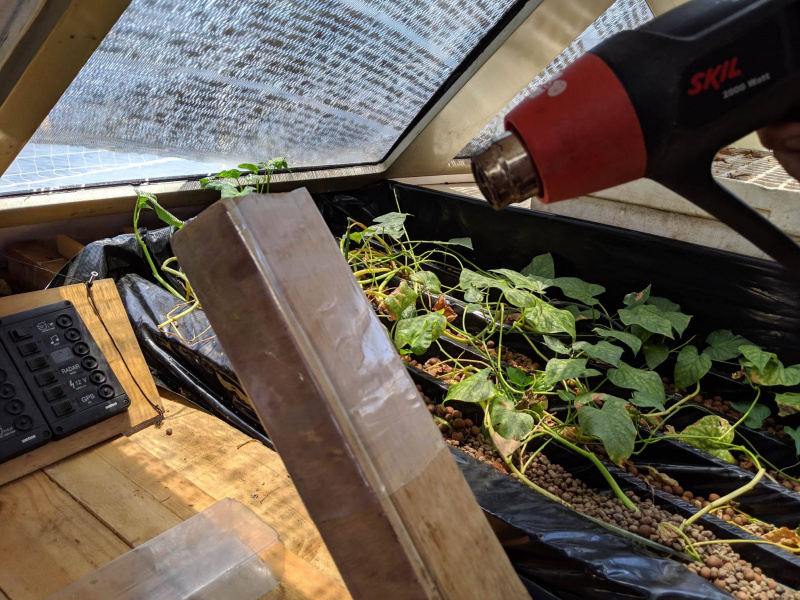
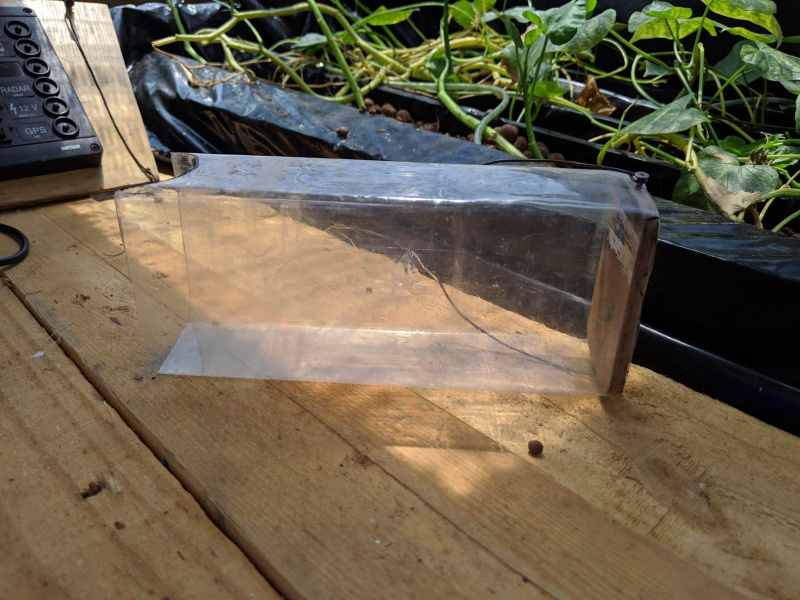
Étape 7 - Construction du boitier - Version 1
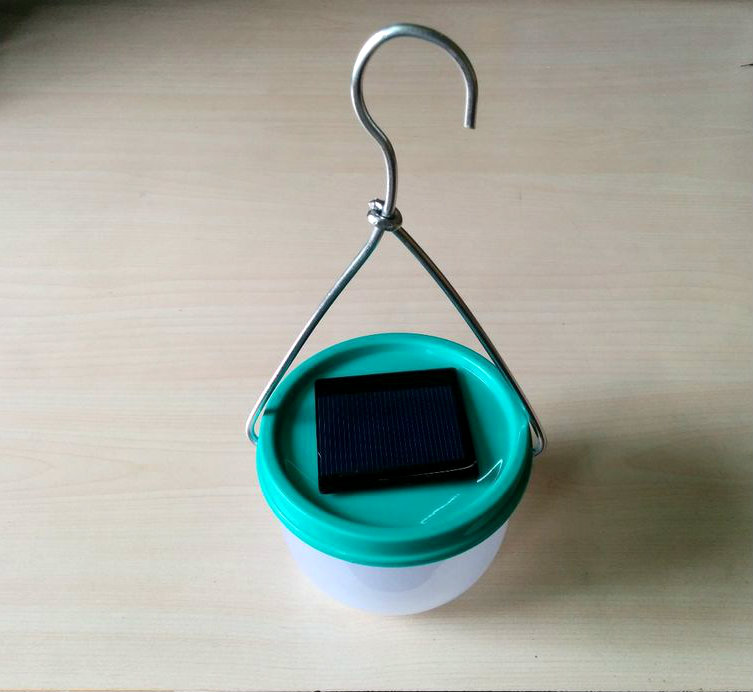
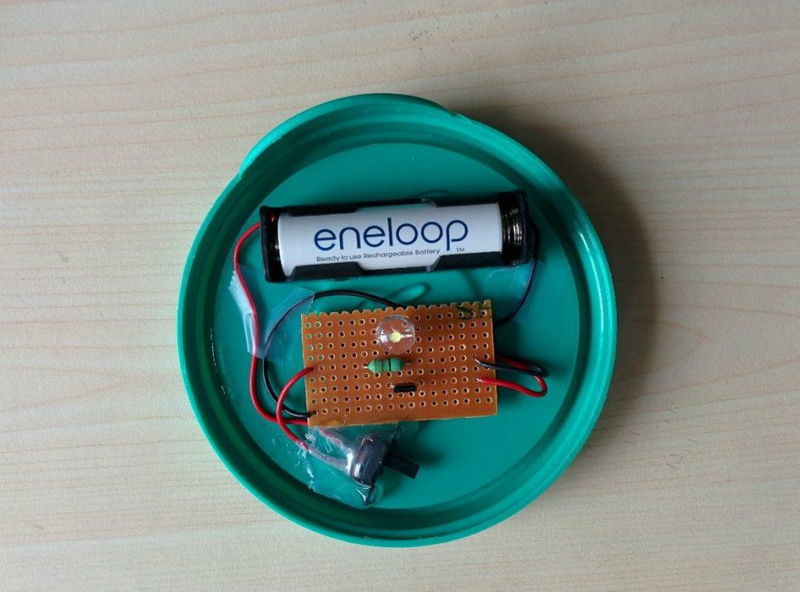
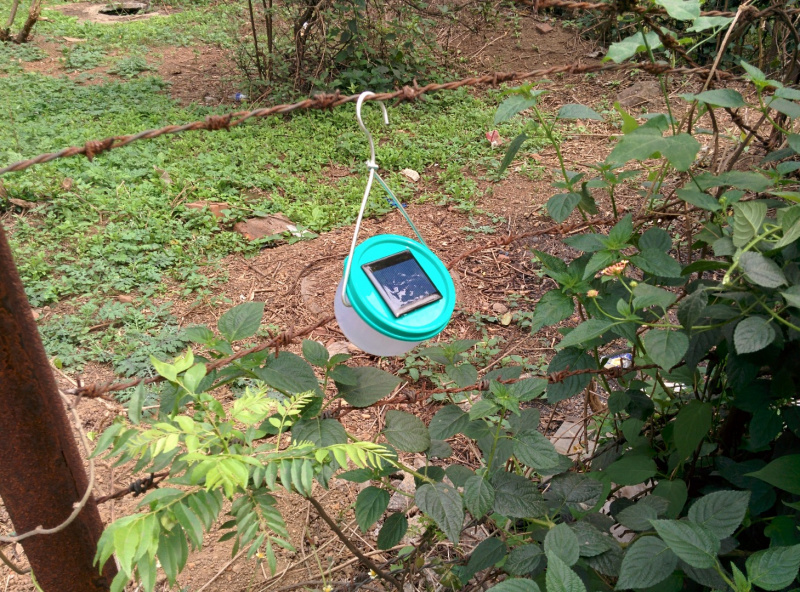
Version 1 : Tupperware
Ce design est celui de Open Green Energy, n'hésitez pas à consultez le tutoriel d'origine . Il nous parait très intéressant, c'est pourquoi nous le partageons. Néanmoins, il faudrait adapter le boitier à notre circuit, notamment pour la sortie USB. Nous proposerons notre propre modèle inspiré de ce design prochainement.
Published


 Français
 English
 Deutsch
 Español
 Italiano
 Português