Description
Seau à bokashi de cuisine pour obtenir un engrais riche à partir des déchets organiques.
Sommaire
Sommaire
[masquer]- 1 Description
- 2 Sommaire
- 3 Introduction
- 4 Étape 1 - Set up the compost bucket
- 5 Étape 2 - Set up the elevator bucket
- 6 Étape 3 - Set up the receiver bucket
- 7 Étape 4 - Assembly
- 8 Étape 5 - Filling
- 9 Étape 6 - Utilisation
- 10 Étape 7 - Recolte et utilisation du jus engrais
- 11 Étape 8 - Utilisation du compost en rempotage
- 12 Notes et références
- 13 Commentaires
Introduction
Every year, the waste production of French people is about 320 kg per person (about 90 bags) with 120kg of organic waste that could be recovered. For instance, they can be used as fertilisers for crops. It is quite simple to compost our organic waste in the countryside. In the urban areas, where ¾ of the French population lives, it is more complicated. Thus, the potential of waste composting is very important. The compost production from organic waste encourages the cultivation of vegetables and fruits at home. In urban areas, the objectives are diverse: - Regain methods for cultivating plant - Aim at/seek food security - Cleanse the air/fight air pollution - Eat quality and local products
Bokashi (“compost” in Japanese) is a very efficient composting method that can be adapted to the urban context. (It uses what we call the Efficient Micro-organisms (EM).) It implements the Efficient Micro-organisms (EM).
What are the Efficient Micro-organisms ?
In the wildlife, the degradation into humus of the (organic material) organic matter is done through the fauna and the flora consisted of fungus and bacteria. These “efficient” micro-organisms represent about 10% of the existing micro-organisms. The EMs are a mix of 80 selected strains from these specific micro-organisms. Their presence in composting is used to imitate the performance of a healthy humus and to optimise the degradation of the organic matter.
The type of compost using these micro-organisms is called “Bokashi”.
It is worth noticing that the EMs can be used on crops (out in the field) in the ground to bring back life in poor soil. However, it is not to be used on a healthy soil as the EMs may be detrimental to the soil balance through their actions.
It is possible to locally source the strains to make your own Efficient Micro-organisms. This still requires to master the process. Here is a link to try out/experiment this process (link). The easiest way is to order the strains online. In France, you can order them through Bertrand Grevet, an expert on the EMs. There are two types of Ems: - EM 1: these are concentrated strains that require one step before use : activating them with treacle / molasses ; - EM A (for Activated Efficient Micro-organisms): the activation through the mix with treacle has already been done, however their shelf life is short (about 1 month). It is still better to source EMs A rather than EMs 1.
How does the Bokashi work ?
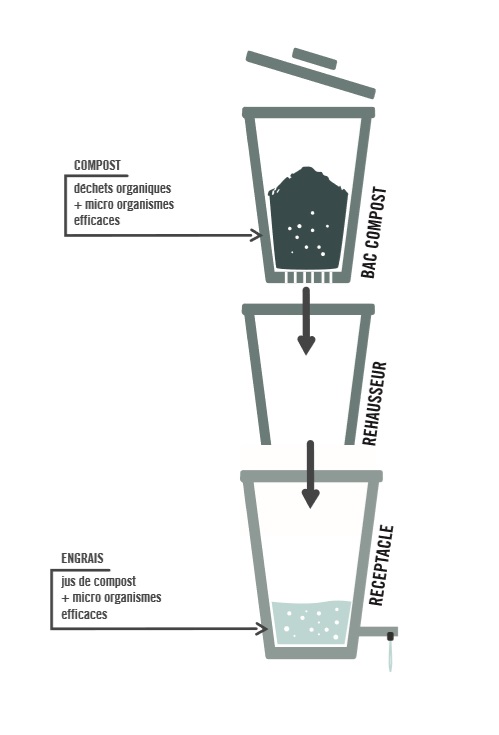
The bokashi is produced through the organic waste fermentation, inseminated with EMs A. It operates in an anaerobic process (without any oxygen supply). It has to be hermetically sealed after each use for the good development of the bacteria, between 20°C to 25°C. The composting outputs are: - A very nutritious juice for the plants (which has to be diluted a hundred times with water) - A solid compost full of minerals and micro-organisms
The process is pretty quick, which enables the use of a small container. Added to the fact that it is hermetically sealed, the bokashi fits well with an urban environment, and off the ground: it is closed, does not smell, and its juice is ready for use in off-ground cultivation. This tutorial is edited with the help of Léon-Hugo Bonte, landscaper and decorator, proponent of the indoor off-ground cultivation, regular user of the bokashi and the EMs for several years.
Watch the tutorial video HERE
Matériaux
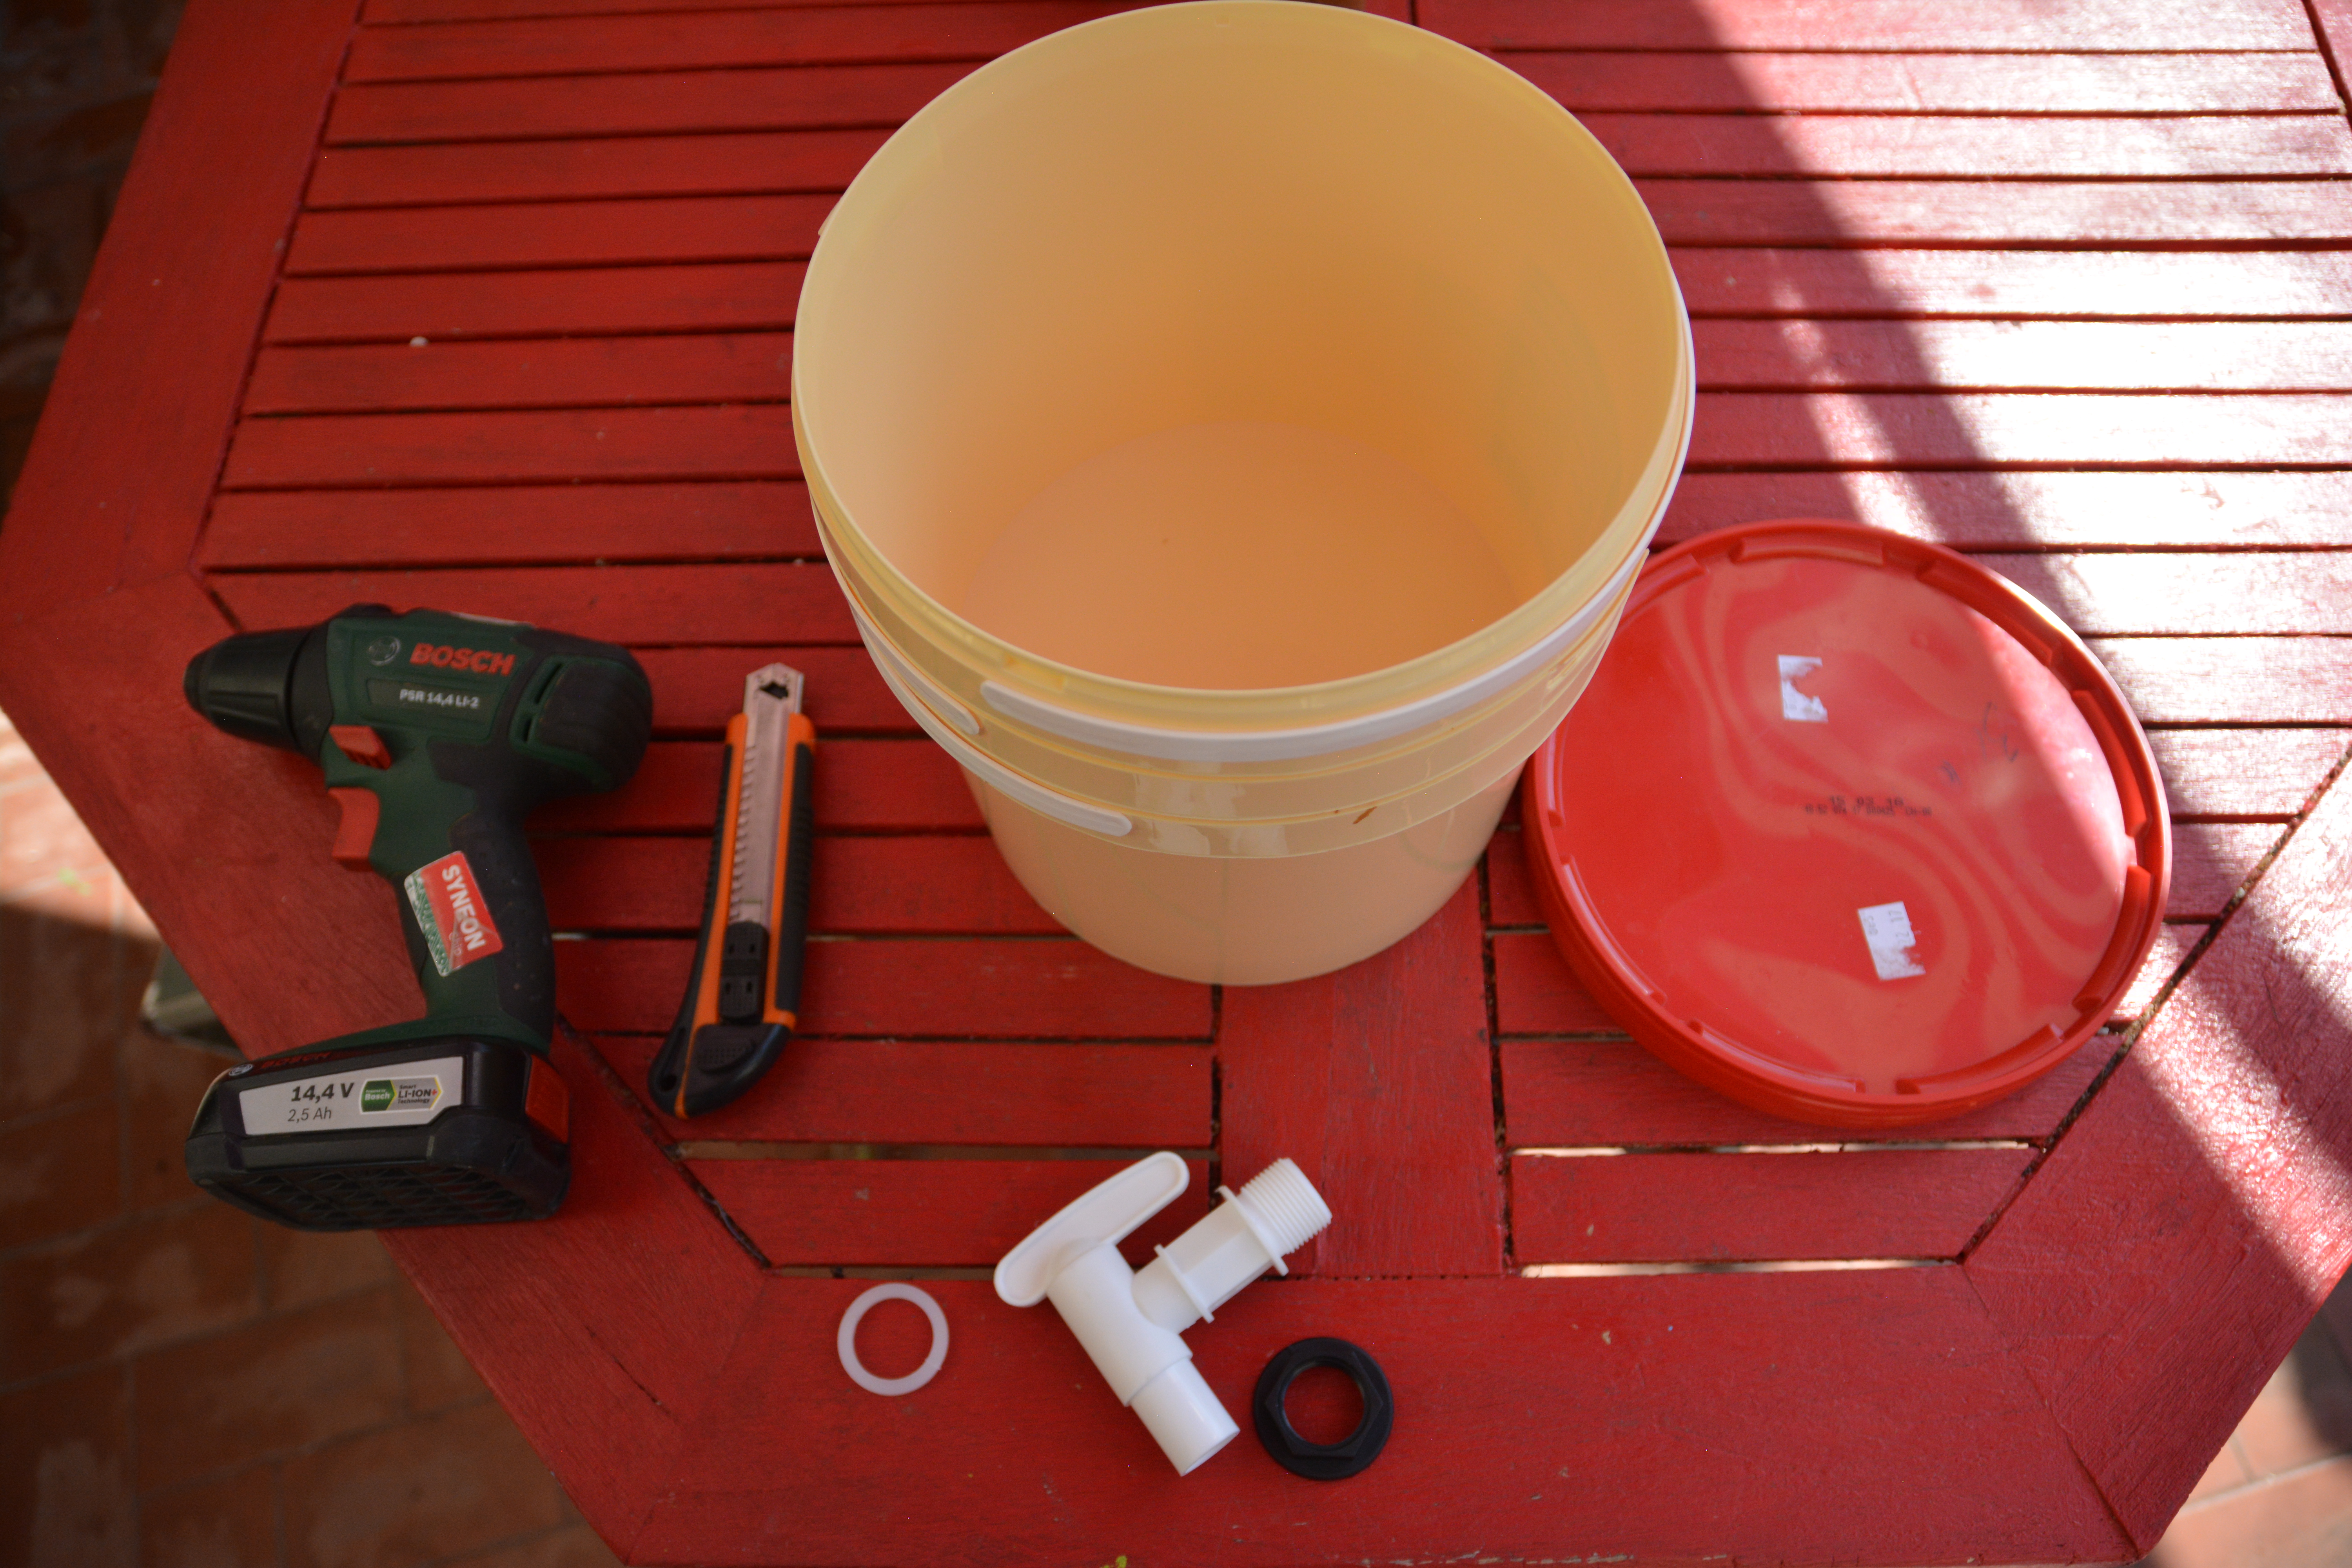
3 food grade buckets of 5L (gatherable in restaurants) and a lid which enables a hermetical sealing.
One is the compost box.
One is the elevator .
One is the receiver.
- One tap adaptable for plastic buckets (with seal and tightening nut)
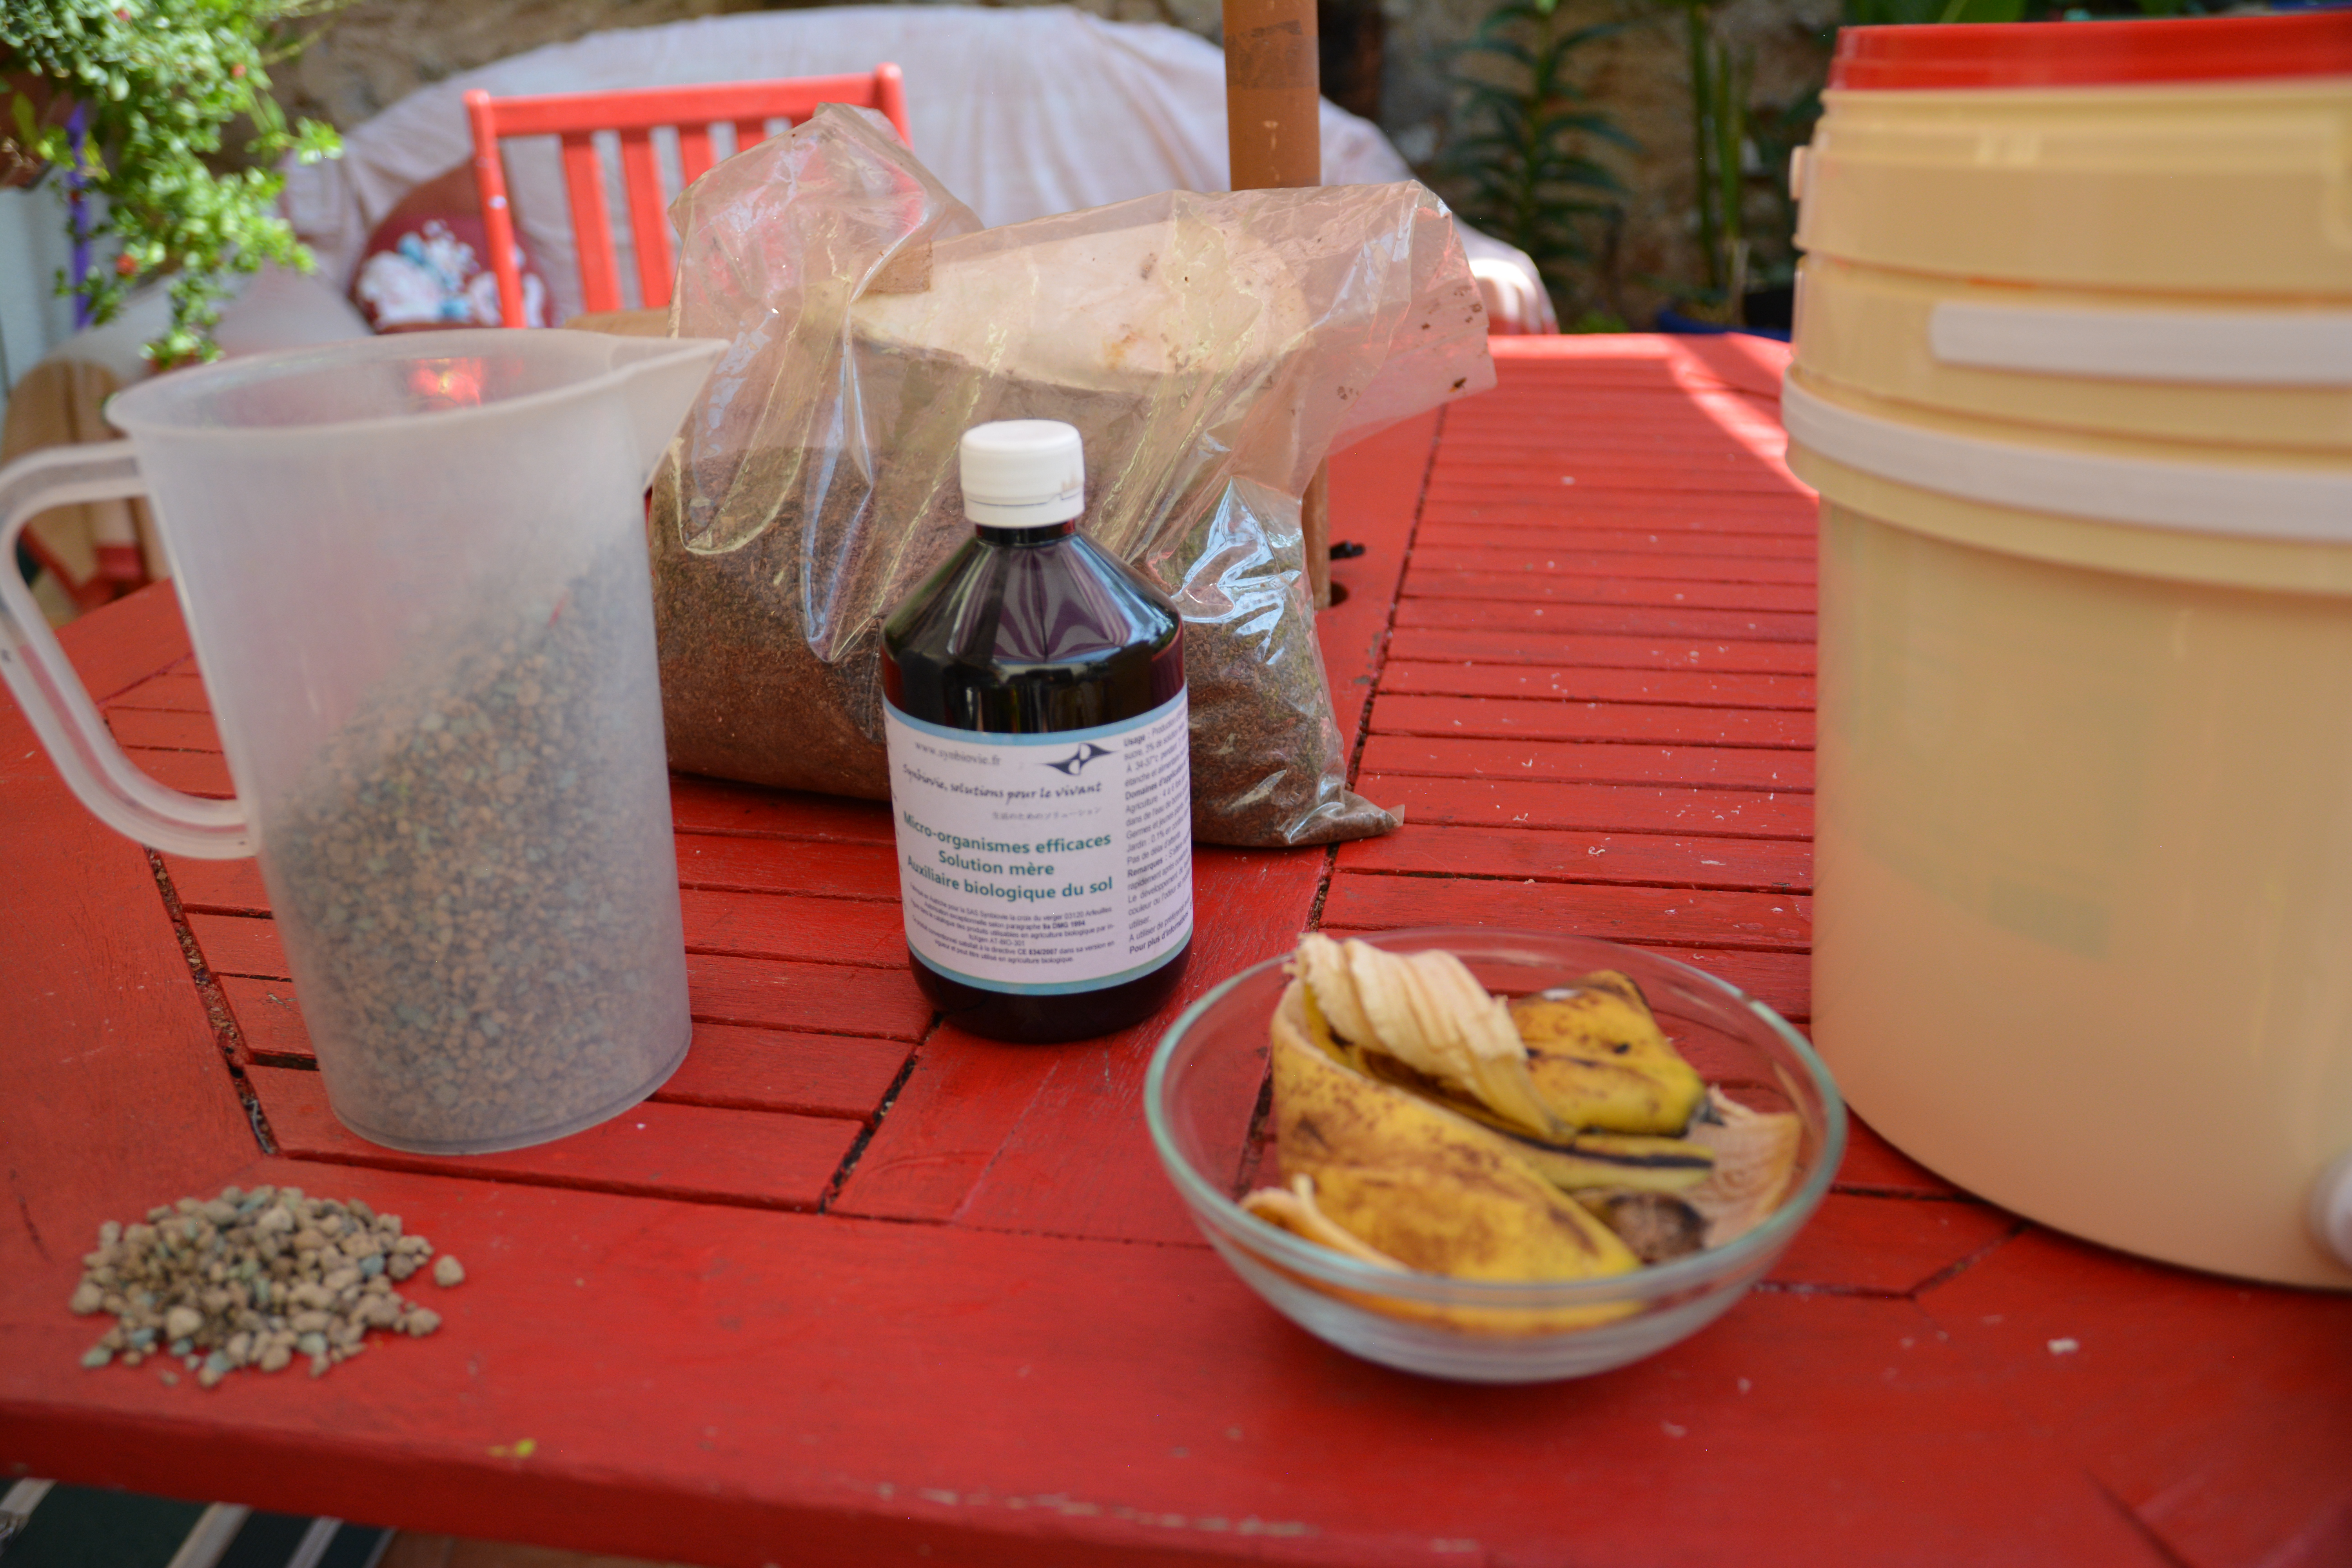
- 1L of approx. 3mm diameter pumice
- Organic waste
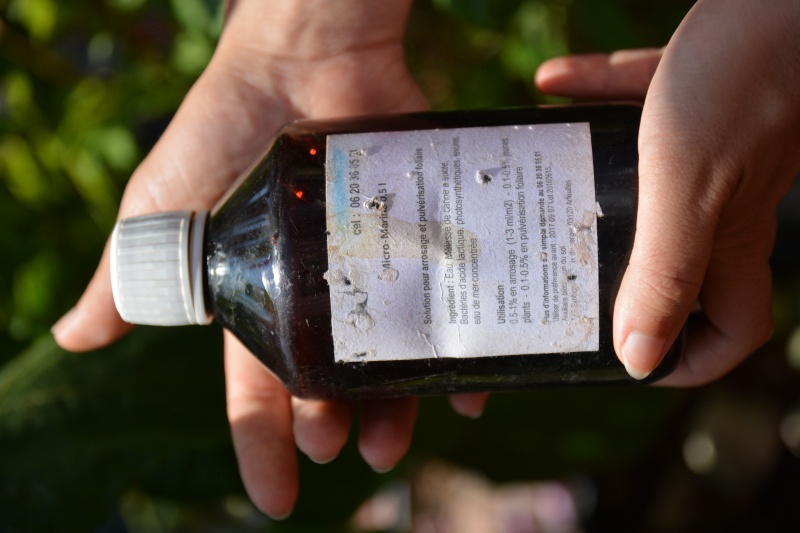
- 1 Flask of EM A (available at Bertrand Grevet, Synbiovie, French specialist) and/or 1 bag of his EM inseminated wheat bran.
Outils
- Driller and 3mm bit
- Pencil
- Cutter
- 1 Sprayer of 1L
Étape 1 - Set up the compost bucket
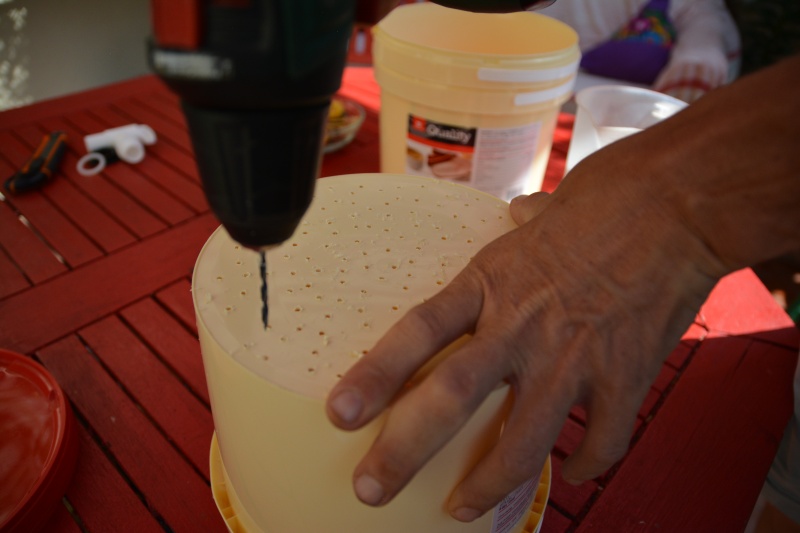
- Drill numerous holes at the bottom of the compost bucket with the 3mm bit.
Étape 2 - Set up the elevator bucket
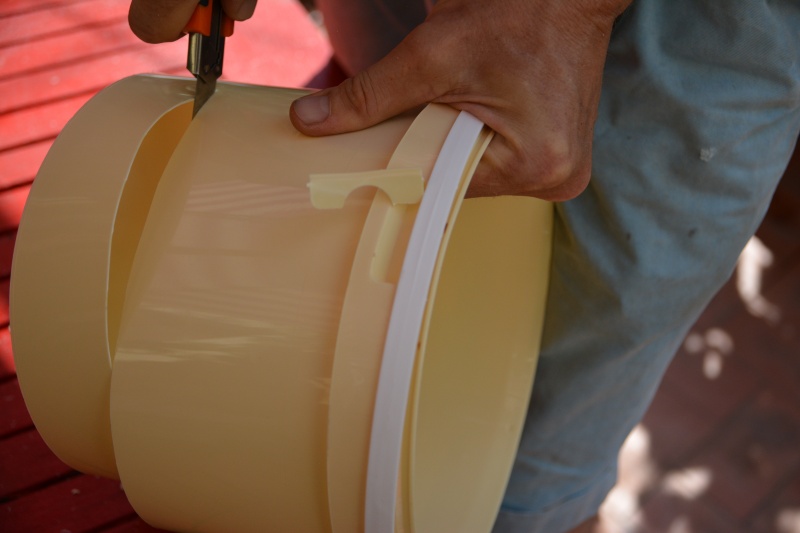
- Cut the bottom of the elevator bucket on 7 cms (the best is to measure the necessary high for the tightening nut of the tap)
Étape 3 - Set up the receiver bucket
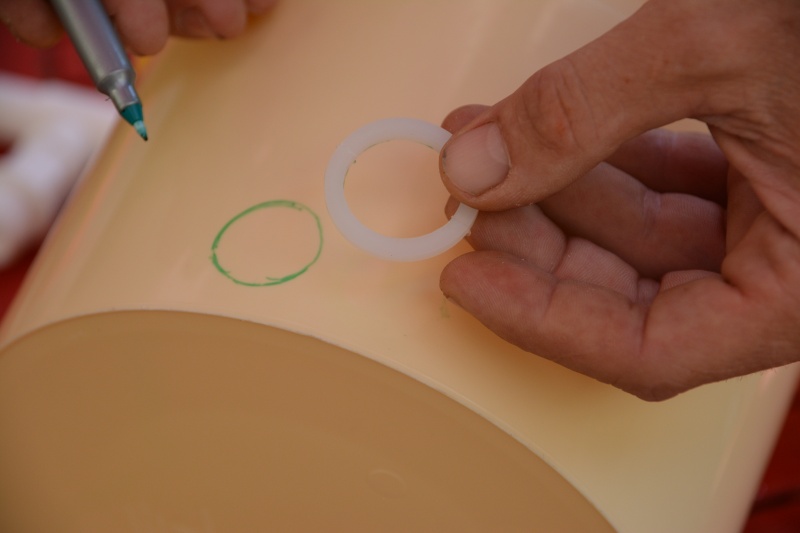
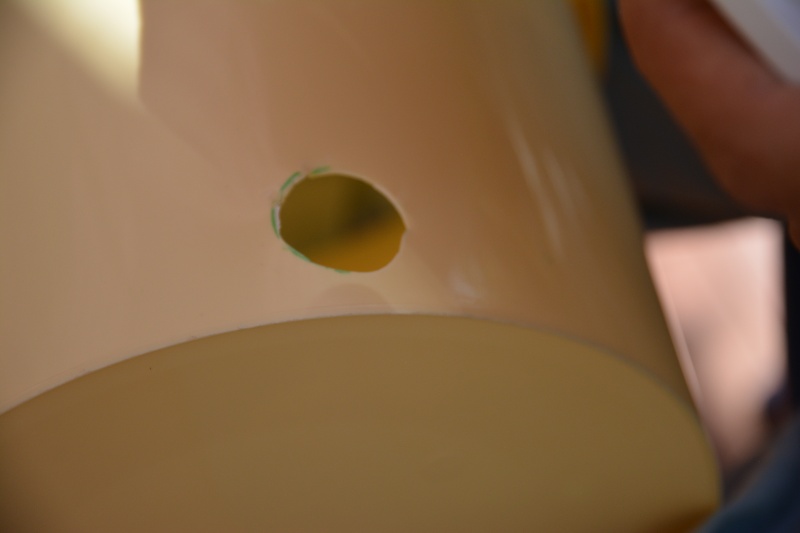
- Draw the inside shape of the seal of the tap on the receiver bucket.
Remark: The tap must be placed as low as possible on the receiver bucket in order to get as much juice as possible. However, plan the necessary high for the tightening nut.
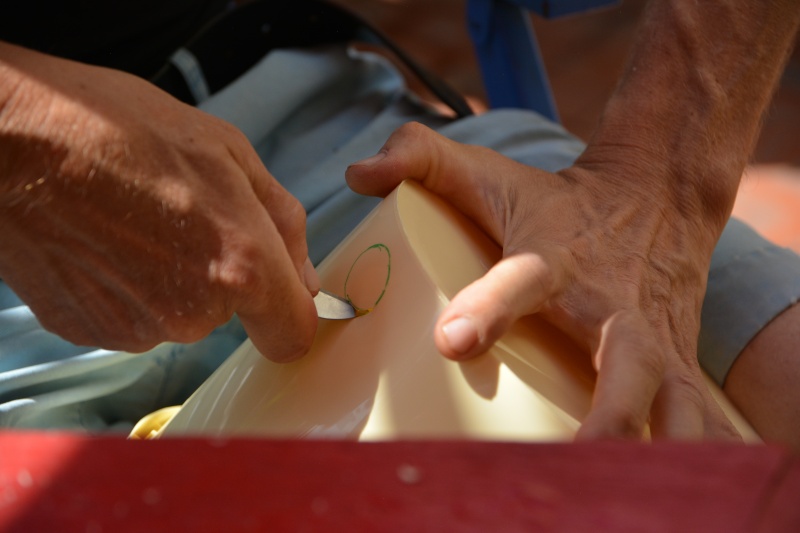
- Cut the circle with the cutter.
Remark: the plastic composing the bucket is pretty thin, so this tasks has to be done with precision
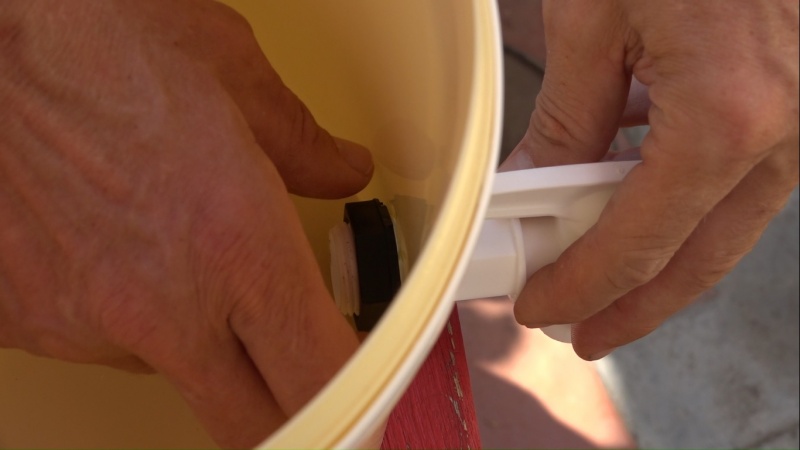
- Screw the tap on the receiver bucket without forgetting to put the seal in between, and tighten it with the nut.
- Test the good sealing of the system by pouring water in the receiver bucket: no drop must get through the seal with a closed tap. Then empty it.
Étape 4 - Assembly
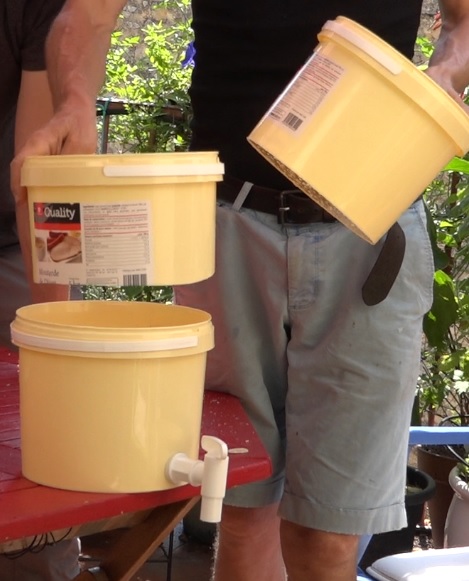
- Put the compost bucket on the elevator bucket, itself nested on the receiver bucket.
Étape 5 - Filling
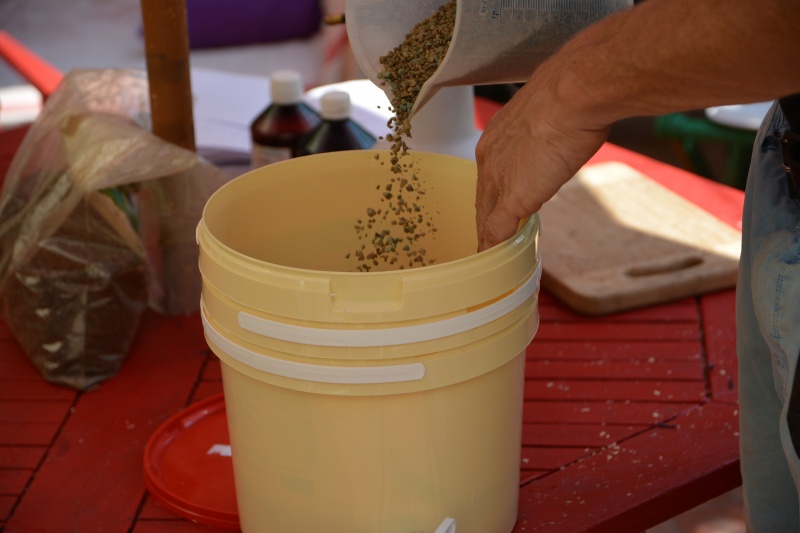
- Put a 1cm layer of pumice at the bottom of the compost bucket.
Remark:This layer is used as a drain for the composter, so that the holes don’t get clogged.
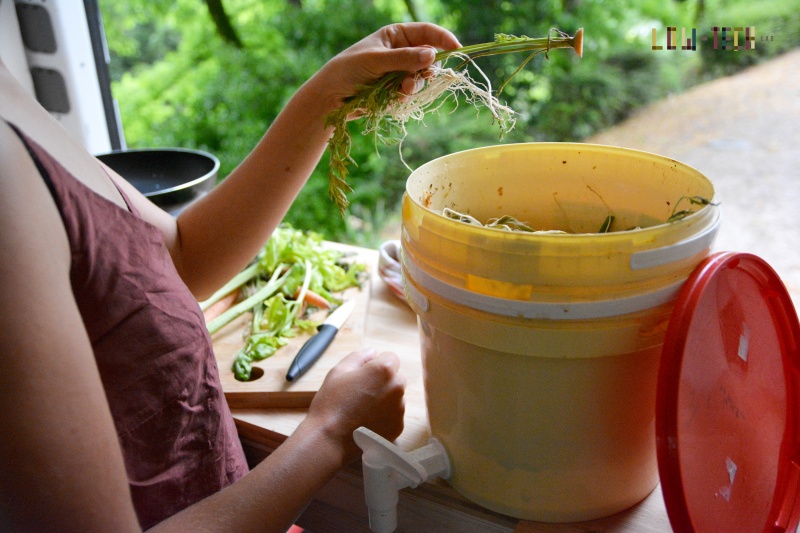
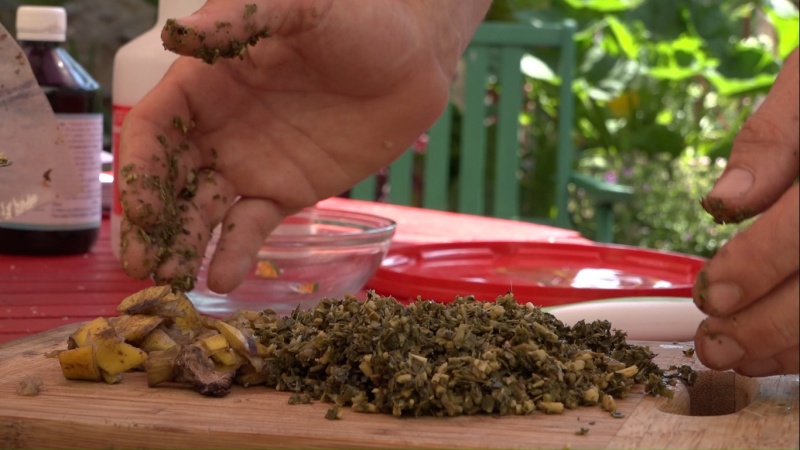
- Disposer des déchets organiques dans le bac compost.
Remarque: Le compostage se fait plus rapidement si la matière organique est coupée en petits morceaux.
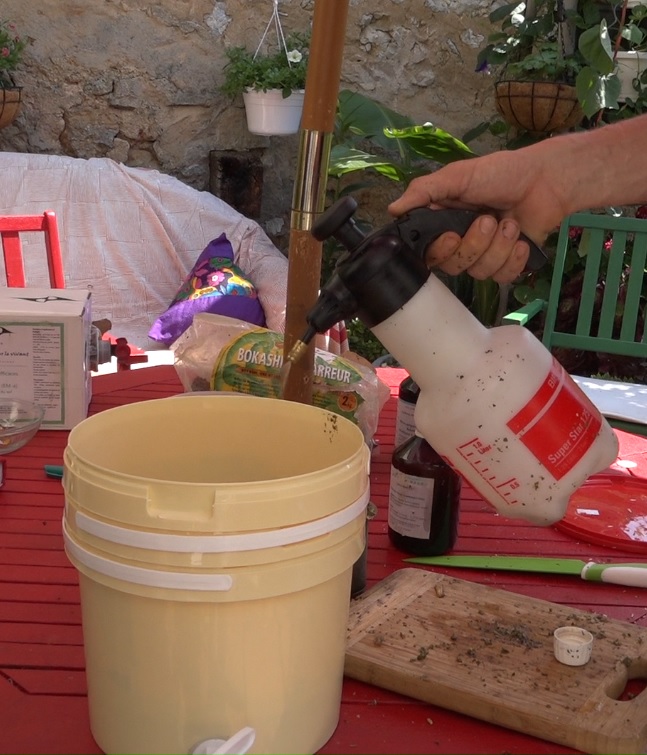
- Pulvériser 4 ou 5 doses de micro-organismes efficaces activés (EMA) ou du son de blé inséminé aux EM afin d’inséminer le composteur.
- Fermer hermétiquement le composteur.
Étape 6 - Utilisation
Étape 7 - Recolte et utilisation du jus engrais
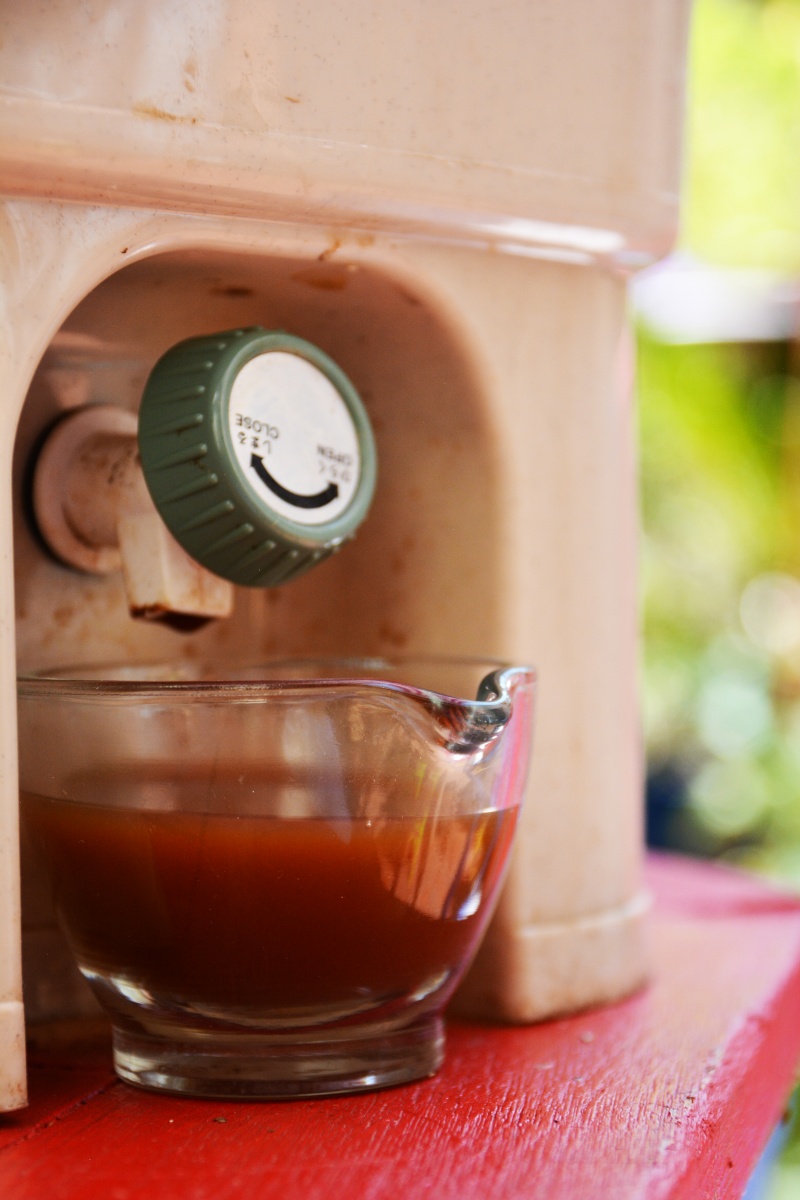
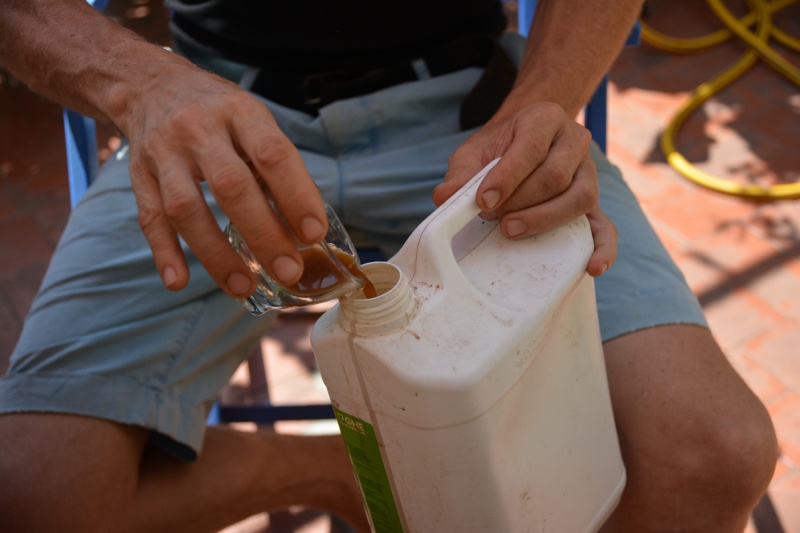
- Récoltez le jus de bokashi à l'aide du robinet
Remarque: Une fois le compost bien lancé (2 à 3 semaines), une petite quantité de jus de bokashi peut être prélevée quotidiennement.
- Diluez à 1% avec de l’eau.
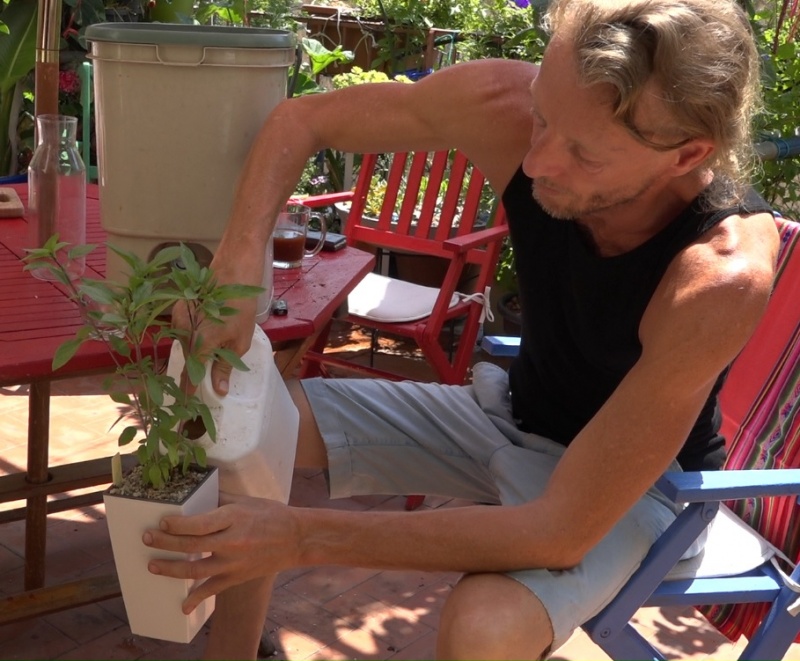
- Arrosez les plantes avec ce mélange tous les 2 jours ou selon le besoin.
Remarque: L’état et la couleur des feuilles sont de bons indicateurs des besoins nutritionnels d’une plante.
Étape 8 - Utilisation du compost en rempotage
Remarque : Quand le bac compost est plein (au bout de quelques semaines ou quelques mois), on peut observer une dégradation plus importante dans le fond du bac qu’au dessus.
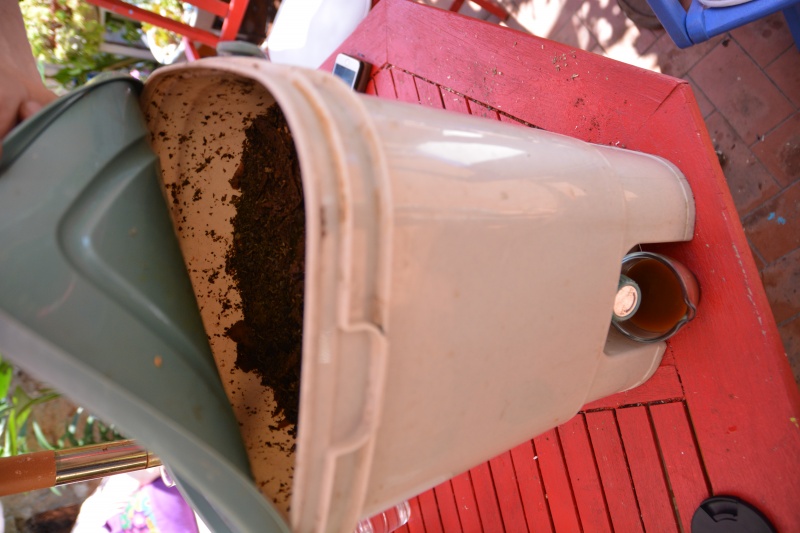
- Pour favoriser la dégradation de la matière organique la plus récemment ajoutée, retournez le composteur durant 15 jours : le jus riche en micro-organismes va imprégner ces déchets et activer le compostage.
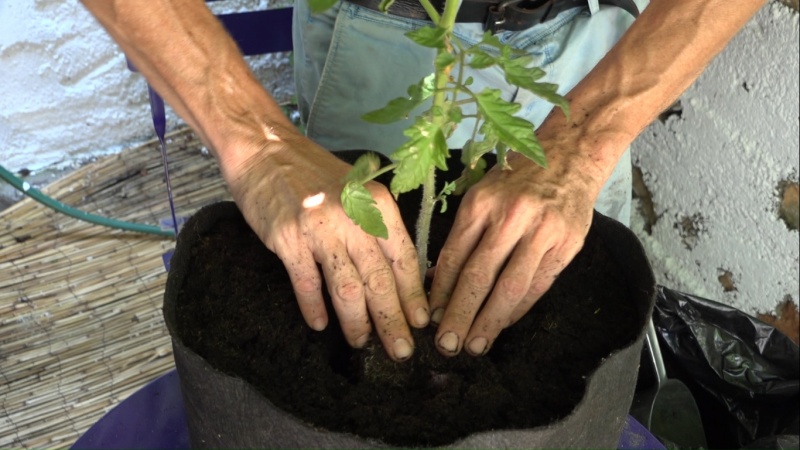
- Au bout de 15 jours : plantez vos légumes en superposant dans un pot : une mince couche de terreau, une couche de votre compost (1 cm) et remplissez le reste de terreau.
Remarque : Votre compost est maintenant très riche en minéraux mais également en micro-organismes. Le mélange de minéraux est un excellent aliment pour les plantes. La flore bactérienne va coloniser le terreau développant un milieu de vie riche pour les racines.
Cependant, le bokashi est acide: Il est donc important de le placer au fond du pot pour éviter que les racines ne soient en contact avec celui-ci au moment du rempotage.
- Arrosez vos légumes régulièrement à l’aide du jus de compost.
Notes et références
- Léon-Hugo Bonte, paysagiste décorateur, utilisateur du bokashi.
- Synbiovie, Bertrand Grevet, cultivateur et distributeur d'EM en France.
- Permaforet.
- Documentation réalisée par Camille Duband & Pierre-Alain Lévêque, Juillet 2017
Yes
 Français
 English
 Deutsch
 Español
 Italiano
 Português