(Contenu remplacé par « . ») |
(Contenu remplacé par « . ») |
||
| Ligne 108 : | Ligne 108 : | ||
. | . | ||
| − | + | . | |
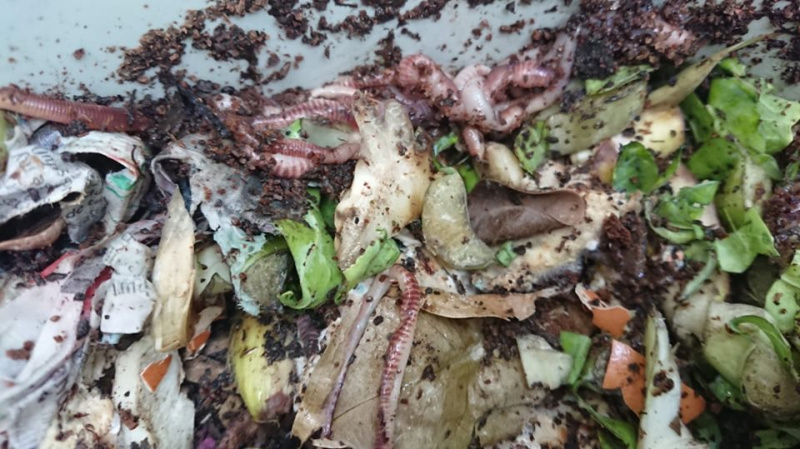
Your compost material should be humid, not wet or dry. | Your compost material should be humid, not wet or dry. | ||
Version du 23 décembre 2019 à 18:05
Difficulté
Facile
Durée
1 heure(s)
Coût
50 EUR (€)
Description
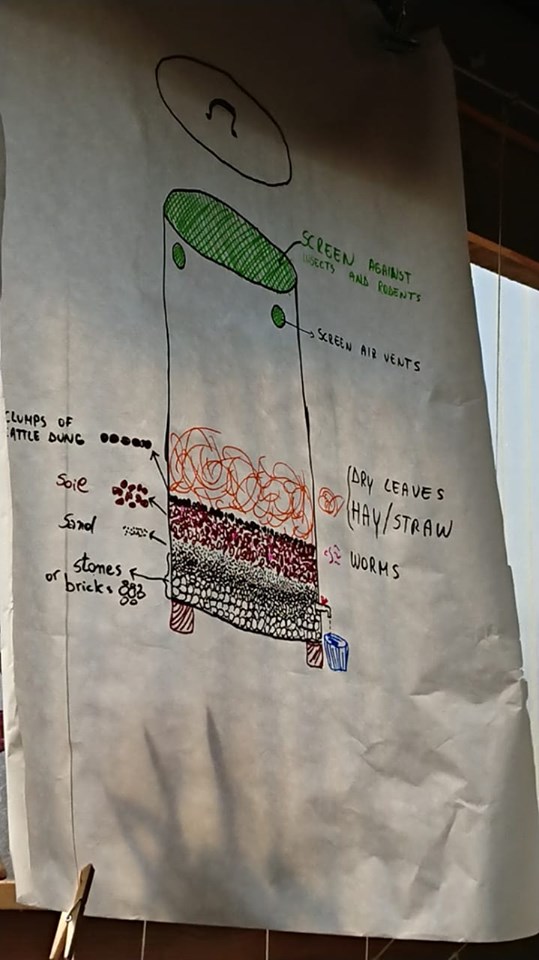
Composteur à ver de terre en tonneau fermé
Introduction
.
.
Matériaux
.
.
.
.
.
.
.
.
.
.
.
.
.
.
.
Outils
.
.
Étape 2 - .
.
.
.
.
.
.
Étape 7 - Harvesting your finished worm compost
1.Empty the bin on a tarpaulin sheet, forming a cone of finished compost.
2.leave the cone for several daylight hours.
3.Worms 'migrate' away from light to the bottom of the cone.
4. Scrape all of the worm-free compost on outside of heap (can be used in garden etc) and reform the cone.
5. Repeat the process until all but the lower 5cm of worm compost are left. the remaining compost can be used to start a new compost system.
Étape 8 - Harvesting your Vermiwash
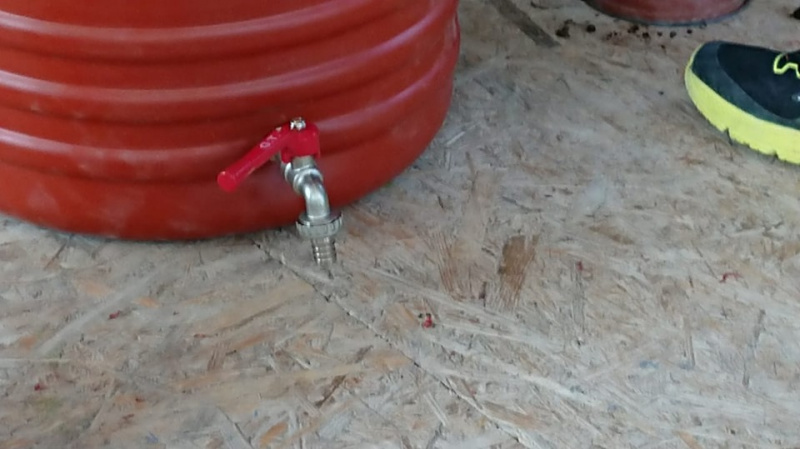
Vermiwash is a potent plant fertiliser and can be collected whenever from the tap. To use for plants it should be diluted with water 6-10: 1
Published


 Français
 English
 Deutsch
 Español
 Italiano
 Português