(Contenu remplacé par « . ») |
(Contenu remplacé par « . ») |
||
| Ligne 73 : | Ligne 73 : | ||
{{Tuto Step | {{Tuto Step | ||
|Step_Title=. | |Step_Title=. | ||
| − | |Step_Content= | + | |Step_Content=. |
Start to fill the container from the bottom with the material of large dimensions first, consequently adding material of smaller dimensions and finishing with sand on the top. | Start to fill the container from the bottom with the material of large dimensions first, consequently adding material of smaller dimensions and finishing with sand on the top. | ||
Version du 23 décembre 2019 à 18:04
Description
Composteur à ver de terre en tonneau fermé
Sommaire
Sommaire
- 1 Description
- 2 Sommaire
- 3 Introduction
- 4 Étape 1 - .
- 5 Étape 2 - .
- 6 Étape 3 - .
- 7 Étape 4 - Wash out the filter.
- 8 Étape 5 - Add layers and worms
- 9 Étape 6 - Wait 10 days - then you can start adding kitchen waste!
- 10 Étape 7 - Harvesting your finished worm compost
- 11 Étape 8 - Harvesting your Vermiwash
- 12 Commentaires
Introduction
.
.
Matériaux
.
.
.
.
.
.
.
.
.
.
.
.
.
.
.
Outils
.
.
Étape 2 - .
.
.
.
.
.
.
Étape 3 - .
.
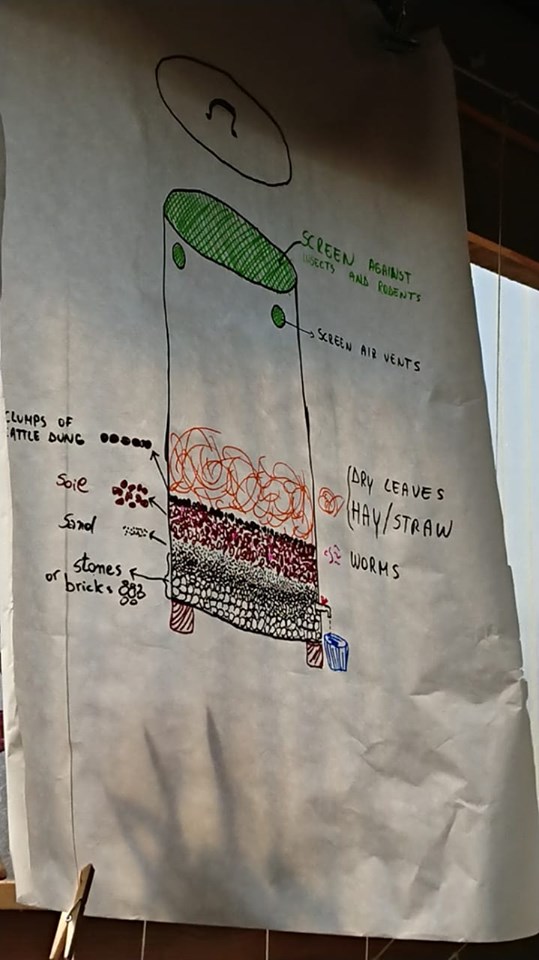
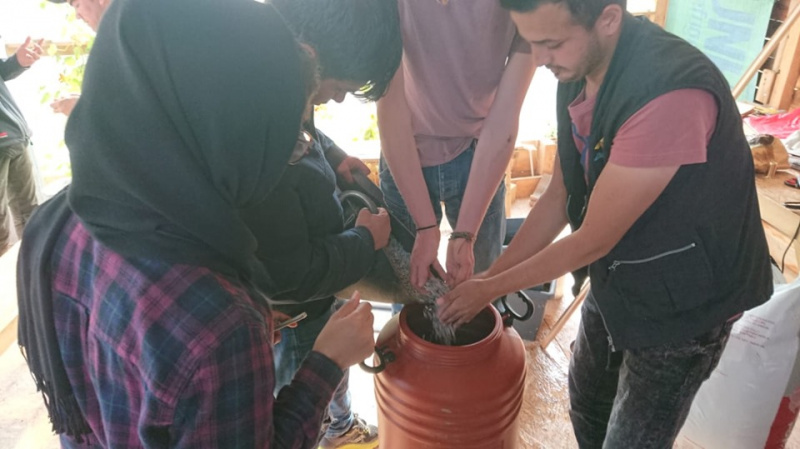
Start to fill the container from the bottom with the material of large dimensions first, consequently adding material of smaller dimensions and finishing with sand on the top.
It’s also possible to use only lighter inert material such as expanded clay balls instead of the bricks/stones/gravels, etc., and then finish with a layer of sand. [If used expanded clay, the barrel will be lighter to move.]
The quantities of the materials for the filter it depend on the dimension of the barrel, in general:
Total thickness: 25/35 cm. 1stlayer of stones/broken bricks/gravel/expanded clay balls/ = 15/20 cm; 2ndlayer of sand = 10/15 cm.
It’s always recommended to place a non-woven blanket (for some fabric such as a T-shirt) between the gravel and the sand. To stop the sand from being washed away.
Étape 4 - Wash out the filter.
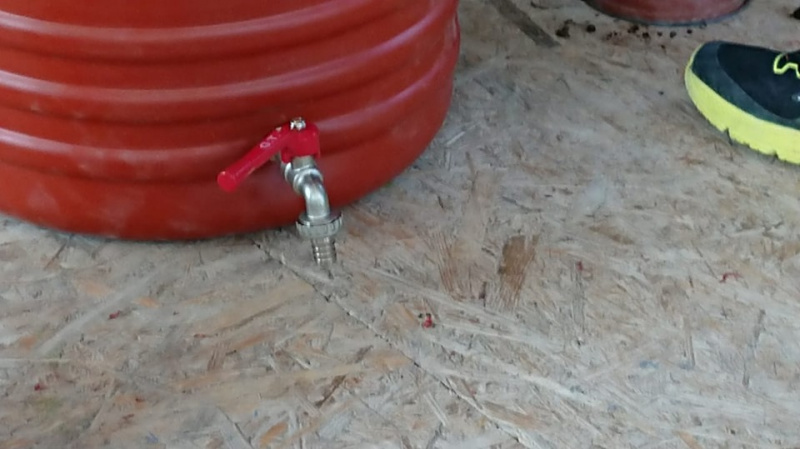
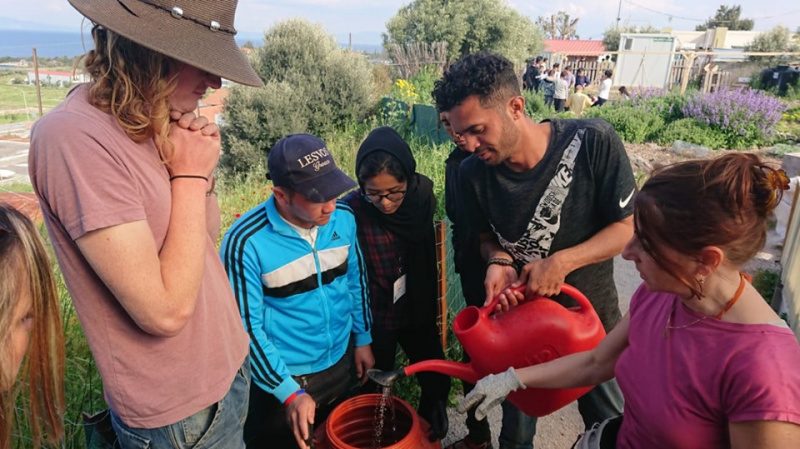
Wash out any dirt/sand that might come loose by pouring water into the barrel. Keep the tap open and let water follow through the sand/gravel layers to settle the filter unit before adding soil.
Étape 5 - Add layers and worms
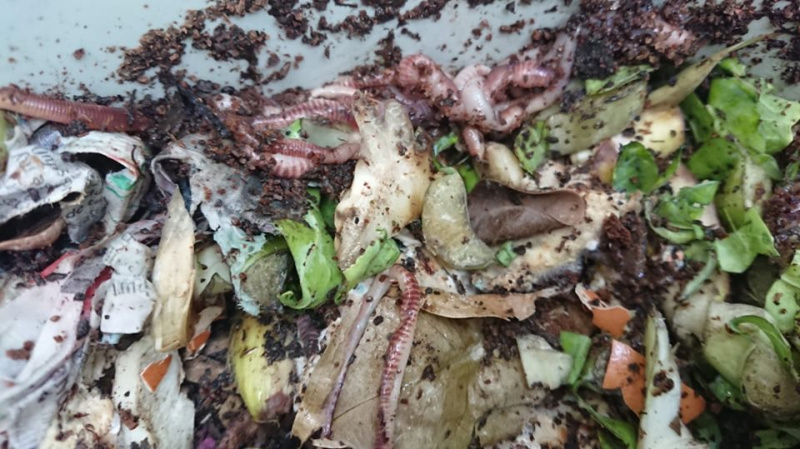
On top of the sand filter add 30-40cm of good, moist, loamy soil with as many worms as possible ( at least 100).
The add clumps of cattle dung (cow/sheep dung will also do)
Finally add hay.
Étape 6 - Wait 10 days - then you can start adding kitchen waste!
After 10 days wait you can start adding your kitchen waste under the hay layer.
Best is uncooked food.
Avoid: citrus, onions, meat or oily cooked foods.
Dung and hay can be replaced periodically.
Your compost material should be humid, not wet or dry.
Étape 7 - Harvesting your finished worm compost
1.Empty the bin on a tarpaulin sheet, forming a cone of finished compost.
2.leave the cone for several daylight hours.
3.Worms 'migrate' away from light to the bottom of the cone.
4. Scrape all of the worm-free compost on outside of heap (can be used in garden etc) and reform the cone.
5. Repeat the process until all but the lower 5cm of worm compost are left. the remaining compost can be used to start a new compost system.
Étape 8 - Harvesting your Vermiwash
Vermiwash is a potent plant fertiliser and can be collected whenever from the tap. To use for plants it should be diluted with water 6-10: 1
Published
 Français
 English
 Deutsch
 Español
 Italiano
 Português