(Page créée avec « Construction of the wooden structure ») |
(Page créée avec « On the wooden structure, there are 4 categories of boards: ») |
||
| Ligne 62 : | Ligne 62 : | ||
{{Tuto Step | {{Tuto Step | ||
|Step_Title=Construction of the wooden structure | |Step_Title=Construction of the wooden structure | ||
| − | |Step_Content= | + | |Step_Content=On the wooden structure, there are 4 categories of boards: |
- Les planches 2 et 4 | - Les planches 2 et 4 | ||
Version du 7 décembre 2020 à 20:27
Introduction
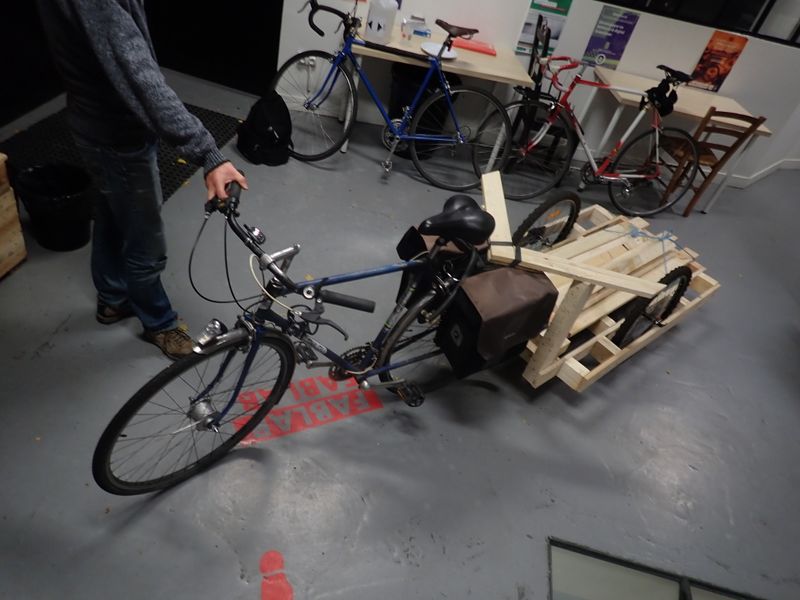
This bicycle trailer was produced for the opening of the Low Tech Lab Gd Paris in Boulogne-Billancourt.
It was made from herringbone pallets at Simplon Lab.
It allows you to transport objects of 2m50.Youtube
Étape 1 - Definition of need
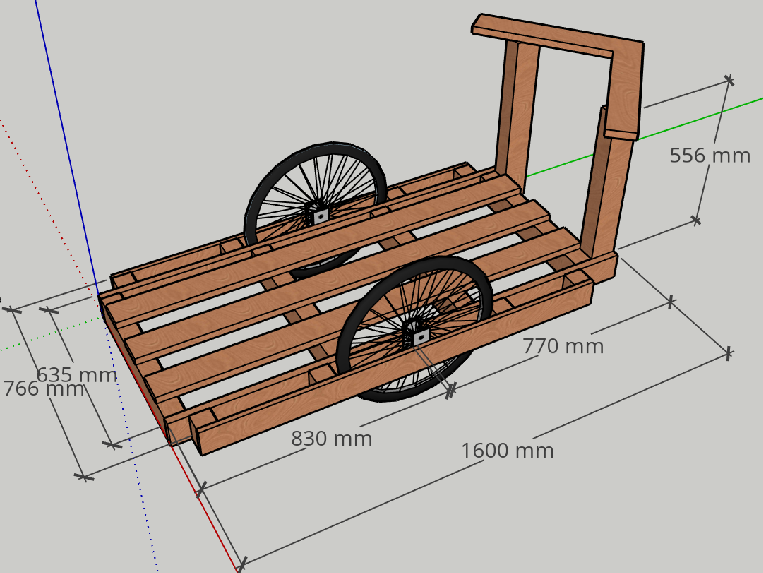
Before any construction project, it is important to define the need. In our case, we wanted to transport objects 2m50 long in Paris. The trailer can be used to transport other pallets, or to transport boxes, the structure is adapted accordingly.
It is also necessary to put down in writing the desired structure and to reflect in group on the feasibility of this structure. The width of a bicycle trailer cannot exceed 1m.
Étape 2 - Material recovery
The pallets can be collected from craftsmen or professionals. Bike wheels can be picked up from bike shops.
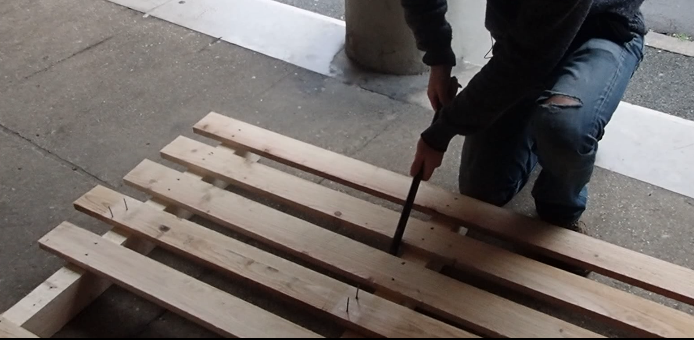
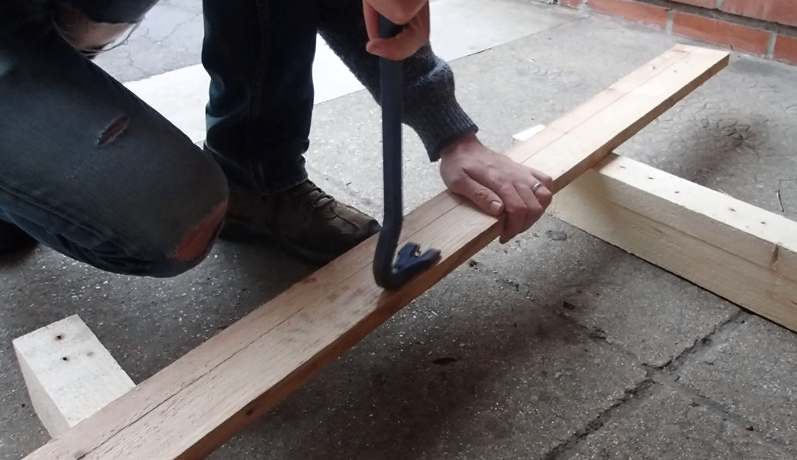
The pallets can be dismantled with a crowbar and a hammer.
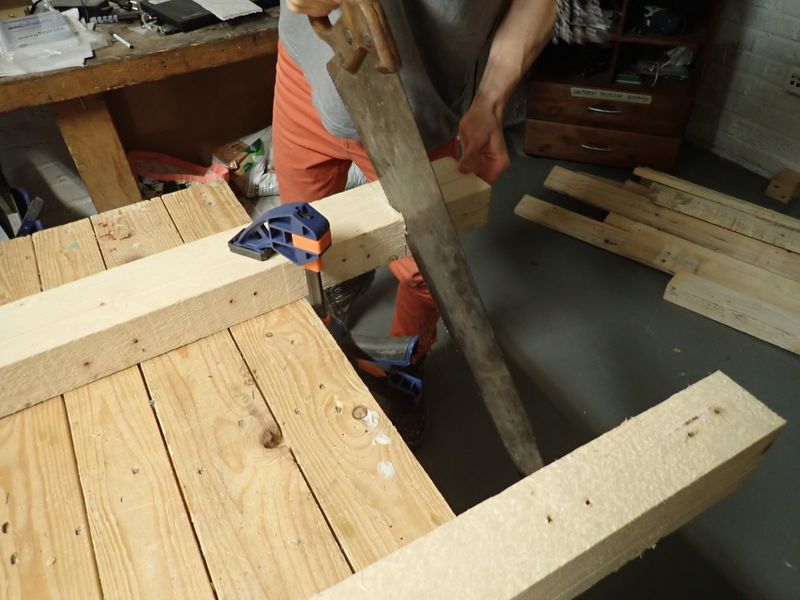
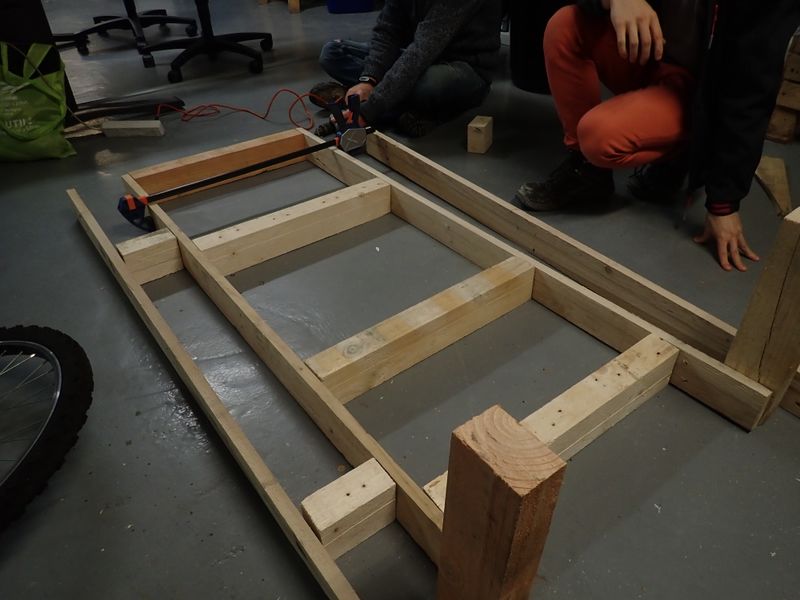
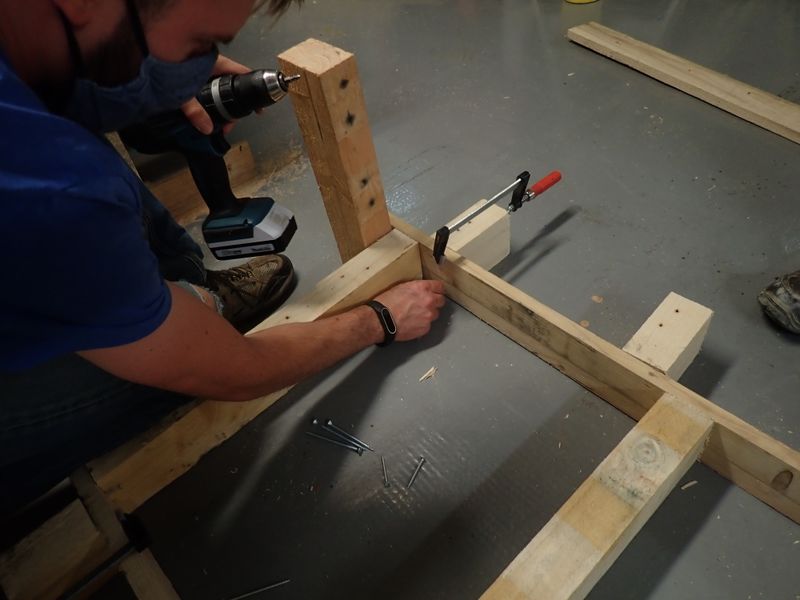
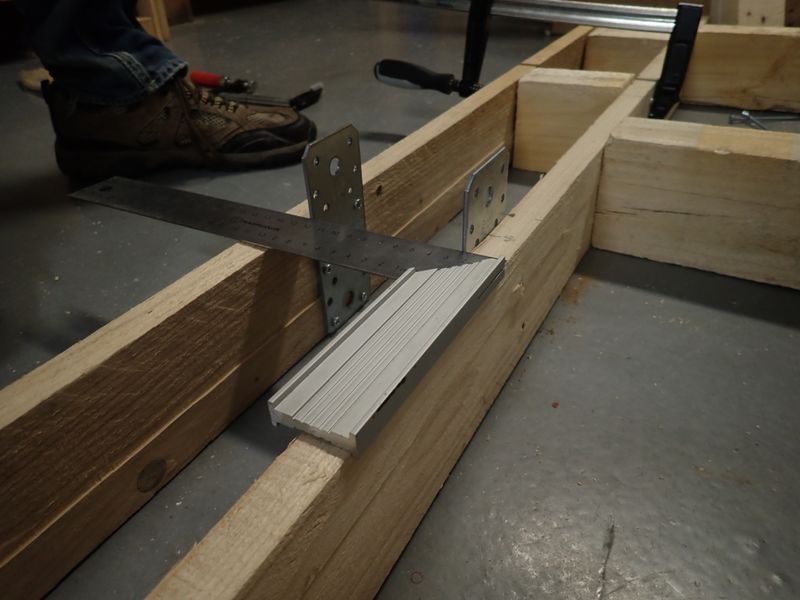
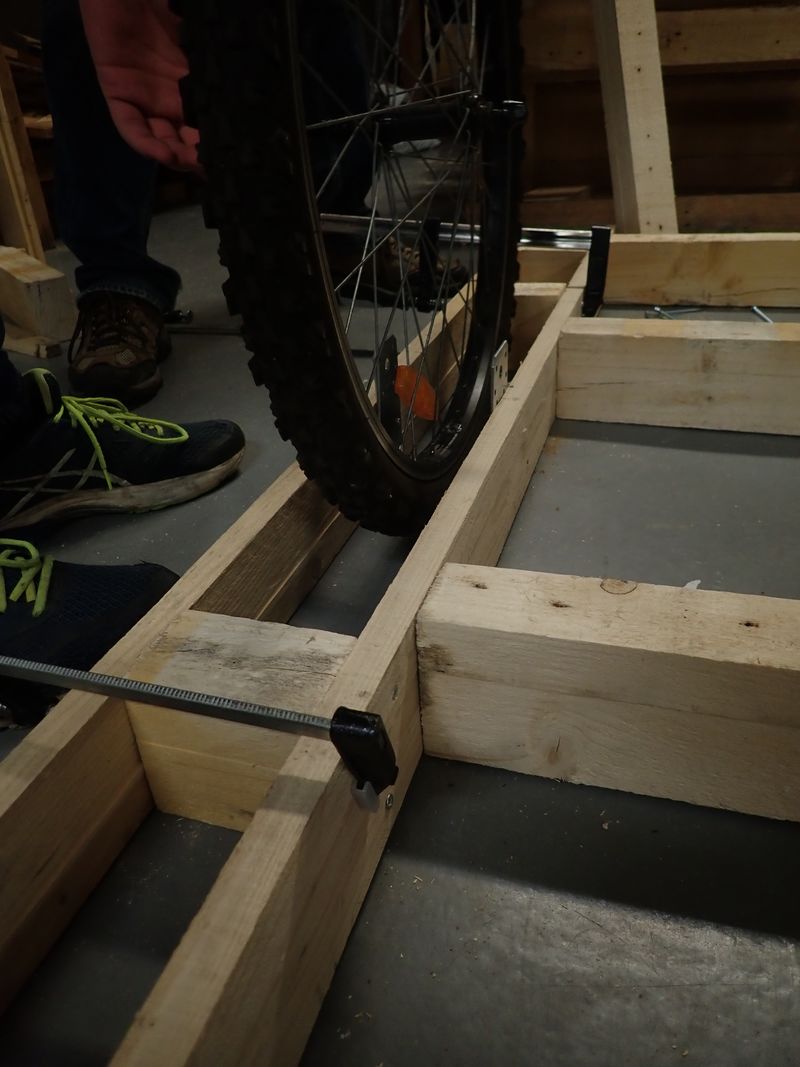
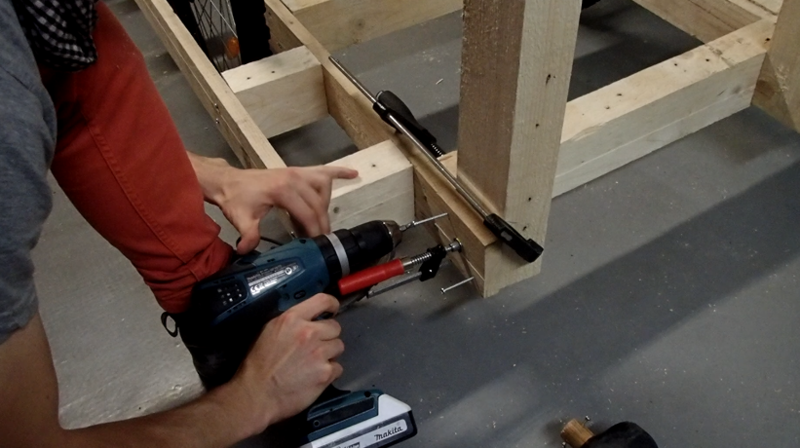
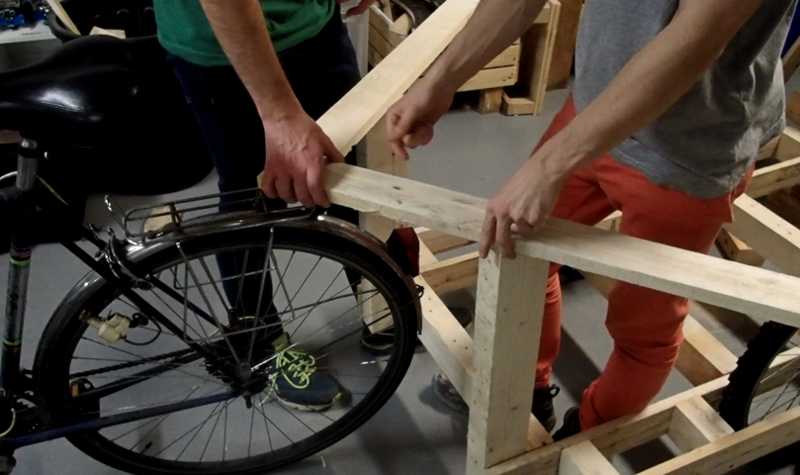
Étape 3 - Construction of the wooden structure
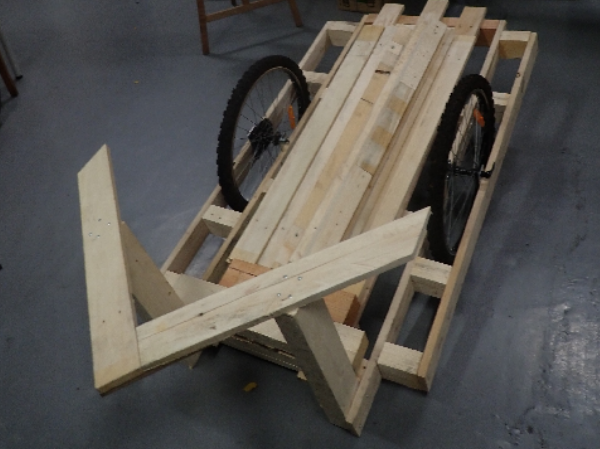
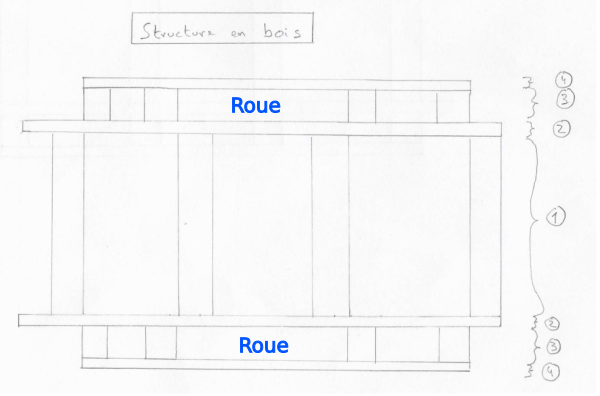
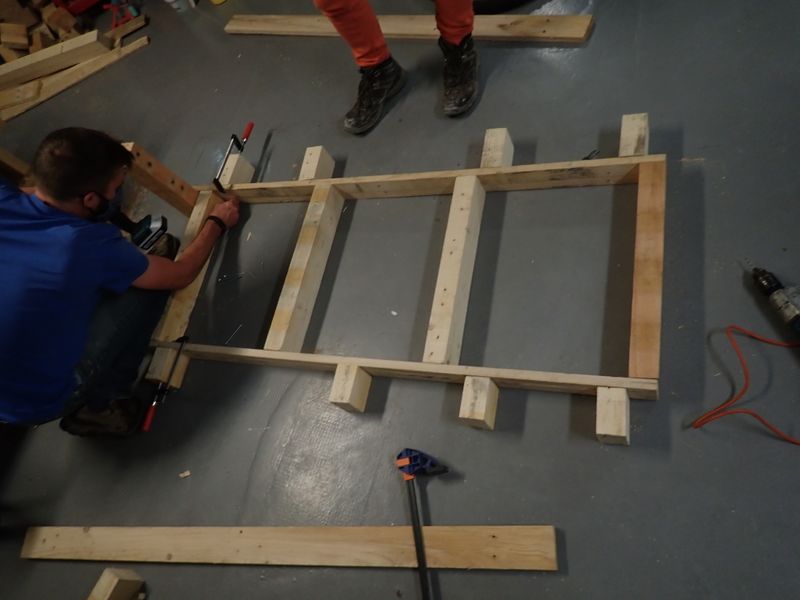
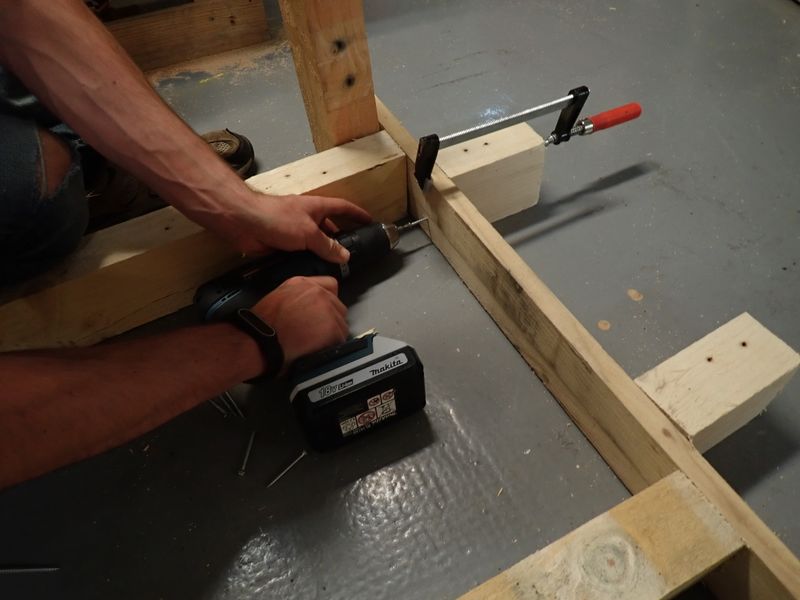
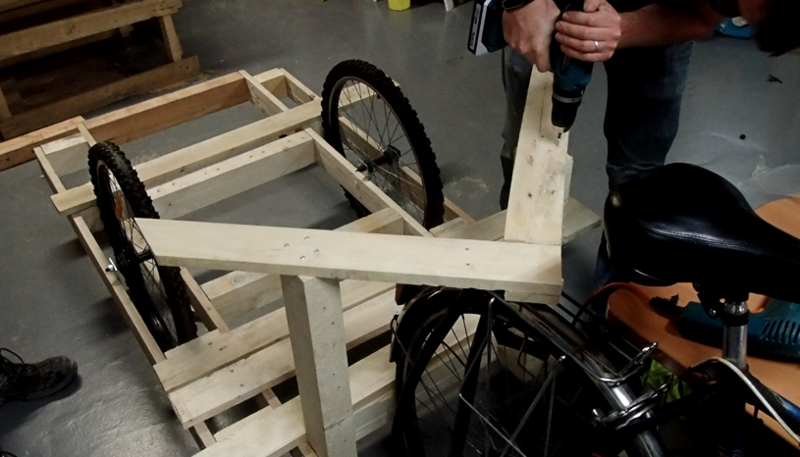
On the wooden structure, there are 4 categories of boards:
- Les planches 2 et 4
- Les chevrons 1 et 3
La structure doit être montée depuis le centre
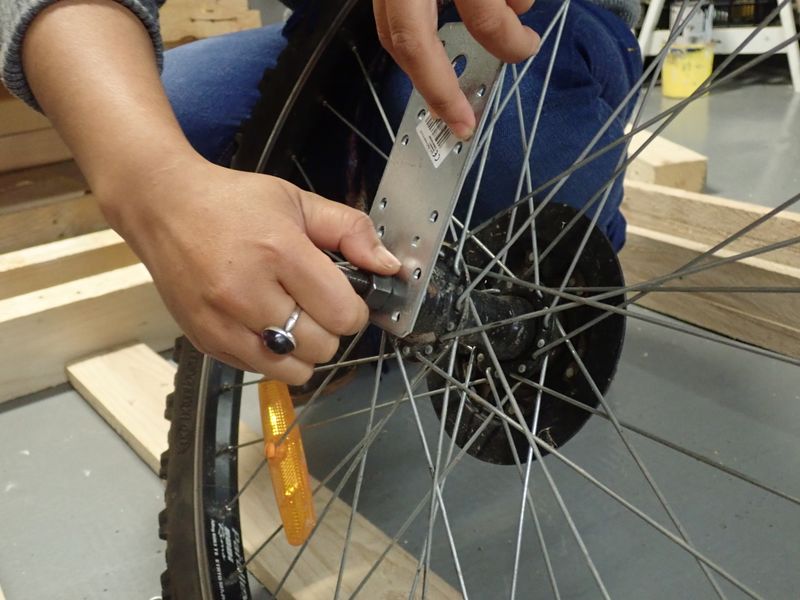
chevron 1 -> planche 2 -> chevron 3 -> platines + roues -> planche 4
Les chevrons 1 et 3 doivent être décalées. Les chevrons 3 doivent encadrer les roues de vélo, leur épaisseur doit donc être égale à la largeur des roues avec platine.
Étape 4 - Fixation des roues
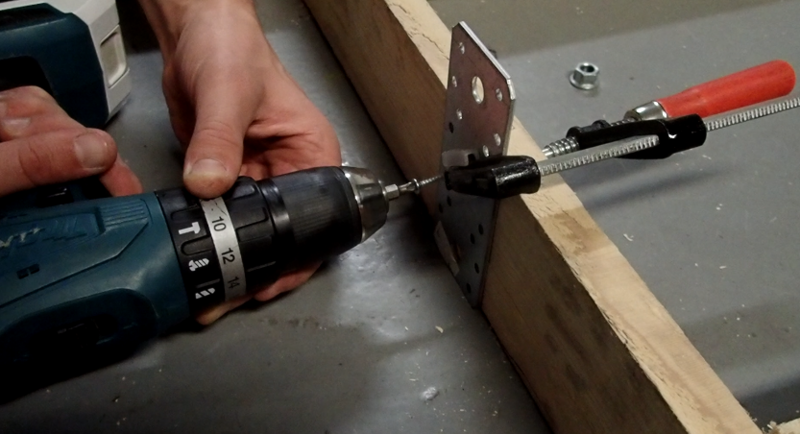
Les roues doivent être fixées avant les planches 4.
Les platines peuvent être fixées aux planches 2 et 4.
Étape 5 - Lier la remorque au vélo
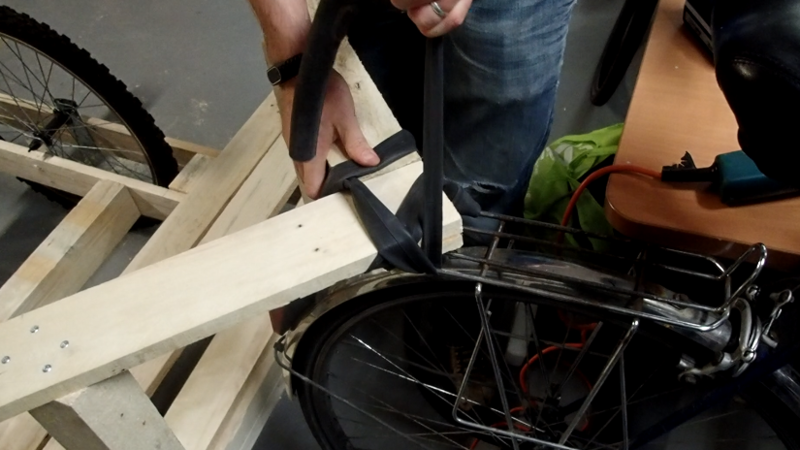
La remorque peut maintenant être fixée au porte bagage du vélo. Le système de liaison doit respecter les conditions suivantes :
- supporter la charge de la remorque
- supporter une légère inclinaison du vélo
- pouvoir être attacher et détacher facilement
- supporter freinage/ accélation (supporter une force dans toutes les directions)
Dans notre cas, nous avons choisit de fixer la remorque avec une chambre à air.
Published
 Français
 English
 Deutsch
 Español
 Italiano
 Português