(Page créée avec « Insert the blade into the slot, back outside. Place the washers to block the blade without hiding the slot. Mark the center of the holes for drilling. Drill the holes. The... ») |
(Page créée avec « Plastic rope production ») |
||
| Ligne 65 : | Ligne 65 : | ||
}} | }} | ||
{{ {{tntn|Tuto Step}} | {{ {{tntn|Tuto Step}} | ||
| − | |Step_Title= | + | |Step_Title=Plastic rope production |
|Step_Content=Le découpe bouteille est prêt, il faut maintenant préparer une bouteille et la débiter: | |Step_Content=Le découpe bouteille est prêt, il faut maintenant préparer une bouteille et la débiter: | ||
Couper le fond de la bouteille. La coupe doit être propre et droite. | Couper le fond de la bouteille. La coupe doit être propre et droite. | ||
Version du 15 janvier 2018 à 17:32
Description
With this bottle cutter it possible to make a plastic rope from plastic bottles. It is simple to make and can be carried everywhere.
Sommaire
Sommaire
- 1 Description
- 2 Sommaire
- 3 Étape 1 - Choose the piece of wood
- 4 Étape 2 - Cutting of the longitudinal slot
- 5 Étape 3 - Cutting of the transversal slot
- 6 Étape 4 - Insérer et bloquer la lame
- 7 Étape 5 - Plastic rope production
- 8 Étape 6 - Usages et caractéristiques
- 9 Étape 7 - Quels nœuds pour le fil plastique ?
- 10 Commentaires
Étape 1 - Choose the piece of wood
The piece of wood used in this tutorial is 22 x 2 x 2 cm. You can use one a bit larger but you do not need to use a longer one.
Étape 2 - Cutting of the longitudinal slot
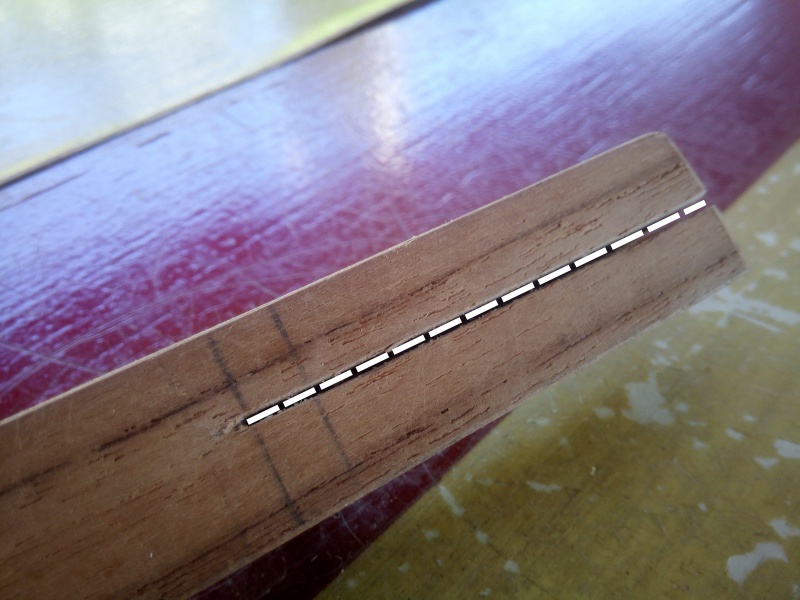
Draw a line about 6 cm long, well centered. Cut along this line. The bottom of the slot must be straight
Étape 3 - Cutting of the transversal slot
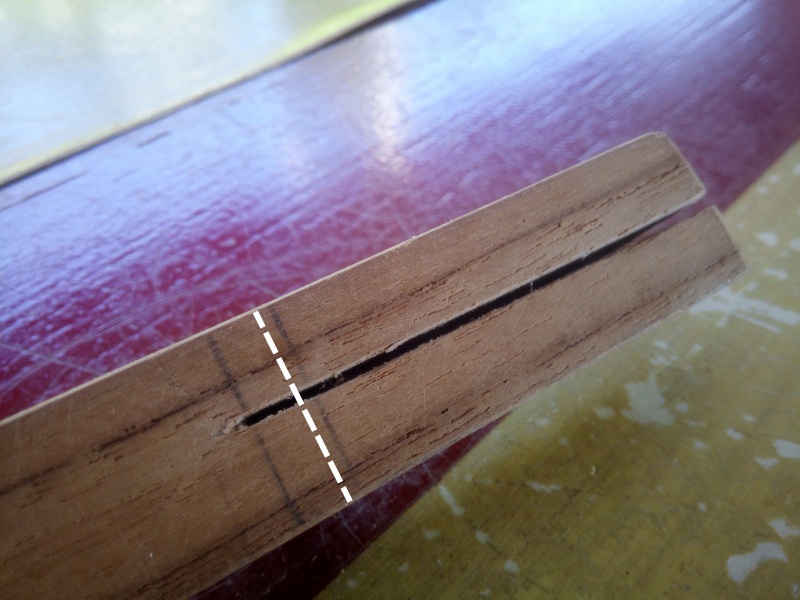
Draw a transverse line, perpendicular to the previous slot. The depth of this slot must be less than the width of the cutter blade.
The cutter blade fits in this slote and it defines the width of the wire you will cut. For a 4mm wide wire, make the cut at 4mm from the bottom of the longitudinal slot.
Étape 4 - Insérer et bloquer la lame
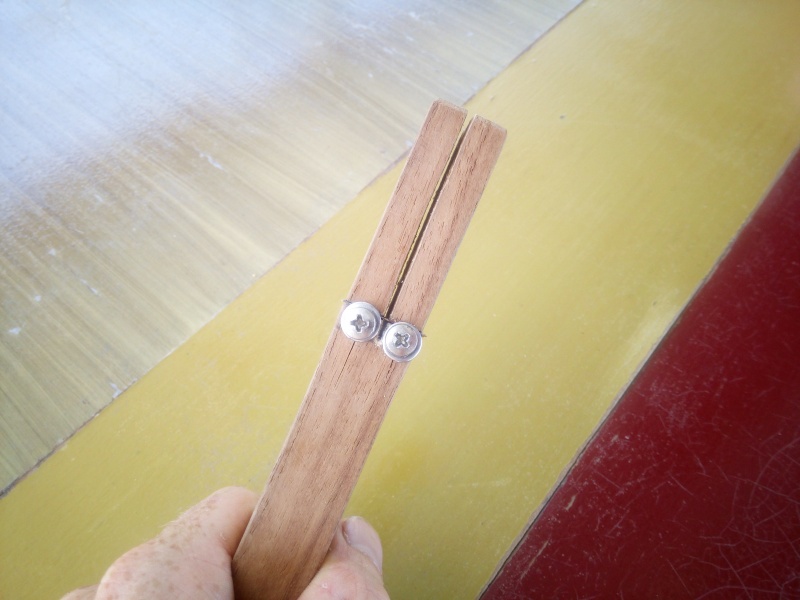
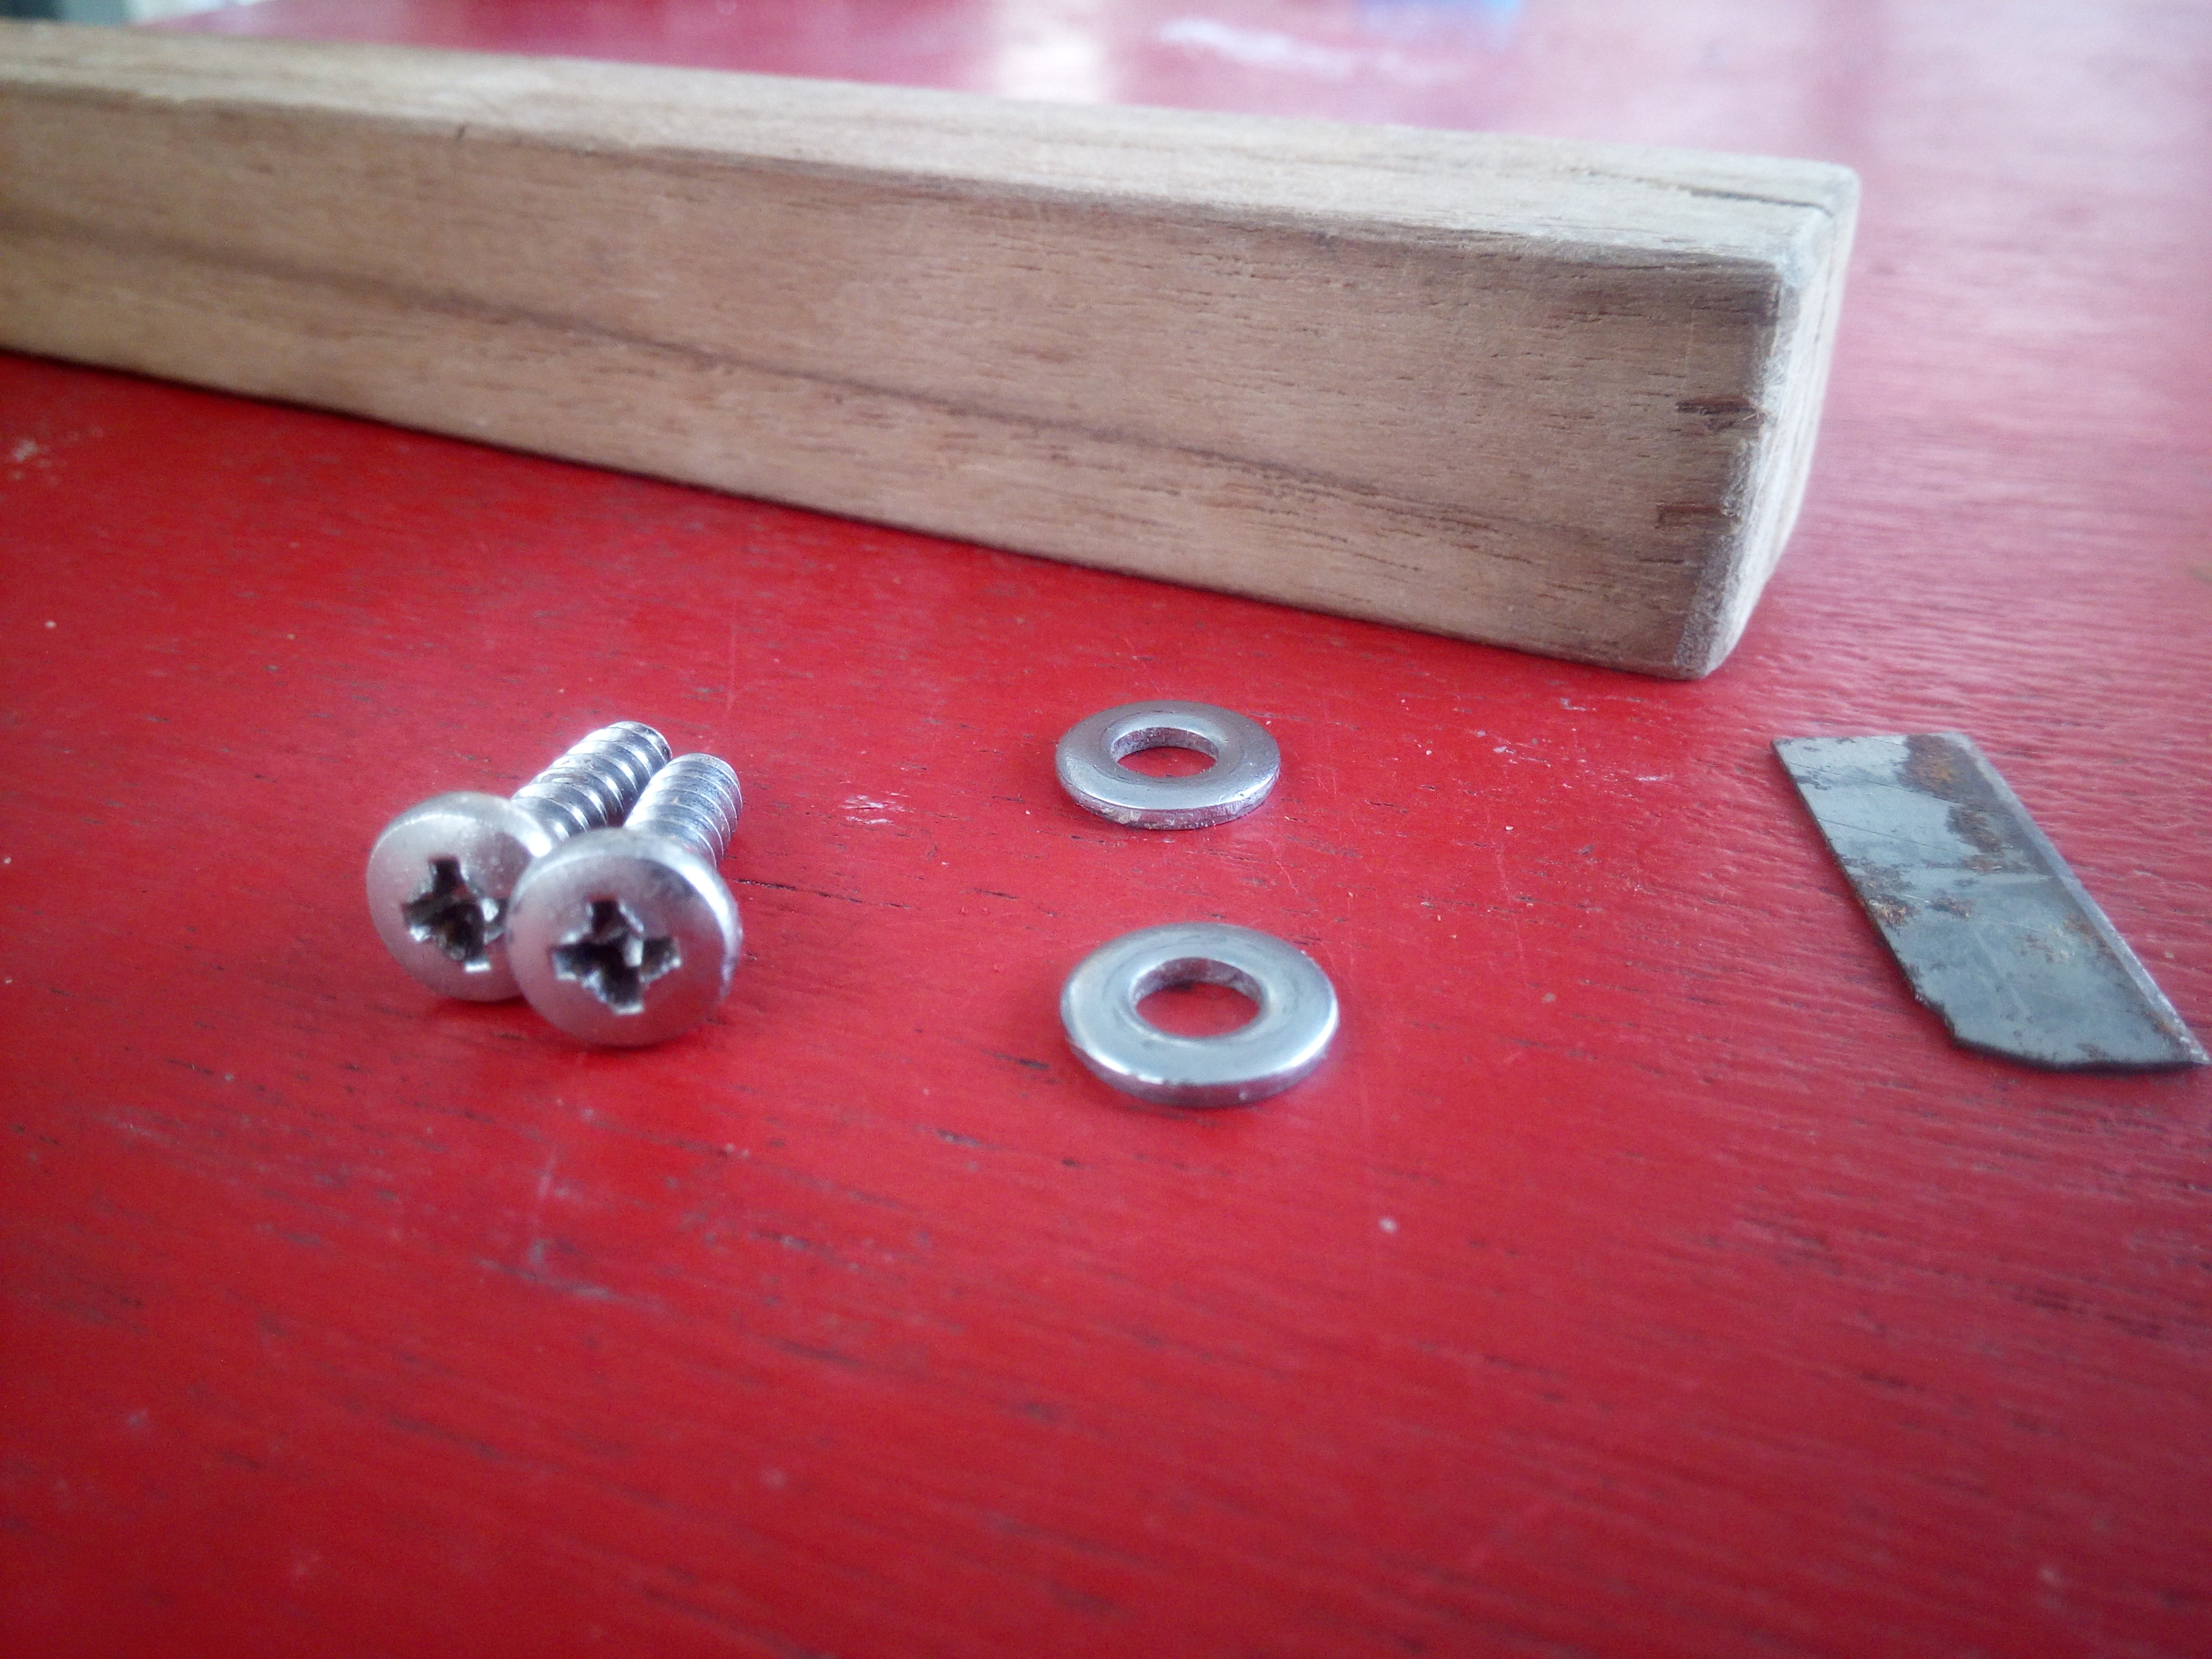
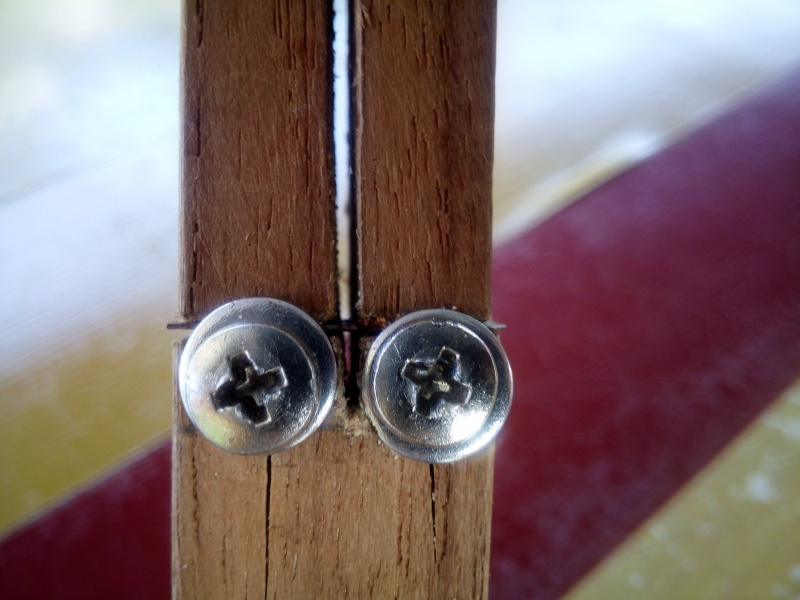
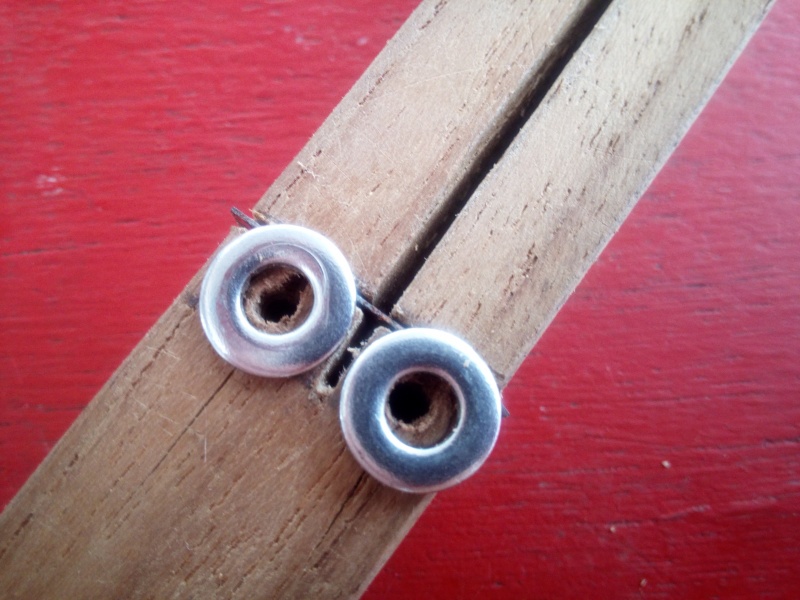
Insert the blade into the slot, back outside. Place the washers to block the blade without hiding the slot. Mark the center of the holes for drilling. Drill the holes. The drill bit should have a diameter slightly smaller than the diameter of the screws. Screw in the screws and washers.
Étape 5 - Plastic rope production
Le découpe bouteille est prêt, il faut maintenant préparer une bouteille et la débiter: Couper le fond de la bouteille. La coupe doit être propre et droite. Découper une amorce à l'aide de ciseaux. Insérer l'amorce et débiter le fil.
Étape 6 - Usages et caractéristiques
Le fil issu de bouteilles plastiques est plus ou moins résistant selon son épaisseur et la nature du plastique.
Ce fil présente deux grand avantages: il est thermorétractable et vieillit bien en extérieur.
Il est possible de l'utiliser pour confectionner des treillis (pour tuteurer des plantes par exemple) ou pour suspendre des objets. Il est aussi possible de le tisser.
Quelque soit sa résistance, ce fil n'est pas normé et ne doit donc pas être utilisé pour soutenir ou assurer la sécurité de personnes.
Étape 7 - Quels nœuds pour le fil plastique ?
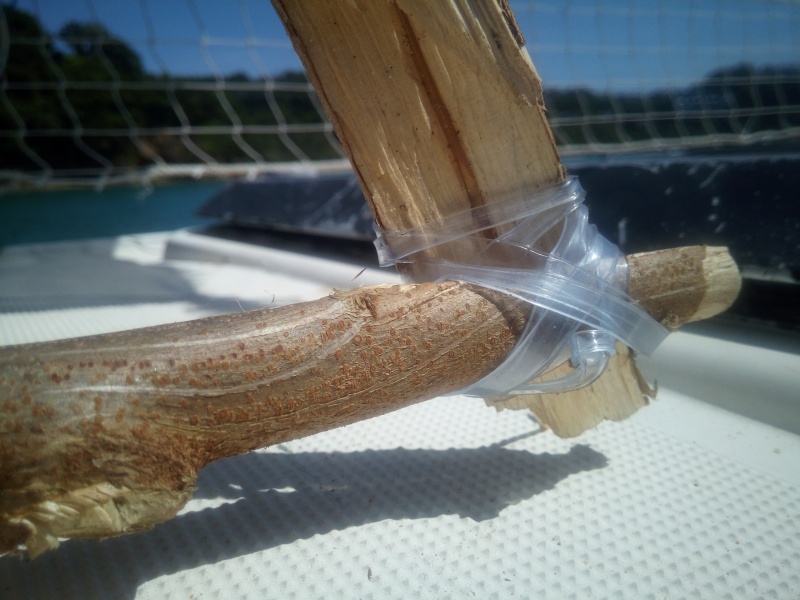
Le fil plastique issu de bouteille est plus proche de la sangle que de la ficelle de part son profil plat. Tout comme pour les sangles, tous les nœuds ne fonctionnent pas sur ce support et certains sont plus adaptés que d'autres.
Voici une liste des nœuds fonctionnant parfaitement avec le fil plastique:
Pour fermer un anneau ou pour rabouter deux brins:
- noeud de sangle
Pour créer une boucle à une extrémité:
- noeud de plein poing
- noeud de huit double
Yes
 Français
 English
 Deutsch
 Español
 Italiano
 Português