(Page créée avec « Unzip the downloaded archive. ») |
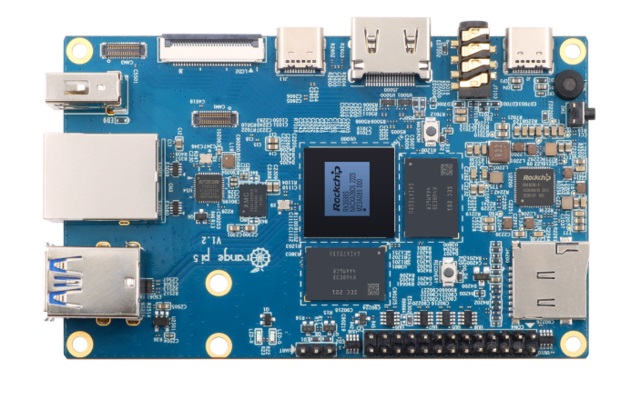
(Page créée avec « Use balena etcher to create a bootable usb key to install dietpi on your single board computer (orange pi 5 in this case but it works the same with other SBC). ») |
||
| Ligne 77 : | Ligne 77 : | ||
| − | + | Use balena etcher to create a bootable usb key to install dietpi on your single board computer (orange pi 5 in this case but it works the same with other SBC). | |
Version du 3 août 2024 à 13:34
Description
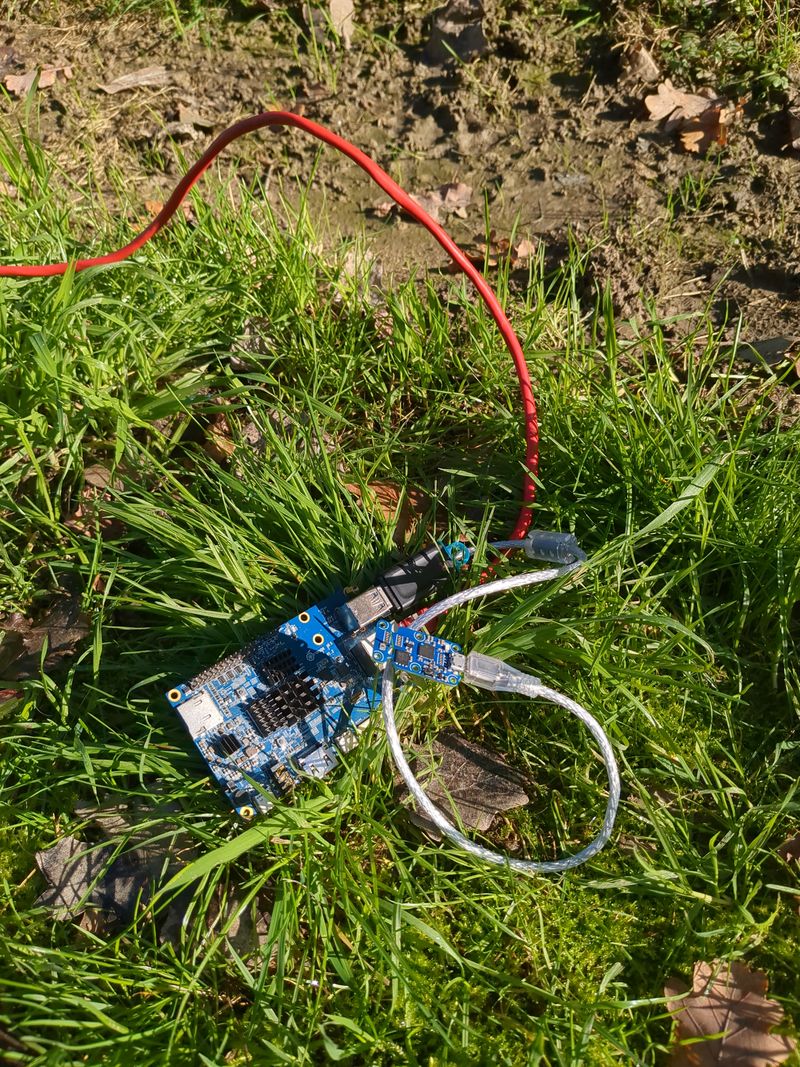
Sunlight-luminosity measurement with a single board computer (raspberry-orangepi)
As you might not know, the meteorological surface synoptic observations data (SYNOP, available here: https://donneespubliques.meteofrance.fr/?fond=produit&id_produit=90&id_rubrique=32) do not take into account sunlight/luminosity.
Sunlight/luminosity data can be interesting to gather for
a diversity of uses (home well-being, photovoltaics production, plants care,...).
For photovoltaics, although the technology is old, my research did not permit
to find reliable measurements for cloudy weather.
We find videos of such a measurement, for example this one:
https://www.youtube.com/watch?v=H_Aow78MFmQ&ab_channel=TopeSosanya
that may let think that solar pannels produce at 50% of their nominal capacity.
My measurement instruments being subject to interferences, they do not allow me to make reliable measurements, so i thought about producing simple code that other users less subject to interferences could reuse at their at their convenience.
This tutorial will allow you, with only two commands (after installing operating system and docker), to use your single board computer like a weather station recording sunlight/luminosity every minute in a database and producing a web page where one can retrieve results with possibility to make requests with date filters.
the demo is available here:
https://vpn.matangi.dev/lum
Note: dont trust the measurements displayed in the demo above: the ecoterrorist french police doctrine destroys the possibility to do science correctly in france wiith computers. I do not have financial and technical means, and I do not want to spend time playing cat and mouse again and again to dodge recurring cyber attacks and shackles.
The logic integrity of the code is good.
If the system changes, or if you are not targetted too much, this could be useful.
Publishing on lowtechlab is a signal to encourage you
to do your own measurements with diy stuff, like a multimeter and an old offline camera to upload on youtube or peertube.
If you read this tutorial and you are not yet an ecoterrorist, you have a superpower: invisibility cape.
Matériaux
single board comptuer (raspberry or other): approximately 100€
usb key: 10€
luminosity sensor (yoctopuce yoctolight v4): approximately 30€
video: measurement accrediting the hypothesis of a production at 50% of nominal power by cloudy weather (https://www.youtube.com/watch?v=H_Aow78MFmQ)
Outils
Étape 1 - Single board computer installation
Install dietpi
To install, i recommend using dietpi. Dietpi is intersting in particular for it is lightweight, but also for it has a user-friendly menu to install automatically a lot of free software. We can mention among all the free software available to install at startup (https://dietpi.com/dietpi-software.html) home automation apps, interesting to save energy depending on the weather, but also "tor" apps to contribute to the relatively anonymizing network, which can be interesting for ecoterrorist we are.
Select your single board computer (orange pi in this case) and then download
Unzip the downloaded archive.
Use balena etcher to create a bootable usb key to install dietpi on your single board computer (orange pi 5 in this case but it works the same with other SBC).
https://etcher.balena.io/#download-etcher
Double cliquer sur le fichier téléchargé
Selectionner l'image de dietpi téléchargée, selectionner votre clé usb, cliquer sur flash.
Il ne vous reste plus qu'à brancher la clé usb sur le orangepi et il bootera automatiquement sur la clé usb.
Pour un raspberry pi, on utilise une carte sd mais on peut configurer le boot usb également (voir ici : https://makerhelp.fr/booter-un-raspberry-pi-4-sur-un-disque-dur-ou-un-ssd-en-usb/).
Allumer votre orangepi/raspberrypi avec la clé usb branchée.
Suivre les menus que vous propose dietpi au premier démarrage pour installer le dietpi sans autre logiciel. C'es très facile, c'est en anglais et tout est automatisé.
Vous pouvez vous déplacer dans les menus au clavier avec les fleches et la touche tab.
Selectionner avec espace et valider avec entree.
Ne pas installer de logiciels optionnels tels que nextcloud.
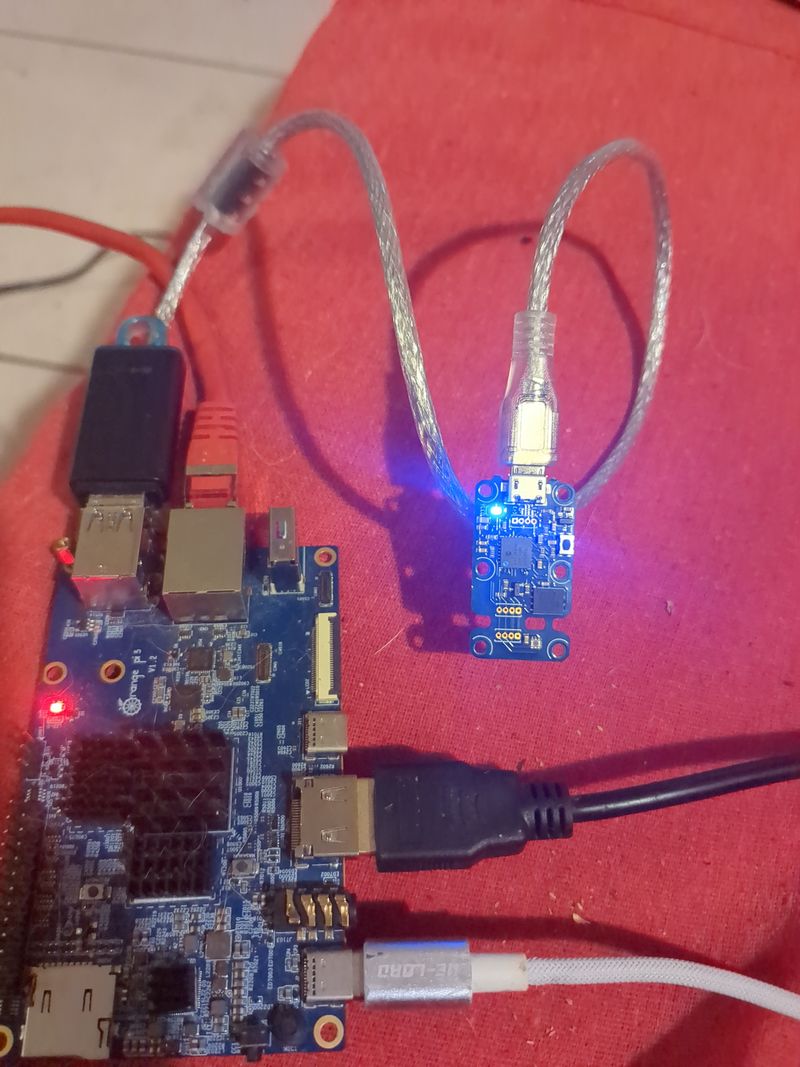
Étape 2 - brancher le capteur de luminosité yoctopuce yoctolight v4
La led bleu du capteur clignote lentement lorsque le capteur est branché
Attention à ne pas débrancher le capteur lors des mesures, sinon, il faut
relancer le serveur (docker compose down && docker compose up)
Étape 3 - installer le serveur django
1.installer docker:
taper dans votre terminal :
sudo apt -y update && sudo apt -y upgrade
sudo apt install git lsb-release gnupg2 apt-transport-https ca-certificates curl software-properties-common -y
curl -fsSL https://download.docker.com/linux/debian/gpg
sudo add-apt-repository "deb [arch=$(dpkg --print-architecture)] https://download.docker.com/linux/debian $(lsb_release -cs) stable"
sudo apt update
sudo apt install docker-ce docker-ce-cli containerd.io docker-compose-plugin
sudo usermod -aG docker $USER
newgrp docker
sudo systemctl start docker && sudo systemctl enable docker
2.suivre les étapes du dépot https://gitlab.com/aurelpere/lux (logiciel libre que j'ai codé pour faciliter l'utilisation de la yoctolight):
taper dans votre terminal
git clone https://gitlab.com/aurelpere/lux.git
taper dans votre terminal
cd lux && docker compose up
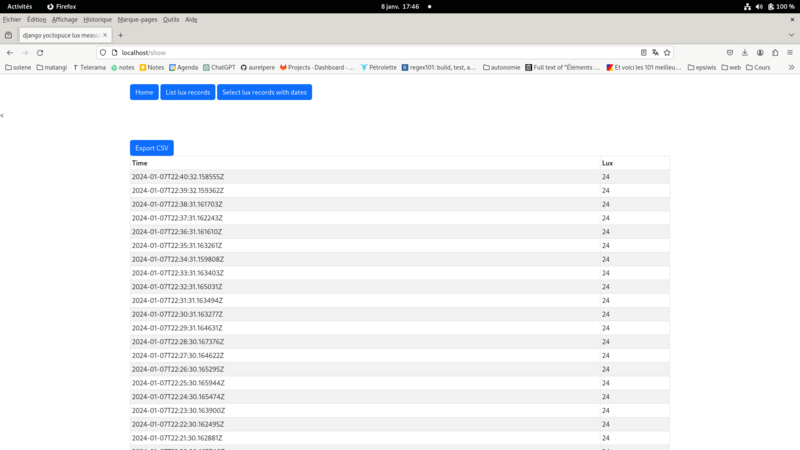
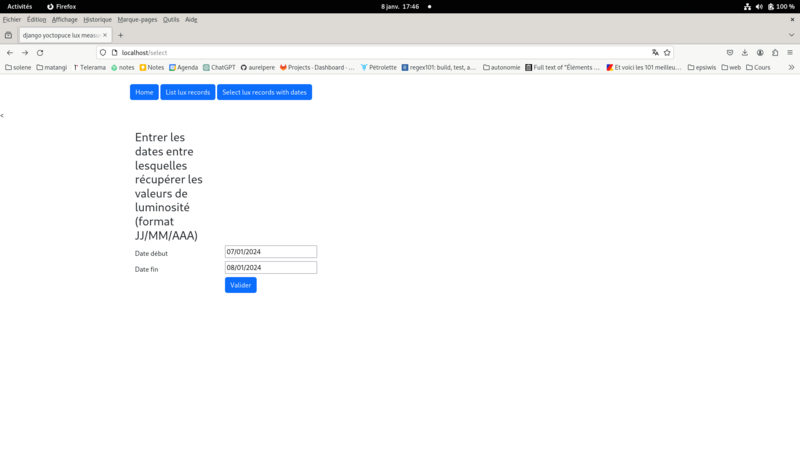
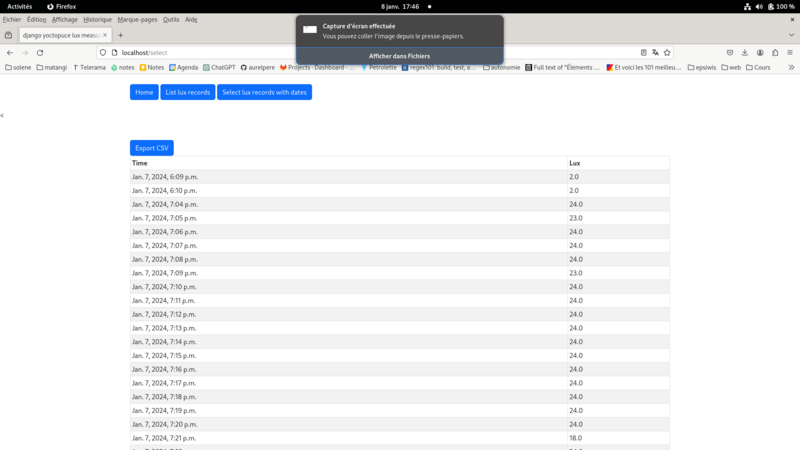
C'est prêt, votre ordinateur monocarte enregistre les mesures de luminosité
mesurées en lux toutes les minutes et fait tourner un site internet
accessible sur le port 4000 qui permet d'afficher les mesures enregistrées dans une
base de données toutes les minutes et sélectionner les mesures en fonction des
dates entrées par l'utilisateur (avec export excel possible).
Pour rendre le site internet accessible à d'autres ordinateurs, se réferrer
aux étapes 6 à 11 de ce tutoriel :
Serveur orangepi-raspberry nextcloud en photovoltaïque autonome
Le serveur est accessible aux adresses http://adresse_ip:4000 en local et http://adresse_ip_publique sur internet
Ce tutoriel sera mis à jour avec les capteurs yoctopuce de tension et d'intensité lorsque j'aurai le temps, la motivation et le budget :)
A noter que si vous préférez utiliser les stats d'ensoleillement du modele jrc,
vous pouvez vous reporter à mon autre tuto sur le dimensionnement photovoltaïque en site isolé-autonome ici: Dimensionner une installation photovoltaïque autonome
Published

 Français
 English
 Deutsch
 Español
 Italiano
 Português