(Page créée avec « Assembly of the fabrics ») |
(Page créée avec « The fabrics are joined together using the central pieced seam. ») |
||
| Ligne 142 : | Ligne 142 : | ||
{{Tuto Step | {{Tuto Step | ||
|Step_Title=Assembly of the fabrics | |Step_Title=Assembly of the fabrics | ||
| − | |Step_Content= | + | |Step_Content=The fabrics are joined together using the central pieced seam. |
*Ajouter des épingles au centre de la partie principale pour éviter que les tissus bougent. | *Ajouter des épingles au centre de la partie principale pour éviter que les tissus bougent. | ||
Version du 9 juillet 2024 à 15:01
Description
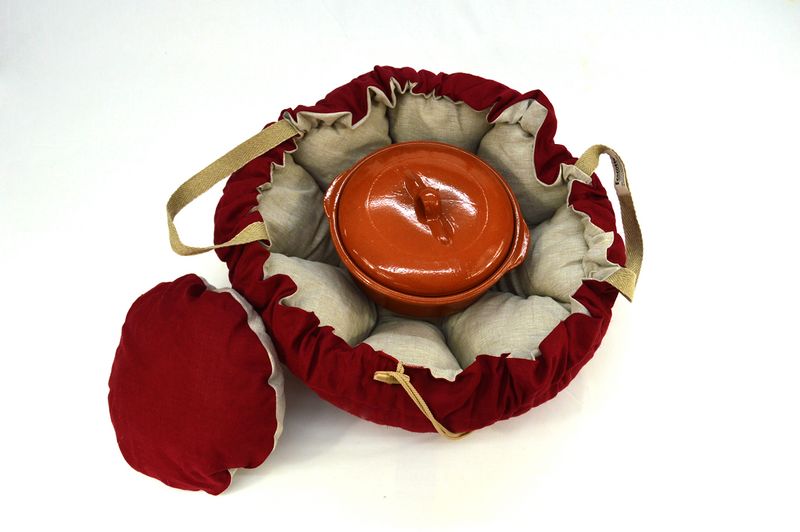
A flexible, nomadic and elegant Norwegian pot that guarantees maximum thermal insulation and requires only a few basic sewing skills. For a healthy and sober end to your cooking.
Sommaire
Sommaire
- 1 Description
- 2 Sommaire
- 3 Introduction
- 4 Video d'introduction
- 5 Étape 1 - Sizing GUIDE
- 6 Étape 2 - Cutting
- 7 Étape 3 - Tracing
- 8 Étape 4 - Assembly of the fabrics
- 9 Étape 5 - Rembourrage
- 10 Étape 6 - Fermeture partie centrale
- 11 Étape 7 - Positionnement des anses (optionnel)
- 12 Étape 8 - Passage du cordon
- 13 Étape 9 - Fermeture extérieur
- 14 Étape 10 - "bouton"
- 15 Étape 11 - Le coussin
- 16 Étape 12 - Résultat
- 17 Notes et références
- 18 Commentaires
Introduction
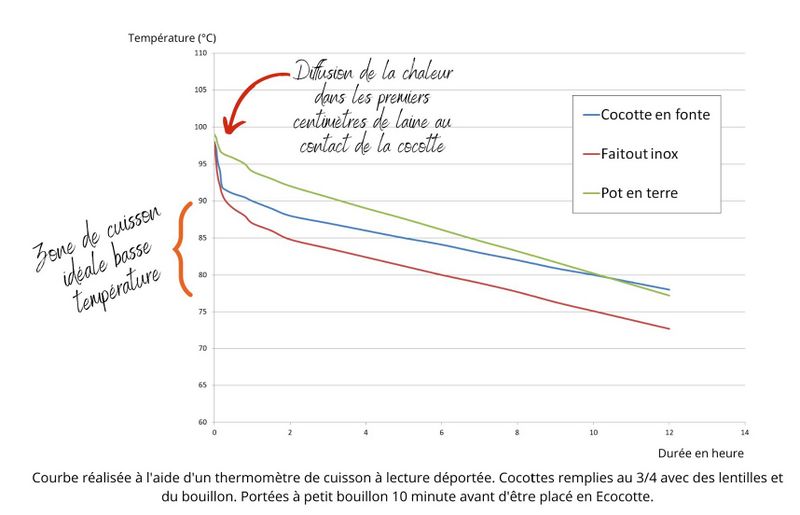
The Norwegian pot is a great tool for finishing low-temperature cooking using only the energy needed to heat the food.
It not only makes cooking healthy and tasty, but also saves a considerable amount of energy if it is used often (up to 80% savings per cooking).
This shared experience will enable you to guarantee that the temperature will be maintained above 60°C for more than 10 hours with an ordinary stewpot, and much longer with a cast-iron or earthenware casserole, simply by bringing the food to the boil for a few minutes.
Tutorial under licence: CC BY NC
Youtube
Étape 1 - Sizing GUIDE
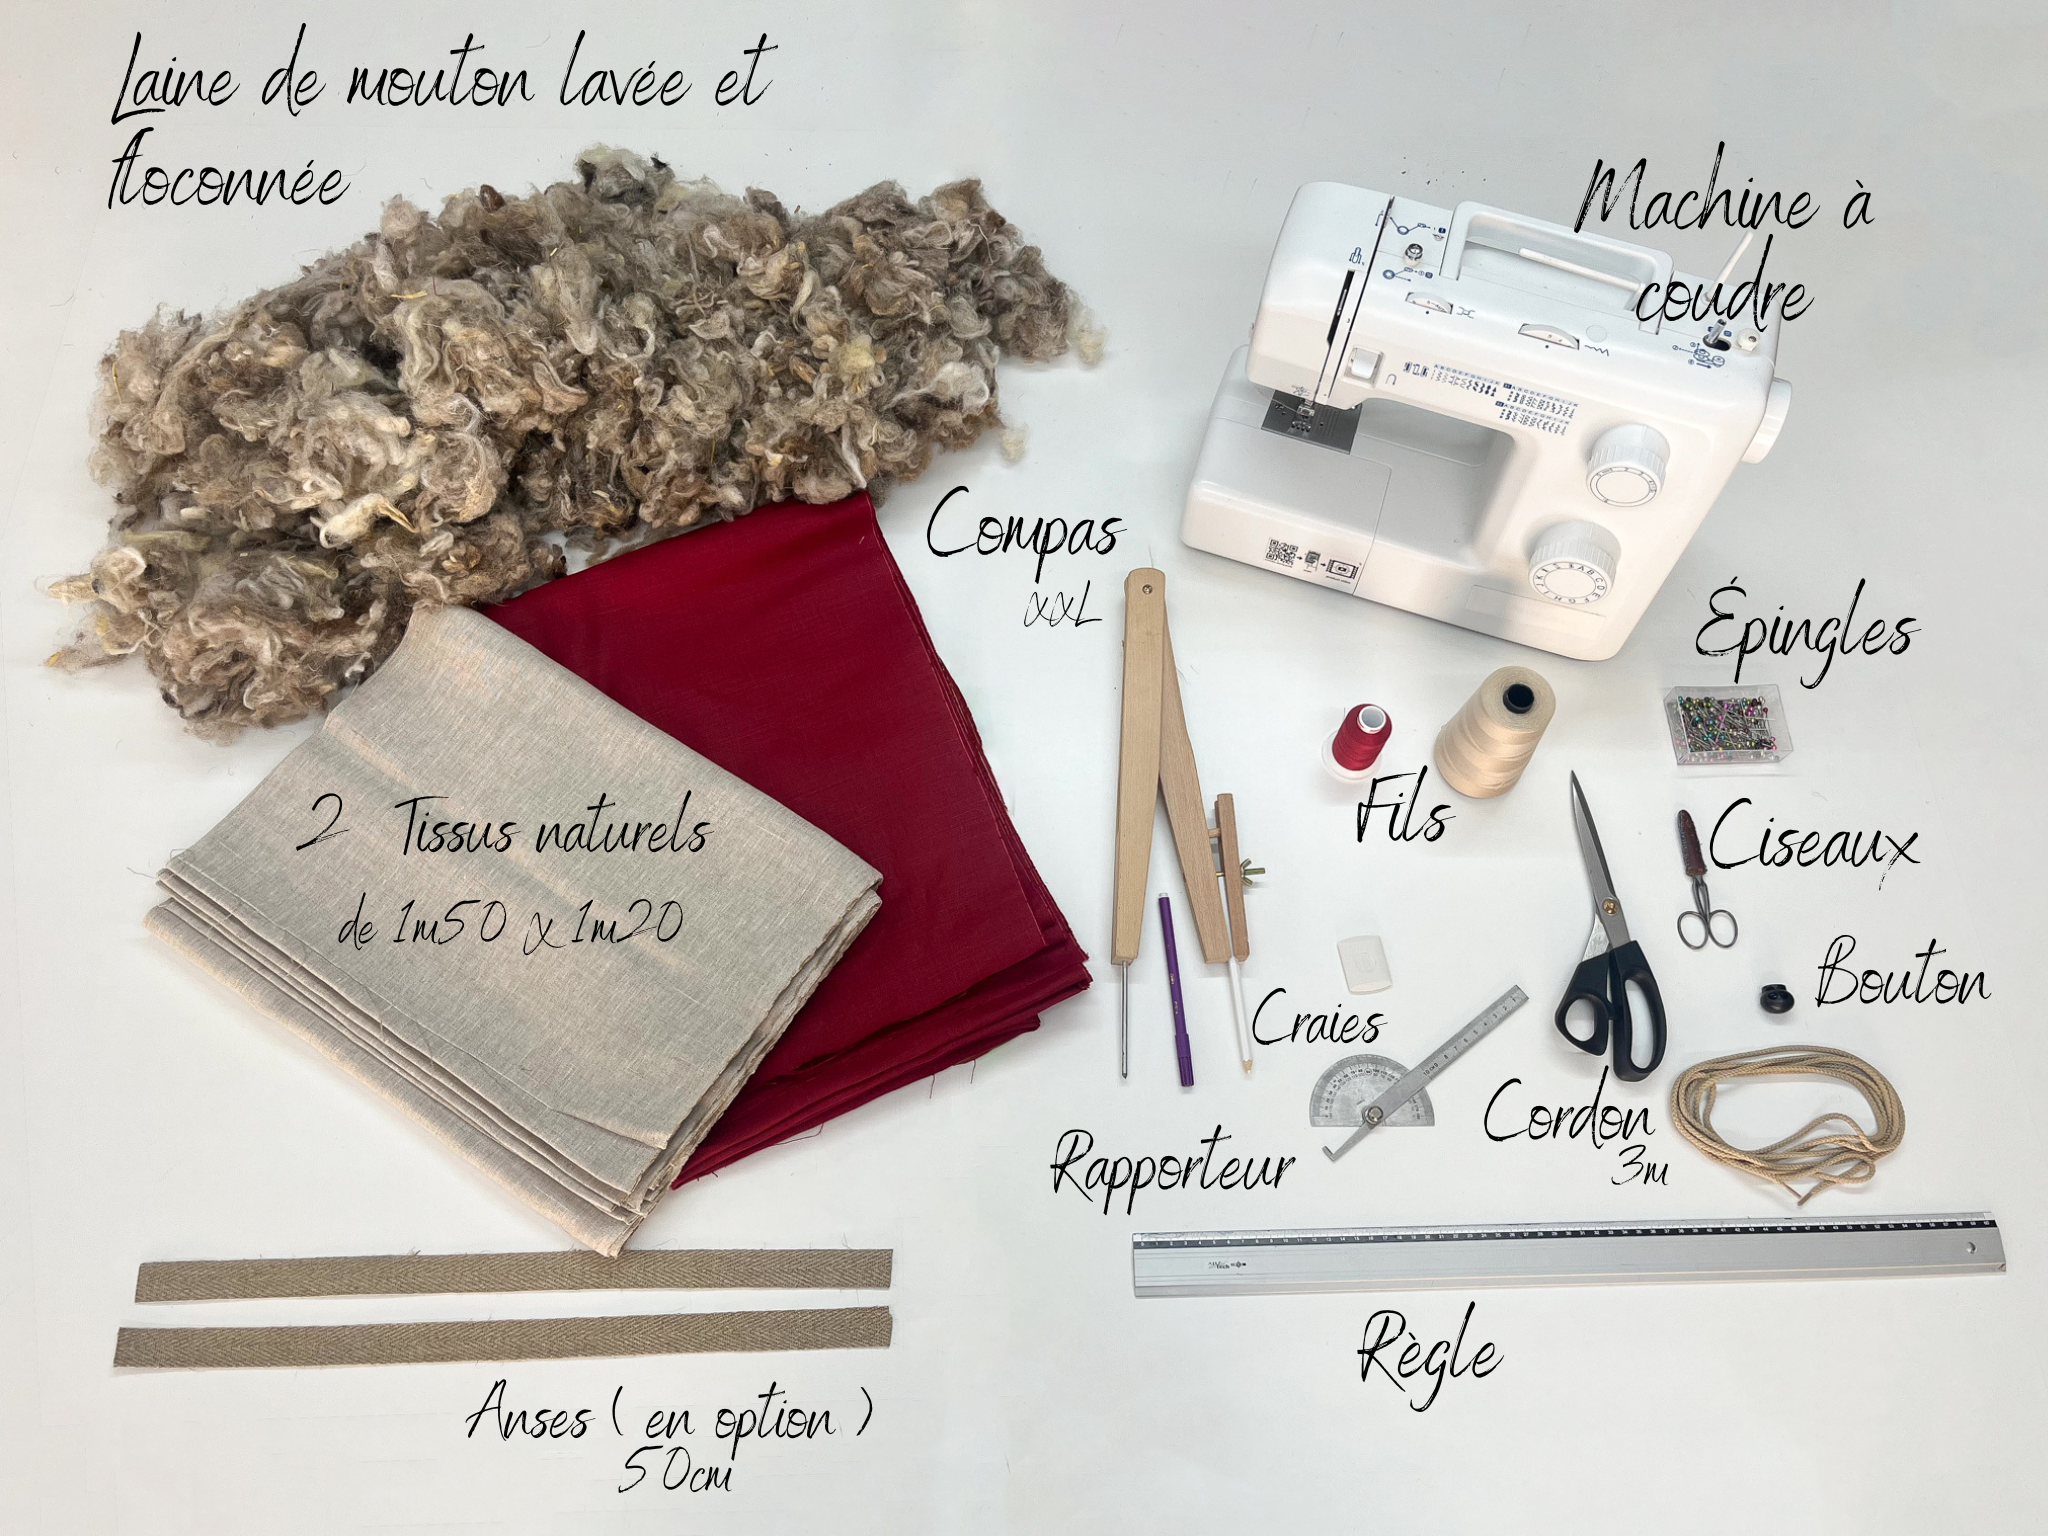
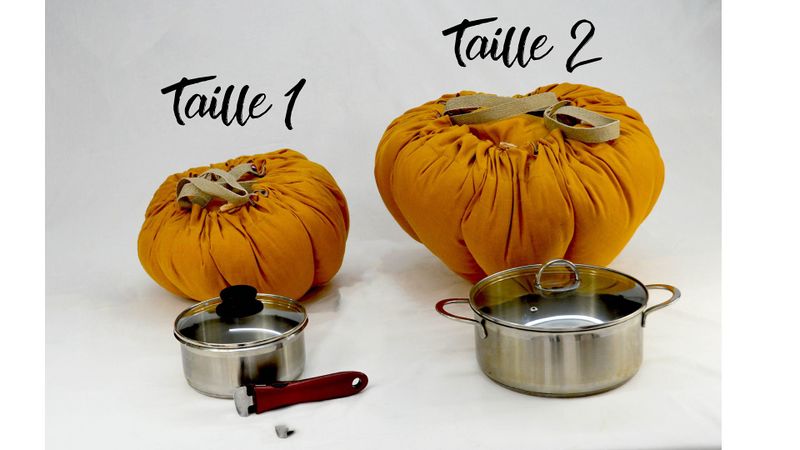
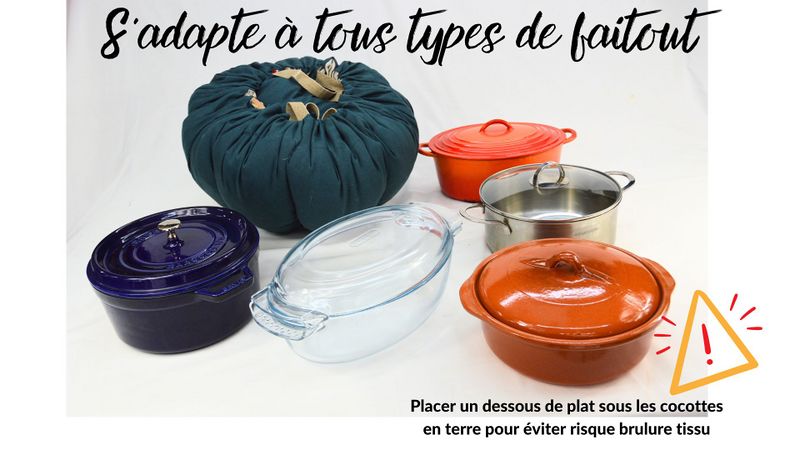
This type of Norwegian pot can be adapted to all shapes and sizes of stewpot, so we're talking about maximum capacity rather than size.
To increase the capacity a little or to take into account a large handle (pressure cooker type), I advise you to play with the size of the lid rather than the rest.
| Size | Maximum capacity | 1-
Pillow radius | 2- Radius
cutting | 3-
Radius interior | 4-
Centre radius Quantity of wool washed | |
|---|---|---|---|---|---|---|
| 1 | 3 Litres | 17 cm | 43 cm | 35 cm | 12 cm | 0.9 to 1.2 kg |
| 2 | 8 litres | 21 cm | 55 cm | 45 cm | 16 cm | 1.9 to 2.3 kg |
| 3 | 12 Litres | 28 cm | 55 cm | 45 cm | 16 cm | 2.2 to 2.5 kg |
Étape 2 - Cutting
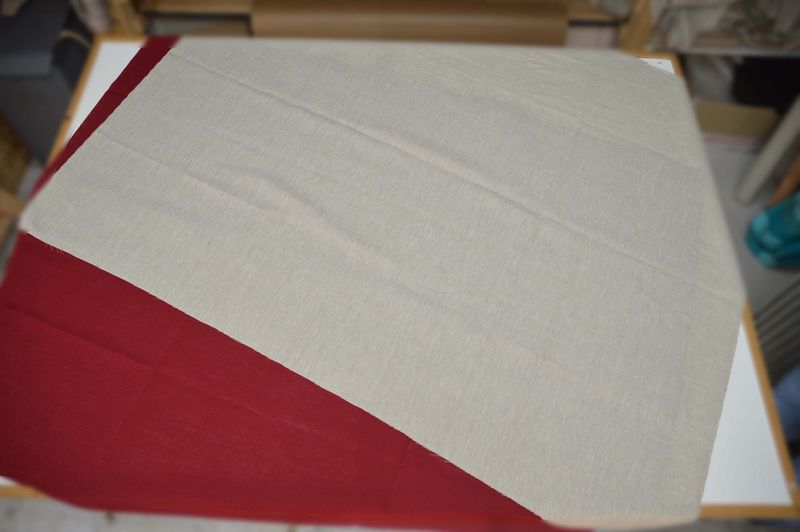
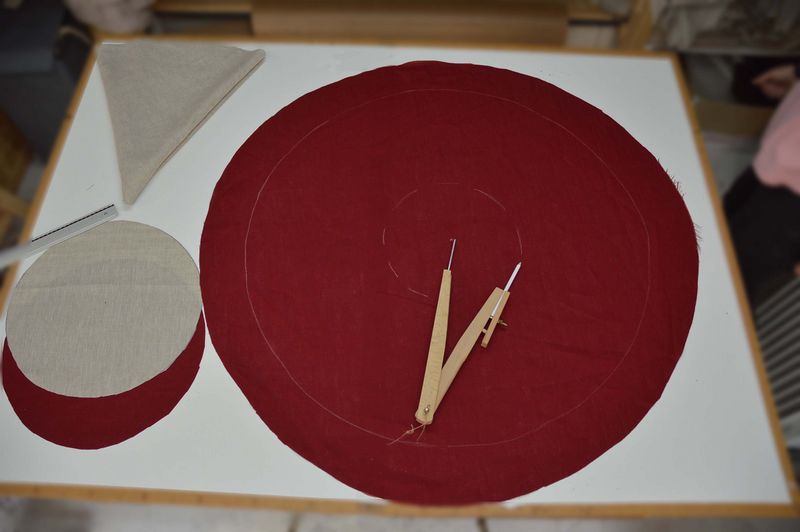
Stand on the floor or find a large table.
- Overlap the two fabrics
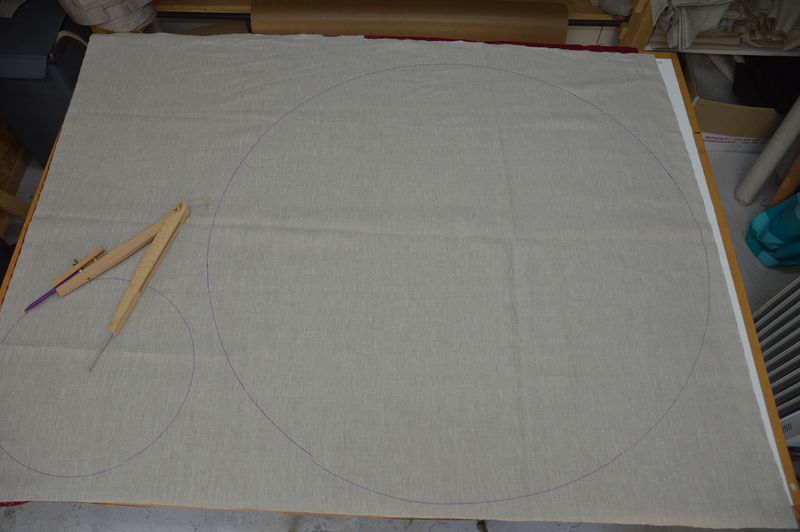
- Mark and fix the centre of your markings on the 2 layers with a needle.
- Trace the circles of the central part and the cushion according to the size of casserole you want (see size guide table).
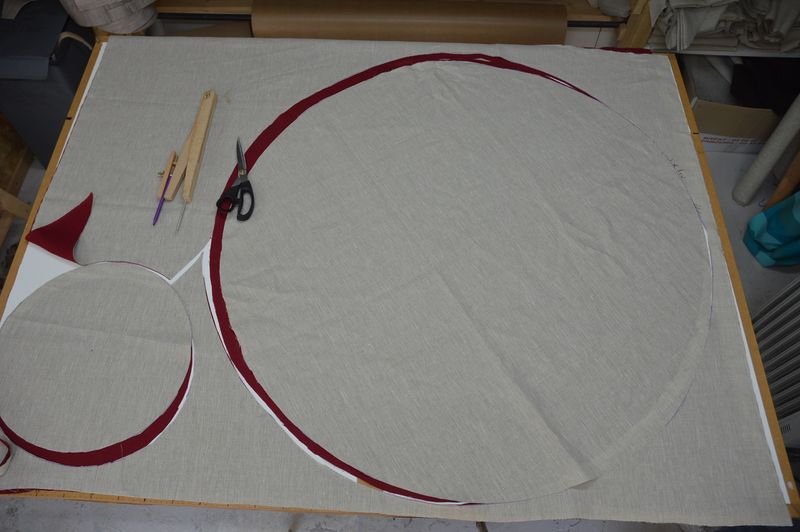
- Cut the 2 layers of fabric together to make sewing easier.
Étape 3 - Tracing
Take chalk with you
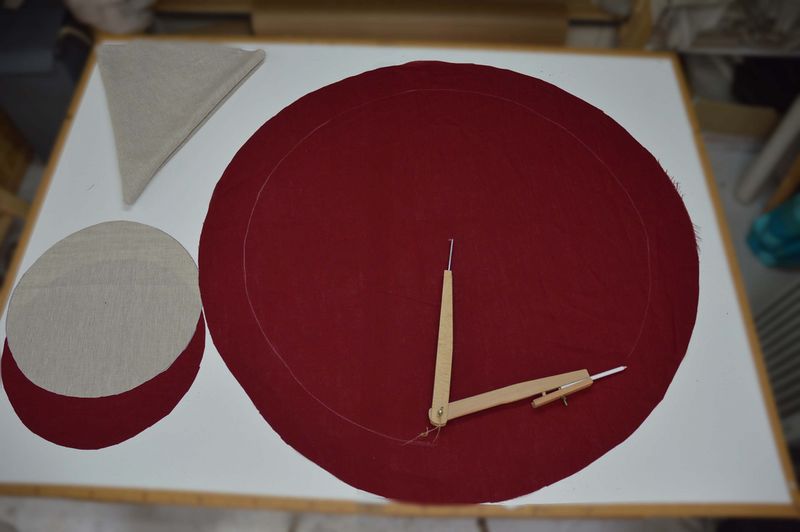
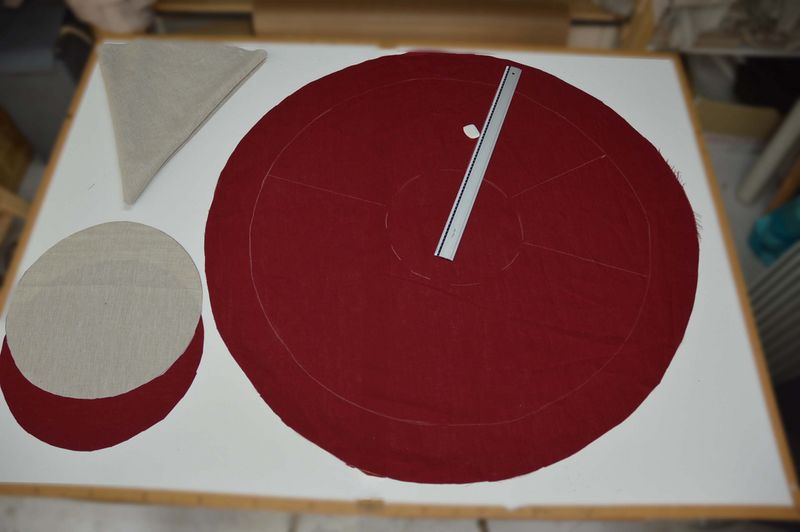
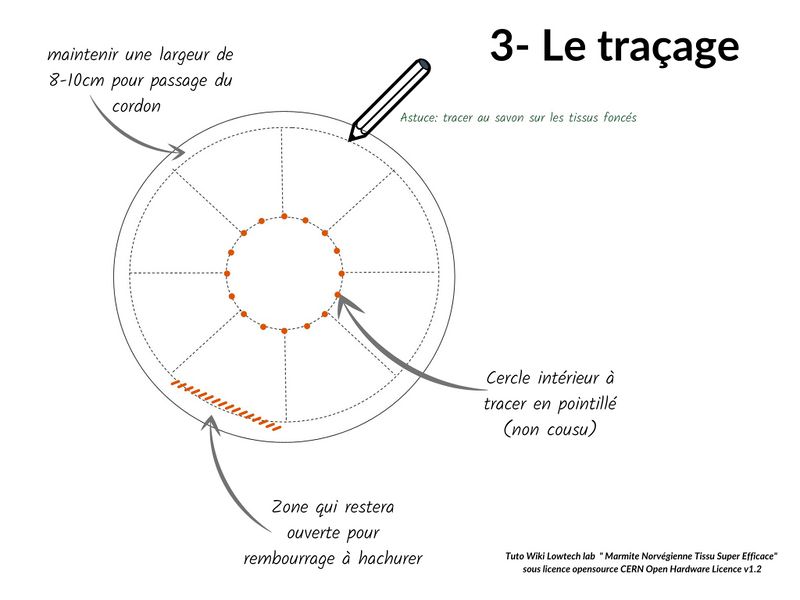
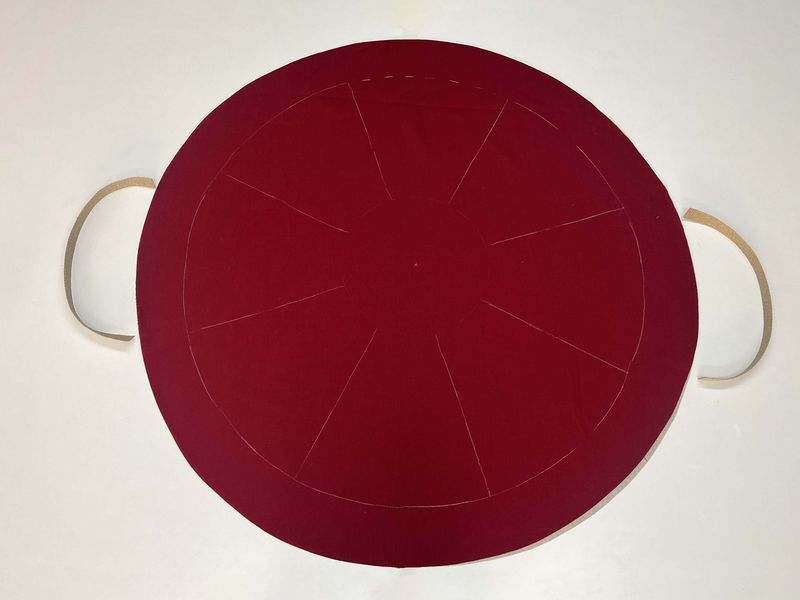
- Use a compass to draw a circle 8 to 10 cm from the edge. This space will allow the cord to pass through and the lid to be wedged to minimise heat loss (diameter depending on your casseroles => see size table).
- Draw a dotted line around the second circle, which will form the central part.
- Use a ruler to trace the sides 2 by 2. Check that the space between the sides of the lower part is at least 8-9 cm (more if you have big hands) to allow for padding.
- The length of the sides determines the maximum height of the casserole.
- Hatch the upper boundary of a portion that will not be sewn to allow for stuffing.
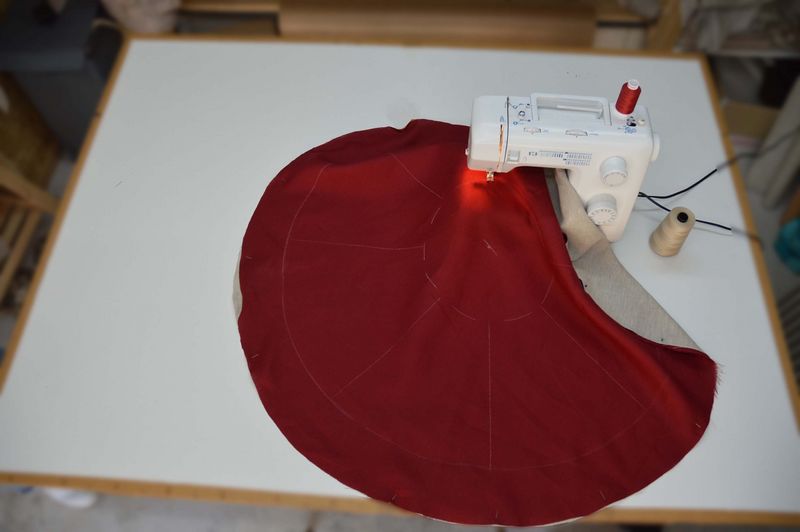
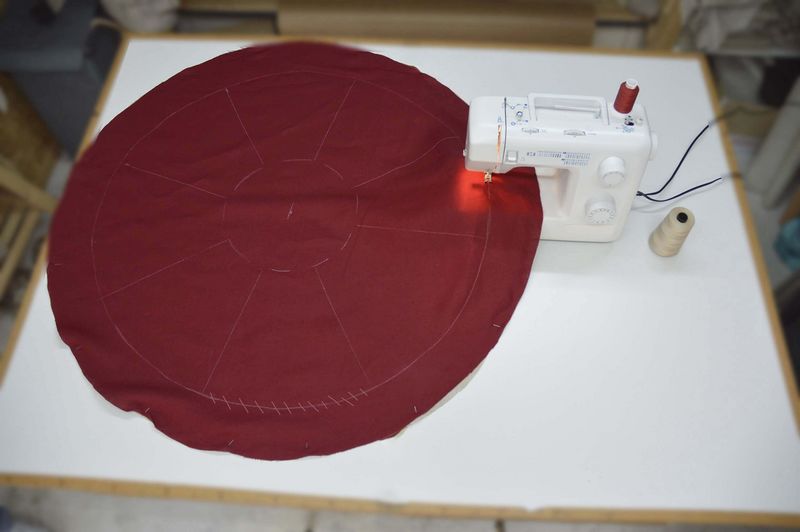
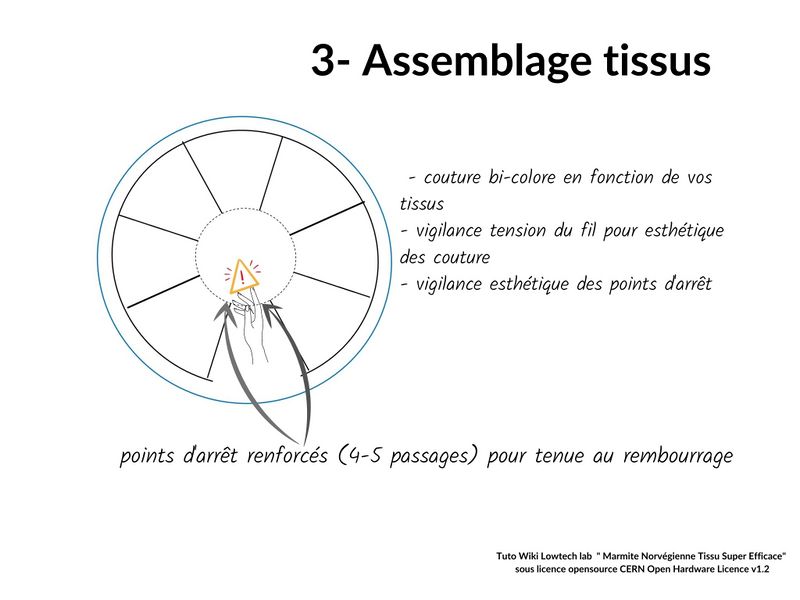
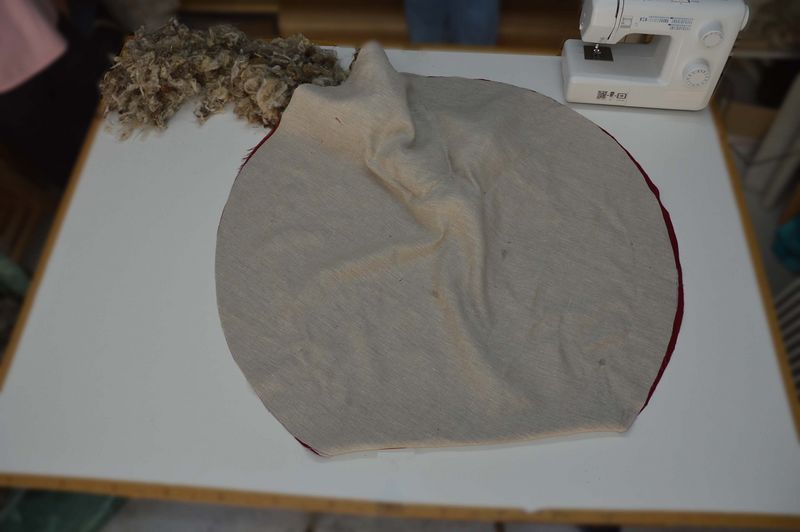
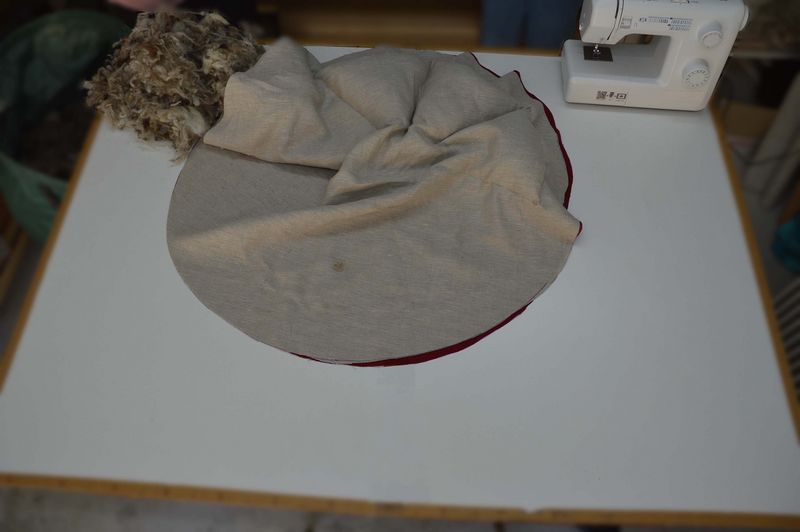
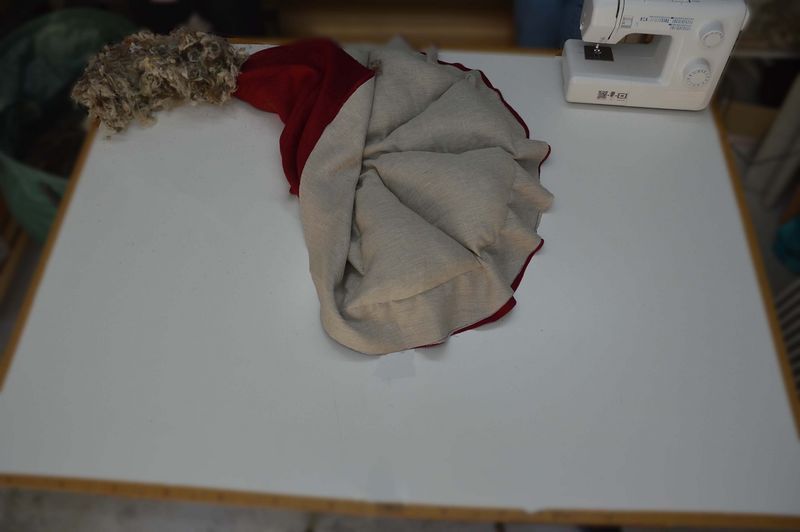
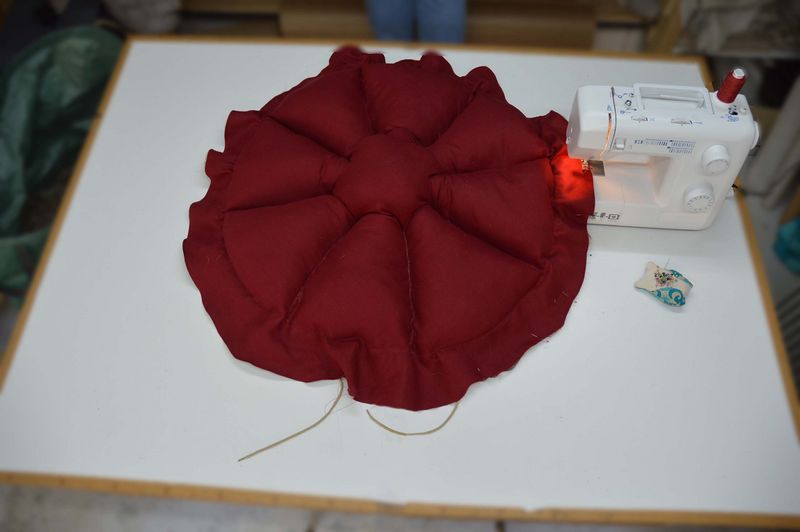
Étape 4 - Assembly of the fabrics
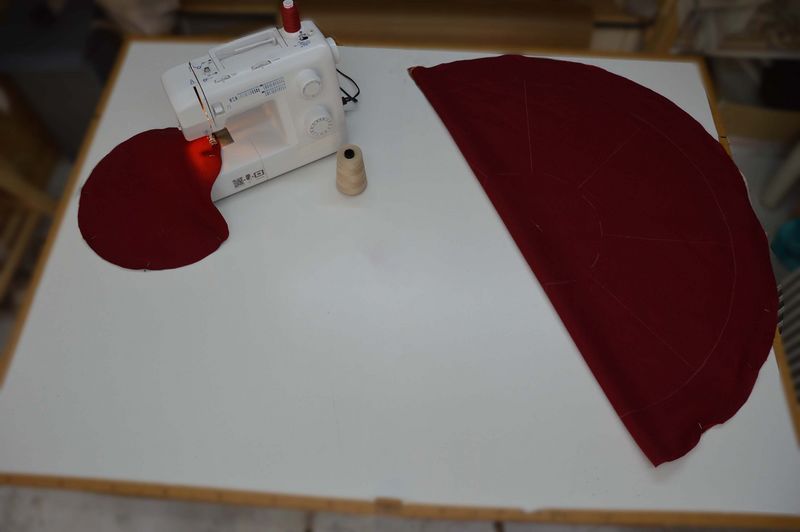
The fabrics are joined together using the central pieced seam.
- Ajouter des épingles au centre de la partie principale pour éviter que les tissus bougent.
- Coudre le cercle périphérique (1) hors zone rembourrage hachurée.
- Coudre les "côtés" droits en respectant bien le traçage pour être sûr que les mains pourront passer lors du rembourrage. Les côtés de la zone de rembourrage principale pourront être rétrécis de 1cm pour faciliter le passage de la laine.
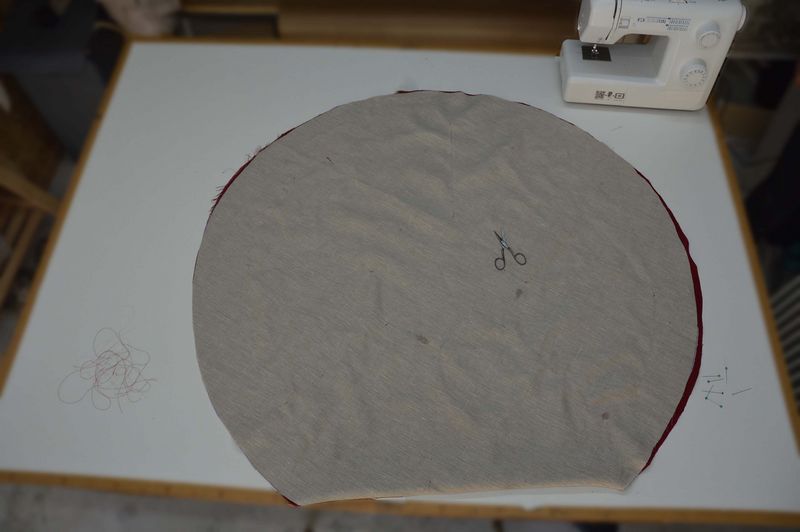
- Renforcer les points d'arrêt car ces coutures seront assez sollicitées par la suite.
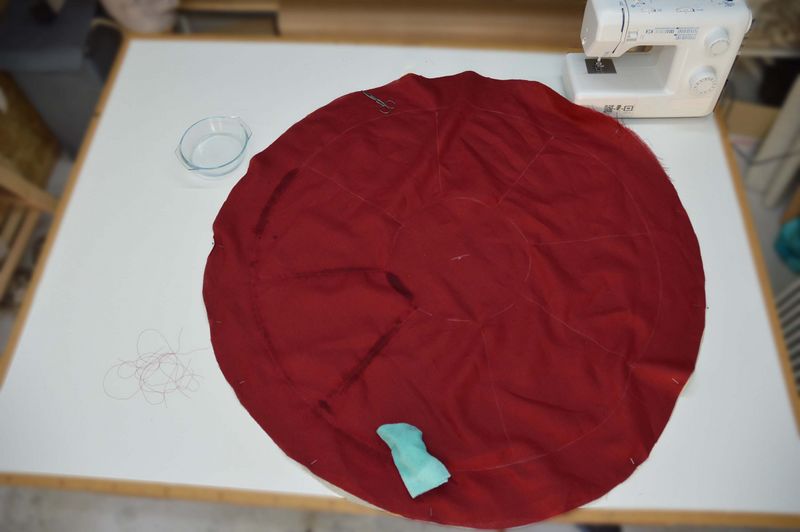
- Couper les fils de couture
- Effacer votre traçage en ne laissant que la zone hachurée du rembourrage.
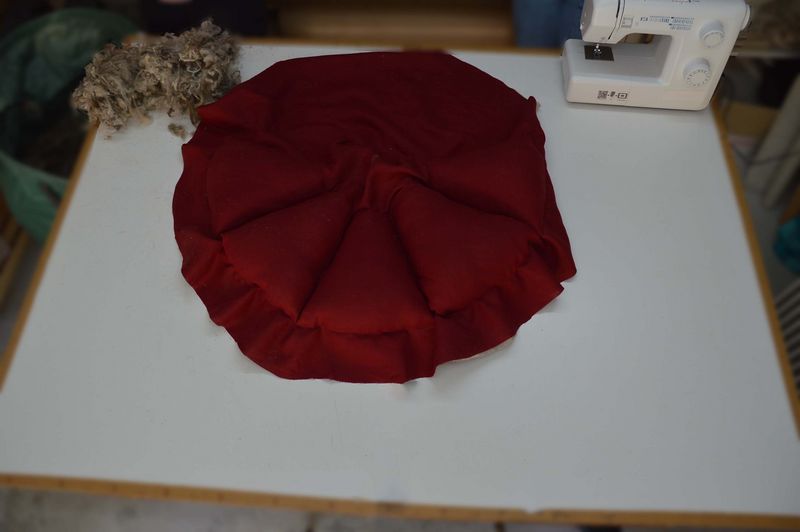
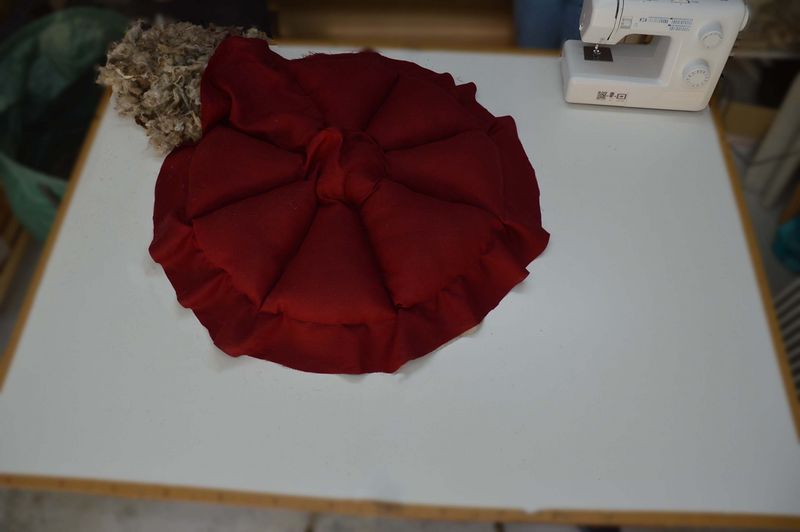
Étape 5 - Rembourrage
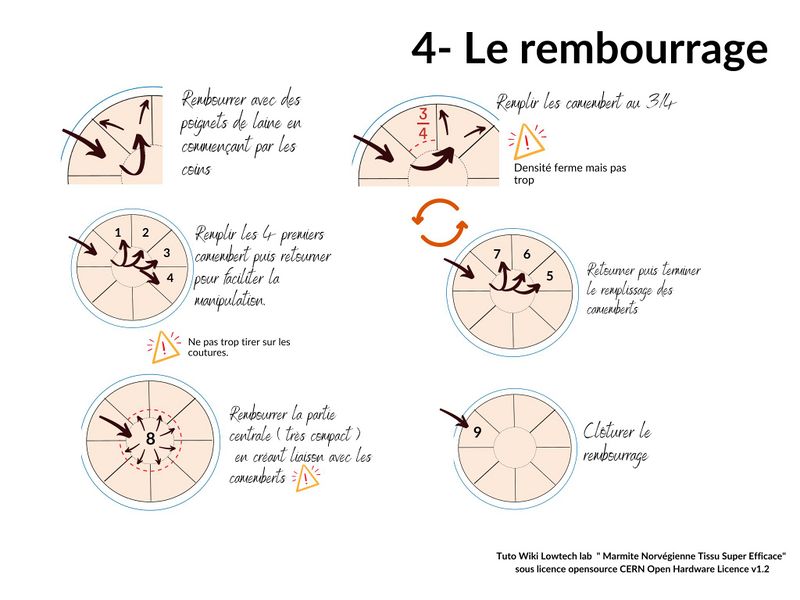
Cette étape est essentielle pour limiter les ponts thermiques et garantir l'efficacité d'isolation de votre marmite norvégienne (quantité de laine nécessaire dans le " Guide des tailles"- étape1)
Rembourrer avec des poignets de laine sans faire de petites boules serrées
en commençant par les coins
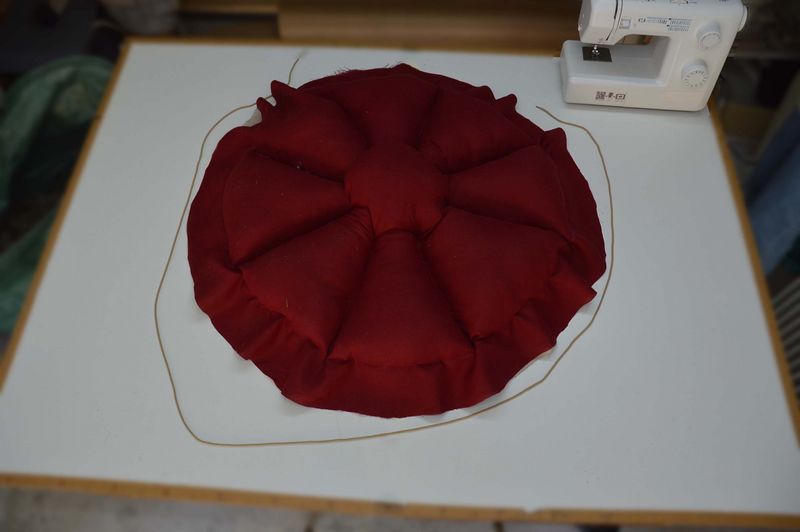
- Remplir les 4 premiers camemberst au 3/4 puis retourner pour faciliter la manipulation.
- Terminer le remplissage des camemberts
- Passer au rembourrage du centre.
- Commencer par créer une liaison entre chaque camembert et le centre avec une grosse poignet de laine.
- Rembourrer le centre plus fermement car il va se tasser avec le temps
- Terminer par le rembourrage du dernier camembert sans faire déborder la laine pour permettre sa fermeture
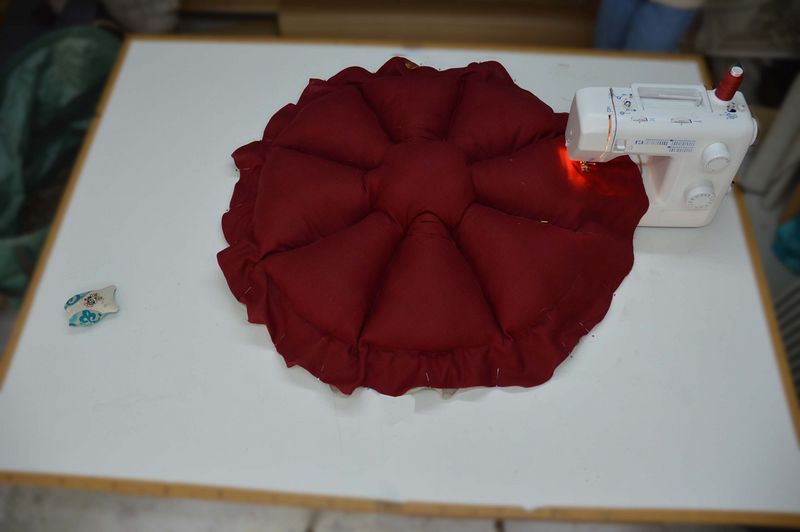
Étape 6 - Fermeture partie centrale
- Coudre la partie centrale suivant le marquage hachuré.
- Effacer ensuite ce marquage restant
Étape 7 - Positionnement des anses (optionnel)
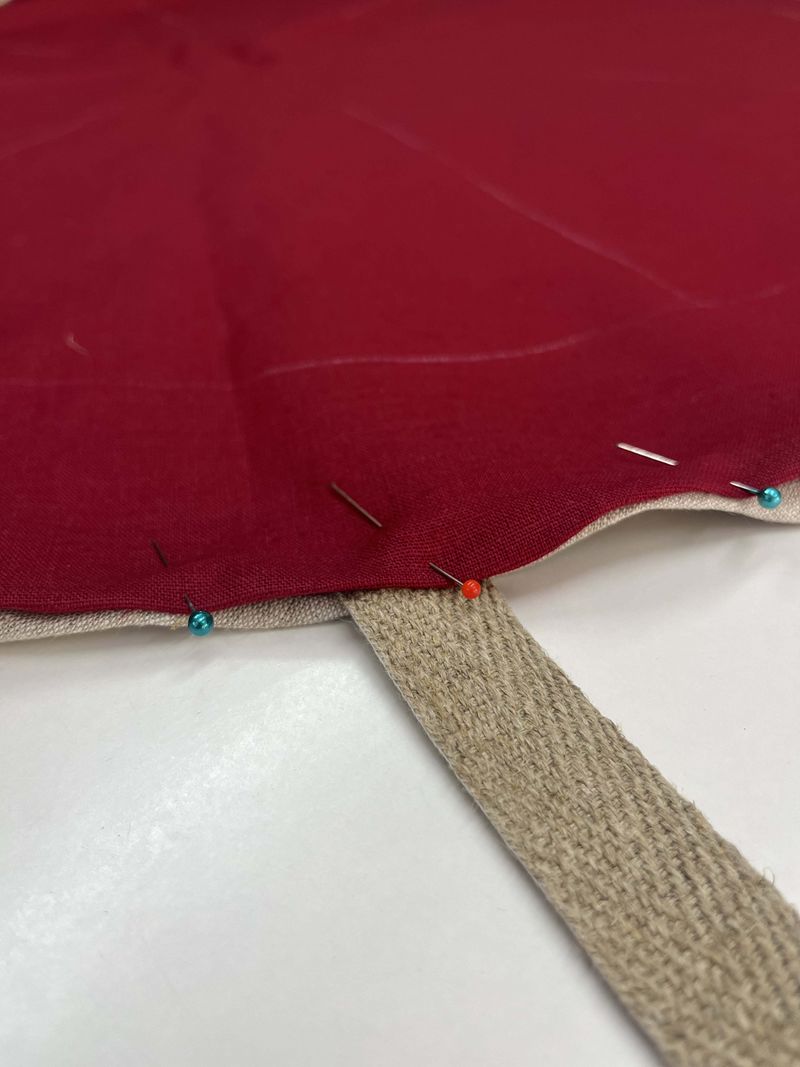
Placer les anses à l'opposé l'une de l'autre en prenant soin de ne pas les vriller
Les fixer avec des épingles
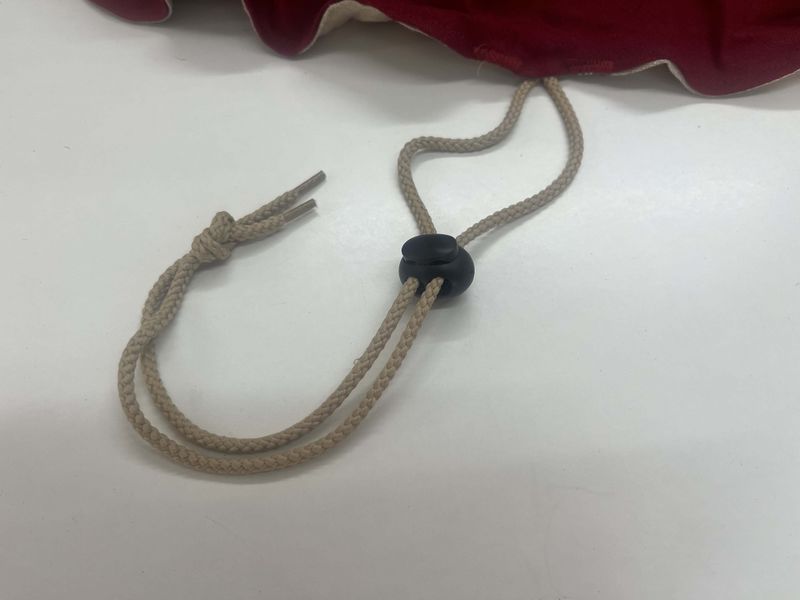
Étape 8 - Passage du cordon
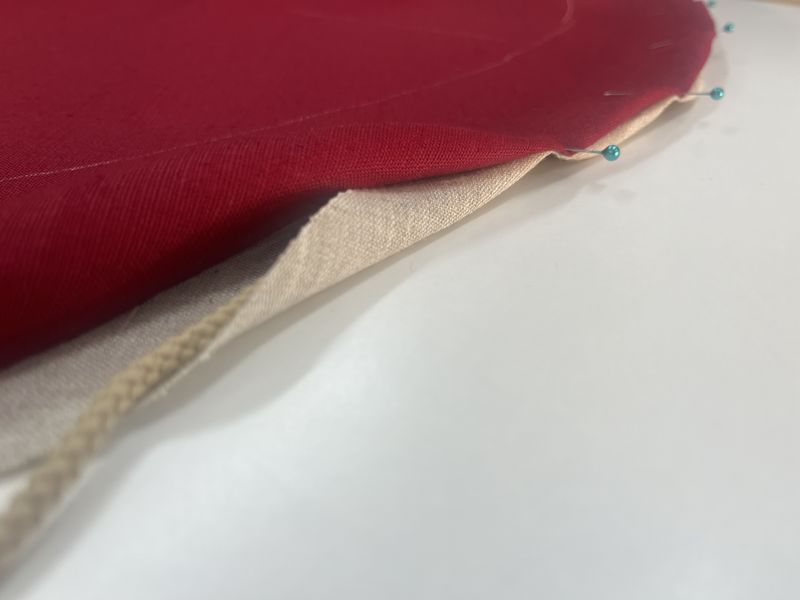
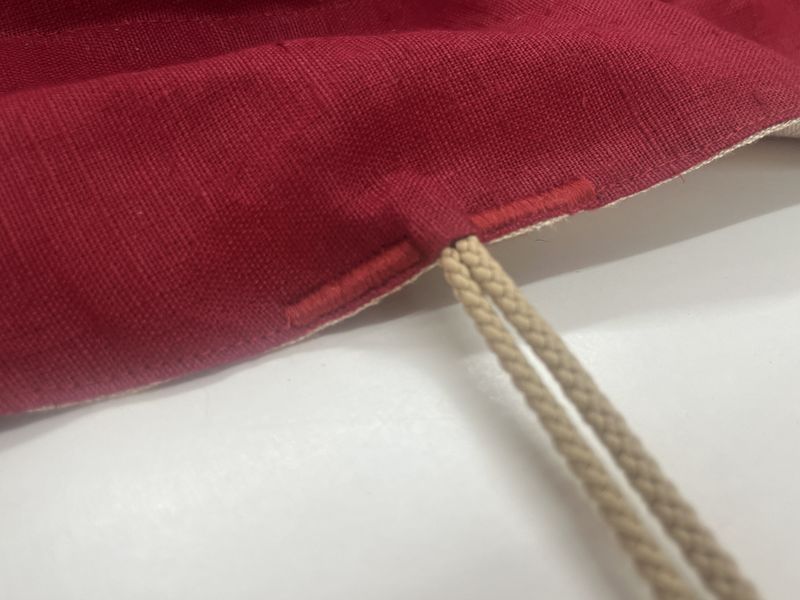
Positionner le cordon en le fixant avec des épingles pour éviter qu'il ne se prenne dans la couture
Placer et fixer la sortie du cordon au centre d'un des camemberts à 90° des anses (s'il y en a)
Préparer la fermeture extérieure en retournant les deux couches de tissus sur 1cm. Fixer avec des pinces ou des épingles.
Étape 9 - Fermeture extérieur
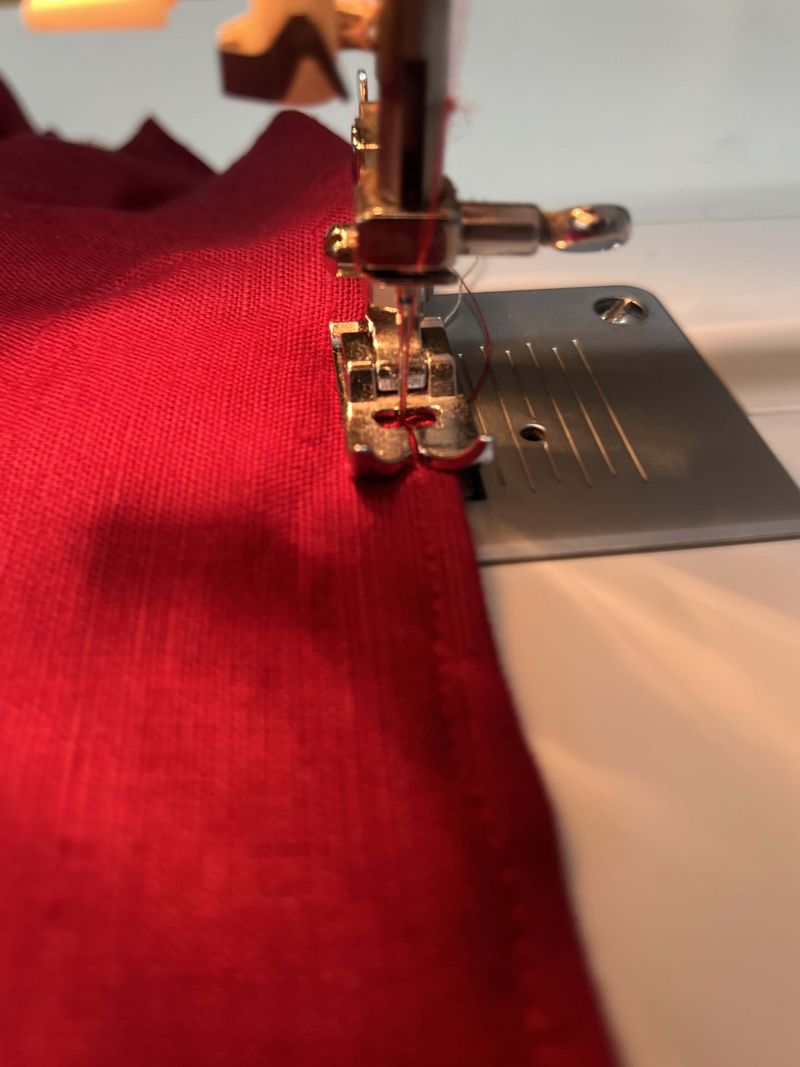
- Coudre la partie extérieure
S'assurer de bien prendre les 2 couches de tissu et Attention aux plis
- Renforcer la couture au niveau du passage de cordon par un zigzag serré
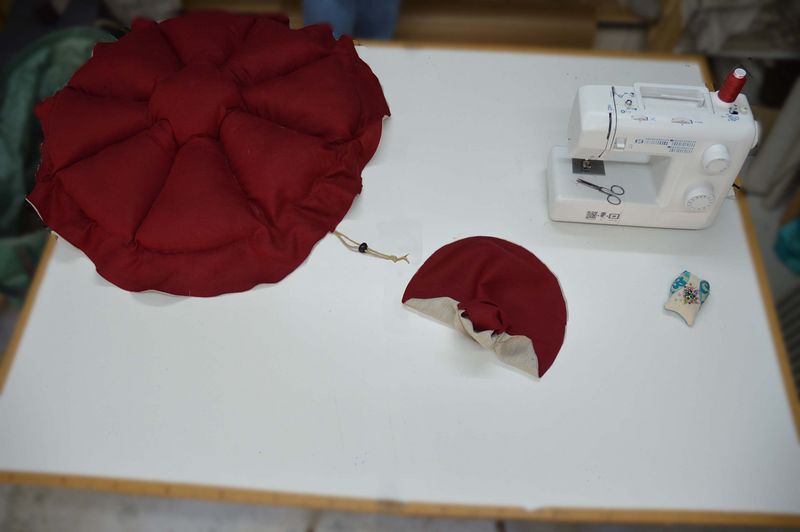
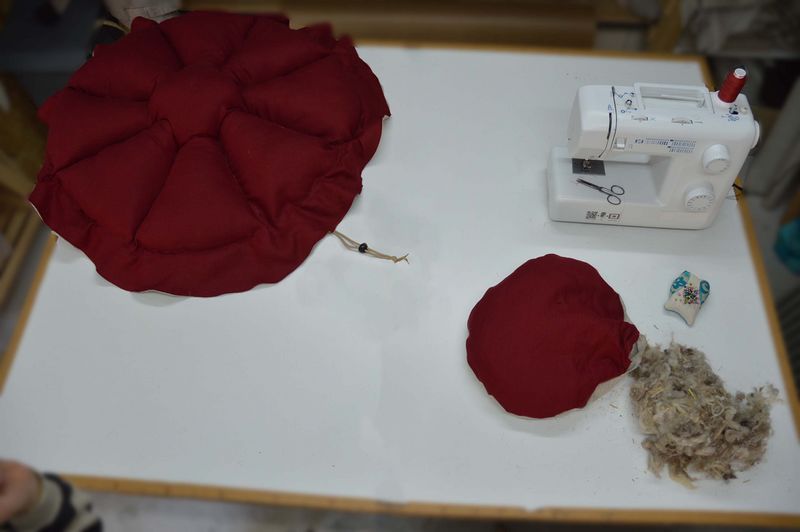
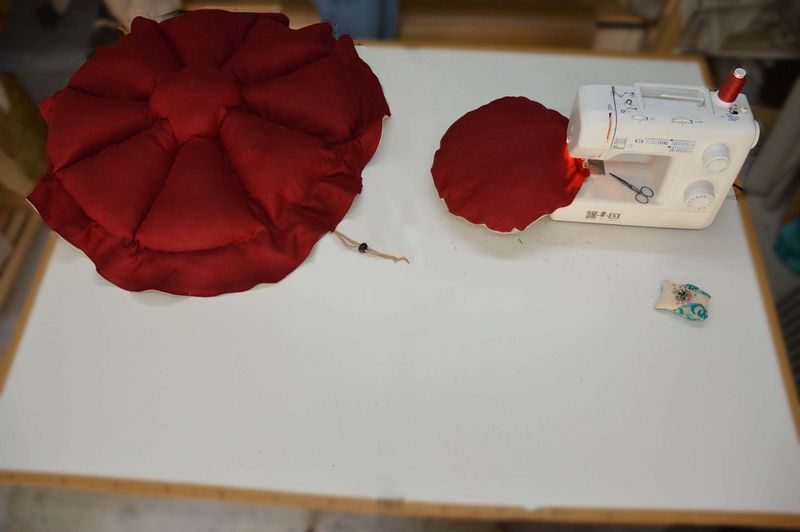
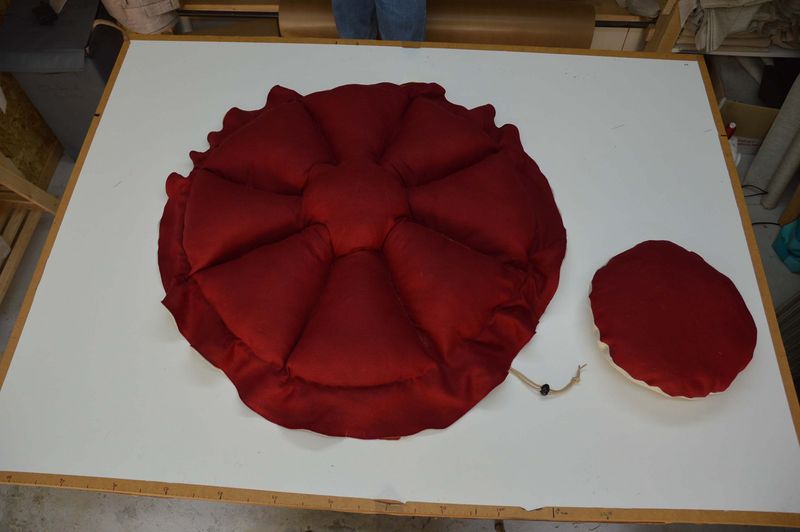
Étape 11 - Le coussin
- Coudre le coussin envers-contre-envers en laissant une ouverture de 10cm pour le rembourrage.
- Retourner le coussin assemblé
- Rembourrer le coussin :
Il doit former une sorte de "galet" assez compact de 8-9 cm d'épaisseur
Refermer la couture du coussin
Étape 12 - Résultat
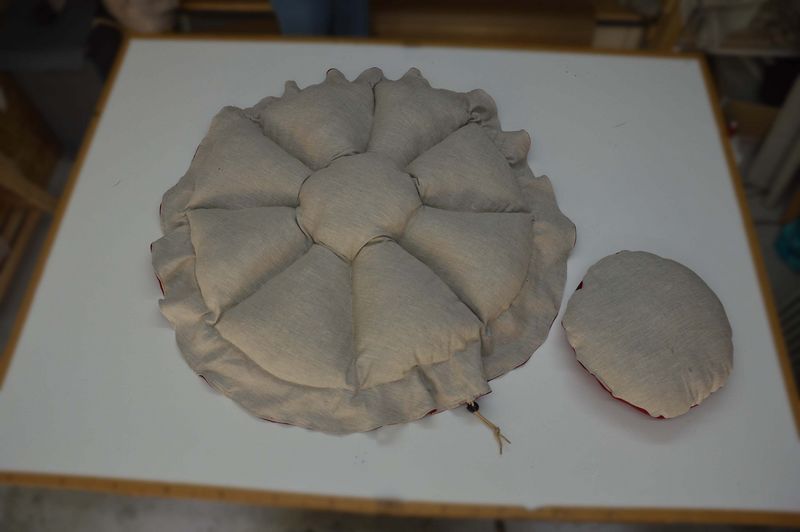
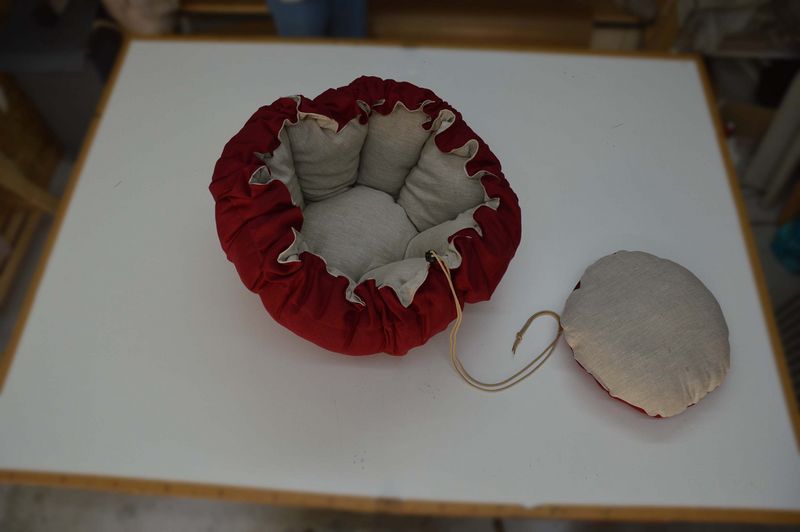
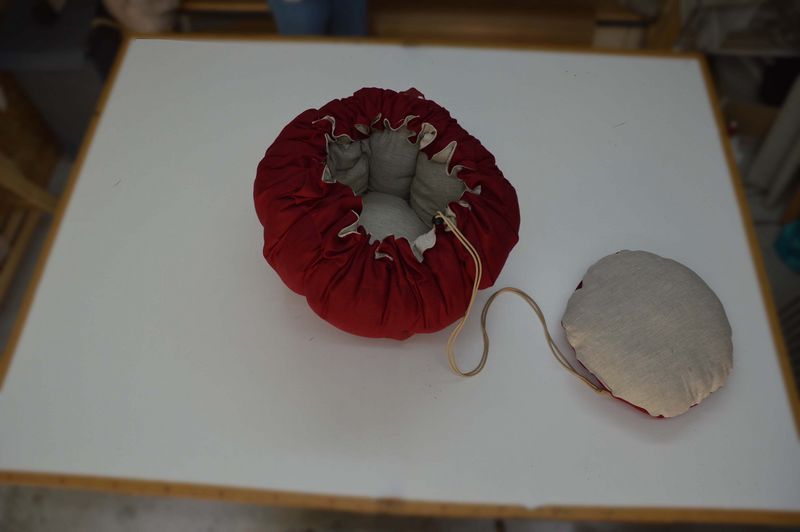
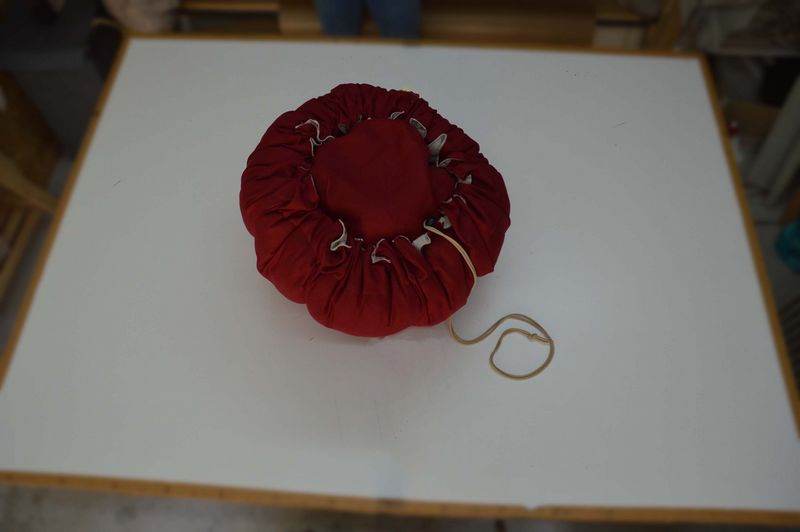
Et voilà votre Marmite norvégienne est terminée !
Il ne vous reste plus qu'à vous lancer dans la cuisson à basse température à l'étouffé : ça demande un peu d'anticipation, mais le résultat est tellement savoureux.
Notes et références
- Blog marmite-norvégienne.com
- "Histoire de cuire sans feu ou presque", Mireille Saimpaul
- Recettes : Livret Ecocotte , carnet de Christine Ackermann avec la marmite norvégienne, Ma semaine de marmite norvégienne de Violaine
Published
 Français
 English
 Deutsch
 Español
 Italiano
 Português