Description
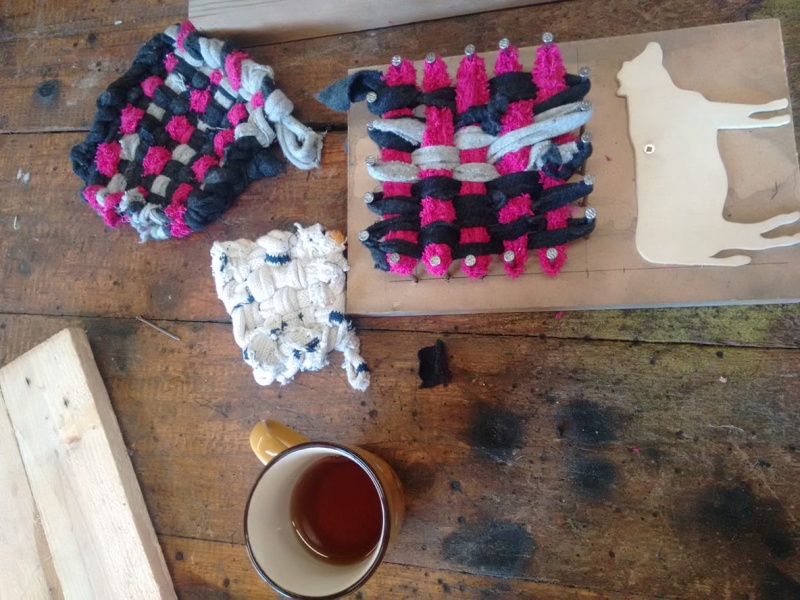
Le but de ce tutoriel est de donner une nouvelle vie à vos vieux habits ou morceaux de tissus en fabricant une éponge écoresponsable.
Introduction
Youtube
Étape 1 - Fabrication du métier à tisser
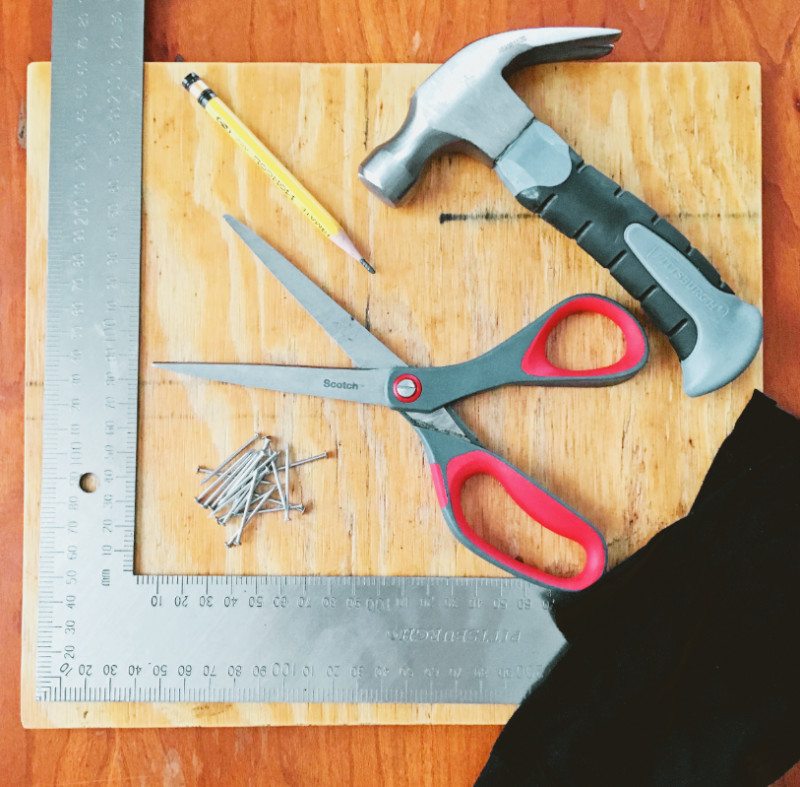
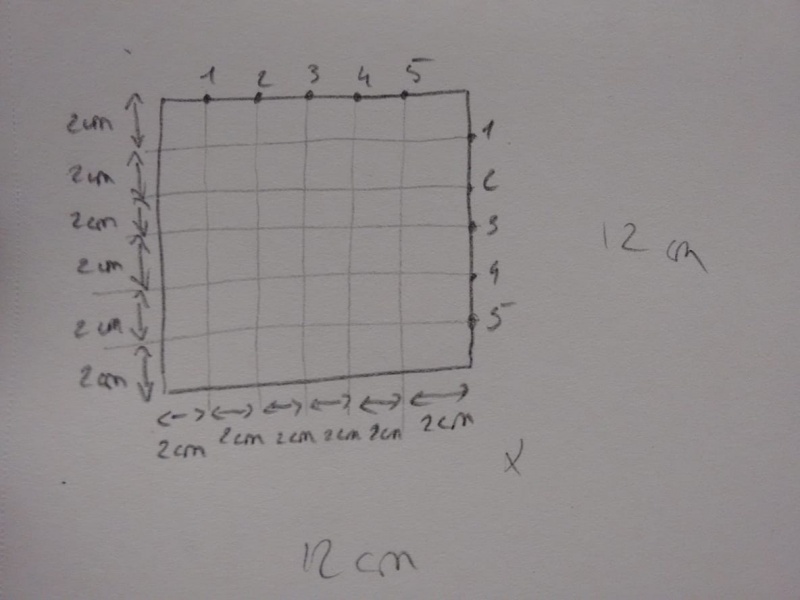
A l'aide du crayon et de la règle, dessinez un carré de 12x12 cm.
Placez 20 clous tous les 2 cm. A l'aide du marteau, plantez fermement les clous dans la planche sur chacun des 20 points.
Étape 2 - Préparez le tissu
Choisissez une chaussette ou autre, qui peut s'étirer au delà de 12 cm.
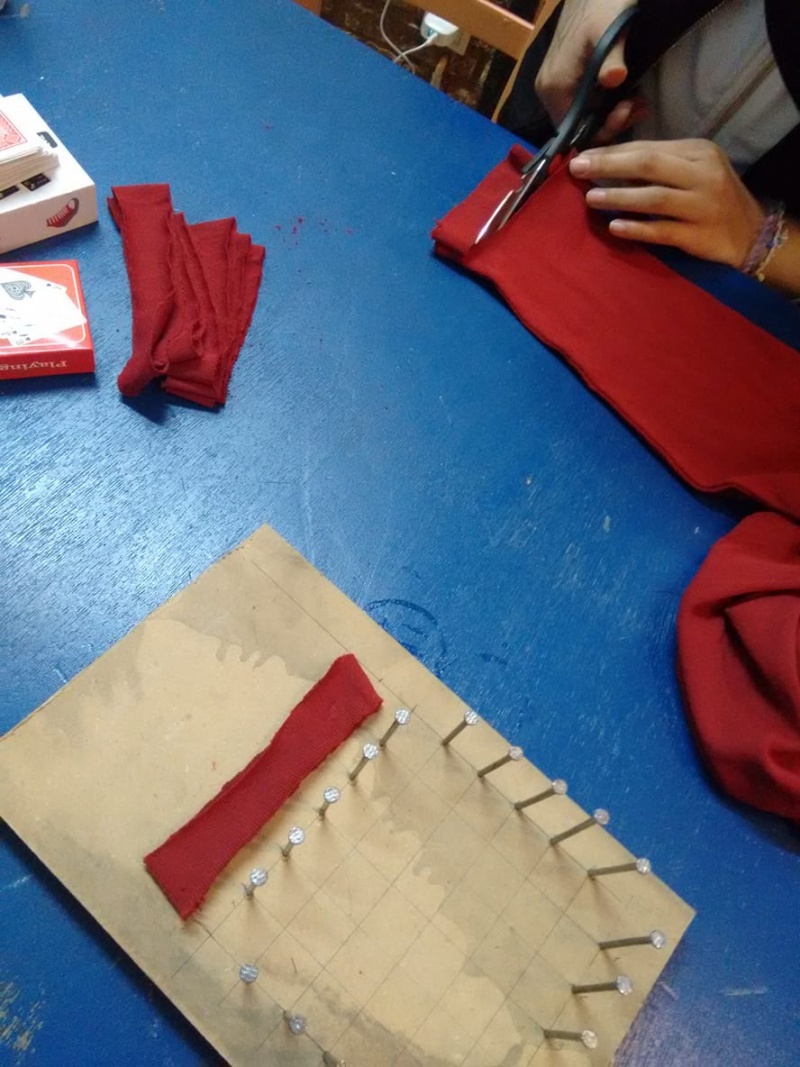
Utilisez vos ciseaux pour découper 20 anneaux de 4 cm de large hors de la chaussette.
Étape 3 - Placez les anneaux
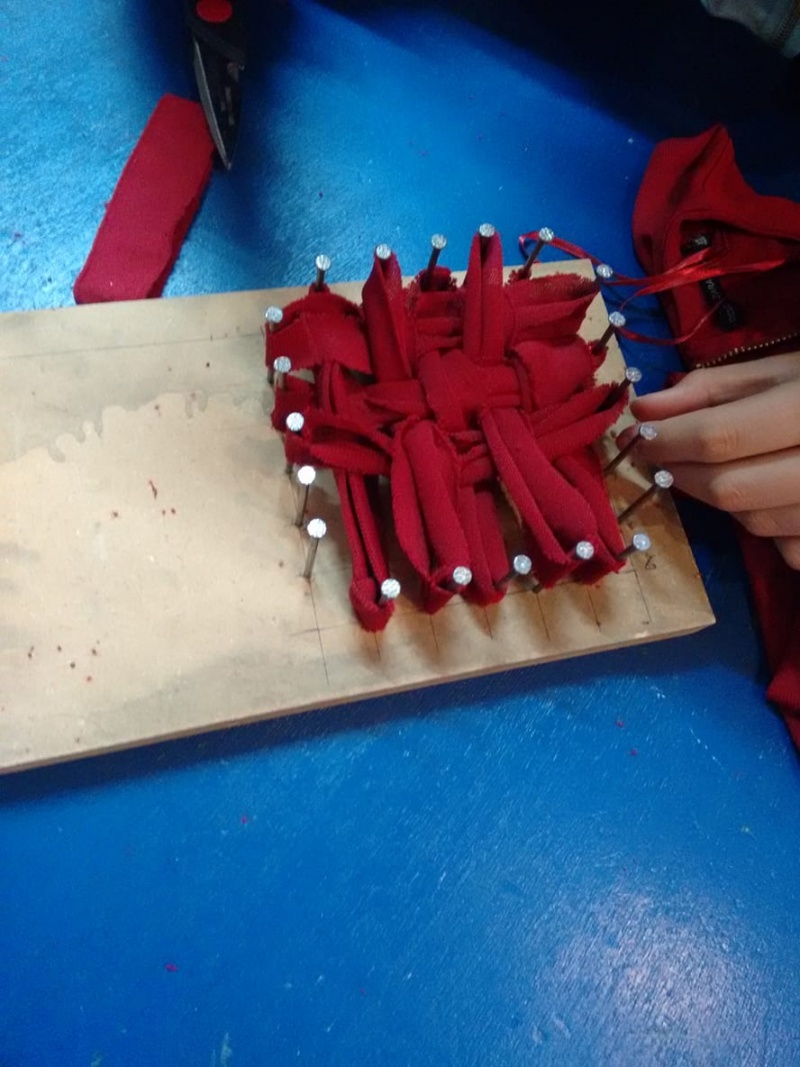
Placez les anneaux sur les clous verticalement, seulement d'un côté.
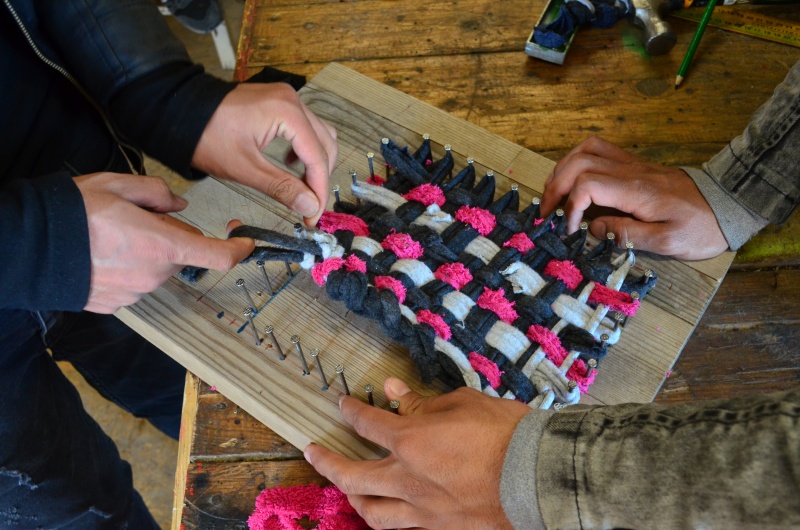
Attach 5 rings vertically (see image).
Étape 4 - Weave
Weave the remaining 5 rings horizontally in and out of the vertical rings. Start by attaching a ring to the top left nail on the left side of the square and pass it over the first vertical ring, under the second vertical ring, over, under and over and then hook it to the opposite top right nail on the right side of the square. Attach 4 more rings horizontally, but weaving the opposite way with each new ring: Horizontal rings 2 and 4 would be under, over, under, over, under. (see image).
Étape 5 - Close the loops
Unhook any ring/loop from its nail, then unhook a second loop right next to it. Pass the second loop into the first loop. Hold on to the second loop and let go of the first loop. The second loop now becomes the “first loop”. Continue this step all around your square. Tighten as you go, as needed.
The final loop that you end up with is the hook that you’ll use to hang and dry your tawashi sponge!
Published
 Français
 English
 Deutsch
 Español
 Italiano
 Português