Description
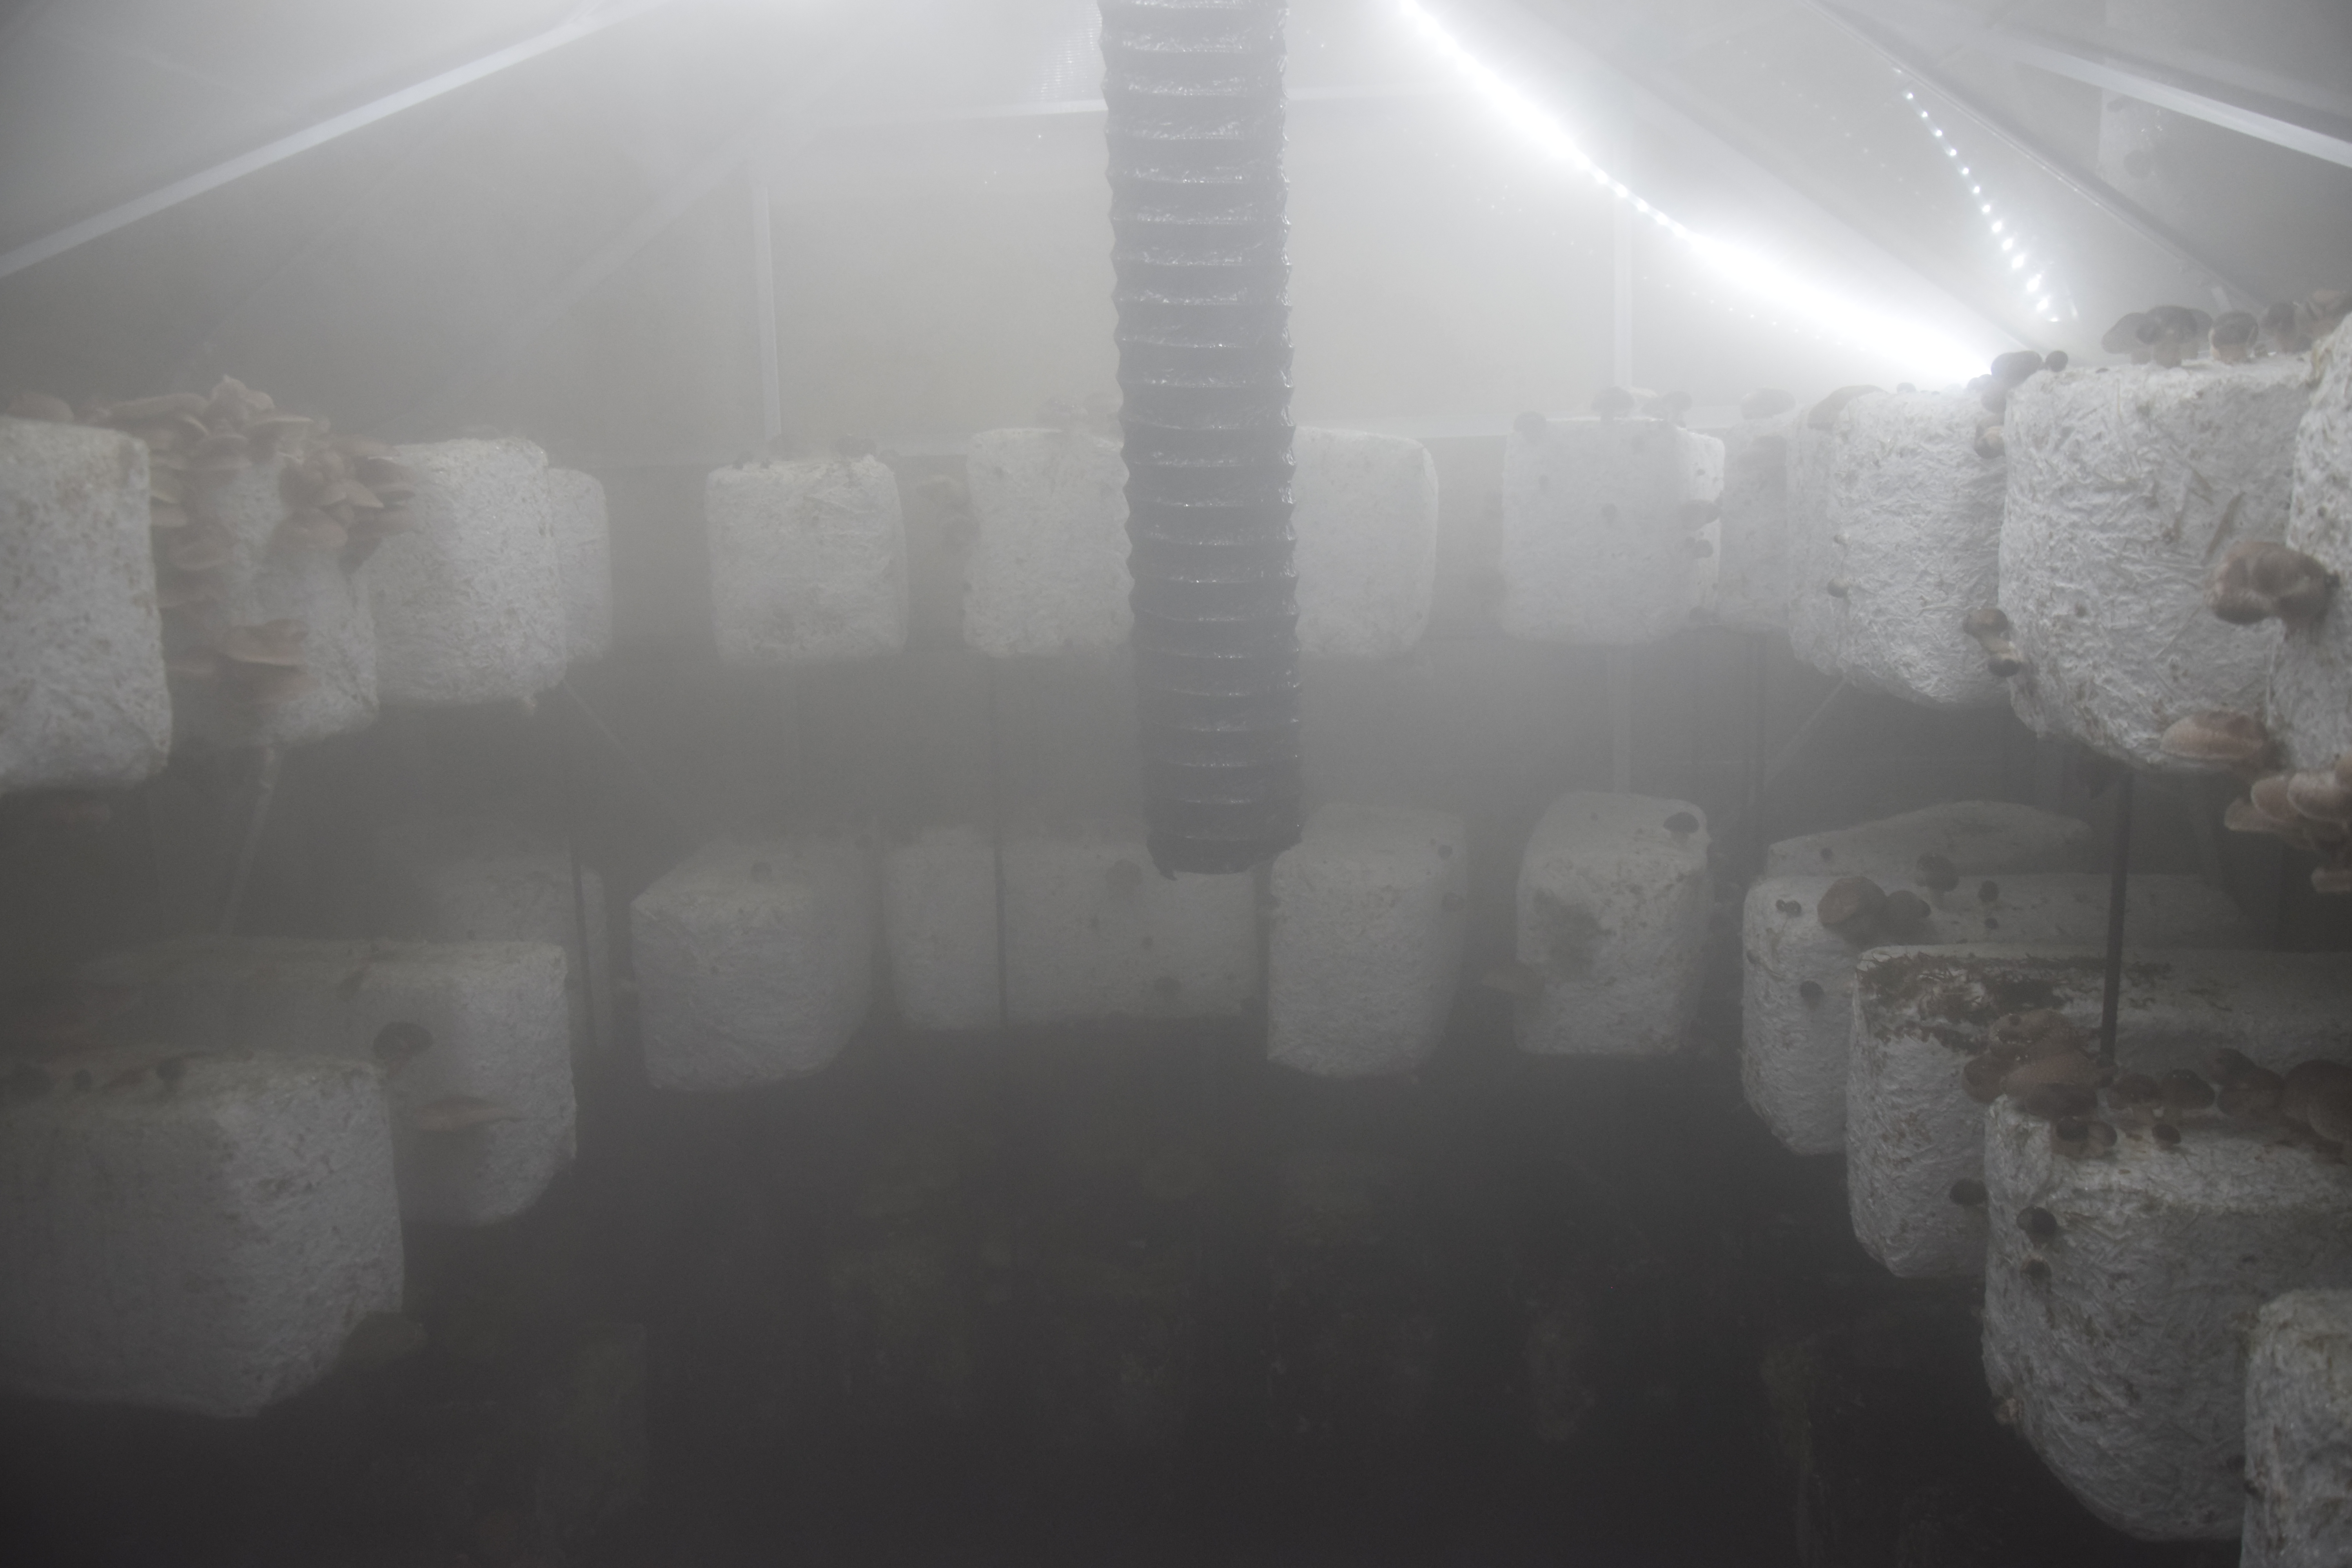
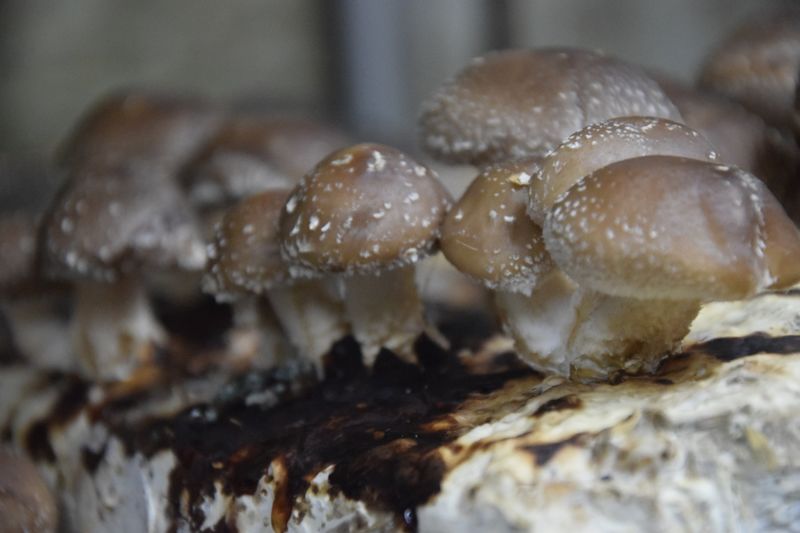
Fogger allowing to have an atmosphere saturated with humidity and at room temperature. Ideal for fruiting mushrooms.
Introduction
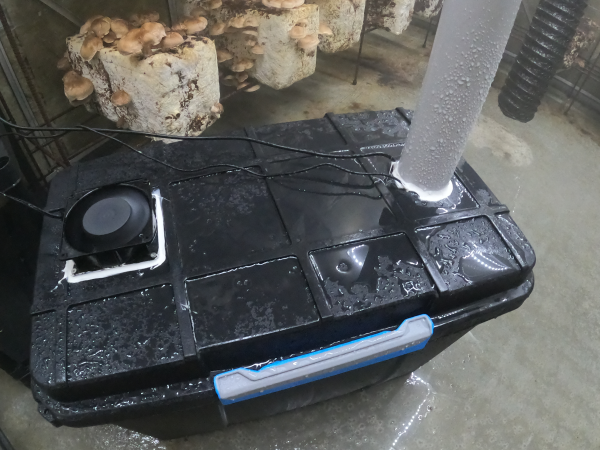
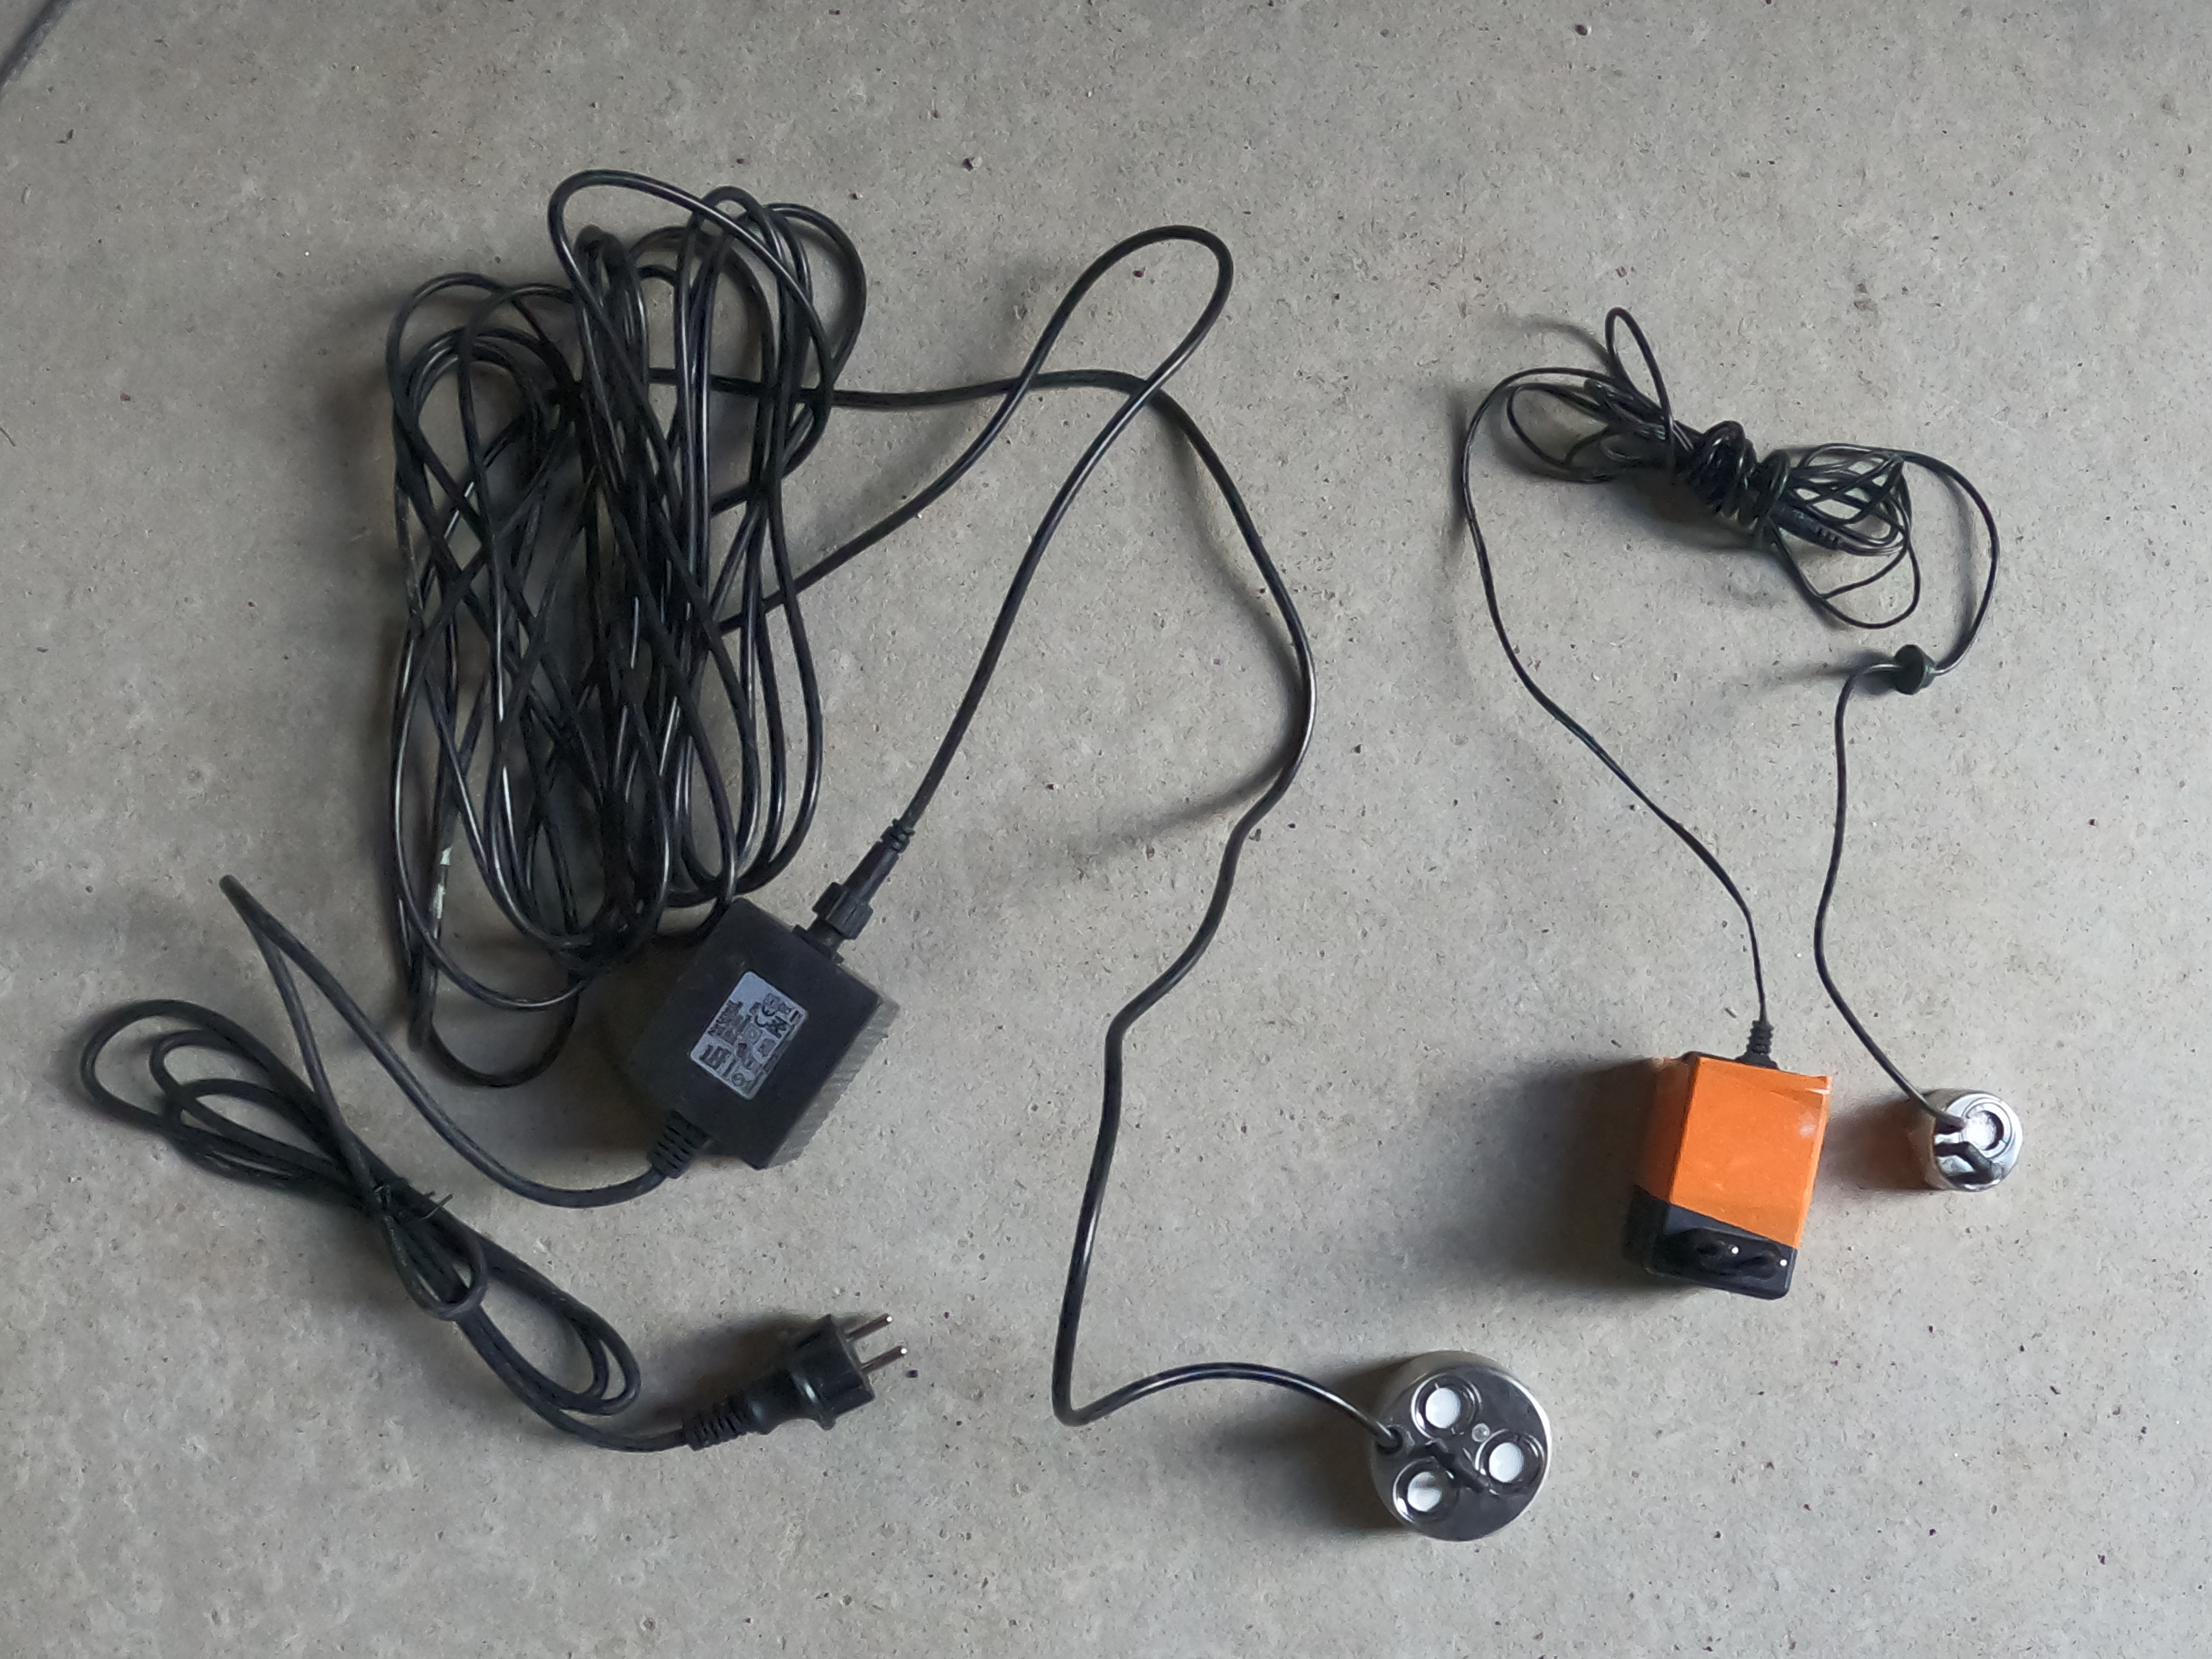
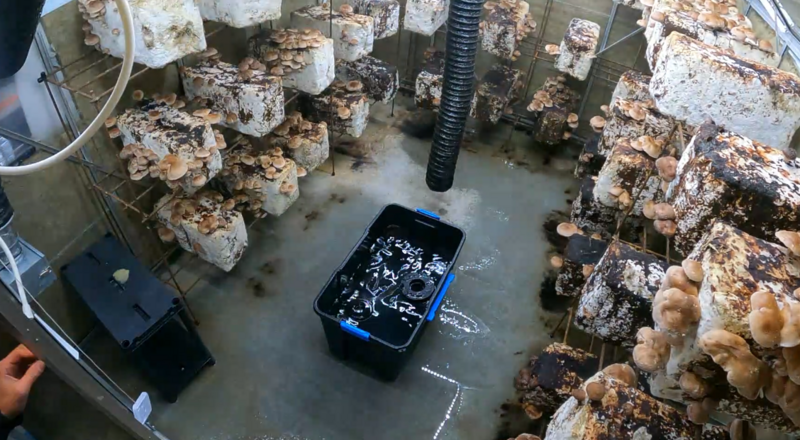
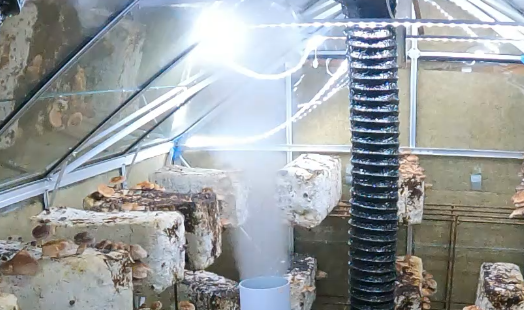
This fogger consists of an ultrasonic fogger, a waterproof box, a fan and a PVC tube. The box contains the water and the ultrasonic fogger, the fan will generate forced convection. The PVC tube allows the mist to be redirected.
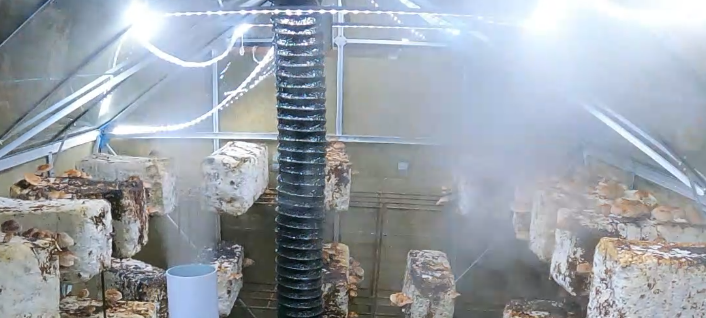
The fogger will generate overpressure, so the air will come out of the greenhouse, which prevents the entry of pollutants. Mist is heavier than air. Without a fan and without a PVC tube, the mist will settle at ground level. Instead of using a rigid PVC tube, it is possible to use a flexible tube. The fogger can be installed outside the greenhouse, which facilitates water filling operations. The diameter of the PVC pipe must be large enough for the air flow.
This fogger is very useful for the fruiting phase of mushrooms. The air is now saturated with humidity and at room temperature. In the same box, it is possible to have several ultrasonic foggers. It is advisable to insert an air extractor at mid-height.
Youtube
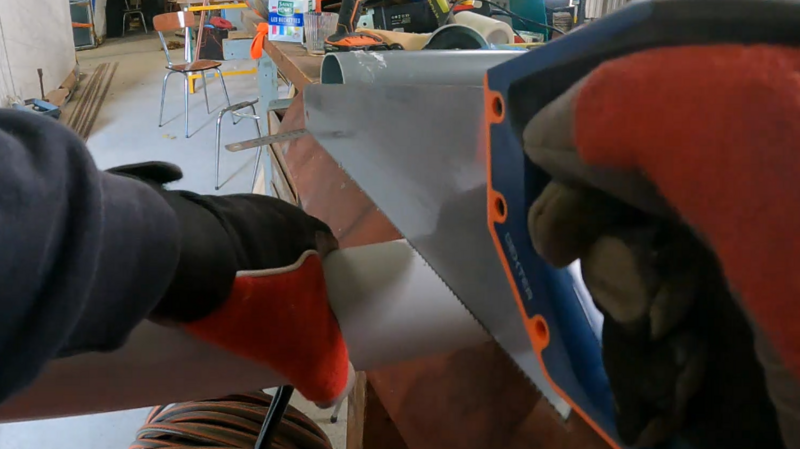
Étape 1 - Cutting the PVC tube
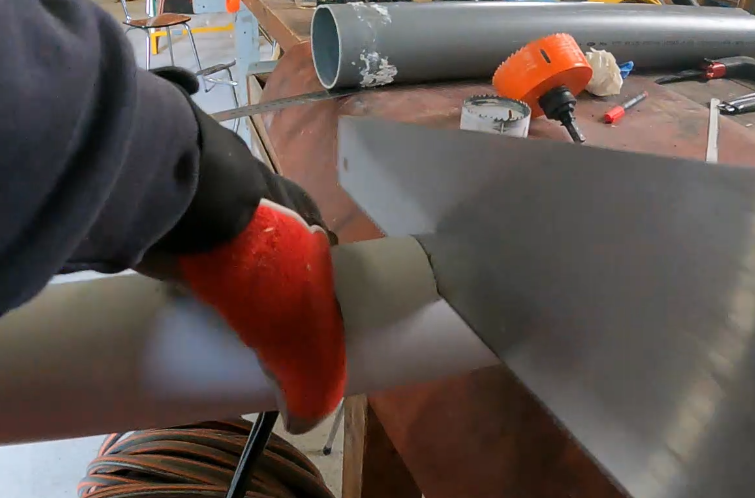
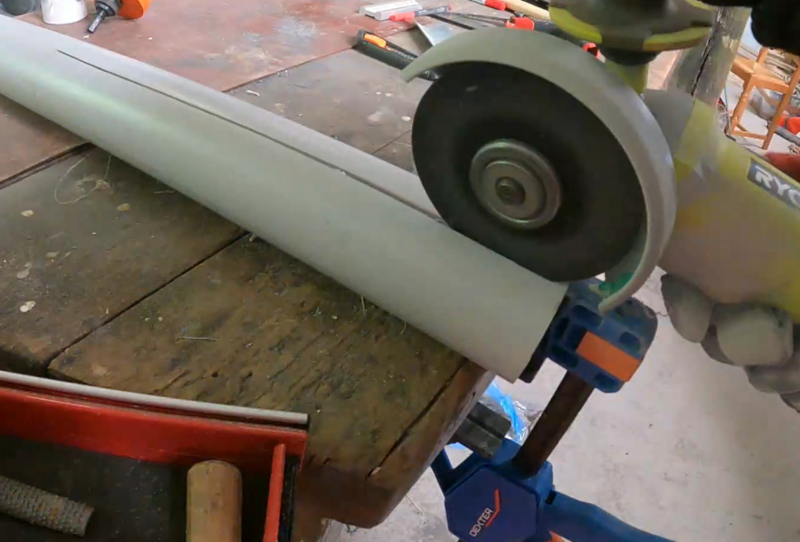
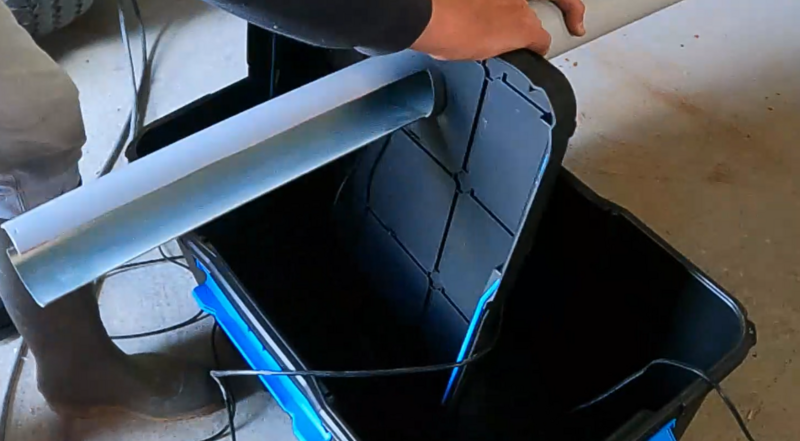
The PVC tube must be cut so as to guide the mist. The PVC tube is then inserted into the box, it takes support on the bottom of the box.
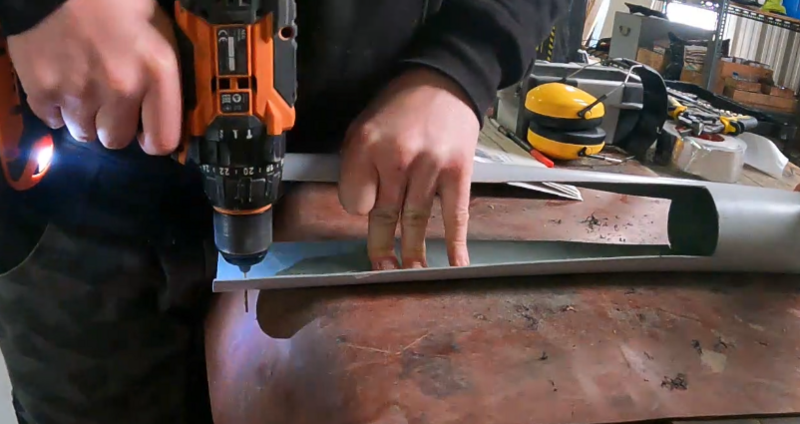
This shape allows the passage of water and mist. It helps guide the mist.
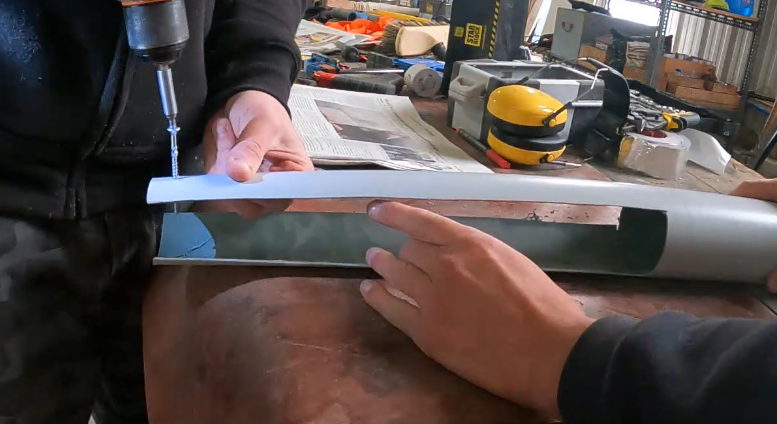
The tube can be solidified using a screw. make sure that the PVC tube is straight.
Étape 2 - Box cutout
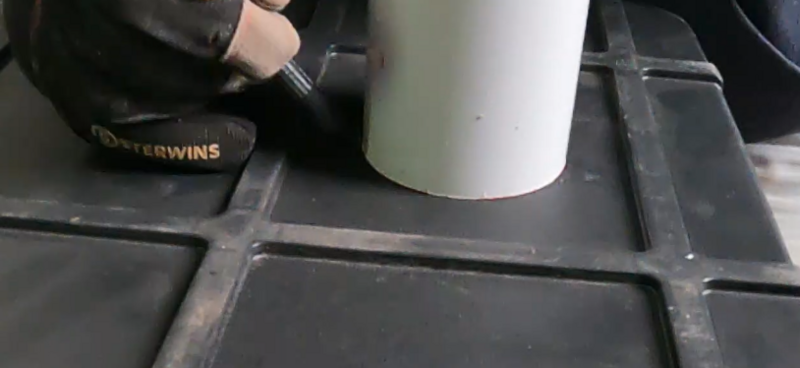
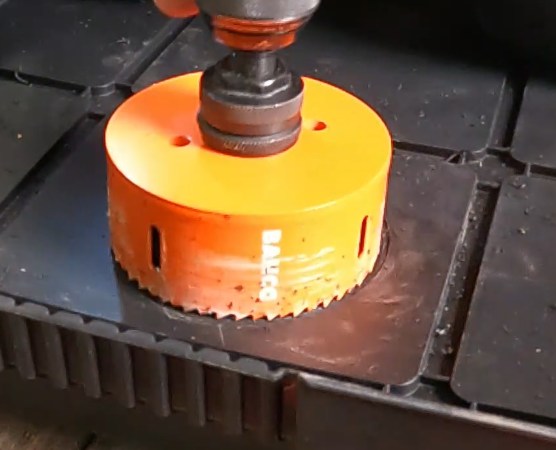
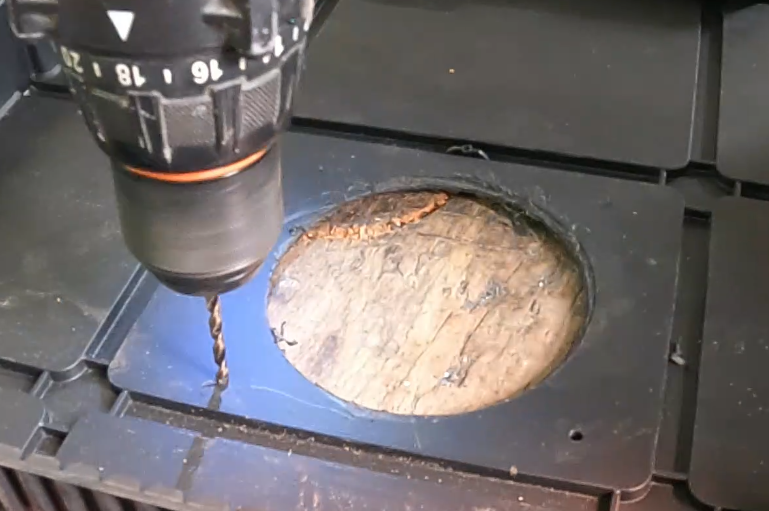
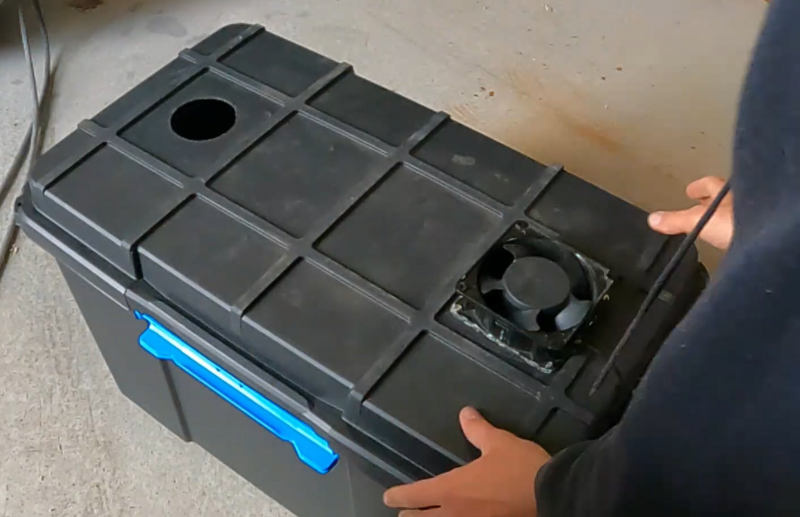
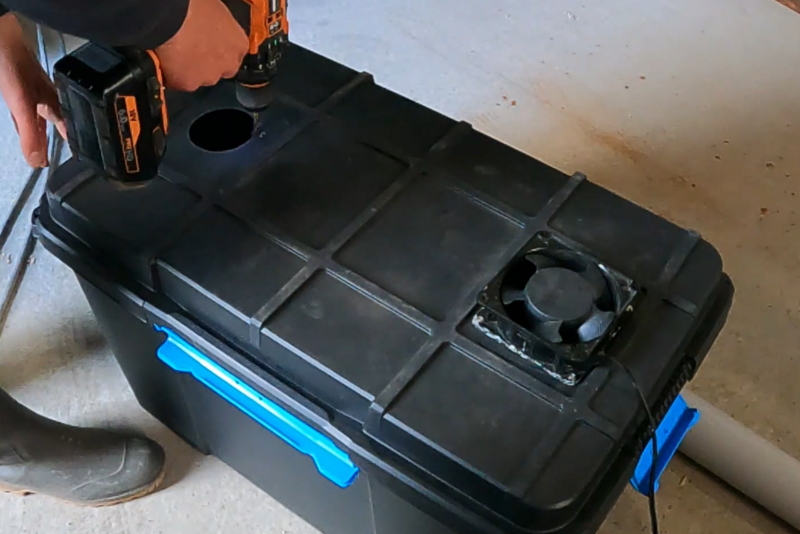
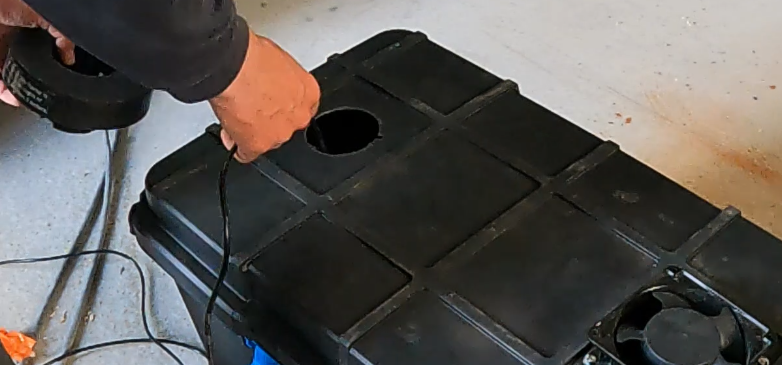
It is necessary to make two holes in the cover, the first to accommodate the PVC tube, the second for the fan.
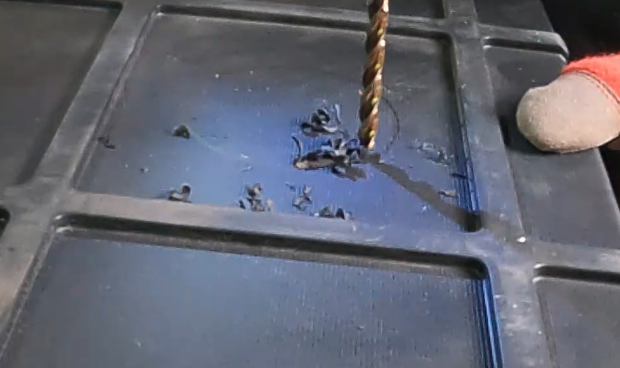
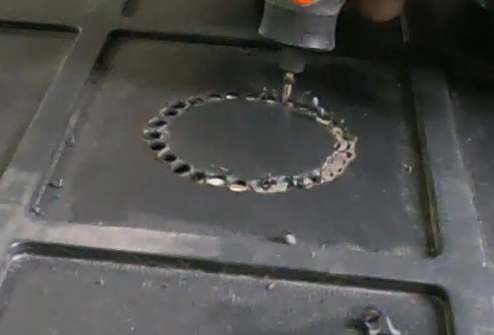
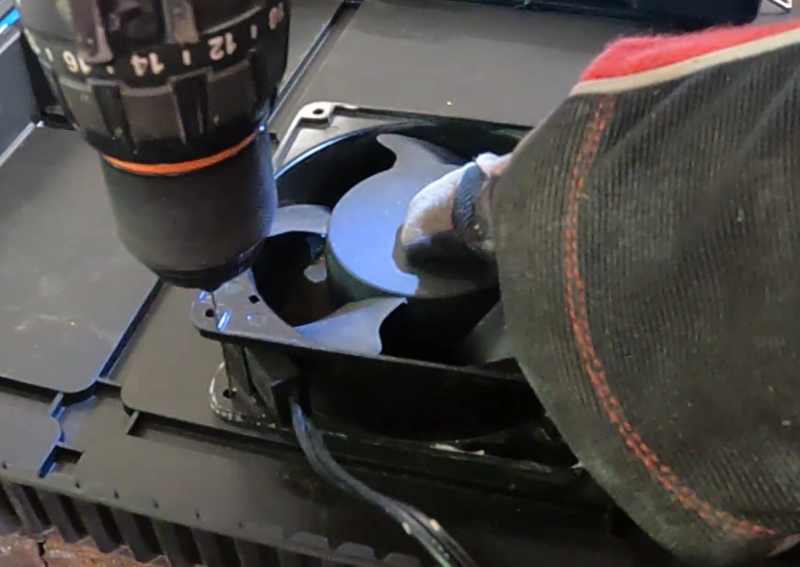
To make a hole in the plastic, it is advisable to draw the hole, then drill along the circle. There have been complications with the hole saw, this system is not recommended.
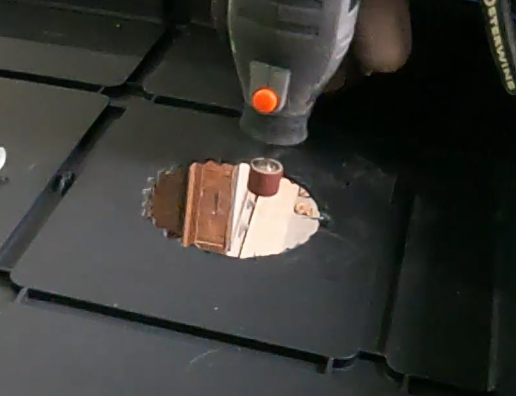
The hole can be smoothed and sanded with a rotary tool.
Étape 3 - Fan installation
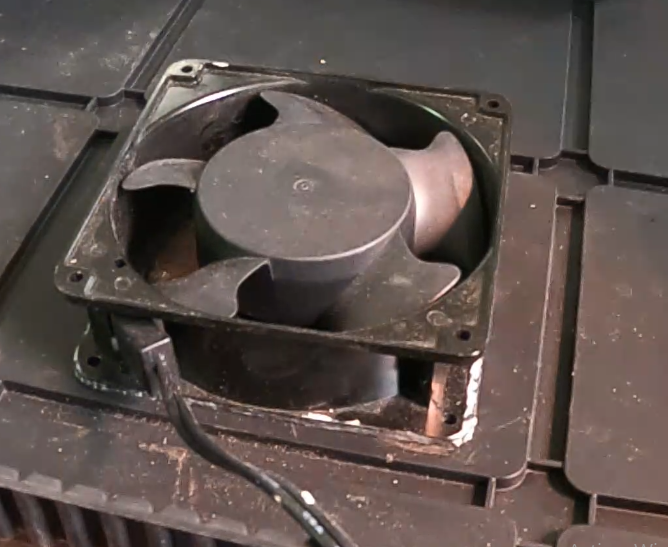
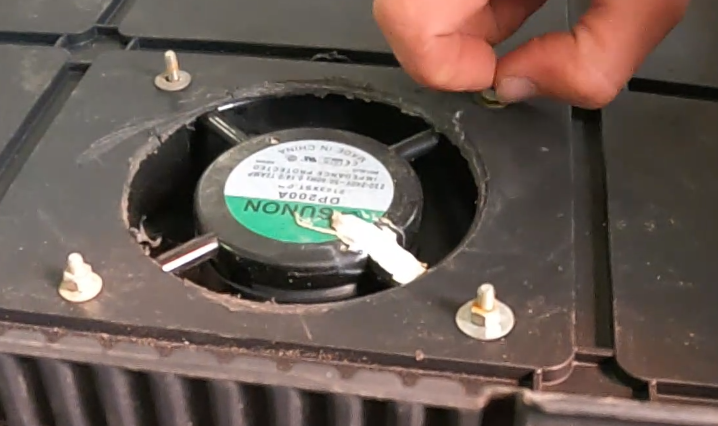
The IP64 fan can be fitted with the appropriate screws (other types of fans have rusted or the powr cable has not held).
The air must return thanks to the ventilator in the box.
Étape 4 - Sealing of the fogger
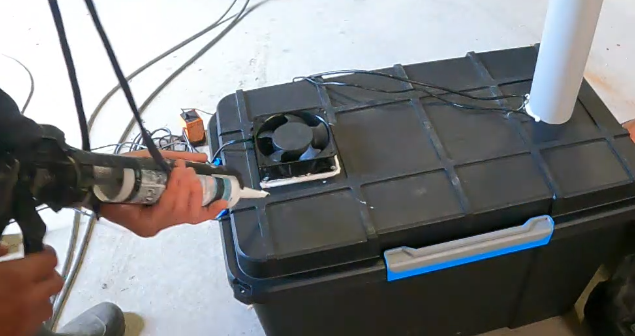
In order to ensure the watertightness of the fogger, a joint gun is used to apply the silicone.
To avoid silicone balls, you must orient the gun correctly and exert constant pressure. The silicone must then be smoothed with a spoon or with the gloves.
- Apply the silicone to the top face
- Wait 24 hours for the silicone to dry
- Apply the silicone to the underside of the cover
- Wait 24 hours for the silicone to dry
Étape 5 - Assembly
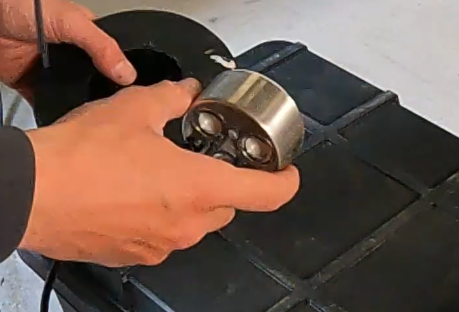
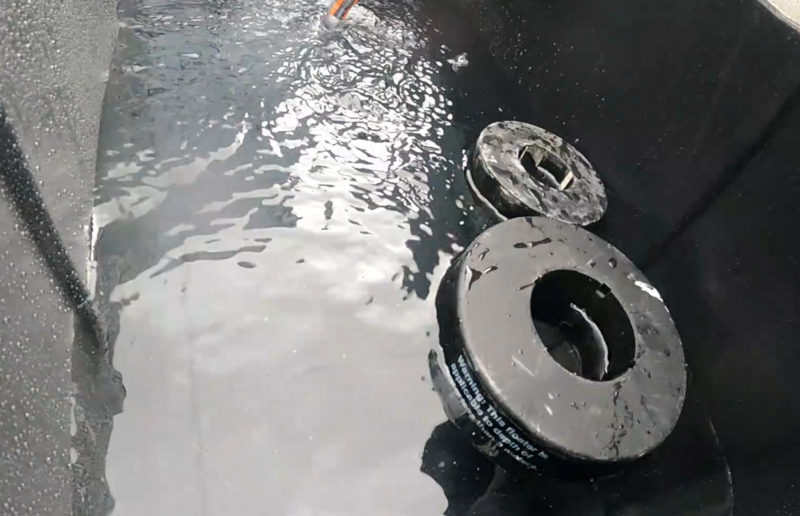
The box can be filled with water, the ultrasonic fogger will land on a float. The system can be supplied with electricity.
Dans une serre, il faut minimiser le nombre de composants électroniques.
Les seuls composants électroniques sont le brumisateur à ultrason et le ventilateur.
Étape 6 - A vos champignons !
Le brumisateur est très utile dans toute culture de champignons. Il permet d'obtenir une surpression, afin d'éviter un apport d'air extérieur et de polluants.
Il permet également d'avoir une atmosphère saturée en humidité à température ambiante. Il peut être nécessaire d'ajouter une bouche d'extraction à la serre. Cette bouche d'extraction se situe idéalement proche du sol, afin de maximiser la durée de séjour de la brume.
Si la serre n'est pas saturée avec le brumisateur, il est possible d'ajouter plusieurs brumisateurs dans la même boîte.
Published
 Français
 English
 Deutsch
 Español
 Italiano
 Português