Description
Preserve your raw vegetables for months with this lacto-fermentation technique.
Sommaire
Sommaire
- 1 Description
- 2 Sommaire
- 3 Introduction
- 4 Video d'introduction
- 5 Étape 1 - Preparing the vegetables:
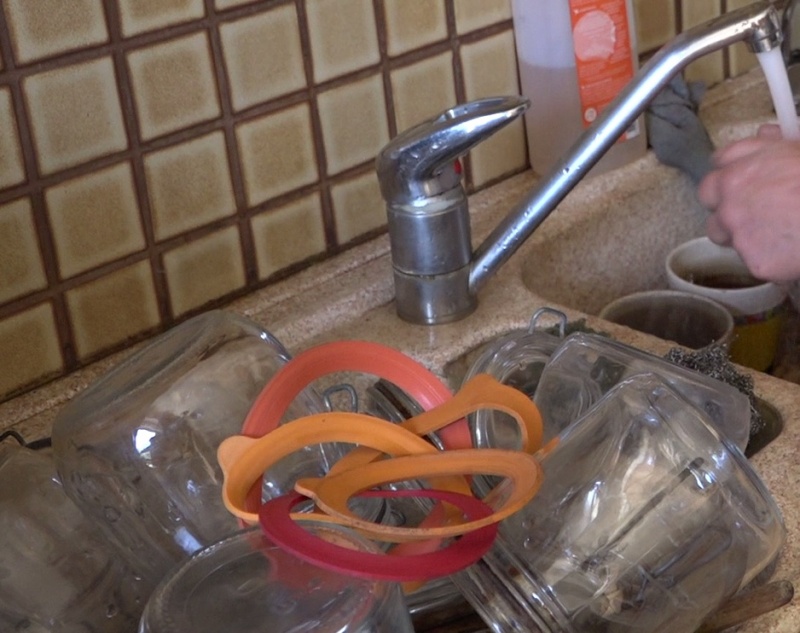
- 6 Étape 2 - Preparing the jars:
- 7 Étape 3 - Preserving grated or cut up vegetables:
- 8 Étape 4 - Preserving whole vegetables:
- 9 Étape 5 - Storage:
- 10 Étape 6 - Consumption:
- 11 Étape 7 - Kimchi recipe
- 12 Étape 8 - Contenu pédagogique à télécharger
- 13 Notes et références
- 14 Commentaires
Introduction
This tutorial has been created in collaboration with Claire Yobé, a lacto-fermentation instructor with over thirty years of experience in the field.
The aim is to easily preserve surplus vegetables for long-term storage, whether from your vegetable patch (in Summer for example), or because you have bought more vegetables than you needed.
Key facts on food wastage:
- 1/3 of food produced around the world goes off or is wasted
- In France, 50% of waste happens at home
- A person in France wastes 20kg of food per year
- 19 % of fruit and 31% of vegetables are wasted, making these the produce we waste the most
What is lacto-fermentation, or lactic acid fermentation?
Lacto-fermentation is the conversion of sugars into lactic acid by lactic acid bacteria (naturally present specific microorganisms).
This method of fermentation has been used for centuries to preserve milk (e.g yoghurt), vegetables (e.g sauerkraut), meat (e.g. cured sausage) and even fish (e.g fish sauce).
How is it possible to preserve vegetables by means of lactic acid fermentation?
Vegetables carry microorganisms on their surfaces (microscopic fungi, bacteria) which, when left in the open air, cause them to rot. The absence of air (anaerobic conditions) and a small quantity of salt to inhibit other bacteria, encourages the lactic acid bacteria to grow: this is the start of the lacto-fermentation process.
These bacteria grow by feeding off the sugars present in the food, and converting them into lactic acid. The amount of lactic acid gradually increases, and the vegetable juice becomes increasingly acidic.
This acidity neutralises the rotting process. When the medium is acidic enough (approx. pH 4), the lactic acid bacteria are also inhibited. The product becomes stable, which allows for long term storage of up to several months and sometimes even years.
What kind of vegetables can be preserved by lacto-fermentation?
Nearly all vegetables which are eaten raw can be preserved this way. (E.g cabbage, cucumber, carrots, beetroot, etc...)
What are the nutritional and health benefits of lacto-fermented vegetables?
1) They aid digestion and nutrient absorption.
Enzymes in lactic acid bacteria "pre-digest" vegtables, which helps the digestion process as well as the absorption of nutrients and minerals by the body.
2) They are a source of vitamins.
Lacto-fermented vegetables have the same amount of vitamins, and sometimes more, as raw vegetables.
3) They help the intestines and immune system function properly.
Lactic acid bacteria are "pro-biotics" for the gut flora which play an important role as barriers for the immune system.
How can we consume lacto-fermented vegetables?
Lacto-fermented vegetables can be consumed frequently, on a daily basis even, for example as a side dish.
Eating a lot in one go can cause stomach pains due to its elevated acidity levels.
They should be part of a varied and balanced diet.
Are there any risks involved with lacto-fermentation?
Contrary to preservation by means of heat (e.g sterilisation) or freezing, which can in turn cause the growth of, for example, the toxin botulinum, lacto-fermentation is a very safe method.
The acidity of the medium prevents the growth of pathogens.
Nevertheless, if in doubt and bad odours or peculiar colours appear, throw the preserve away.Youtube
Matériaux
- Vegetables which are usually eaten raw
- Table salt
- Water
Outils
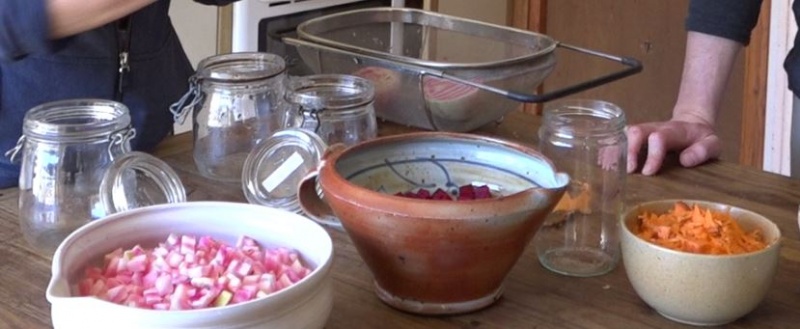
- Jar with its respective lid, (if possible a glass lid with seal)
Étape 1 - Preparing the vegetables:
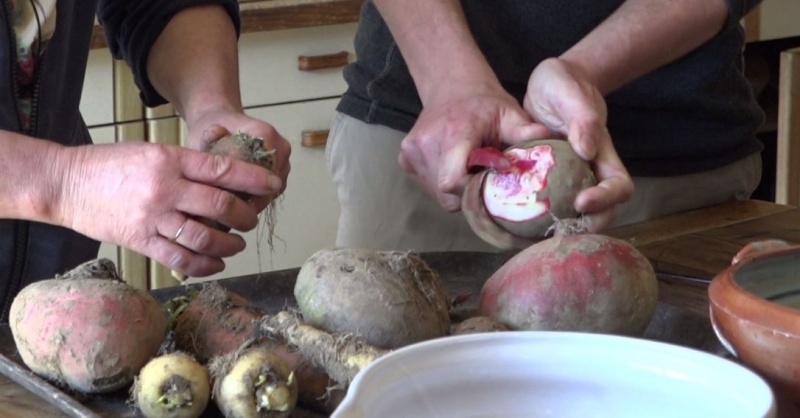
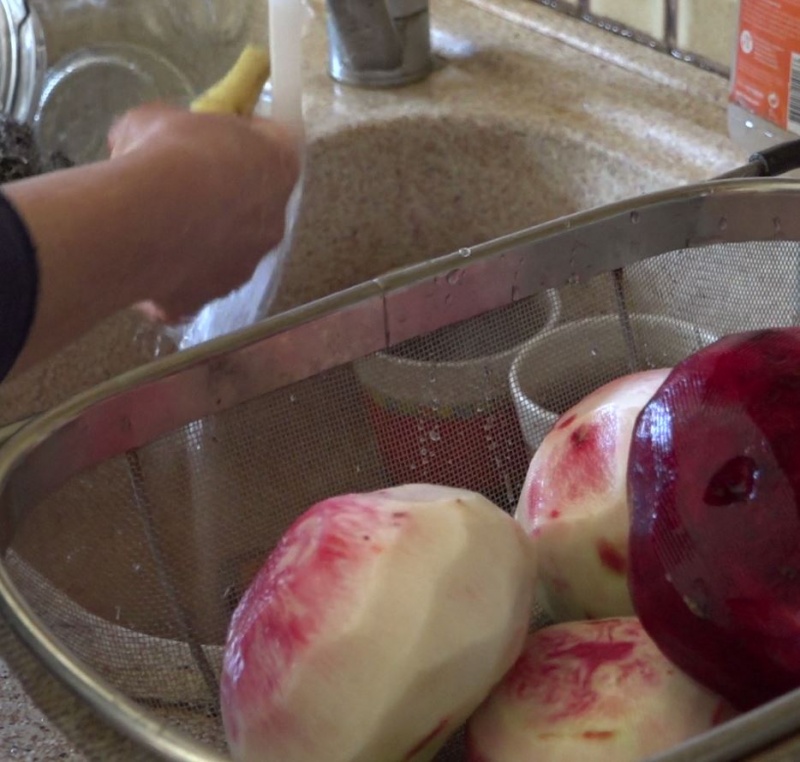
- Peel and wash the vegetables carefully
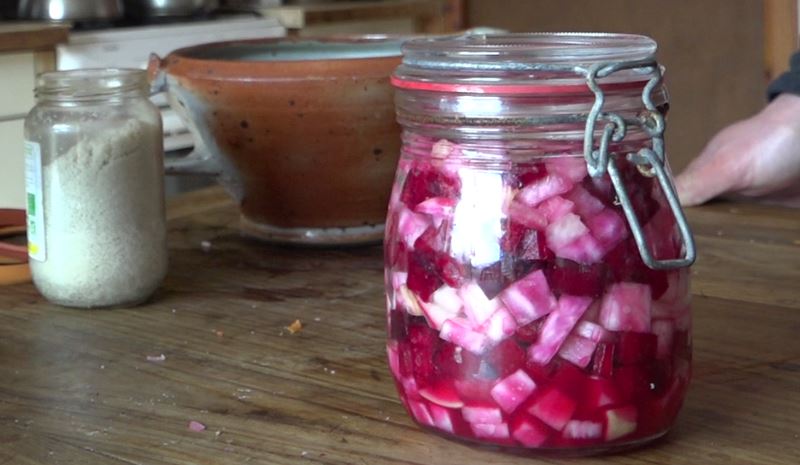
- Depending on preference, grate or cut them into dice or strips.
- Leave those vegetables which are usually left whole as they are, following washing (e.g green beans).
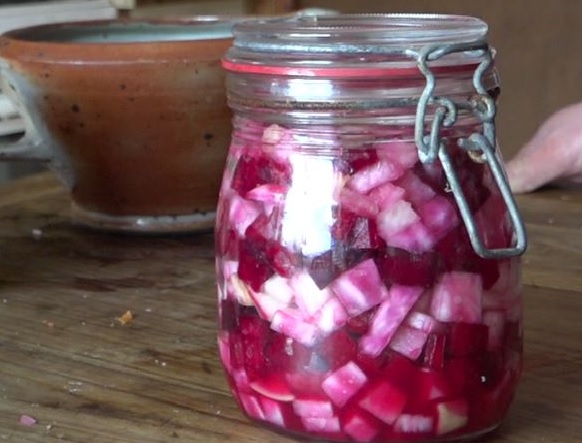
Étape 3 - Preserving grated or cut up vegetables:
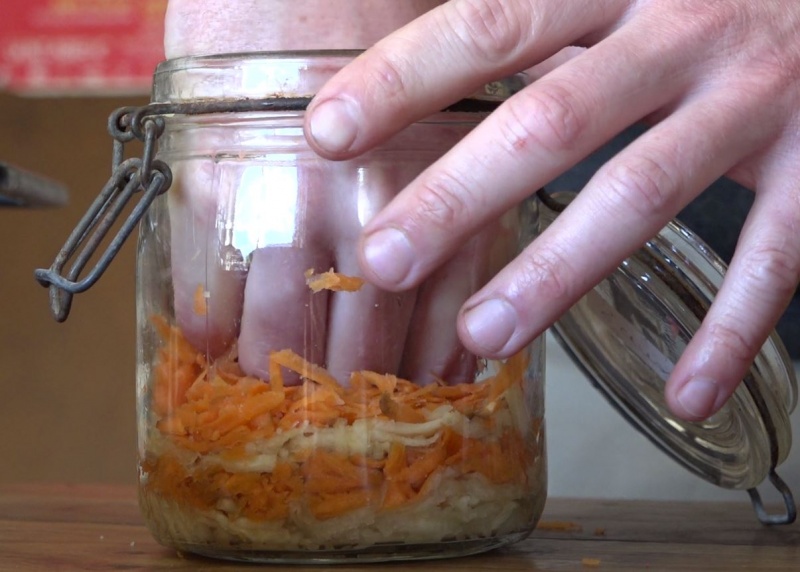
- Ensure your hands are clean
- Place a first layer of vegetables at the bottom of the jar (2cm)
- Sprinkle with a pinch of salt
- Press the layer of vegetables down with your hands
Note: Pressing down allows for the salt to penetrate the vegetables so as to encourage the extraction of juices and get rid of air
- Repeat the procedure until the jar is full
- Leave a gap of 1 to 2 cm between the last layer of vegetables and the lid, as fermentation produces gas and the juices may overflow if the jar is too full
- Close the jar
- Leave to rest for 3 days to start the fermentation process of the naturally present lactic acid bacteria
- If the level of vegetables has reduced due to the juice extraction from the salt, add more layers
- Check all of the vegetables are covered by their own juices to the top of the jar: these juices ensure anaerobic conditions, namely the absence of oxygen
Étape 4 - Preserving whole vegetables:
- Fill the jar with as many vegetables as possible
- Add salty water (10g of salt for 1 kg of vegetables)
- Check all of the vegetables are fully submerged in the water, the water ensures the anaerobic conditions, namely the absence of oxygen
- Close the jar
- Leave to rest for 3 days to start the fermentation process of the naturally present lactic acid bacteria
Étape 5 - Storage:
- Following the process, store the preserve in a dry place, out of sunlight and if possible, in the coolest part of the house/flat (e.g cellar, pantry or basement)
- Wait 6 weeks for the fermentation process to have completed and for the product to stabilise. Then, the jar can be stored for several months / years.
Étape 6 - Consumption:
- A jar may be consumed over several days once opened, though it is still a good idea to choose the size of the jar depending on the number of people living in the household
- Consume a small amount of lacto-fermented vegetables every day so as to make the most of its nutritional value.
(back to introduction)
Étape 7 - Kimchi recipe
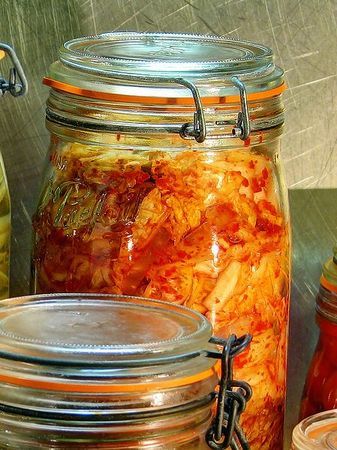
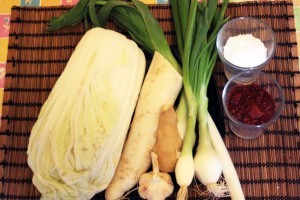
Le Kimchi est une recette coréenne traditionnelle. Elle est basée sur la lactofermentation du choux et d'épices.
- 2 kg de chou chinois
- 2 poireaux
- 1/2 navet long
- 3 gousses d’ail hachées
- 2 cuillerées à café de gingembre frais râpé fin
- 1 ou 2 cuillerée à café de sauce de poisson (optionnel)
- 1 cuillerée à soupe de piment rouge haché
- 1 cuillerée à soupe de sésame grillé
- 1 cuillère à soupe de sucre
- 100 à 160g de gros sel
- Coupez le chou en lamelles dans le sens de la longueur et mettez-le dans un saladier rempli d’eau tiède salée. Saupoudrez le chou de gros sel (à mettre entre chaque feuille). Laissez reposer et dégorger pendant une nuit.
- Le lendemain, rincez les lamelles de chou à l’eau et égouttez-les. Dans un autre saladier: Coupez le navet et les poireaux en fines lamelles d’environ 5 cm
- Mélangez les ingrédients pour faire la pâte d’épices : gingembre,piment rouge, ail,sucre et sauce de poisson. Il faut tout éplucher ou râper afin de faire la pâte. Étalez cette pâte entre les feuilles de chou. Déposez les morceaux de chou dans un grand récipient. Saupoudrez avec un peu de sésame grillé.
- Placez un couvercle ou une assiette sur le récipient, ou fermez-le hermétiquement. Il faut maintenant attendre 4 à 5 jours pour que le kimchi fermente. Il est à consommer dans les jours suivants l'ouverture du pot et peut se conserver environ trois semaines au frigo.
Étape 8 - Contenu pédagogique à télécharger
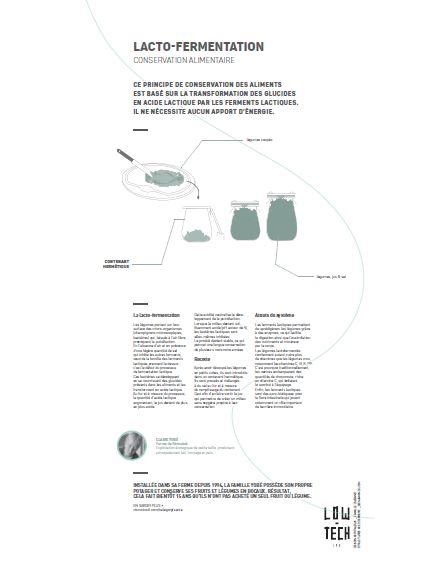
Vous pouvez télécharger une fiche pédagogique créée par le Low-tech Lab à l'occasion de l'exposition "En Quête d'un Habitat Durable" dans la partie "Fichiers" du tutoriel.
Notes et références
- Video tutorial created by Camille Duband and instructions written by Pierre-Alain Lévêque for the Low-Tech Tour, April 2018.
- Know-how delivered by Claire Yobé, Keroueze Farm
- ARTE, Le gaspillage alimentaire en 7 chiffres clés
- National Geographic, Un tiers des aliments produits est perdu ou gaspillé
- Wikipedia, lactofermentation
- Blog ni cru ni cuit
This English translation has been possible thanks to the PerMondo project: Free translation of website and documents for non-profit organisations. A project managed by Mondo Agit. Translator: Annie Eve
Published
 Français
 English
 Deutsch
 Español
 Italiano
 Português