Description
Bait made from accessible materials to help develop new bee colonies
Introduction
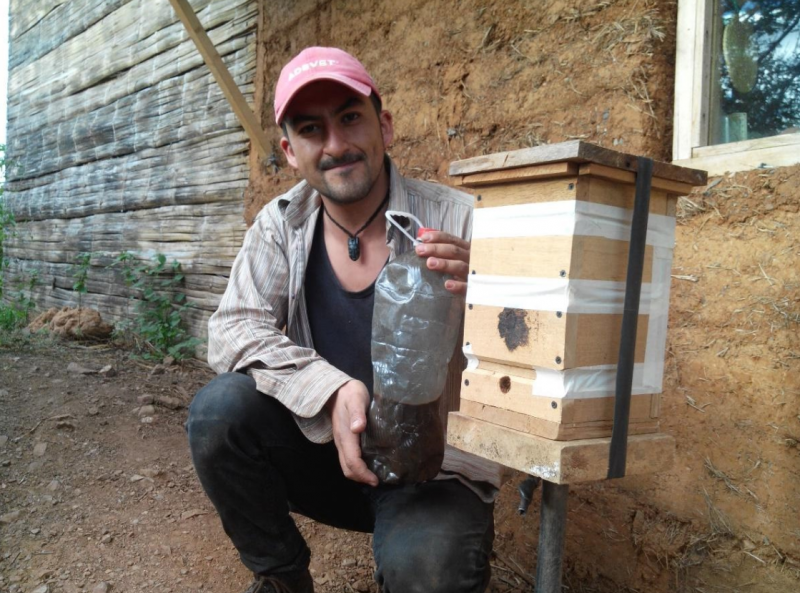
Bait for Melipona bees was documented on during one of our trips, looking for low-techs in South America from June to September 2017 in Ecuador, Peru and Bolivia.
Don't be mistaken, the aim of this low-tech is not to kill bees but to attract them so they can create a colony and in the end...honey!
Pablo, an Ecuadorian beekeeper uses this technique. He thinks this system is adaptable to all bee species but it has only been tested on the Melipona species for the moment. They are small bees that don't sting, they can be found in Mexico, Central America and South America. Pablo works in the Finca Fina farm near Malacatos in the South of Ecuador and looks after the animals as well as bees, but his speciality is bees!
These bees are micro-pollinators, they allow plants to reproduce and develop up to several kilometres away. They are largely declining all around the world due to the use of pesticides, mainly neonicotinoids Therefore, developing this technique to create new hives has 2 effects: supporting economic development by producing more honey and helping the bee population increase in surrounding areas.
In order to make this bait, you need to have a beehive belonging to the target species. In effect, you will need to use propolis. It's a mixture of wax and plant resin that bees collect in nature, it is a browny-green colour and can be found in the beehive.
Matériaux
• Two 2-3 litre plastic bottles
   • Newspaper
   • Black plastic bags
   • Adhesive tape
   • Iron wire
   • 90° Alcohol
   • Bee propolis from the target species
Outils
Scissors
Étape 1 - The mixture
To make a big amount of mixture
   • Mix 100ml of 90° alcohol and 300g of Bee propolis in the first bottle.
   • Leave to macerate in the shade for 7 days.
Étape 2 - Transfer
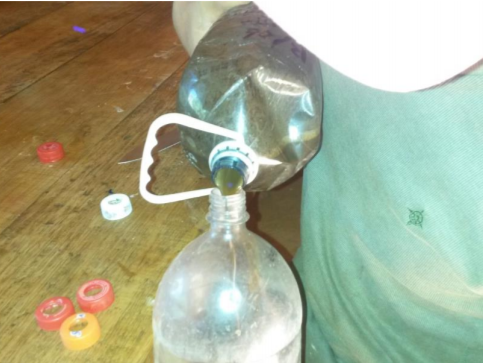
- Verser 20ml du mélange de la première bouteille dans la seconde bouteille.
- Bien agiter la bouteille. Les parois doivent être entièrement recouvertes du mélange.
- Reverser l’excédent du mélange dans la première bouteille.
- Laisser sécher, l’alcool s’évapore vite.
Étape 3 - Découpe
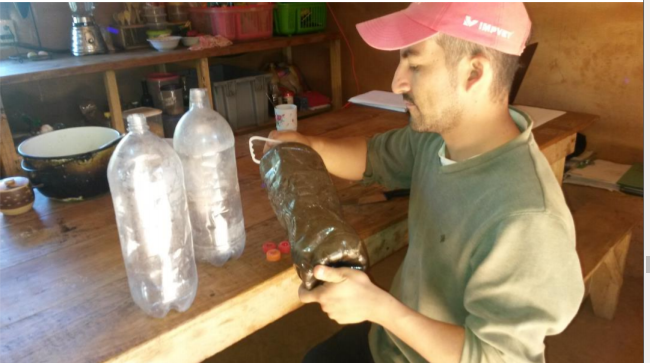
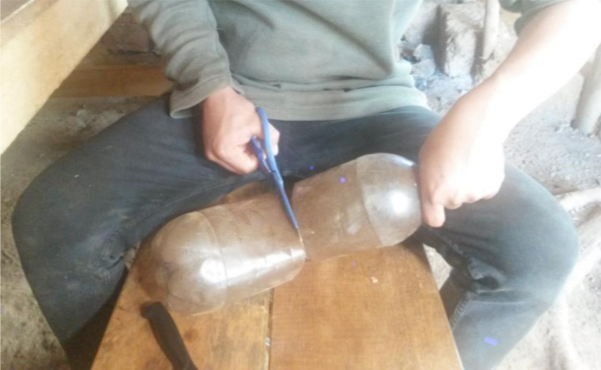
- Découper dans sa largeur et en son milieu la deuxième bouteille dont la surface intérieure est recouverte du mélange.
- Recoller les 2 moitiés ensemble à l’aide du scotch.
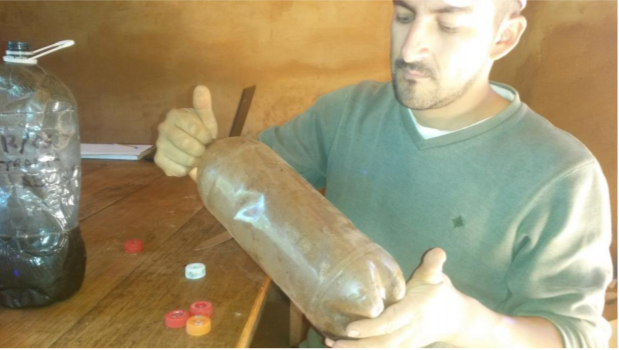
- Couvrir entièrement la bouteille avec du papier journal puis avec le sac plastique noir, laisser l’entrée du goulot libre.
Étape 4 - Installation
- Accrocher la bouteille emballée et ouverte à la verticale sous un arbre (goulot vers le bas) ou à l’horizontal sous un toit (à l’abri de la pluie).
- Ne pas hésiter à disposer plusieurs de ces appâts pour augmenter les chances qu’une colonie s’installe.
Étape 5 - Observation et récupération
Si une colonie se forme :
- Noter la date
- Attendre 1 mois de plus.
Après ce mois d’attente :
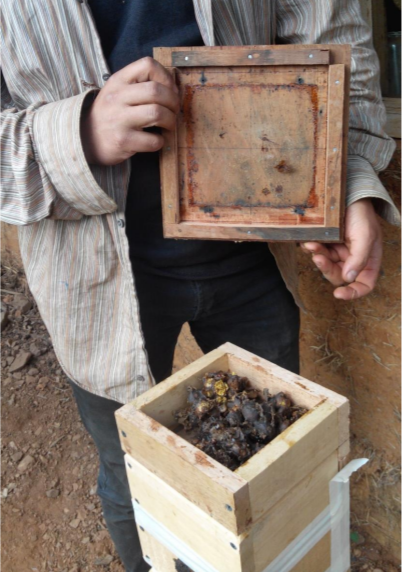
- Ouvrir soigneusement la bouteille en enlevant le scotch et disposer avec précaution la colonie dans une ruche.
Attention aux piqûres s’il ne s’agit pas d’abeilles Melipona.
Notes et références
Merci à Pablo Pablo Briceño Alvarez pour le temps accordé et pour les détails sur cette technique !
N'hésitez pas à compléter ce tuto si vous avez des informations plus précises que celles citées ci dessus! Notamment, il serait intéressant de savoir si cette méthode fonctionne pour les abeilles que l'on trouve ailleurs qu'en Amérique du sud et centrale.
Published
 Français
 English
 Deutsch
 Español
 Italiano
 Português