Difficulté
Facile
Durée
3 heure(s)
Coût
15 EUR (€)
Description
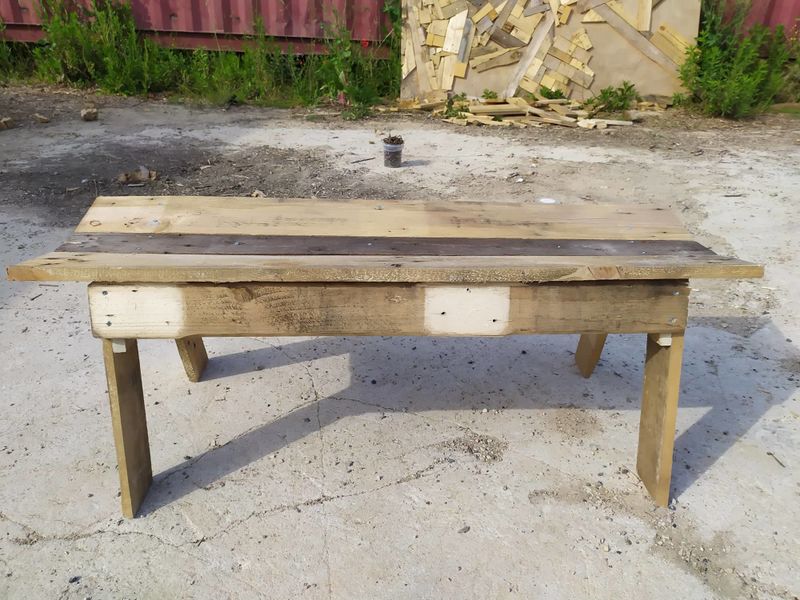
Building a bench from an EPAL pallet
Matériaux
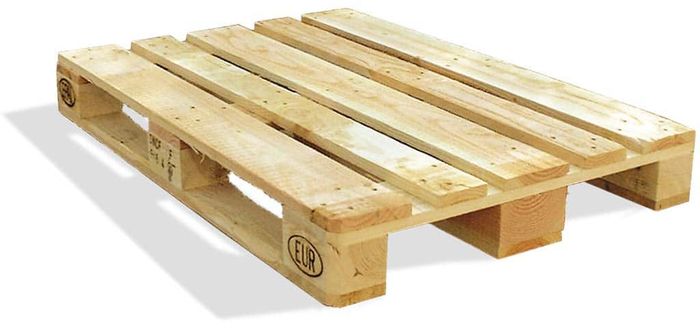
- 1 EPAL pallet
- about thirty screws (5*50mm)
Outils
- 1 crowbar
- 1 hammer
- 1 screwdriver
- Hand saw or jigsaw
- “foot’’ template (the pattern does not fit on an A4 format, so only the end of the foot is drawn on the attached file, you must choose the size of foot that suits you).
- “U’’ template (the pattern does not fit on A4 format, so only half of it is drawn on the attached file, so you need to reproduce it symmetrically).
Étape 1 - Dismantling the pallet
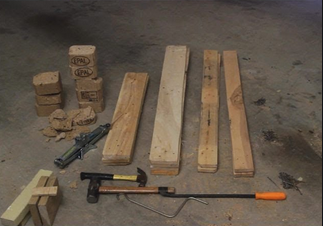
To dismantle a pallet, take it slowly and don't force it, otherwise you risk damaging the boards. Place the crowbar in the gaps, and tap the crowbar with the sledgehammer so that it fits into the gap, repeating the process in different places until you feel the boards coming loose. Note that if you break the ends of some of the boards, it's not a big deal, as some of them will be cut off later.
Follow the boning of the following pallets:
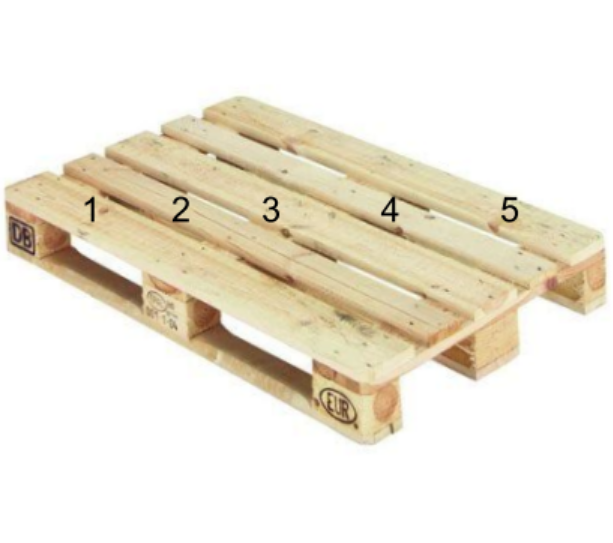
- Start by removing planks 2 and 4 from the top.
- Turn the pallet over and remove the blocks from boards 1, 3 and 5
- Remove the boards attached to the blocks
- Tap the nails on boards 1, 3 and 5 to remove them.
- Similar method on this tutorial (https://www.youtube.com/watch?v=tQnQkdUS3yo)
Étape 2 - Sorting the boards
- 4 thin, long planks: one for the seat of the bench, two for the legs of the bench and one for the centre rail. Select a good board for the seat.
- 3 small, wide planks: we'll cut them into a U shape according to the template.
- 4 large and wide: Select two planks for the seat. The other two will be used for the outer crosspieces.
Étape 3 - Assembly
- Cut out the legs according to the template
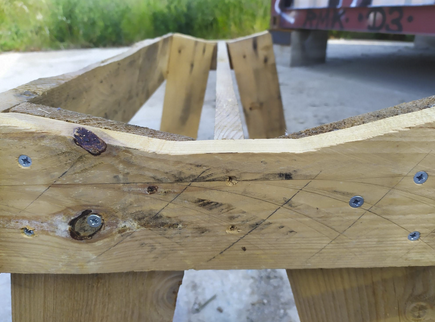
- Cut the U shapes according to the template
- Pre-drill the U shapes with the feet
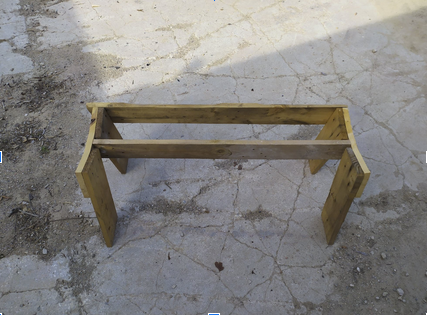
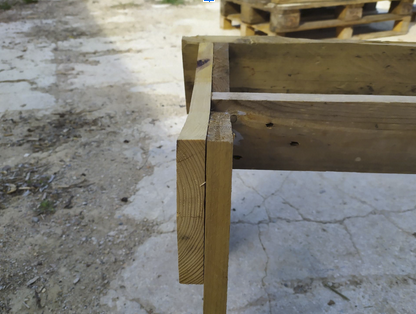
- Assemble the U-shapes and legs (CAUTION: direction of the legs / the U-shape must not protrude above or to the sides, see photo).
- Cut the crosspieces from a thin, long plank and two wide, long planks. Choose the dimensions according to the length of bench you want (CAUTION: the centre crossbar must be cut shorter than the other two).
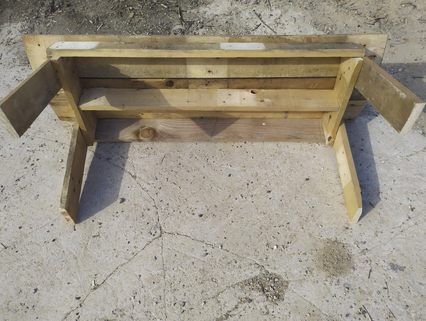
- Assemble the centre crossbar (the shortest) to the centres of the “U-Feet” assemblies (use a square to be straight), with the feet facing inwards.
- Screw on the outer crosspieces after cutting them to length.
- Screw on the seat, starting with the thin board (the one in the middle).
Draft
 Français
 English
 Deutsch
 Español
 Italiano
 Português