Difficulté
Facile
Durée
3 heure(s)
Coût
15 EUR (€)
Description
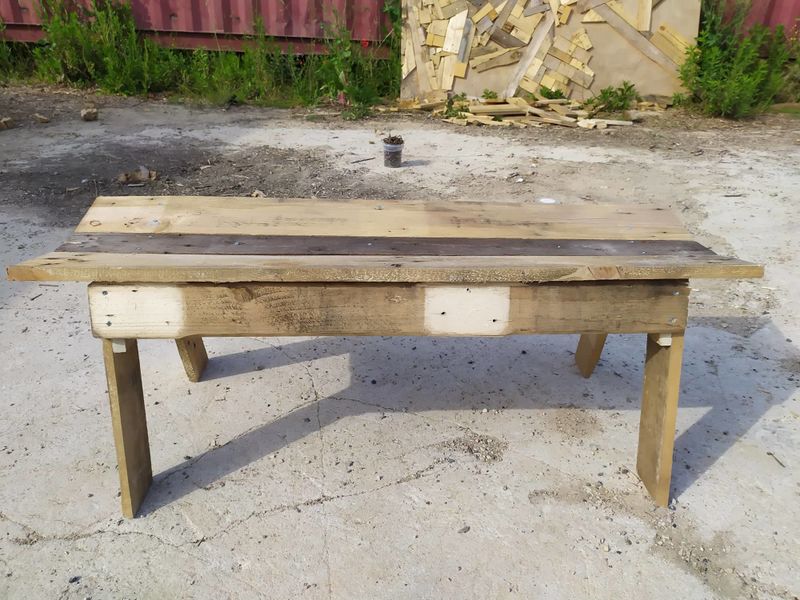
Building a bench from an EPAL pallet
Matériaux
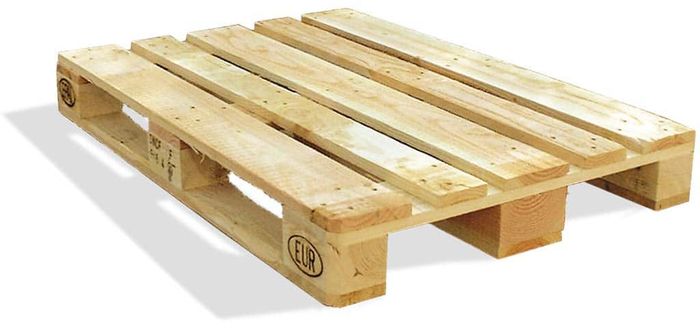
- 1 EPAL pallet
- about thirty screws (5*50mm)
Outils
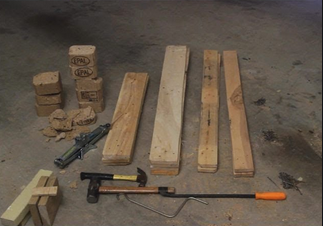
- 1 crowbar
- 1 hammer
- 1 screwdriver
- Hand saw or jigsaw
- “foot’’ template (the pattern does not fit on an A4 format, so only the end of the foot is drawn on the attached file, you must choose the size of foot that suits you).
- “U’’ template (the pattern does not fit on A4 format, so only half of it is drawn on the attached file, so you need to reproduce it symmetrically).
Étape 1 - Dismantling the pallet
To dismantle a pallet, take it slowly and don't force it, otherwise you risk damaging the boards. Place the crowbar in the gaps, and tap the crowbar with the sledgehammer so that it fits into the gap, repeating the process in different places until you feel the boards coming loose. Note that if you break the ends of some of the boards, it's not a big deal, as some of them will be cut off later.
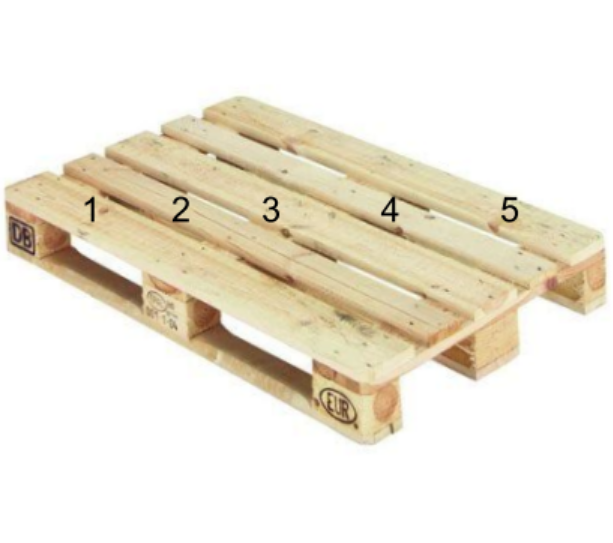
Follow the boning of the following pallets:
- Start by removing planks 2 and 4 from the top.
- Turn the pallet over and remove the blocks from boards 1, 3 and 5
- Remove the boards attached to the blocks
- Tap the nails on boards 1, 3 and 5 to remove them.
- Similar method on this tutorial (https://www.youtube.com/watch?v=tQnQkdUS3yo)
Étape 2 - Sorting the boards
- 4 thin, long planks: one for the seat of the bench, two for the legs of the bench and one for the centre rail. Select a good board for the seat.
- 3 small, wide planks: we'll cut them into a U shape according to the template.
- 4 large and wide: Select two planks for the seat. The other two will be used for the outer crosspieces.
Étape 3 - Assembly
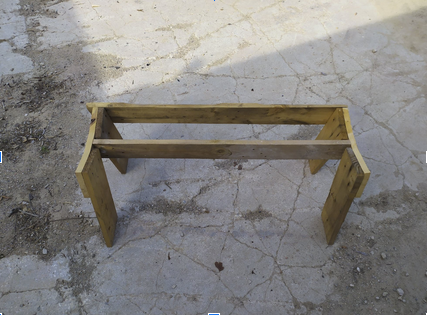
- Découper les pieds suivant le gabarit
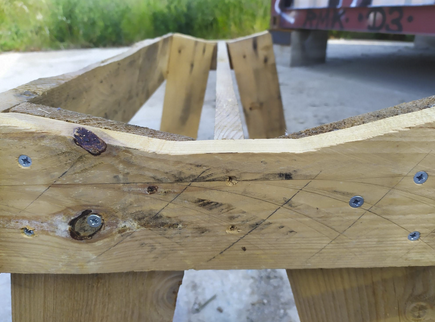
- Découper les U suivant le gabarit
- Pré-percer les formes en U avec les pieds
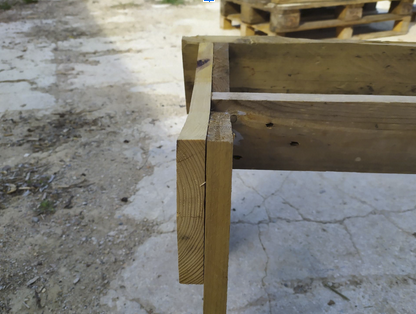
- Assembler les U et les pieds (ATTENTION : sens des pied / le U ne doit surtout pas dépasser au dessus et sur les côtés, cf photo)
- Découper les traverses à partir d'une planche fine et longue et de deux planches larges et longues. Les côtes sont à choisir en fonction de la longueur du banc que vous voulez (ATTENTION : celle du centre doit être découpée plus courte que les deux autres).
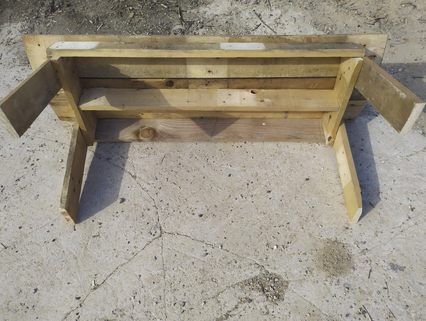
- Assembler la traverse du centre (la plus courte) aux centres des assemblages “U-Pieds” (utiliser une équerre pour être droit), les pieds sont vers l’intérieur.
- Visser les traverses extérieures après les avoir découpés à la bonne longueur.
- Visser l’assise en commençant par la planche fine (celle du milieu)
Draft
 Français
 English
 Deutsch
 Español
 Italiano
 Português