
Difficulté
Facile
Durée
1 jour(s)
Coût
35 EUR (€)
Description
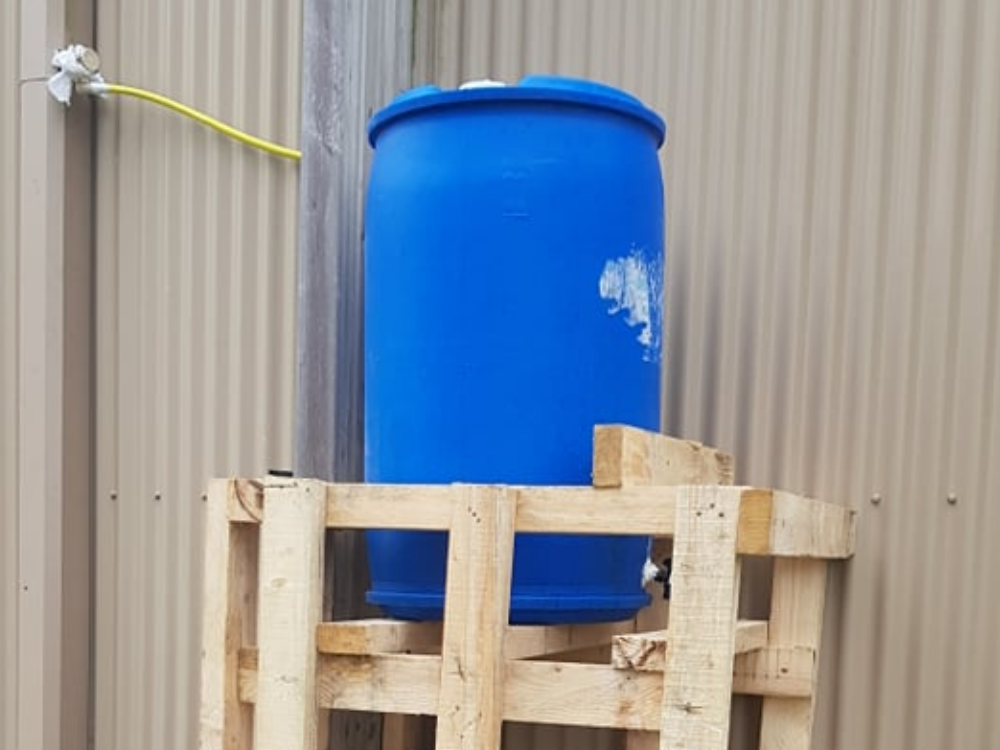
Rainwater harvesting system. The system is simple and sober. Connected to a gutter, the tank installed on a wooden structure contains the recovered water.
Introduction
"We love water, but in 20-30 years there won't be any left". Even Jean Claude Van Damme understood the importance of water for our future. If this theme is important to you and you like DIY, then this tutorial is for you!
Here we present our low-tech rainwater storage system. Connected to a gutter, it will provide you with water for watering your garden or washing your car. For our part, it will be installed on our school campus to clean surfboards.
On our campus, some buildings are equipped with a highly efficient rainwater harvesting system. At home, all you need to do is connect it to your gutter.
To obtain a good flow rate, the tank must be as large and as high as possible. For the mathematically minded, we'll give you a short demonstration below.


Matériaux
- wooden crates (3-4 depending on the size of the crates), ours were 160cm*280cm
- gutter connection / bracket
- a plastic valve
- pipes, we used diameters 25-27
- watertight barrel with lid
- screws, we used 160cm screws
Here are a few tips to help you find the equipment you need:
- the wooden crates were found in a company near our school
- the barrel was given to us by a car garage, but we had also found one at a recycling centre
- the hose was found at a recycling centre
- the screws and tap were bought in a Mr Bricolage/Brico Dépôt store
Outils
- DIY tools and protective equipment (circular saw, screwdriver/drill, gloves, goggles)
- mastic to seal joints
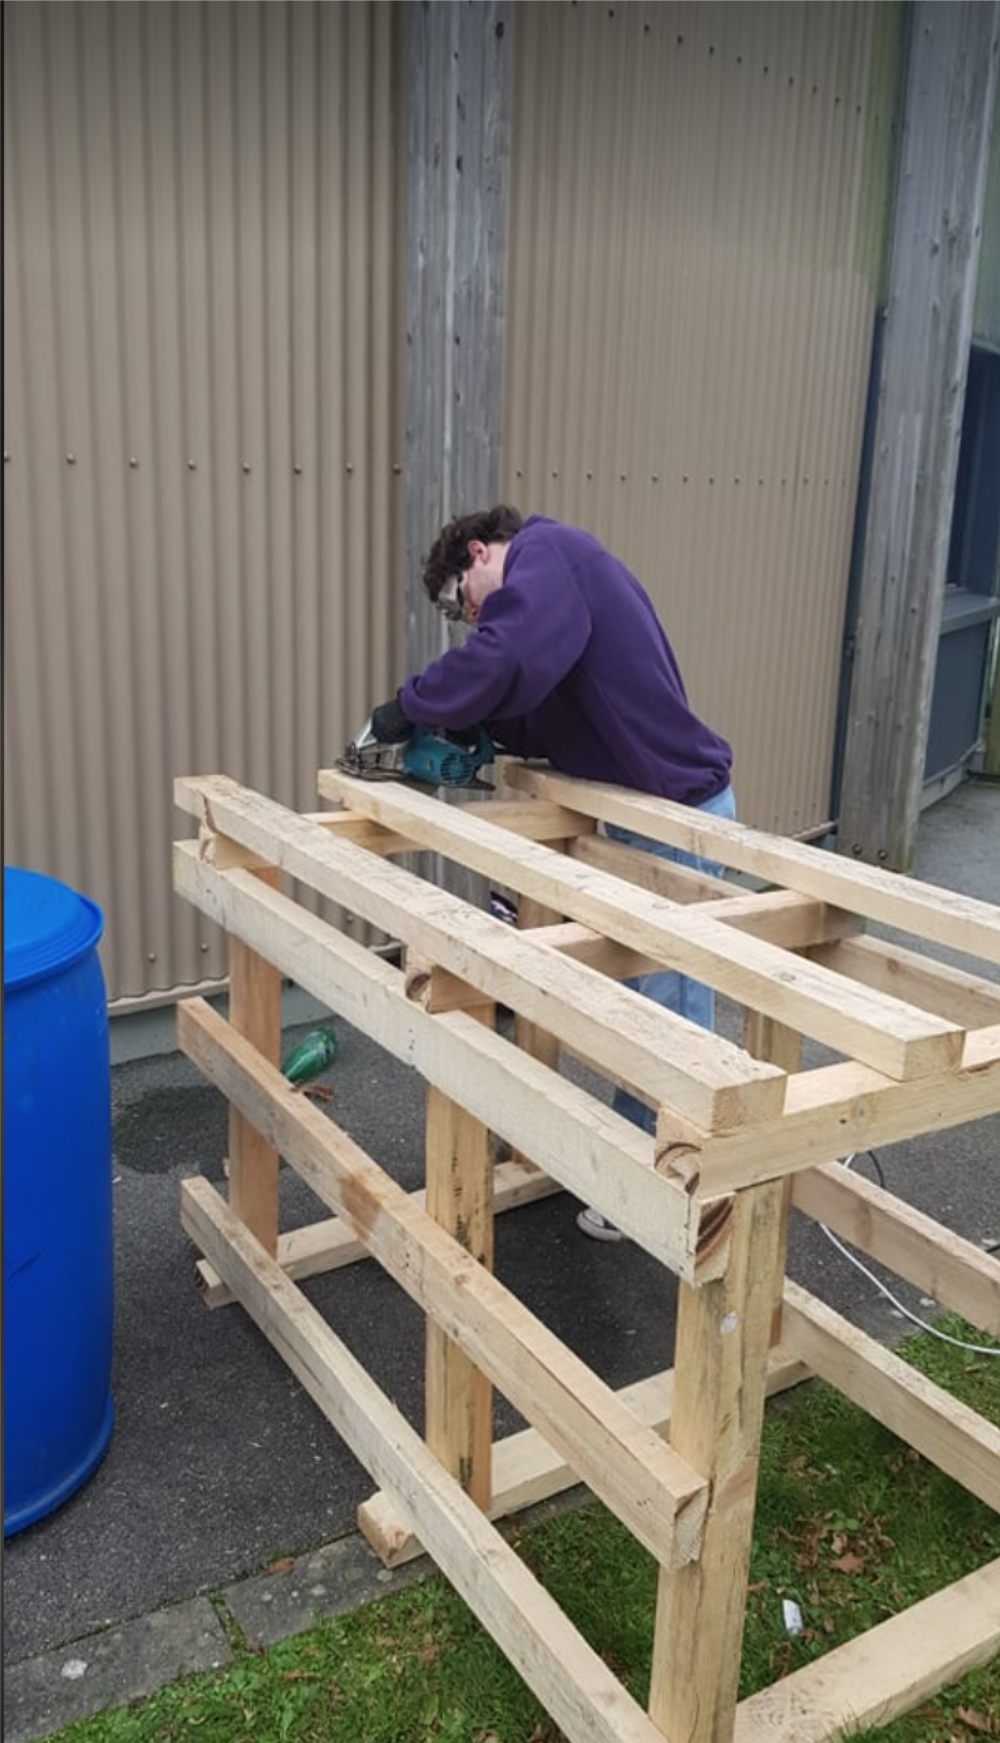
Étape 1 - the wooden base
Firstly, you need to cut the pallets so that only the right size pieces remain.
We decided to keep the same length and width of 3 slats, as on the 1st
We decided to cut out 3 pallets like these, and fix the last side with their offcuts, as shown in the last photo.


Étape 2 - le tonneau étanche
Le couvercle est fixé au tonneau, nous avons donc juste accès au 2 orifices du haut. (1ère image)
Nous en avons collé un, et nous avons gardé le 2ème pour faire passer le tuyau venant de la gouttière.
Puis, l’étape de percement du tonneau afin d’y installer notre robinet : nous l’avons percé à la perceuse, puis nous avons limé les bords. Nous avons ensuite mis du mastic sur le robinet avant de l’installer, et nous en avons encore mis par-dessus, afin de bien rendre cette partie étanche. Attention, le mastic sèche rapidement sur les doigts, donc nous vous conseillons de garder une bouteille à disposition, comme vous pouvez le voir sur la photo. Il faudra ensuite patienter au moins 24h afin de laisser le mastic sécher.


Étape 3 - le montage
Afin de sécuriser le tonneau, nous avons ajouté un “plancher”, 2 lattes supplémentaires comme sur la photo à côté. Le tonneau se retrouve alors bloqué par les rebords du socle.
On aperçoit le système de déviation de l’eau tombant dans la gouttière : une bride a été installée sur le câble, sous la protection métallique. Une vanne y a été installée, puis nous avons ajouté le tuyau, fixé au tonneau et rendu étanche grâce au mastic.
Nous avons pu observer que l’eau s’écoulait bien du robinet : nous y avons alors fixé le tuyau, et ainsi pouvoir utiliser ce récupérateur d’eau comme nous l’avions imaginé.


Published
 Français
 English
 Deutsch
 Español
 Italiano
 Português