(Mise à jour pour être en accord avec la nouvelle version de la source de la page) |
(Mise à jour pour être en accord avec la nouvelle version de la source de la page) |
||
| Ligne 27 : | Ligne 27 : | ||
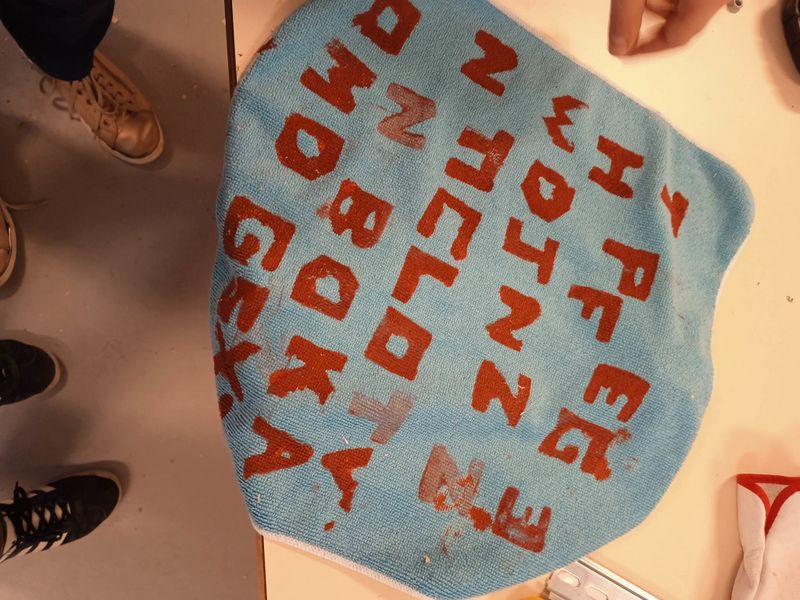
====During this tutorial, we are going to explain how to print words on your clothes or your paper sheets using the '''lino printing''' technique. We will make a wooden alphabet, to then print any word with painting on the choosen surface.==== | ====During this tutorial, we are going to explain how to print words on your clothes or your paper sheets using the '''lino printing''' technique. We will make a wooden alphabet, to then print any word with painting on the choosen surface.==== | ||
| + | |||
<br /> | <br /> | ||
}} | }} | ||
| Ligne 37 : | Ligne 38 : | ||
Tissu ou papier | Tissu ou papier | ||
| − | |Tools=Crayon | + | |Tools=Crayon papierPinceau |
| − | |||
| − | |||
| − | |||
Utile de gravure (ciseaux à bois) | Utile de gravure (ciseaux à bois) | ||
Version du 7 février 2023 à 11:46
Description
Linocut (wooden stamp for t-shirt)
Sommaire
Sommaire
- 1 Description
- 2 Sommaire
- 3 Introduction
- 4 Étape 1 - Récupérez des tissu / Collect fabric
- 5 Étape 2 - Préparez la plaque de bois /Prepare thewooden plaque
- 6 Étape 3 - Imprimez /Print
- 7 Étape 4 - Soulevez /Peel away
- 8 Étape 5 - Répétez/Repeat
- 9 Notes et références
- 10 Commentaires
Introduction
Tuto impression des t-shirts
Instructions in French:
Dans ce tutoriel, nous allons expliquer comment imprimer des mots sur vos matières textiles ou feuilles de papiers grâce à la technique de la linogravure. Nous allons donc tailler un alphabet en bois puis nous imprimerons le mot désiré avec de la peinture sur le support choisi.
__________________________________________________________________________________________________________________________________________________________________________________________________
Tutorial T-shirt printing
Instructions in english:
During this tutorial, we are going to explain how to print words on your clothes or your paper sheets using the lino printing technique. We will make a wooden alphabet, to then print any word with painting on the choosen surface.
Étape 1 - Récupérez des tissu / Collect fabric
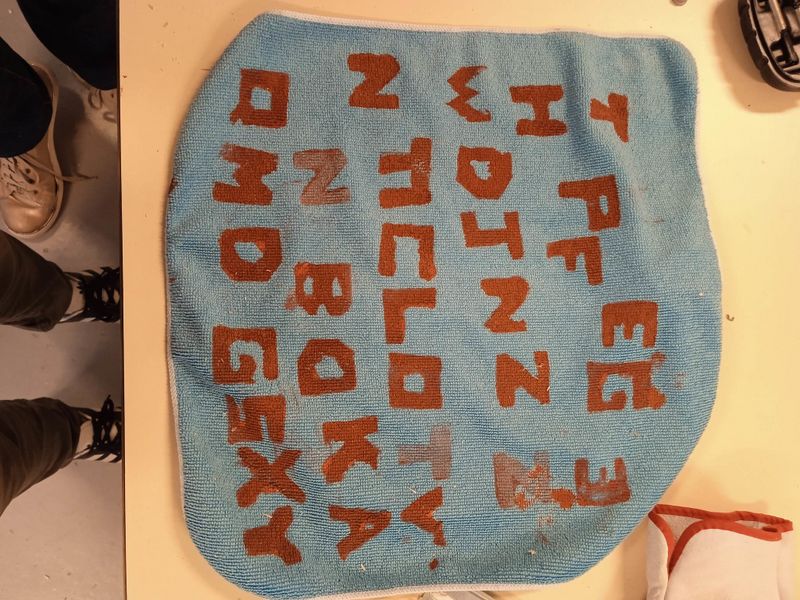
Récupérer le tissu que vous voulez customisez.
_____________________________________________________________________________________
Collect the fabric you want to customize.
Étape 2 - Préparez la plaque de bois /Prepare thewooden plaque
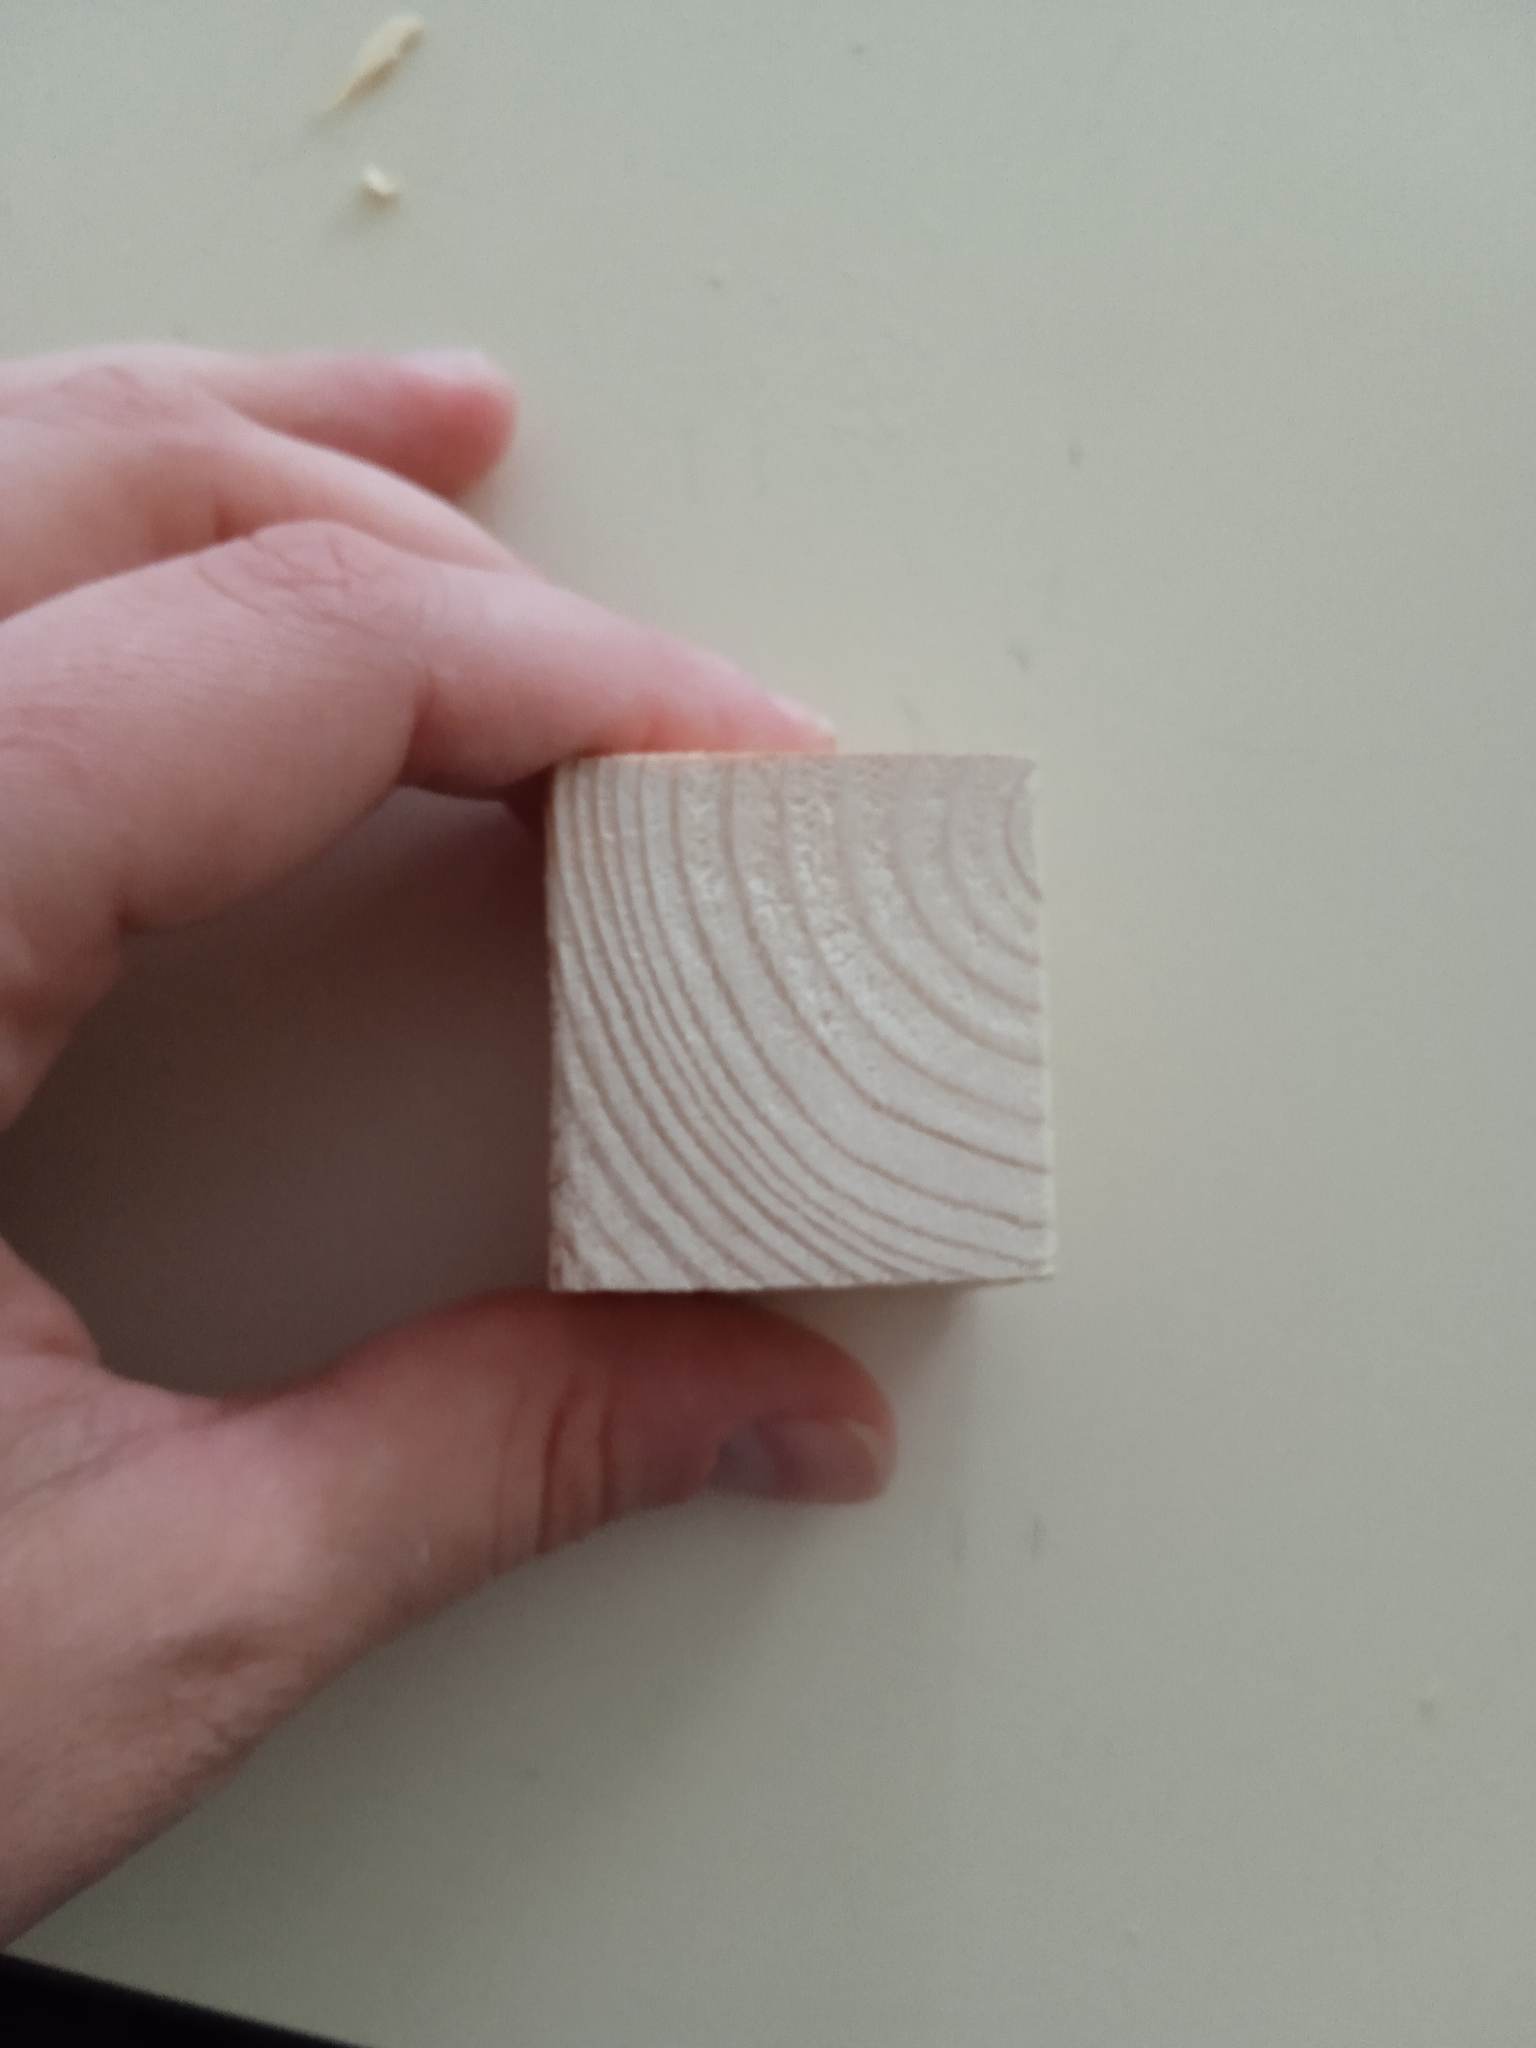
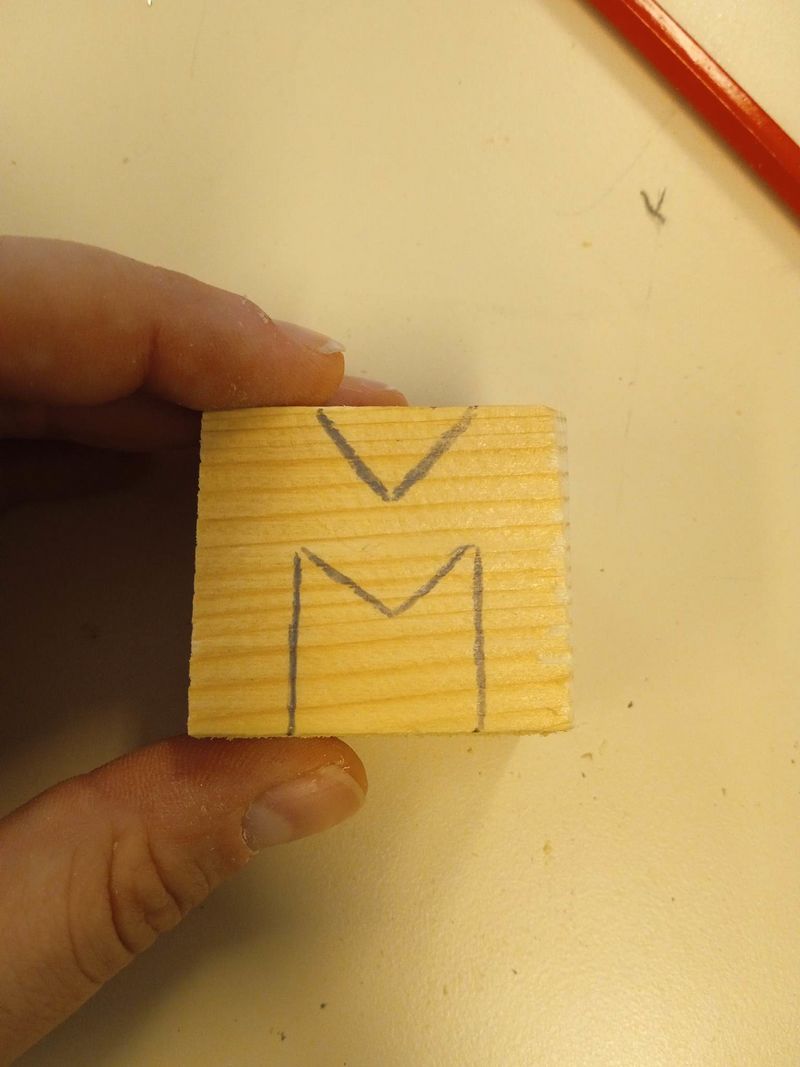
1.) Avec un crayon, dessiner la lettre sur le bloc en s'assurant que la lettre soit écrite à l'envers (faire une copie miroir), de sorte qu'elle se retourne lors de l'impression.
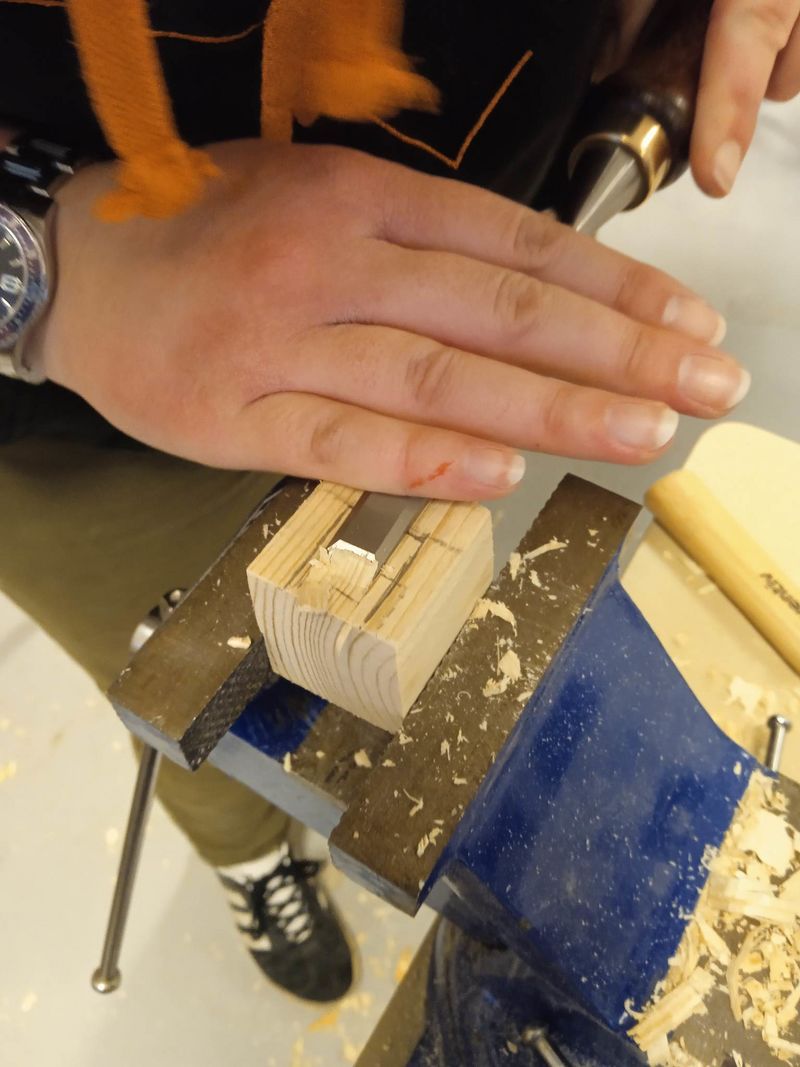
2.) Utiliser des outil de gravure pour tailler autour des lettres. N.B : En imprimant, les zones découpées ne seront pas peintes (elles resteront la même couleur que le t-shirt).
_____________________________________________________________________________________
1) With a pencil, write up the letter on the plaque making sure that the letter, are back to front (therefore making a mirror copy) so that when you print it will come out the right way around.
2)Use graving tools to carve around the letters. N.B: when you print the areas cut out will not take the paint (they will stay the same colour as the t-shirt).
Étape 3 - Imprimez /Print
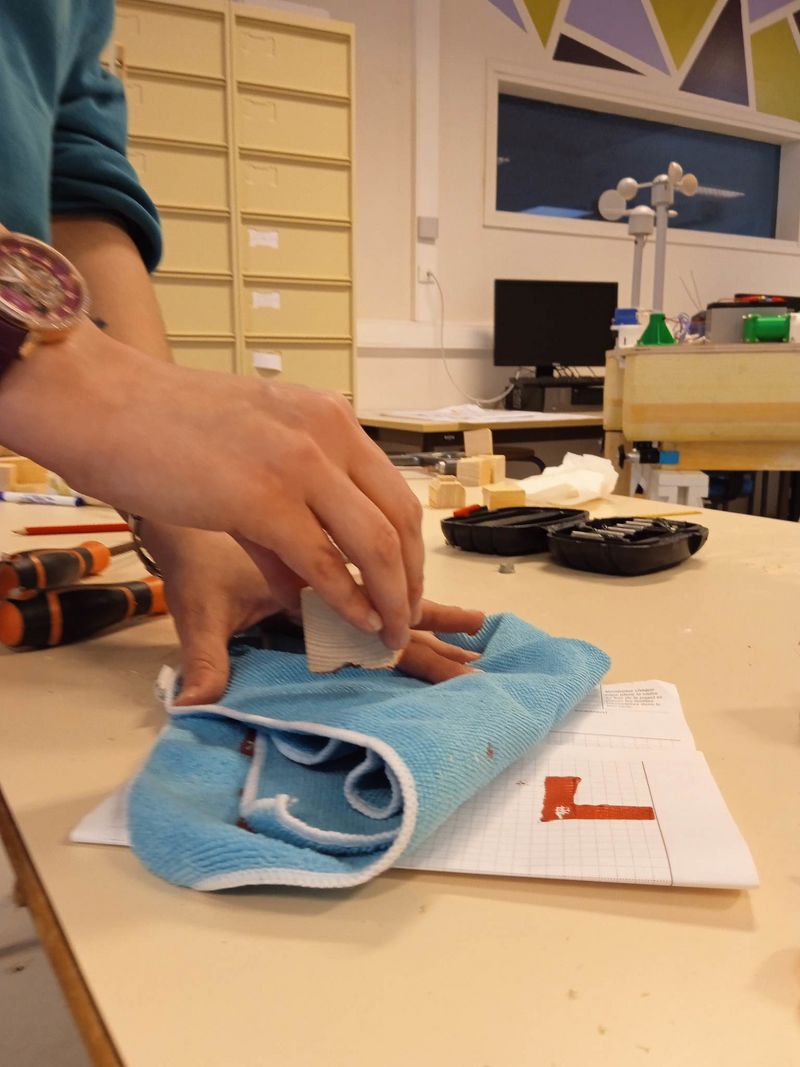
1) Mettre une feuille de carton sous ou à l'intérieur de votre tissu afin de séparer le devant et le dos.
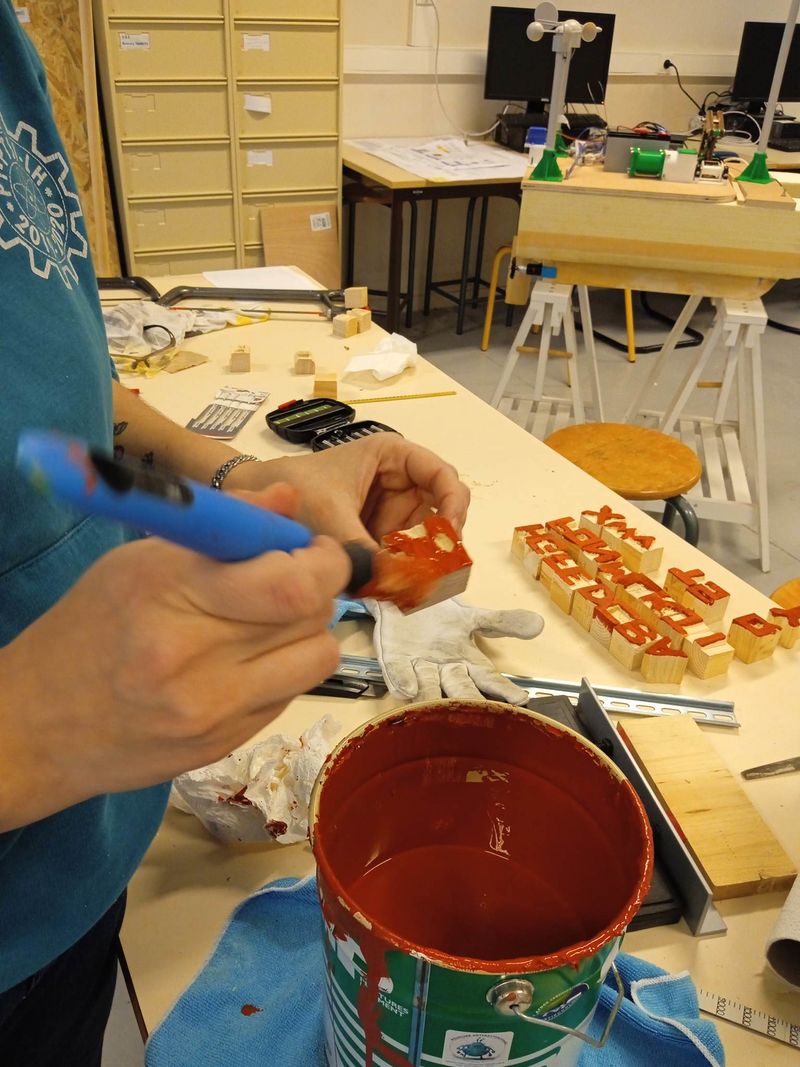
2) Utiliser un pinceau pour disposer la peinture sur le tampon (sur la lettre en relief).
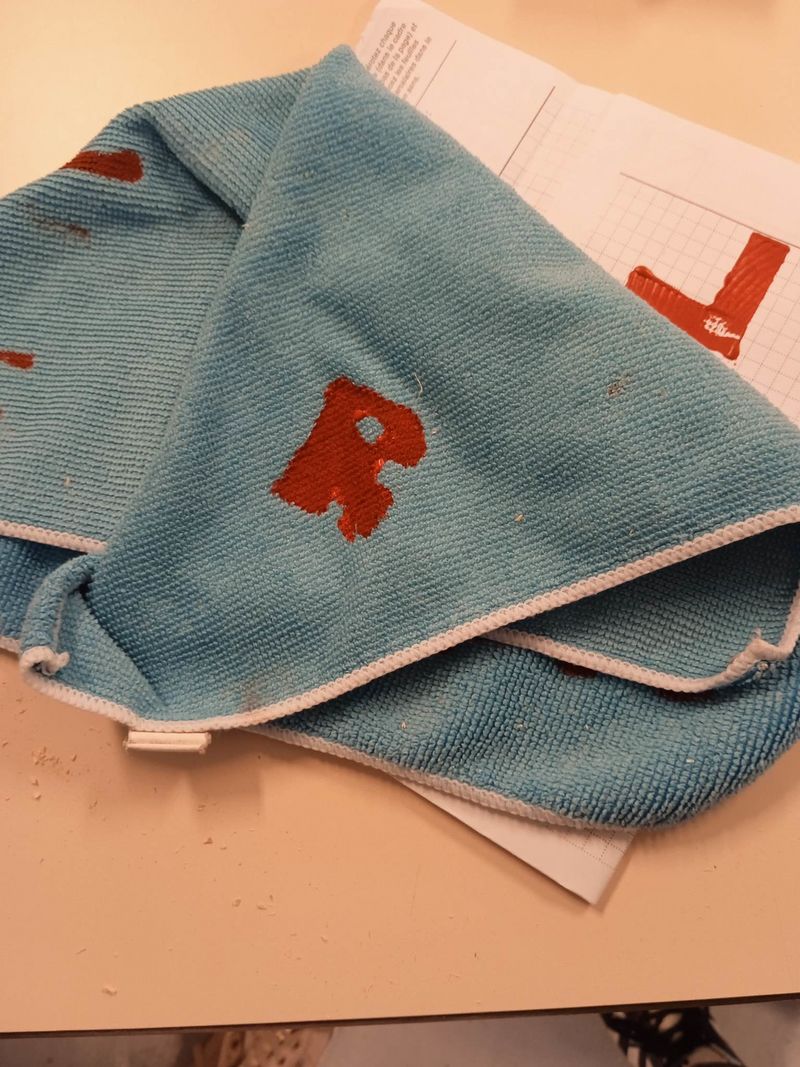
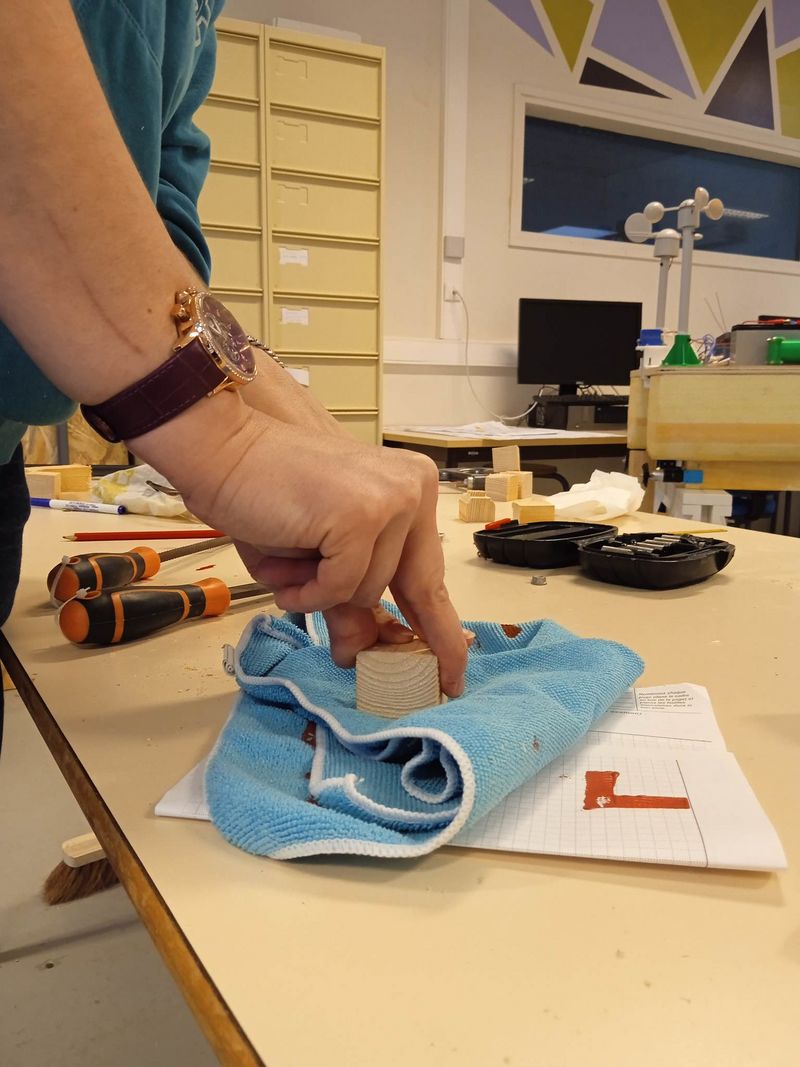
3) Retourner le tampon puis appuyer avec sur le t-shirt. Maintener la pression quelque seconde.
_____________________________________________________________________________________
1.) Place a sheet of cardboard under or inside your fabric to separate the front and back.
2.) Use a brush to put the paint on the stamp (on the embossed letter).
3) Turn the stamp over and press it onto the t-shirt. Hold the pressure for a few seconds. Turn the stamp over and press it on the t-shirt. Hold the pressure for a few seconds.
Étape 4 - Soulevez /Peel away
Retirer le tampon et laisser sécher pendant 24 heures.
________________________________________________________________________________________
Peel away the plaque from the t-shirt and leave to dry for 24 hours.
Étape 5 - Répétez/Repeat
Répéter ce processus avec tous les tissus récupérés avant de bien laver tout le matériel (tampon, pinceau, etc).
_____________________________________________________________________________________
Repeat this process with all the recovered fabrics before thoroughly washing all the equipment (pad, brush, etc.).
Notes et références
Pour voir des tutoriels et pour apprendre plus sur le processus, vous pouvez regarder ces liens ci-dessous :
https://www.youtube.com/watch?v=Un2DUWn3FLE
https://www.youtube.com/watch?v=HHnQuFxtuQ0
https://www.youtube.com/watch?v=r2hYUxFOHEM
Lien pour acheter un rouleur : https://www.google.com/search?q=rouleau+lino+impression&rlz=1C5CHFA_enGB876GB876&source=lnms&tbm=shop&sa=X&ved=2ahUKEwiK5tTs0__5AhWJx4UKHalDBR0Q_AUoAnoECAEQBA&biw=1396&bih=708&dpr=2#spd=13900926477625390458
__________________________________________________________________________________________________________________________________________________________________________________________________
To watch some tutorials and to learn more about the process, you can watch these videos linked below:
https://www.youtube.com/watch?v=Un2DUWn3FLE
https://www.youtube.com/watch?v=HHnQuFxtuQ0
 Français
 English
 Deutsch
 Español
 Italiano
 Português