| Ligne 26 : | Ligne 26 : | ||
|Material=*Coconut | |Material=*Coconut | ||
*Rainwater | *Rainwater | ||
| − | *Soda | + | *Soda cristals |
*PH paper | *PH paper | ||
|Tools=*A pot | |Tools=*A pot | ||
Version du 18 janvier 2018 à 11:19
Description
In areas where the coconut tree (Cocos nucifera) grows, it is possible to produce a soap made out of it.
Sommaire
Introduction
Soap is the basis of hygiene. Washing your hands regularly (and your body :) ) limits the transport of harmful substances and bacteria. To meet this need, it is possible to make soap yourself with basic products. The chemical reaction to make a soap is called saponification and requires two reagents: a fat and a strong base. Here the fat will be coconut oil from the ripe nut (brown), and the strong base will be soda NaOH. This tutorial will teach you how to make soap from coconut.
Matériaux
- Coconut
- Rainwater
- Soda cristals
- PH paper
Outils
- A pot
- A pan
- A glass jar
- Some clean towels
- A kitchen scale
- A stove
- A mixer
Étape 1 - Produce coconut oil
The first step is to extract the coconut oil from ripe coconut (brown nuts). Here is the procedure:
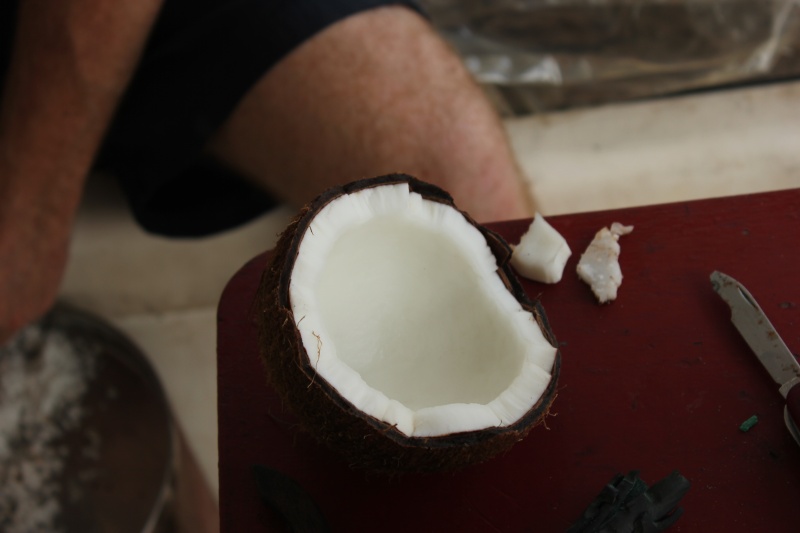
- Open the coconut
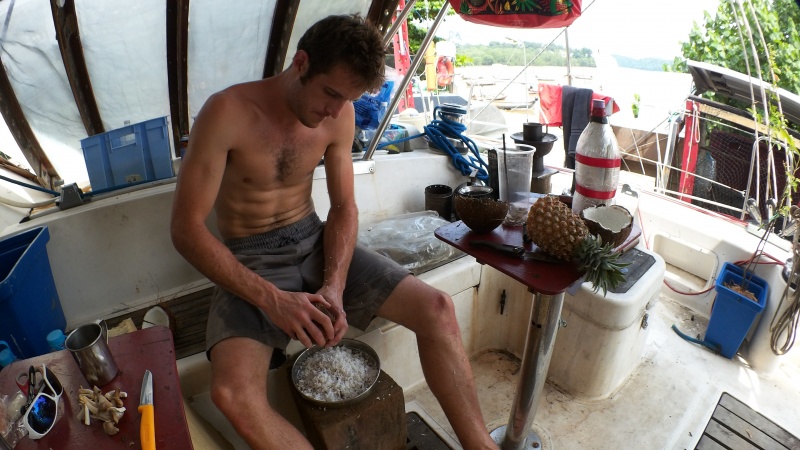
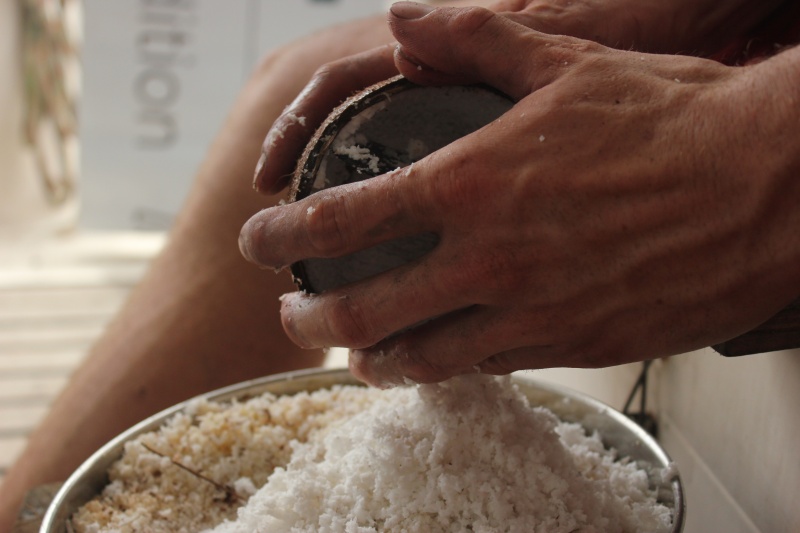
- Scrape the pulp with a scraper if you do not have a mixer-blender. If you own a blender you can detach the pulp from the shell roughly and mix everything.
- Put the resulting coconut crumbs in a container, cover with hot water and mix well. If you use a blender you can directly cover with hot water and mix.
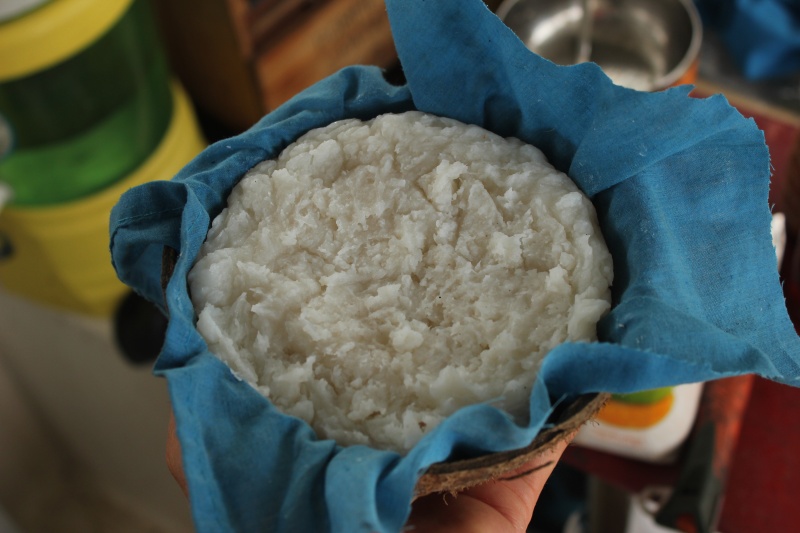
- Place a clean towel over a second container and filter the resulting coconut milk. press the cloth tightly to obtain as much filtrate as possible.
- Place the coconut milk obtained in a plastic bottle and allow to settle until two distinct phases are obtained. We find the coconut cream above and the water below. Drill a small hole in the bottom of the bottle to let the water escape and plug the hole to keep the cream.
- Pour the cream into a pan and cook over medium heat, stirring. Burnished cream and translucent oil is extracted. This step can take several tens of minutes.
- Filter the extracted coconut oil.
Étape 2 - Dosing the products
Once the extracted coconut oil can be measured the mass obtained.
This mass of oil will determine the amount of soda to be added to the oil and thus allow the saponification, that is to say the transformation into soap.
The soda used will be diluted in a given volume of water.
For this simplest step is to use an online calculator. It suffices to specify the nature of the oil used and its mass in order to obtain the quantity of soda and water to use.
Online saponification calculator
Note: In order to obtain the mildest possible soap for the skin, it is necessary to produce a surgras soap. The calculator directly proposes the quantities of soda to obtain a surgras soap at 5%, 10%, etc.
Overgrading is actually reducing the amount of soda so that the chemical reaction is not total. The unreacted oil then enriches the soap with the fatty acid and lowers its pH.
Étape 3 - Prepare the soda solution
Safety instructions regarding the use of caustic soda:
Caustic soda is a product that can cause burns. It is therefore advisable to wear a minimum safety equipment.
Make sure to wear long clothing, gloves (nitrile or latex, laboratory) and safety glasses, well covered.
In case of projection, rinse with white vinegar, do not put under water. So always have a bottle of vinegar in range when you handle soda.
To mix two liquids, always pour the most concentrated in the least concentrated to reduce the risk in case of projection.
Once the equipment is on, you can start:
- Pour the water into a container at the quantity / mass indicated by the calculator. Water having a density of 1, you can use the scale to be precise in the measurements.
- Weigh the soda in another container to the mass indicated by the calculator. This measure must be as precise as possible. Better to add less soda than too much, to make a soap too fat rather than too basic. If you add the soda directly into the water you will not be able to remove material and correct a too big addition.
- Gently add the weighed soda to the volume of water and stir gently avoiding any projection. The solution heats up, it's normal.
Étape 4 - Start manufacturing: saponification and molding
For this step there are two methods: cold saponification and hot saponification. The method of the video tutorial is cold, that of the photos on the opposite hot. Both methods are detailed here.
Cold saponification
- Pour the oil and the soda solution into the blender.
- Mix until you get the trace, that is, when the mixture thickens and the mixer blade leaves a mark after the mix stops.
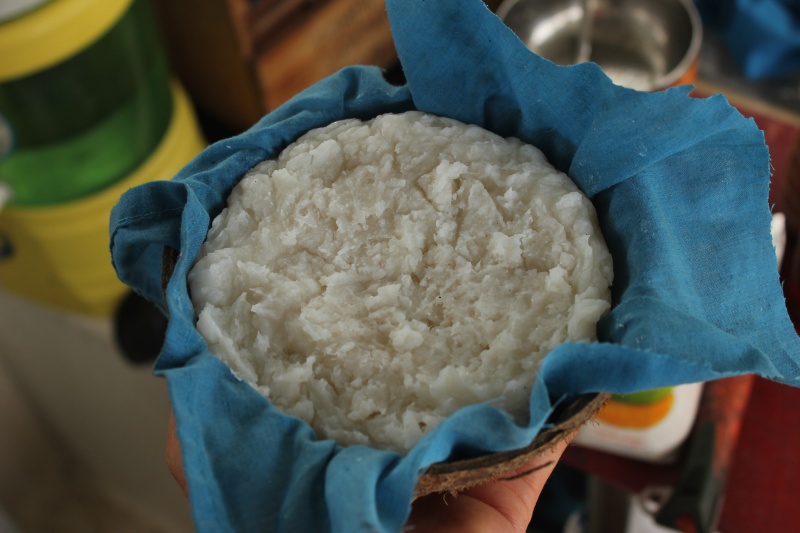
- Place the mixture in a mold. A coconut shell lined with a clean cloth does the trick. Let stand at least 24h. The saponification reaction continues for several days after molding.
- Unwash the soap, cut it to the desired size and store it dry for at least 4 weeks.
- Test the pH of the soap. To do this, take a small piece of soap and dissolve it in lukewarm fresh water. Dip a small piece of pH paper into the solution. The pH of the soap should be as low as possible. A pH below 10 is acceptable but it will be best to test the soap on a small area of skin to ensure that it is supported. If the pH is above 10, let the soap dry 2 more weeks and repeat the pH measurement. If the soap is still too basic (pH> 10) it is possible to use it to wash the laundry but to avoid for the skin.
Hot saponification
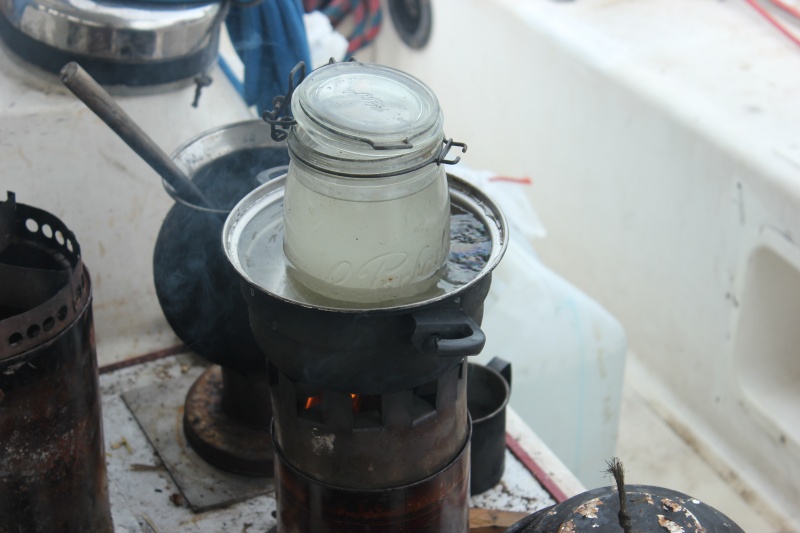
- Pour the oil and the soda solution into a glass jar.
- Place the jar in a bain-marie over medium heat and stir occasionally.
This step may take more than two hours. The two phases (oil and soda solution) will mix and then probably shift after giving a thick mixture. It's normal. Continue heating and stirring until the two phases mingle again.
- Once the reaction is over the passage of the utensil used to stir (wooden spoon for example) leaves a trace. It is then possible to mold the soap. A coconut shell lined with a clean cloth does the trick. Let cool and rest at least 24h.
- Unmould and cut the soap to the desired size.
- Unlike cold saponification, the soap obtained here can be used after cooling. It is still necessary to test its pH.
- Test the pH of the soap. To do this, take a small piece of soap and dissolve it in lukewarm fresh water. Dip a small piece of pH paper into the solution. The pH of the soap should be as low as possible. A pH below 10 is acceptable but it will be best to test the soap on a small area of skin to ensure that it is supported. If the pH is above 10 it is possible to use the soap to wash the laundry but is to be avoided for the skin.
Notes et références
The soap extraction tutorial is inspired by that of Bob-Bee on Instructables
- Directed by Thomas Piboum and Karel Janik for Nomade des Mers.
Yes
 Français
 English
 Deutsch
 Español
 Italiano
 Português