(Page créée avec « 3. Press the nail to pierce the bag. Repeat the operation until the bag is well drilled; ») |
(Page créée avec « 4. Shake the bottle by plugging the hole with a finger to dissolve the bicarbonate in mixture and increase the pressure; ») |
||
| Ligne 119 : | Ligne 119 : | ||
3. Press the nail to pierce the bag. Repeat the operation until the bag is well drilled; | 3. Press the nail to pierce the bag. Repeat the operation until the bag is well drilled; | ||
| − | 4. | + | 4. Shake the bottle by plugging the hole with a finger to dissolve the bicarbonate in mixture and increase the pressure; |
5. Diriger le jet vers le feu; | 5. Diriger le jet vers le feu; | ||
Version du 15 janvier 2018 à 16:40
Description
Make a fire extinguisher for type A and B fires.
Sommaire
Sommaire
- 1 Description
- 2 Sommaire
- 3 Introduction
- 4 Étape 1 - Operation
- 5 Étape 2 - Preparation of the bottle
- 6 Étape 3 - the water/vinegar mix
- 7 Étape 4 - Baking soda
- 8 Étape 5 - Preparation of the activator
- 9 Étape 6 - Final assembly
- 10 Étape 7 - Use
- 11 Étape 8 - La sécurité avant tout !
- 12 Notes et références
- 13 Commentaires
Introduction
Fires in slums are a recurring problem with very often devastating consequences. In South Africa, an average of 10 "shacks" fires per day have been recorded each year, causing thousands of families to lose their belongings and housing without any possibility of compensation. The fires, often belatedly detected, spread at high speed in these dwellings made of flammable materials. Prevention maneuvers are of course preferred to the means of reaction, but the populations often lack tools at their disposal to react quickly in case of problem.
In South Africa, a conventional fire extinguisher costs around € 10. Because fires are very common, this amount can become very important for a low-income family. This low-tech fire extinguisher is mainly made from recycled materials, and products to buy are common and available for less than one euro.
Matériaux
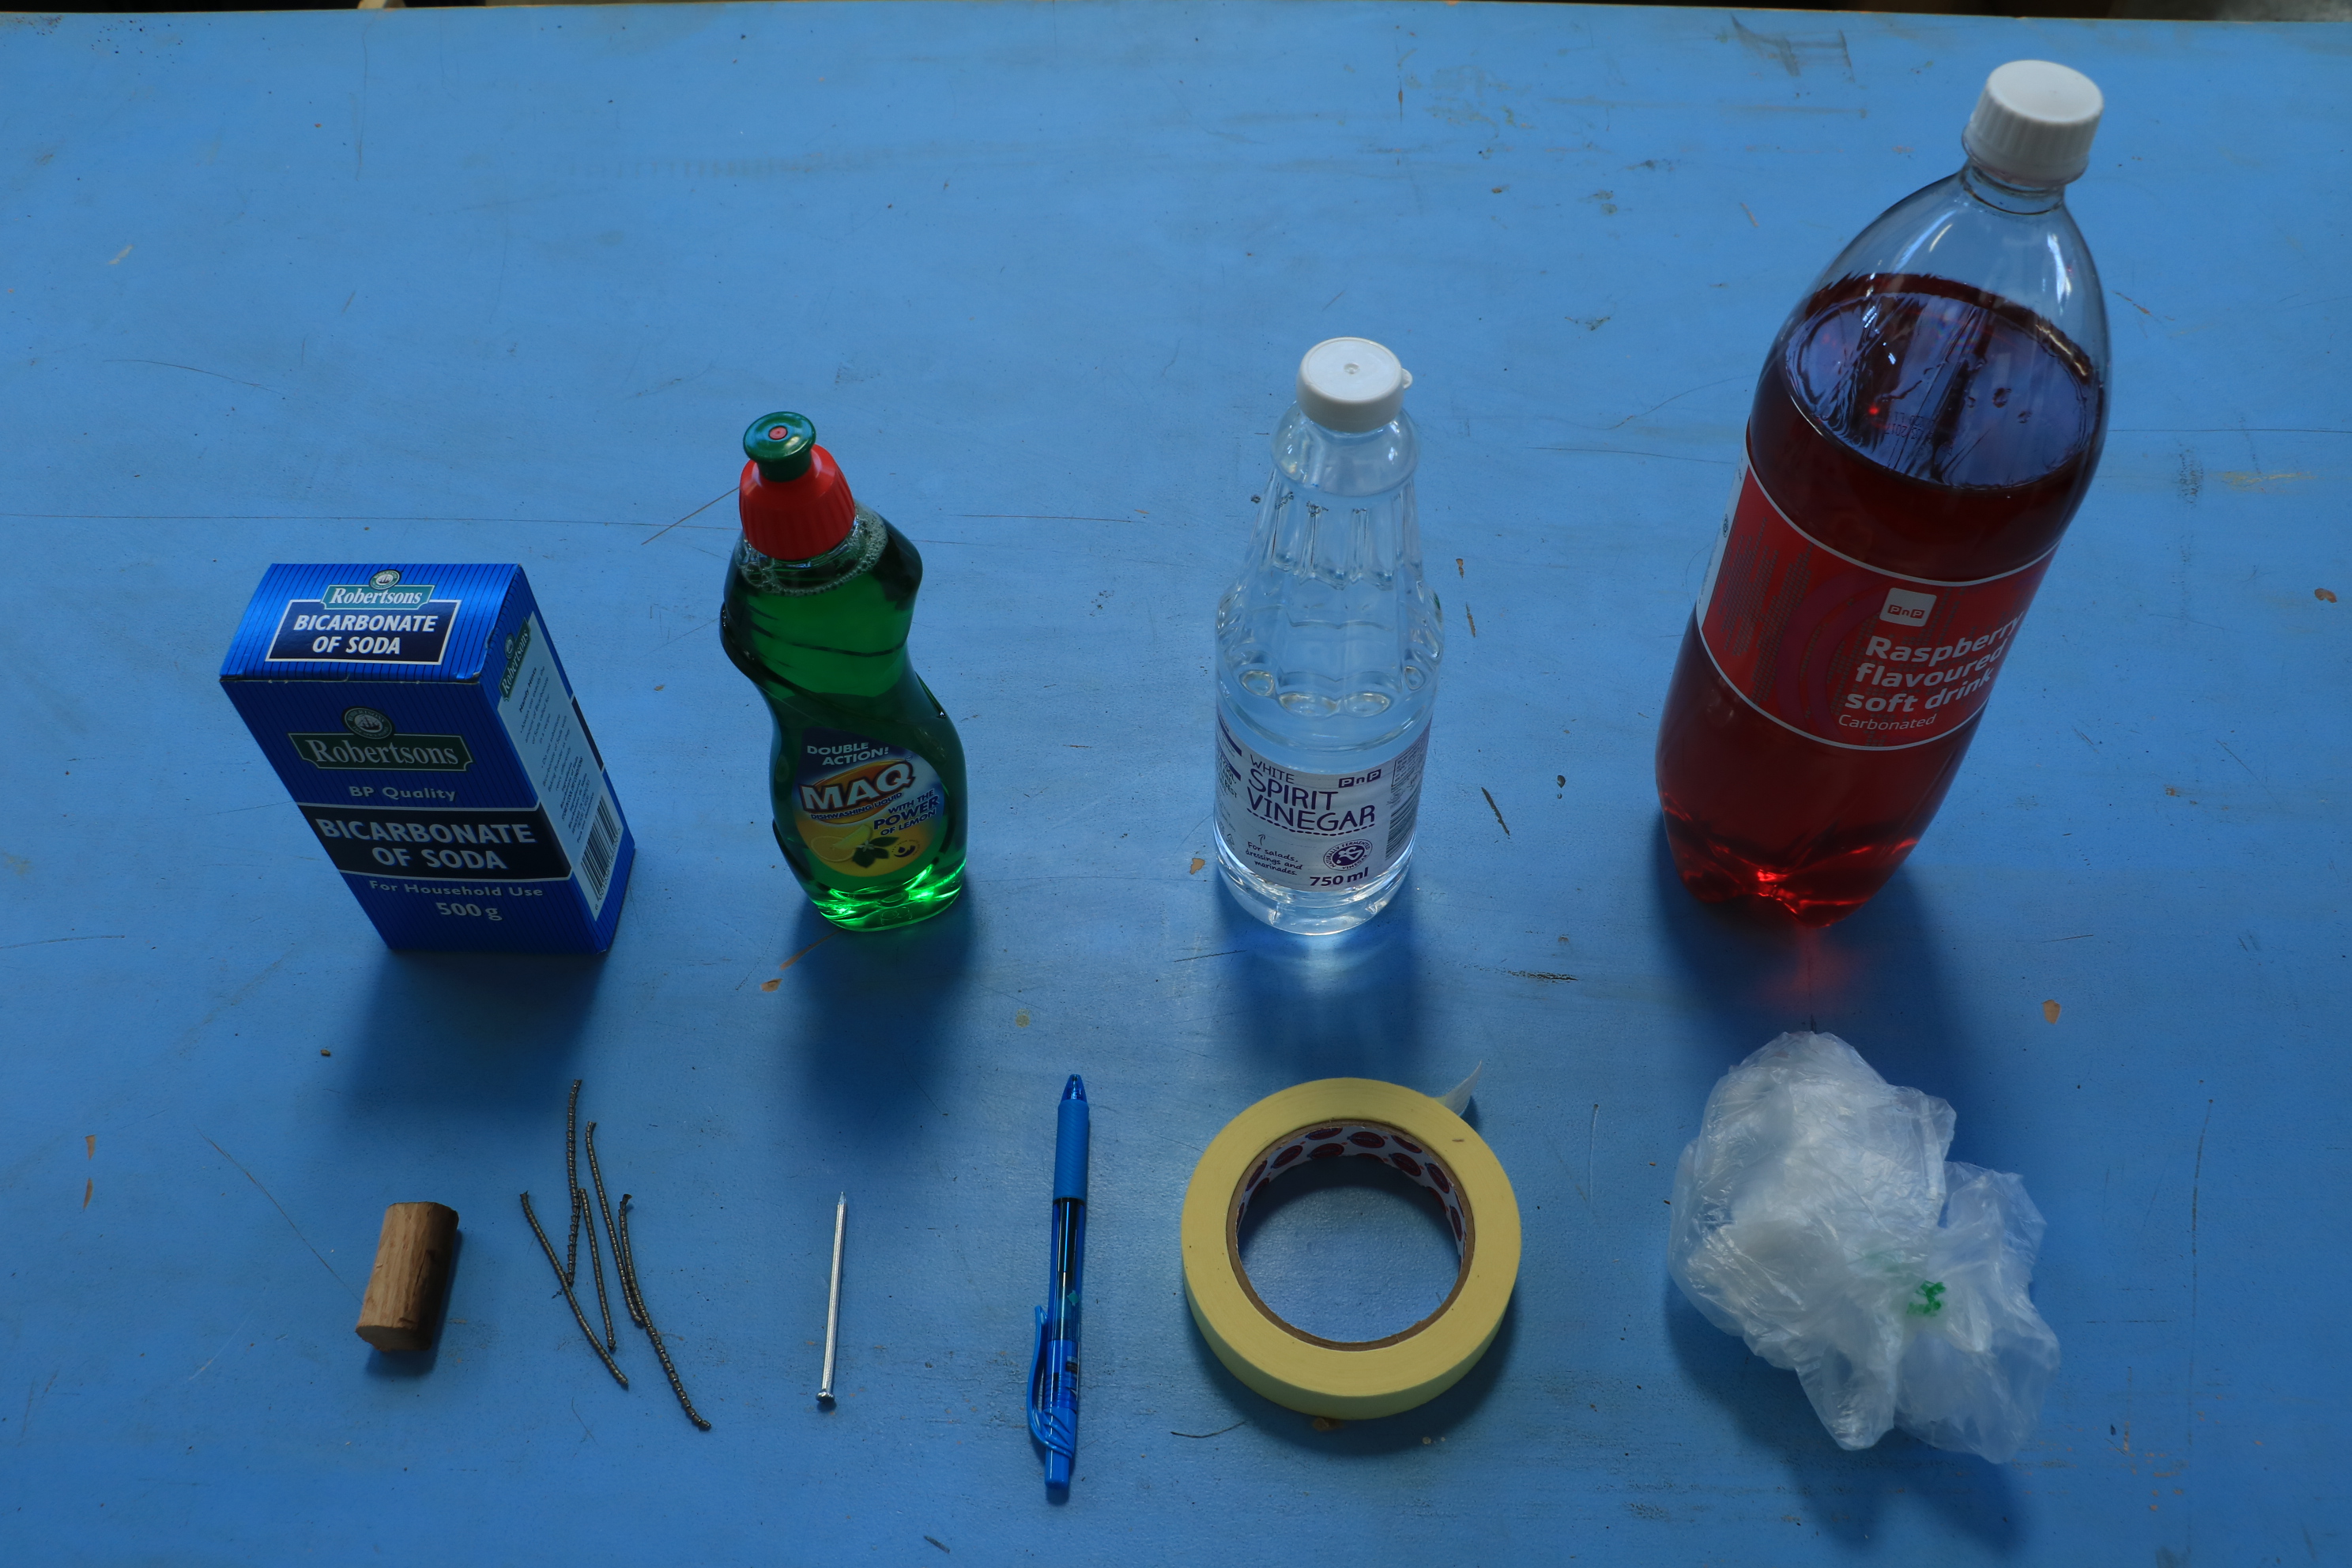
- A plastic bottle of 2L
- A fine plastic bag (for fruits for example)
- A big nail (100 mm x 4 mm)
- A BIC pencil spring
- A cork
- Paperclips or pieces of metal (drilling drops for example)
- Masking tape (for painting)
- 750 mL of alcohol vinegar
- 750 mL of water
- 105 g of baking soda
- One tablespoon of dishwashing liquid
Outils
- A drill
- Two wicks (7 mm and 4 mm)
- Cutting pliers
- A funnel
- Instead of the drill, you can use a heated knife or other tool that can drill a hole in a plastic bottle, as cleanly as possible.
Étape 1 - Operation
The low-tech fire extinguisher is based on the reaction between baking soda and acetic acid vinegar.
Water absorbs heat by evaporating; baking soda decomposes during an endothermic reaction (which absorbs heat) and creates water when exposed to a temperature exceeding 270 ° C; carbon dioxide is a heavy gas that "displaces" oxygen and "starves" the fire.
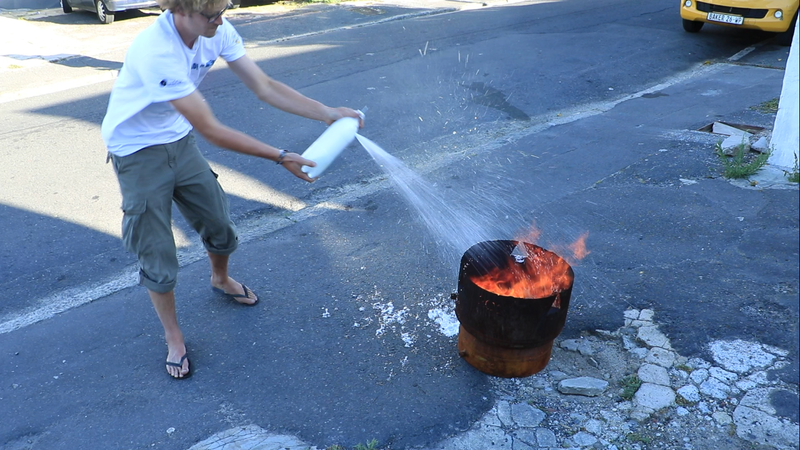
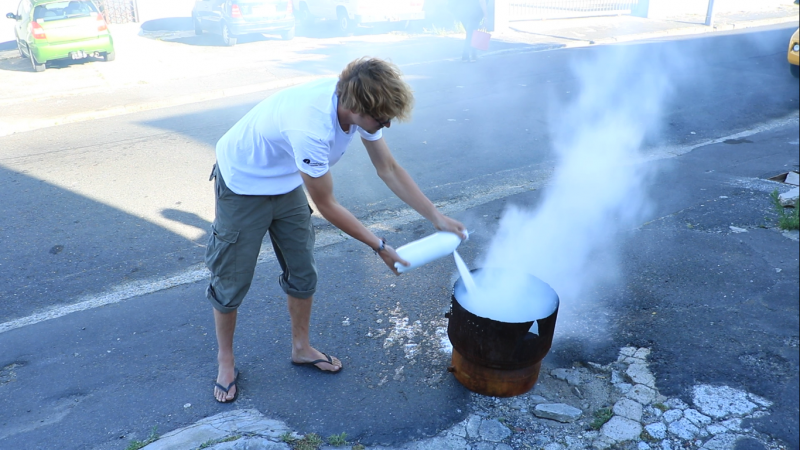
A hole is drilled in the bottle. When you want to activate the fire extinguisher, pierce the bag containing baking soda. Vinegar, mixed with water, reacts with baking soda to form carbon dioxide, water and sodium acetate. By shaking the bottle, the reaction is accelerated: the carbon dioxide produced pressurizes the bottle, and a CO2-water mixture is ejected through the hole, which is pointed towards the fire. Water, carbon dioxide and soda extinguish the fire, and the foam created by the washing-up liquid prevents it from being re-ignited.
Étape 2 - Preparation of the bottle
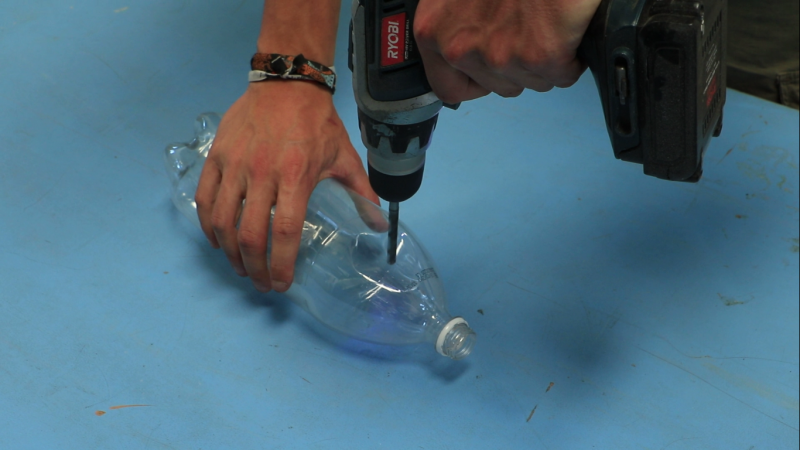
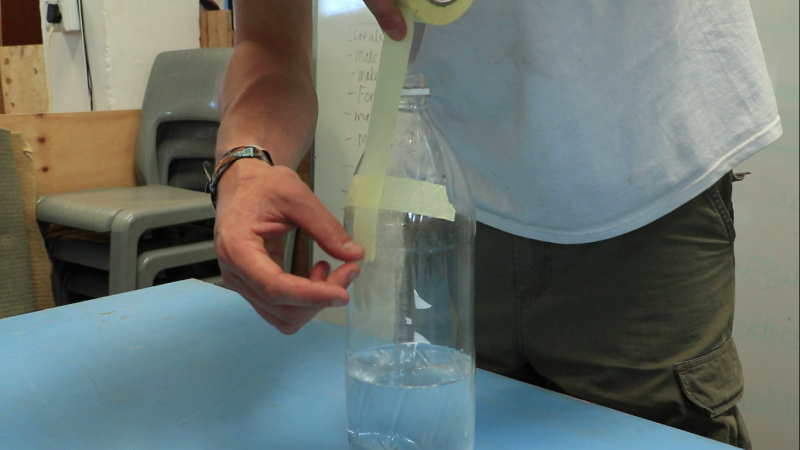
Drill a 7 mm diameter hole in the top of the bottle and cover it with masking tape.
Note: The bottle will be filled to three quarters with liquid, so it is important to make the hole above this limit.
Étape 3 - the water/vinegar mix
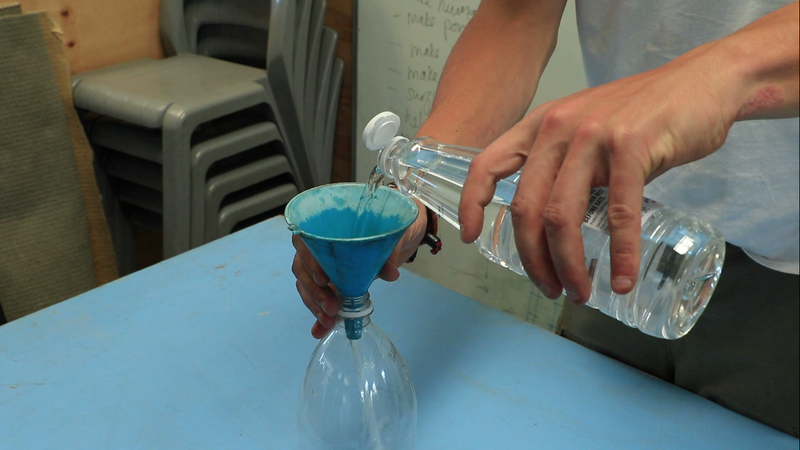
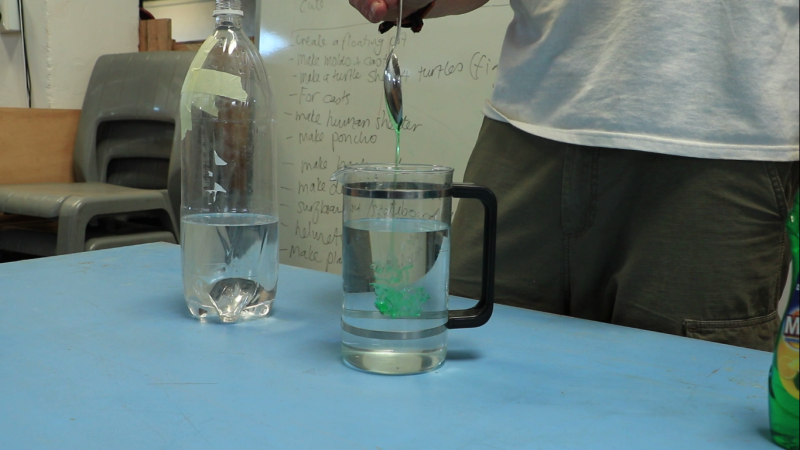
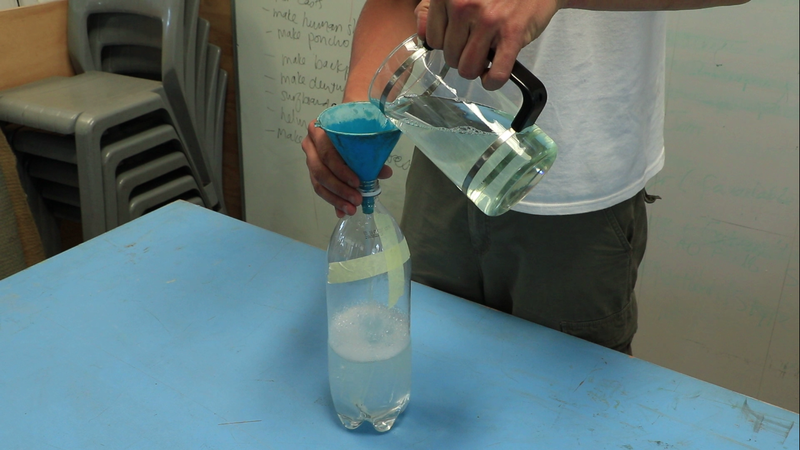
Pour 750 mL of water, 750 mL of vinegar, and tablespoon of dishwashing liquid into the bottle.
Note: for convenience, you can mix dishwashing liquid and water before pouring into the bottle.
Étape 4 - Baking soda
Check that the plastic bag is not punctured before doing this step
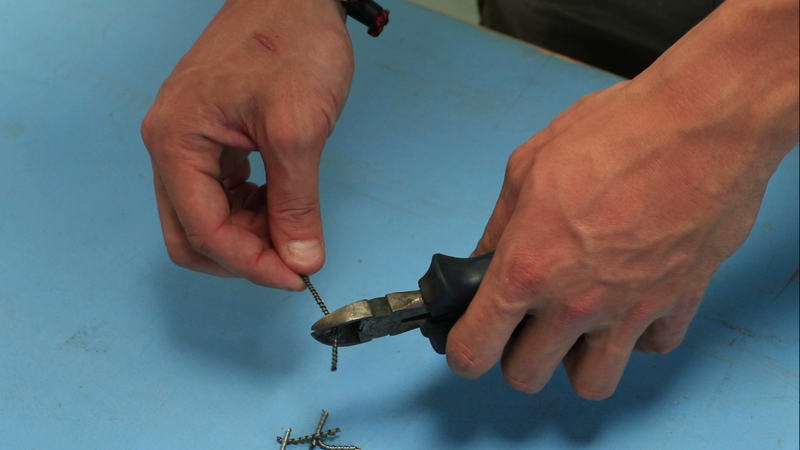
- Cut the paper clip (or pieces of metal) into small pieces using the cutting pliers. They will help pierce the bag;
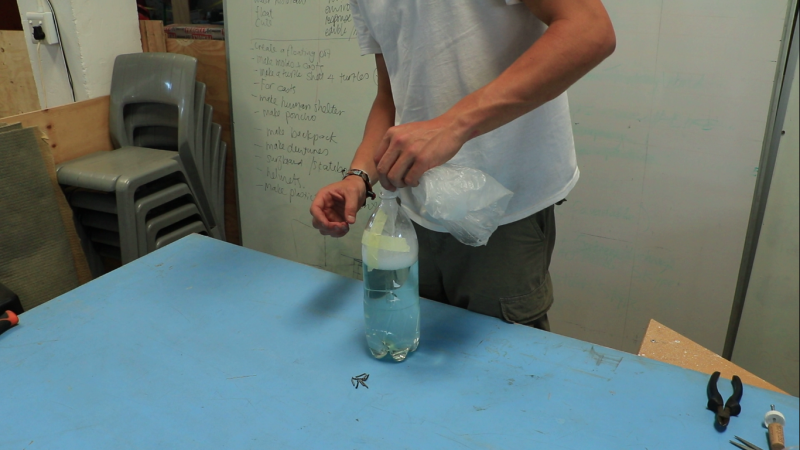
- Slide the plastic bag through the neck of the bottle;
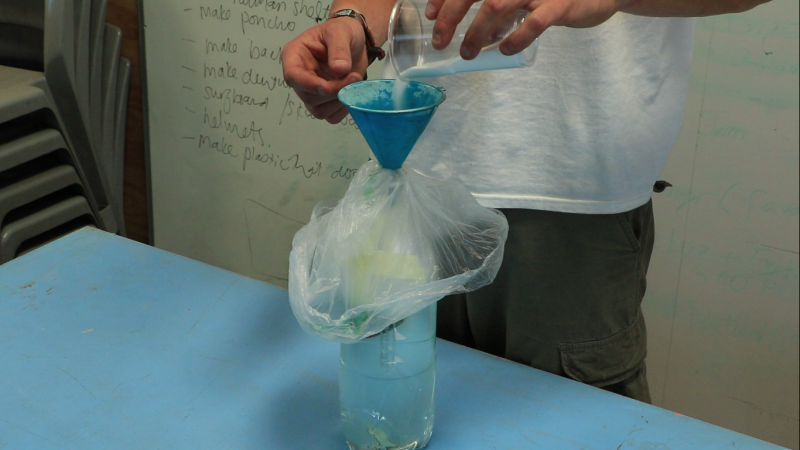
- Pour the pieces of paperclip (or metal) and baking soda (in this order), being careful not to pierce the bag.
Étape 5 - Preparation of the activator
- Drill a 4 mm hole in the cap of the plastic bottle;
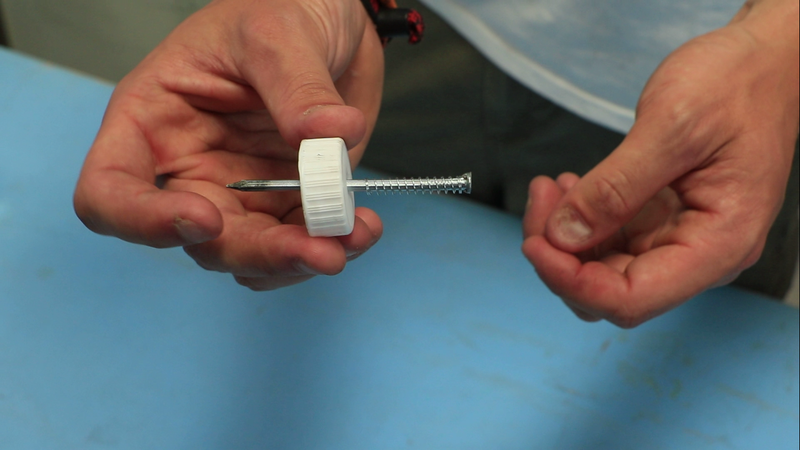
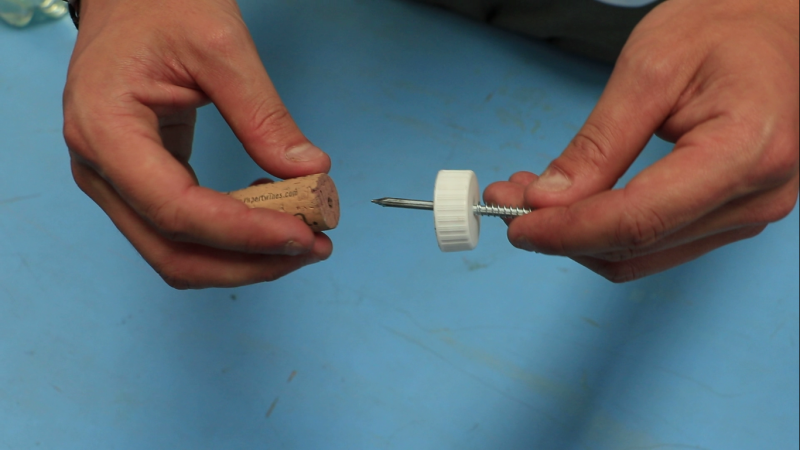
- Place the spring on the nail and slip the nail into the hole of the cap, it is not supposed to be too much resistance;
- Plant the nail in the cork.
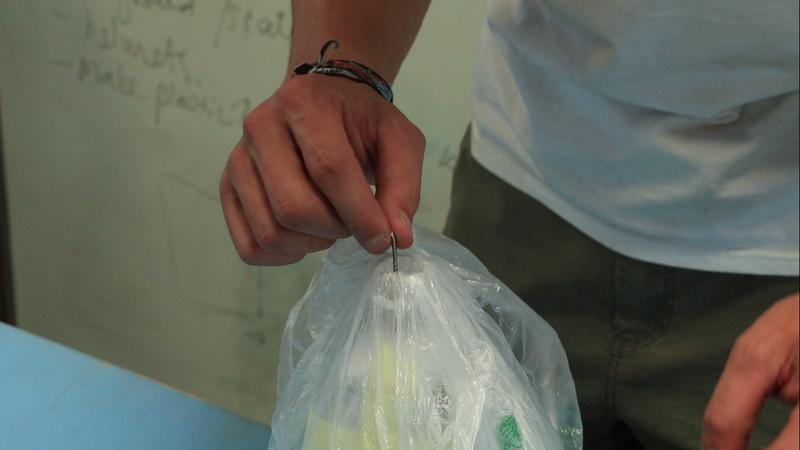
Note: When using the extinguisher, it is the pressure of the cork on the pieces of metal that will pierce the bag.
Étape 6 - Final assembly
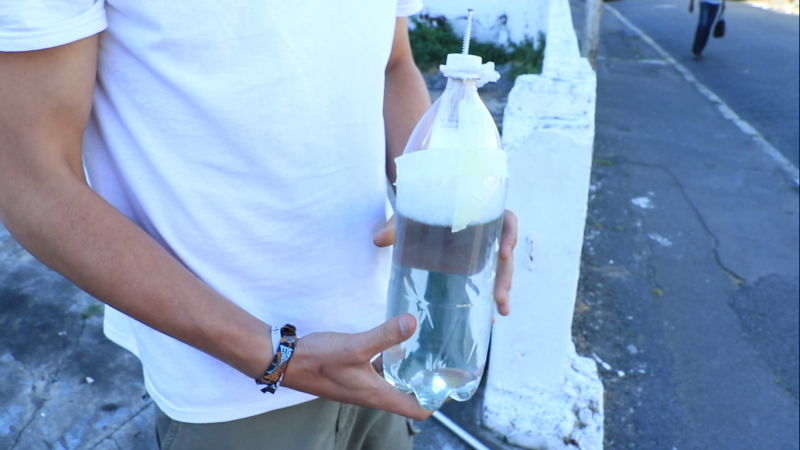
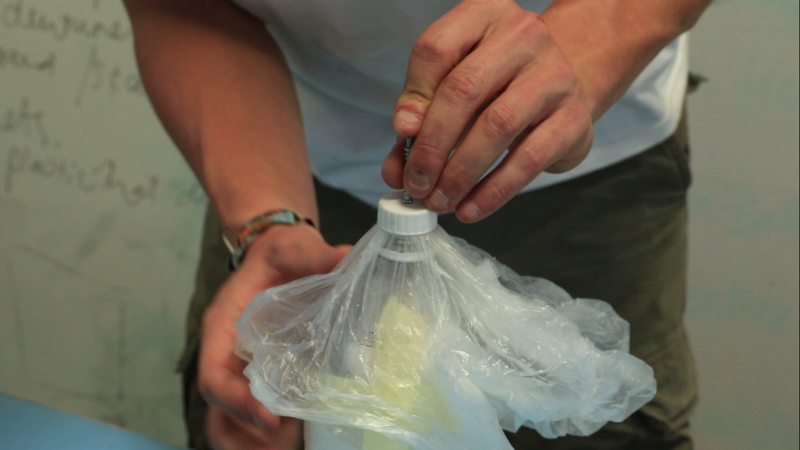
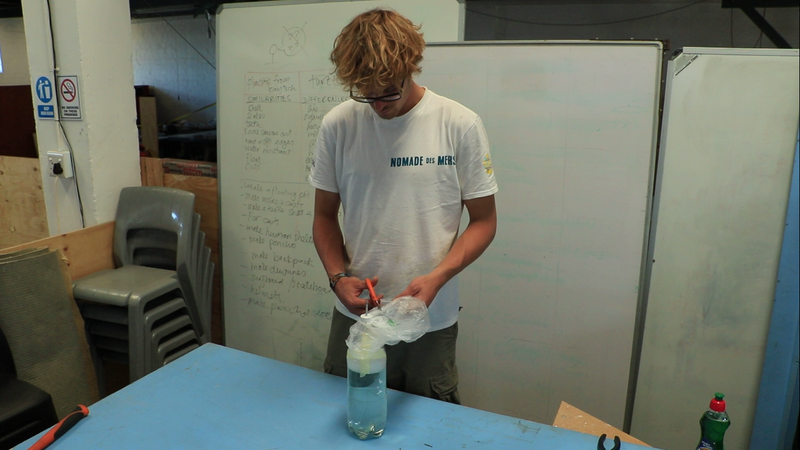
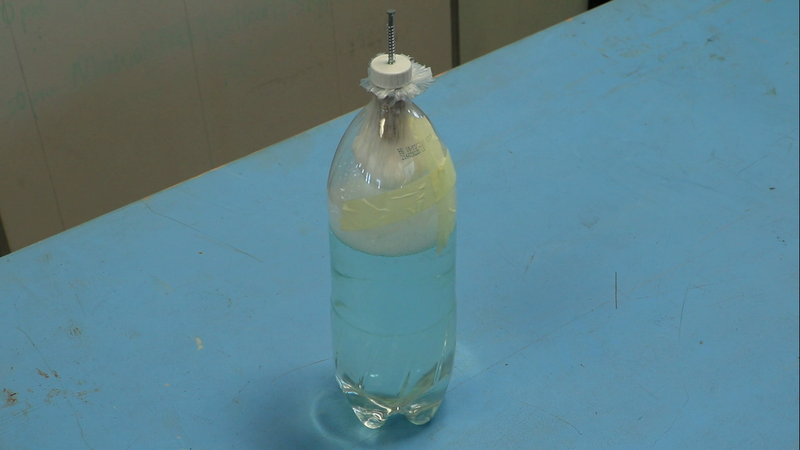
Close the bottle with its cap, by wedging the plastic bag in the neck, so as to make a small bag of baking soda suspended above the liquid. The pocket should not be too big (just the volume of baking soda) so that it can be pierced by pressing the nail.
Remove excess plastic around the neck.
The fire extinguisher is ready!
Étape 7 - Use
1. Remove the tape;
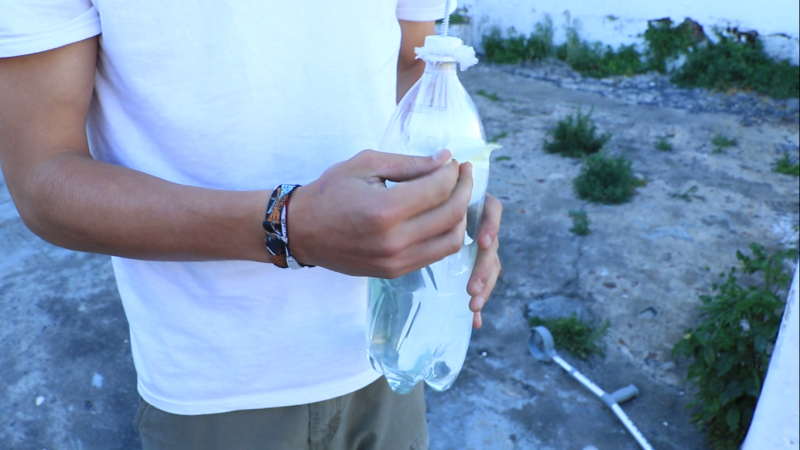
2. Shake the bottle by plugging the hole with a finger to thoroughly mix the dishwashing liquid, water and vinegar;
3. Press the nail to pierce the bag. Repeat the operation until the bag is well drilled;
4. Shake the bottle by plugging the hole with a finger to dissolve the bicarbonate in mixture and increase the pressure;
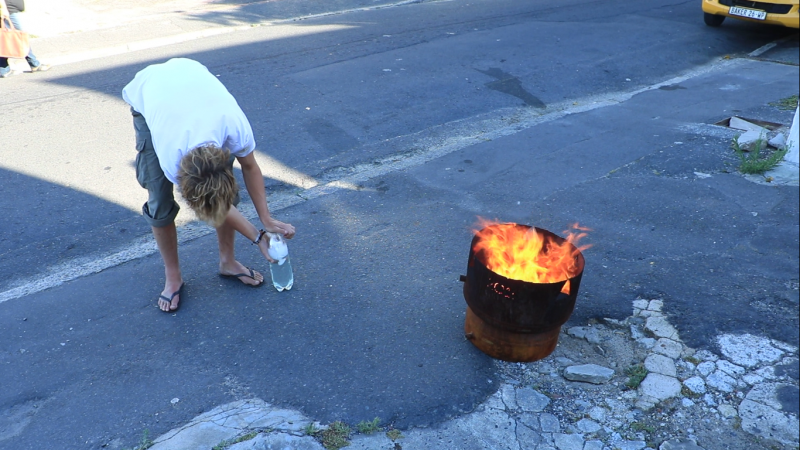
5. Diriger le jet vers le feu;
6. Balayer la base du feu avec la mousse. Ne pas viser les flammes ! Viser la base du feu pour bien l'éteindre.
7. Il est conseillé de retourner la bouteille pour plus de facilité à viser, et pour que tout le liquide soit bien éjecté.
Étape 8 - La sécurité avant tout !
- Ne pas ingérer le vinaigre. En cas de contact avec les yeux ou les mains, rincer abondamment à l'eau claire.
- Attention en utilisant la perceuse ou en plantant le clou dans le bouchon.
- Ne pas diriger le jet de mousse vers vous ou d'autres personnes, bien viser le feu.
- Attention en activant l'extincteur. Frapper le clou avec la paume de la main pour éviter toute blessure.
- Attaquer la base du feu, pas les flammes.
- Le métal est un excellent conducteur thermique. Il est conseillé de tremper abondamment les parties en métal qui ont pu être touchées par le feu, pour éviter toute reprise.
Notes et références
Ce tutoriel est le fruit du travail de Desania Govender et Yandisa Sojola, à l'époque étudiantes à l'Université de Cape Town. Le dossier complet de l'étude est disponible ici.
La réaction en images sur ICI
Le tutoriel vidéo sera bientôt disponible sur la chaine Youtube du Low-tech Lab !
N'hésitez pas à commenter, partager, et agrémenter le tutoriel d'informations utiles à son amélioration.
L’équipe du Low-Tech Lab vous invite également à consulter sa Biblilowtech.
Yes
 Français
 English
 Deutsch
 Español
 Italiano
 Português