(Page créée avec « To have the reflector tape stick correctly on the plaster, first apply a layer of paint tape on all the surface of the concentrator. ») |
(Page créée avec « In any case, add super glue the the tape surface because it doesnt stick long otherwise. ») |
||
| Ligne 111 : | Ligne 111 : | ||
To have the reflector tape stick correctly on the plaster, first apply a layer of paint tape on all the surface of the concentrator. | To have the reflector tape stick correctly on the plaster, first apply a layer of paint tape on all the surface of the concentrator. | ||
| − | + | In any case, add super glue the the tape surface because it doesnt stick long otherwise. | |
|Step_Picture_00=Concentrateurs_solaires_IMG_20240827_141431.jpg | |Step_Picture_00=Concentrateurs_solaires_IMG_20240827_141431.jpg | ||
|Step_Picture_01=Concentrateurs_solaires_IMG_20241127_151307.jpg | |Step_Picture_01=Concentrateurs_solaires_IMG_20241127_151307.jpg | ||
Version du 2 décembre 2024 à 16:28
Description
Solar concentrators building (reflector+plaster or parabolic antenna)
Introduction
I first built solar concentrators to try to power a mini stirling engine ("scientific toy"). You can see it on the video in step 3 and in the other tutorial i made here: Stirling Engine.
The exercise is not so simple, so i decided to make a dedicated tutorial.
For the mini stirling engine, you need a high degree of concentration (2cmx4cm) and it is more appropriate to use a fresnel lens.
Matériaux
made from parabolic antenna
- parabolic antenna (40cm to a few meters) in recycling shop or on internet: 10€
made from plaster
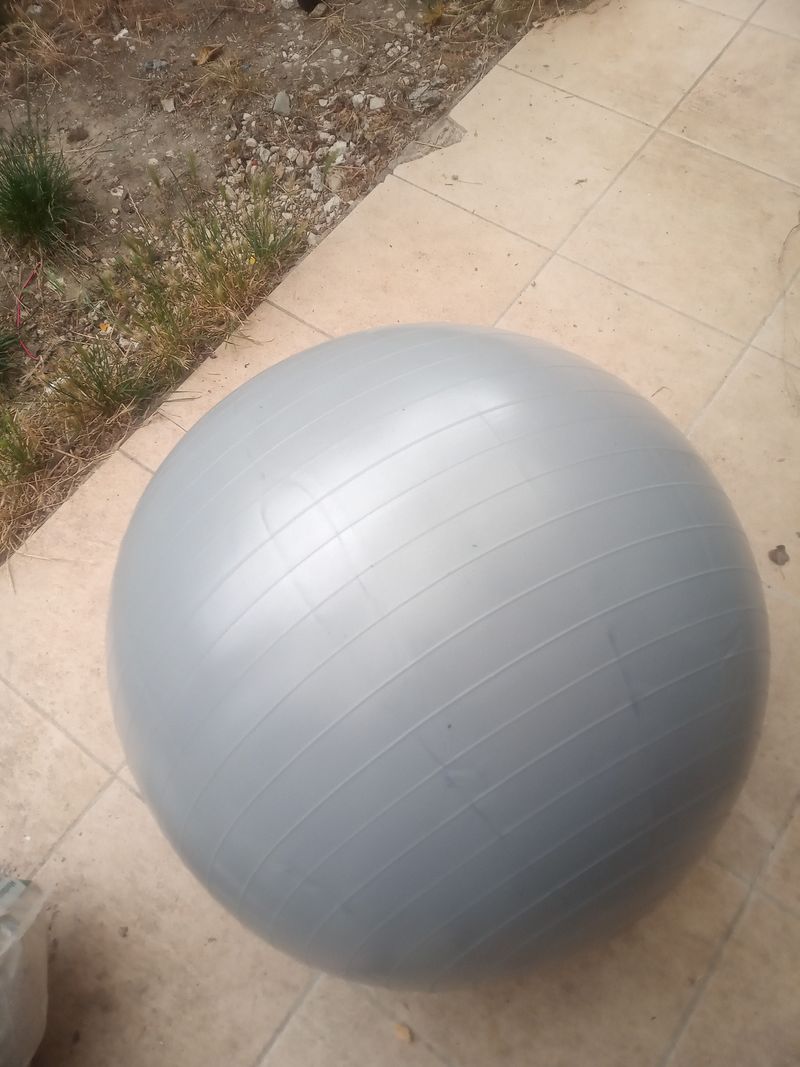
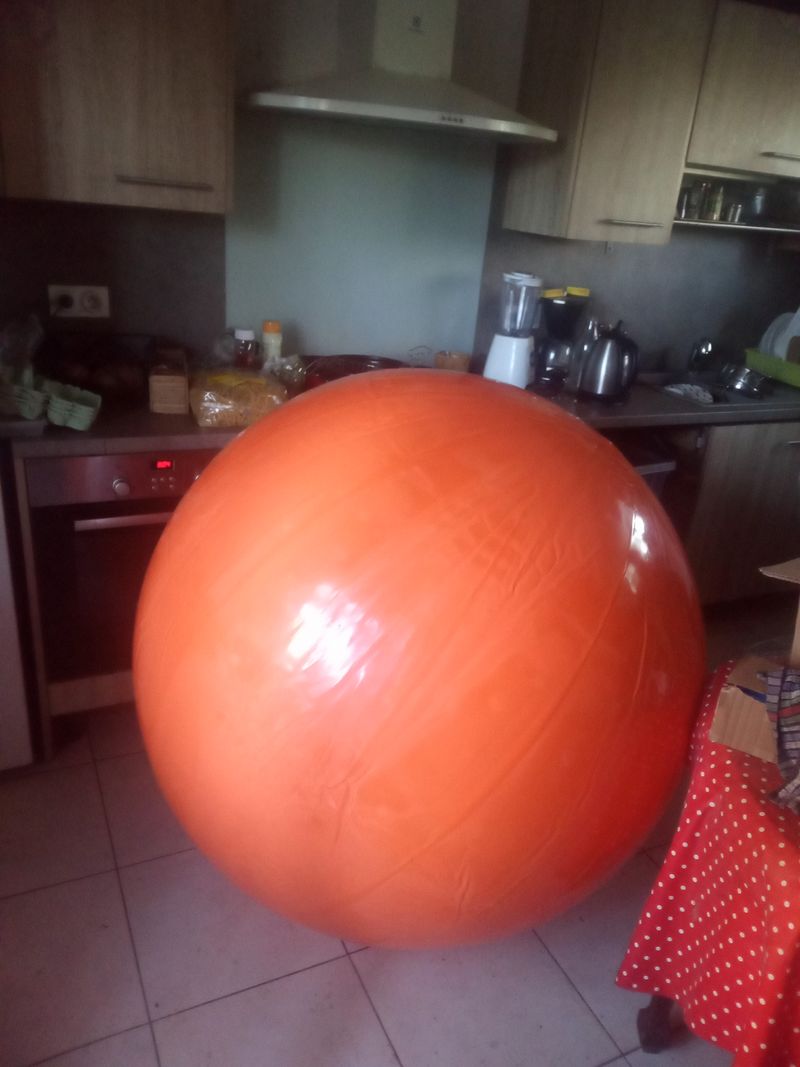
- yoga baloon with a diameter two times the diameter wanted
- plaster : 15kg for a 80cm reflector: 20€
- sand : 4 trowels for a bucket of plaster
- pane glue: 4 trowels for a bucket of plaster 10€
- reflector tape: 20€/m2
https://www.solarbrother.com/categorie-produit/reflecteur-solaire
- super glue (20g) 5€
- paint tape 10€
- microphone leg 5€
Outils
Étape 1 - building a piece of sphere from plaster
If you choose the first option to recycle a parabolic antenna, you can skip step1 and read below.
Choosing a plaster piece of sphere or a parabolic antenna may depend on the wanted focal of the concentrator (see video in step 3).
The focal is the distance from the center of the concentrator to where the sun rays converge.
The focal of plaster piece of sphere is smaller than the parabolic antenna one.
Initially, i have made tests with pieces of sphere to try to obtain a higher degree of solar concentration, but the results show approximately the same surface of concentration (at equal diameter).
Mixing plasters
We can fin specific plaster for thin mouldings. In doubt, take several types of plasters and stir together.
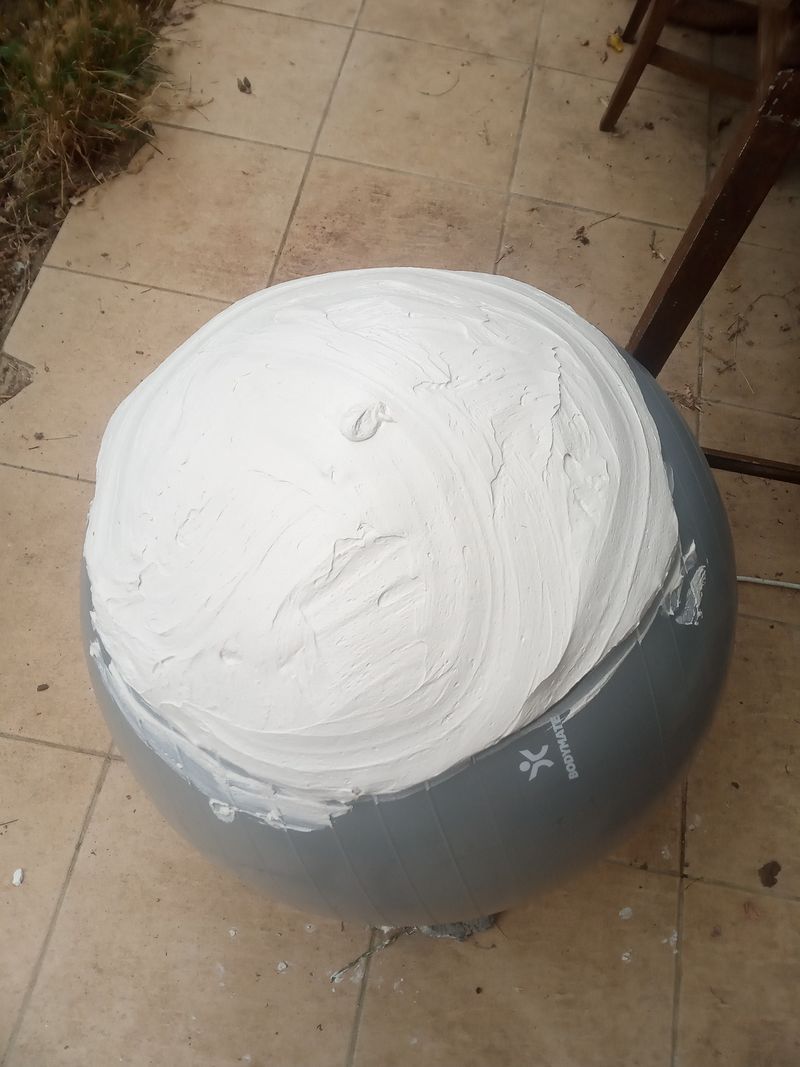
Anyway, we add a bit of sand and pane glue to make the plaster more solid.
Stir in the proportion 4 trowels of pane glue and sand for a bucket of plaster.
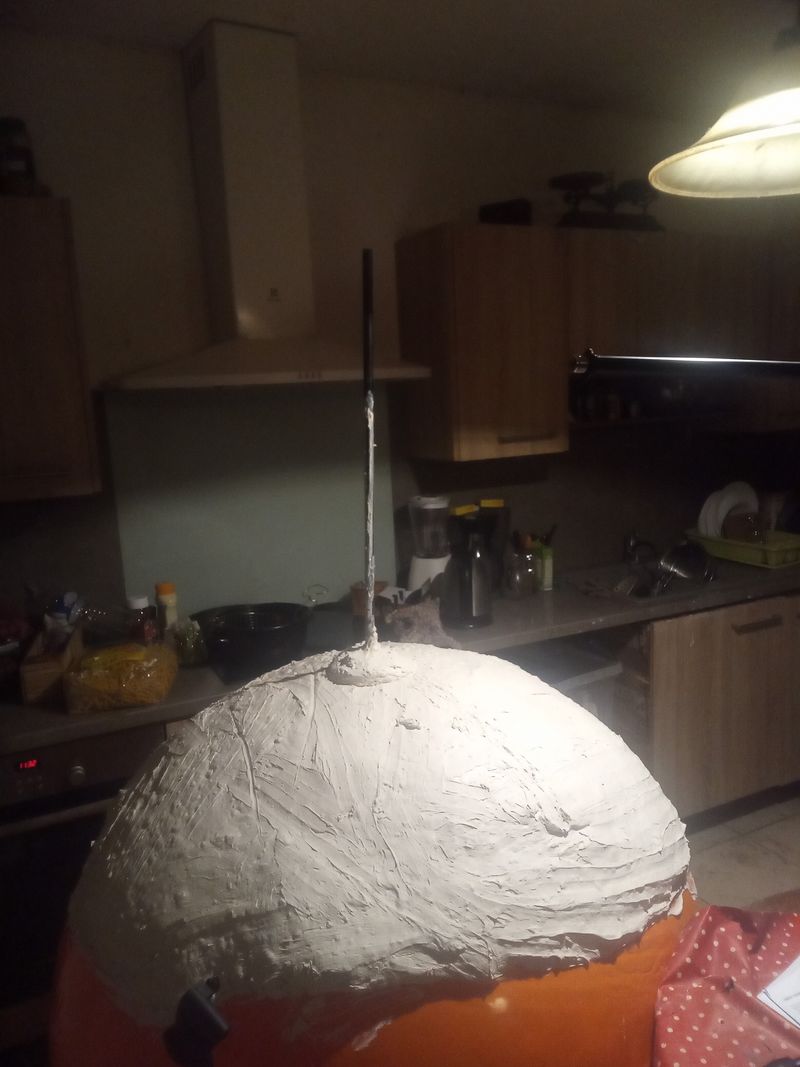
Stir with water, and spread on the inflated and stabilized yoga baloon.
In order to manipulate and orientate the reflector, we can use a microphone leg.
Unfortunately, the microphone leg is difficult to glue on the plaster, so be mindful to stick the micro leg in the plaster when it's drying.
NB: for a 80cm concentrator, it's a bit heavy for a standard micro leg, so be mindful to check the sizing so it is stable.
The grey baloon is 75cm diameter and the orange baloon is 150cm.
Étape 2 - reflector sticking
Initially, i made a try with a small concentrator with bits of mirror, but it's not very efficient.
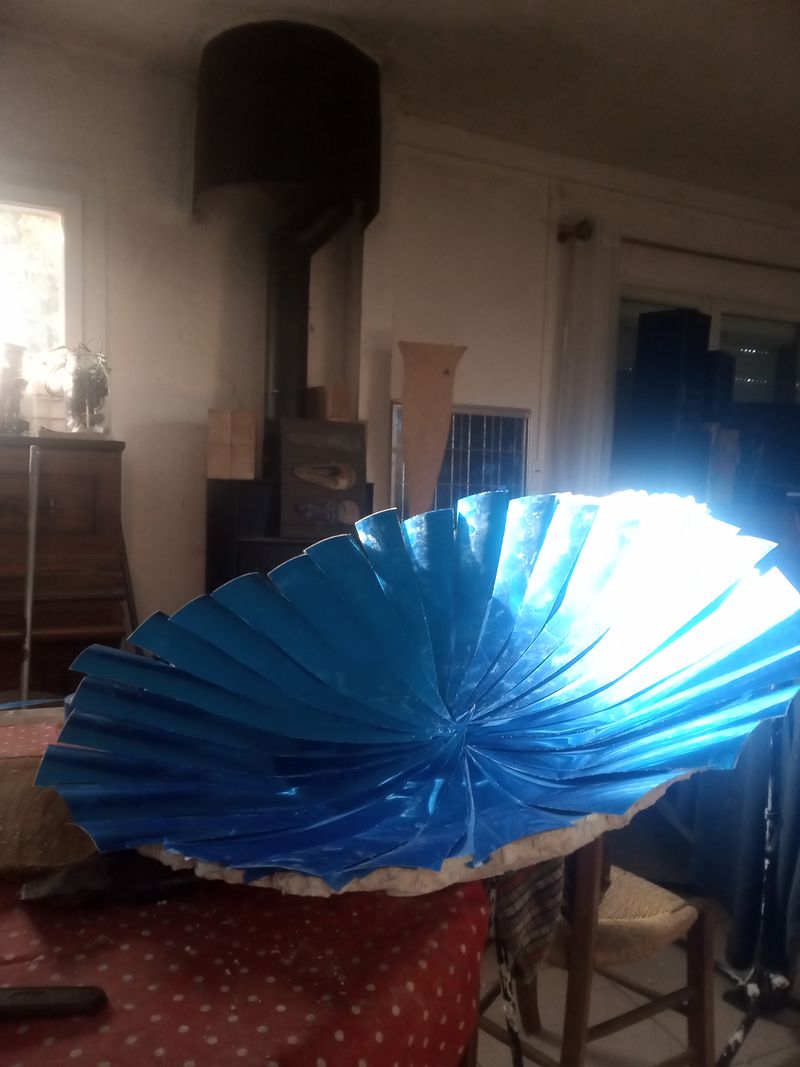
We can find flexible reflector tape at solar brother (see link in material) that is efficient and costs 20€/m2.
There are two points where you have to pay attention to stick the reflector:
-We want to avoid warping
-if you have a plaster molding, the reflector tape sticks badly
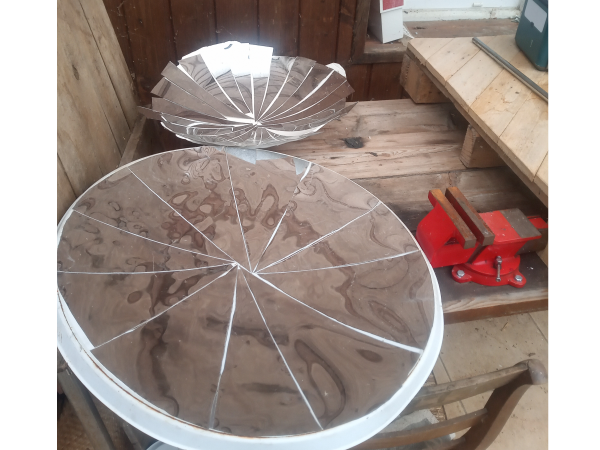
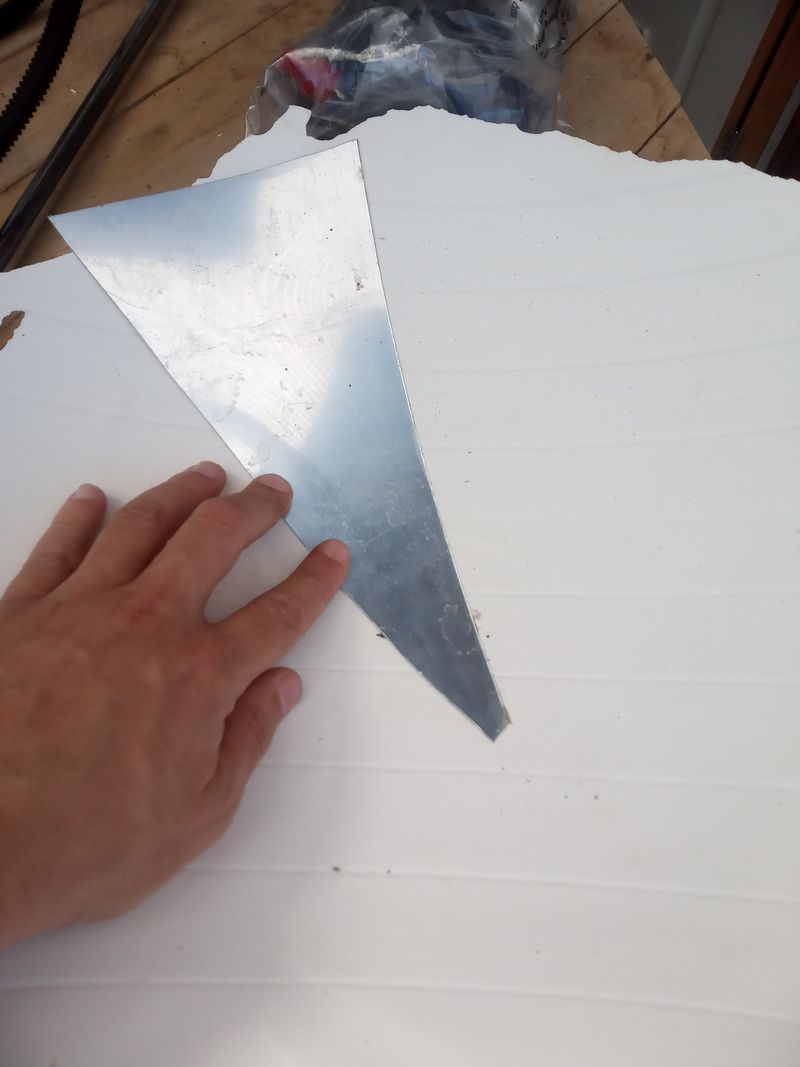
We will proceed cutting out triangles with a thin base to avoid warping when sticked.
On my tries, i have a 7cm base for the 80cm diameter concentrator and a 10cm base for the 40cm diameter concentrator.
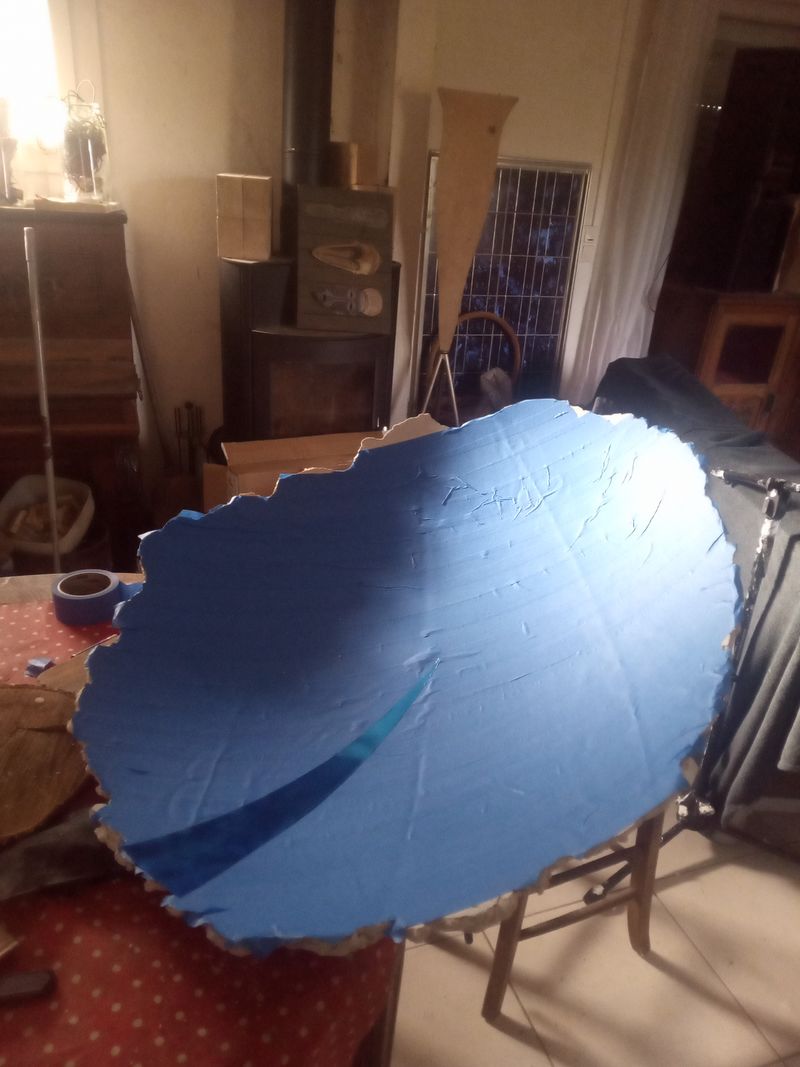
To have the reflector tape stick correctly on the plaster, first apply a layer of paint tape on all the surface of the concentrator.
In any case, add super glue the the tape surface because it doesnt stick long otherwise.
Étape 3 - mesure de puissance
Pour l'instant je n'ai pas fait de mesure d'évaporation d'eau. J'essaierai d'en faire quand j'aurai le temps.
En attendant voici des vidéos où on peut estimer la focale des reflecteurs et voir des planches commencer un processus de combustion (version parabole pour la vidéo avec le moteur stirling miniature au mois de juillet et version bout de sphere platre 80cm pour la video où le reflecteur est posé au sol au mois de novembre)
Published
 Français
 English
 Deutsch
 Español
 Italiano
 Português