(Page créée avec « '''<u>2</u>.)Use graving tools to carve around the letters. N.B: when you print the areas cut out will not take the paint (they will stay the same colour as the t-shirt).''' ») |
|||
| (21 révisions intermédiaires par 2 utilisateurs non affichées) | |||
| Ligne 50 : | Ligne 50 : | ||
Paint | Paint | ||
| + | <div class="mw-translate-fuzzy"> | ||
Cloth or Paper | Cloth or Paper | ||
| − | |Tools=Pen | + | </div> |
| + | |Tools=<div class="mw-translate-fuzzy"> | ||
| + | Pen | ||
| + | </div> | ||
Brush | Brush | ||
| + | <div class="mw-translate-fuzzy"> | ||
Wood chisel | Wood chisel | ||
| + | </div> | ||
File | File | ||
}} | }} | ||
{{Tuto Step | {{Tuto Step | ||
| − | |Step_Title=Collect Fabric | + | |Step_Title=<div class="mw-translate-fuzzy"> |
| − | |Step_Content=Collect the fabric you want to customize. | + | Collect Fabric |
| + | </div> | ||
| + | |Step_Content=<div class="mw-translate-fuzzy"> | ||
| + | Collect the fabric you want to customize. | ||
| + | </div> | ||
'''_____________________________________________________________________________________''' | '''_____________________________________________________________________________________''' | ||
| Ligne 72 : | Ligne 82 : | ||
}} | }} | ||
{{Tuto Step | {{Tuto Step | ||
| − | |Step_Title=Prepare the wooden plaque | + | |Step_Title=<div class="mw-translate-fuzzy"> |
| − | |Step_Content='''<u>1</u> | + | Prepare the wooden plaque |
| + | </div> | ||
| + | |Step_Content=<div class="mw-translate-fuzzy"> | ||
| + | '''<u>1.)</u> With a pencil, write up the letter on the plaque making sure that the letter, are back to front (therefore making a mirror copy) so that when you print it will come out the right way around.''' | ||
| + | </div> | ||
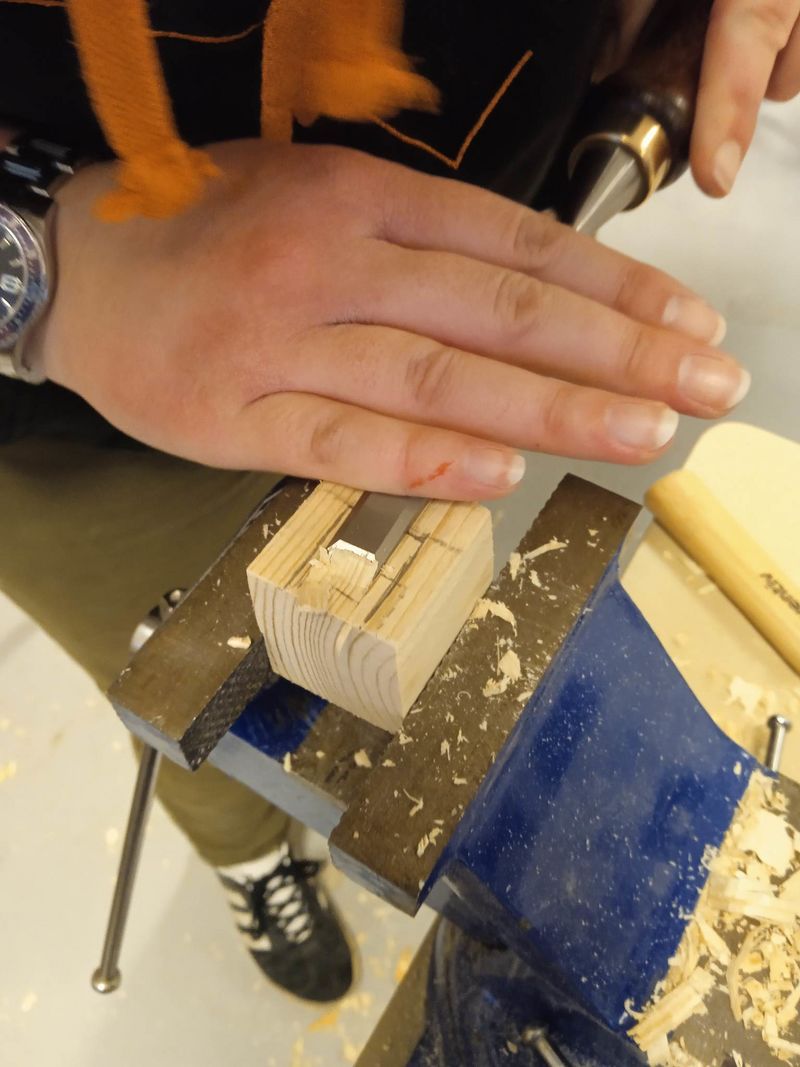
| − | '''<u>2</u>.)Use | + | '''<u>2</u>.)Use carving tools to carve around the letters. N.B: when you print the areas cut out will not take the paint (they will stay the same colour as the t-shirt).''' |
'''_____________________________________________________________________________________''' | '''_____________________________________________________________________________________''' | ||
| Ligne 100 : | Ligne 114 : | ||
}} | }} | ||
{{Tuto Step | {{Tuto Step | ||
| − | |Step_Title= | + | |Step_Title=<div class="mw-translate-fuzzy"> |
| − | |Step_Content='''<u>1)</u> | + | Print |
| + | </div> | ||
| + | |Step_Content=<div class="mw-translate-fuzzy"> | ||
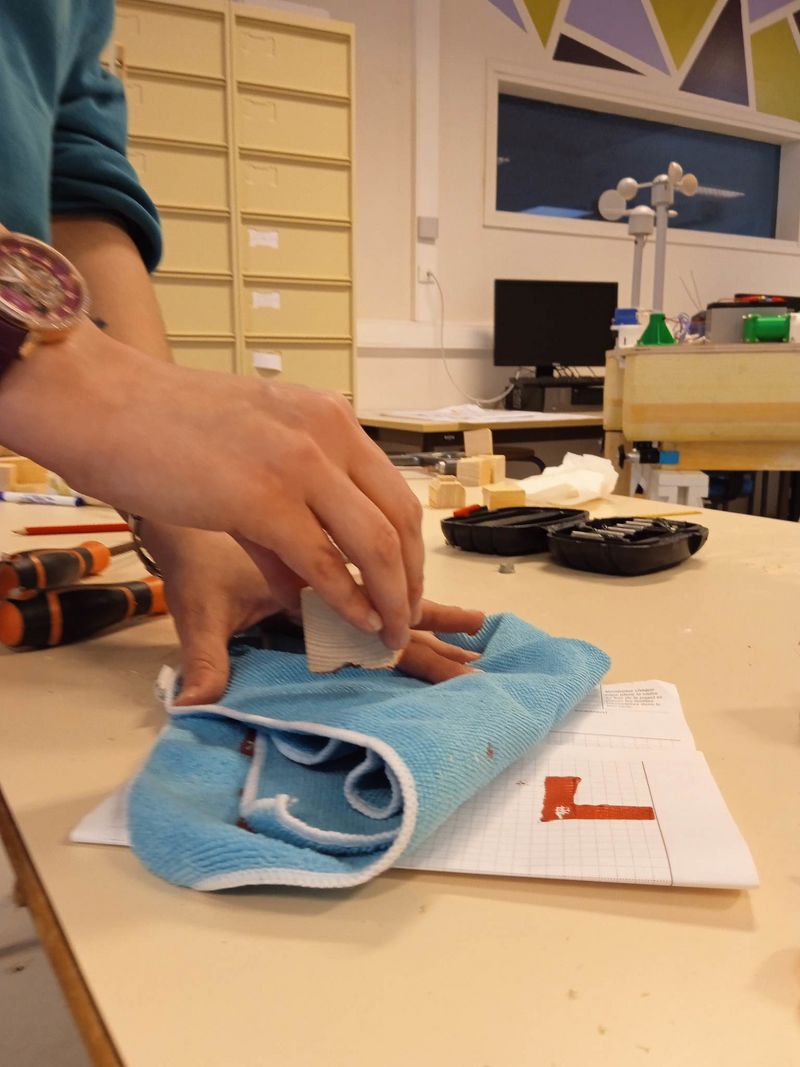
| + | '''<u>1)</u> Place a sheet of cardboard under or inside your fabric to separate the front and back.''' | ||
| + | </div> | ||
| − | '''<u>2)</u> | + | <div class="mw-translate-fuzzy"> |
| + | '''<u>2)</u> Use a brush to put the paint on the stamp (on the embossed letter).''' | ||
| + | </div> | ||
| − | '''<u>3)</u> | + | <div class="mw-translate-fuzzy"> |
| + | '''<u>3)</u> Turn the stamp over and press it onto the t-shirt. Hold the pressure for a few seconds. Turn the stamp over and press it on the t-shirt. Hold the pressure for a few seconds''' | ||
| + | </div> | ||
'''_____________________________________________________________________________________''' | '''_____________________________________________________________________________________''' | ||
| Ligne 135 : | Ligne 157 : | ||
}} | }} | ||
{{Tuto Step | {{Tuto Step | ||
| − | |Step_Title= | + | |Step_Title=<div class="mw-translate-fuzzy"> |
| − | |Step_Content=''' | + | Peel away |
| + | </div> | ||
| + | |Step_Content=<div class="mw-translate-fuzzy"> | ||
| + | '''Peel away the plaque from the t-shirt and leave to dry for 24 hours.''' | ||
| + | </div> | ||
'''_____________________________________________________________________________________''' | '''_____________________________________________________________________________________''' | ||
| Ligne 148 : | Ligne 174 : | ||
}} | }} | ||
{{Tuto Step | {{Tuto Step | ||
| − | |Step_Title= | + | |Step_Title=<div class="mw-translate-fuzzy"> |
| − | |Step_Content=''' | + | Repeat |
| + | </div> | ||
| + | |Step_Content=<div class="mw-translate-fuzzy"> | ||
| + | '''Repeat this process with all the recovered fabrics before thoroughly washing all the equipment (pad, brush, etc.).''' | ||
| + | </div> | ||
'''_____________________________________________________________________________________''' | '''_____________________________________________________________________________________''' | ||
| Ligne 163 : | Ligne 193 : | ||
}} | }} | ||
{{Notes | {{Notes | ||
| − | |Notes=To watch some tutorials and to learn more about the process, you can watch these videos linked below: | + | |Notes====='''To watch some tutorials and to learn more about the process, you can watch these videos linked below:'''==== |
<u>''https://www.youtube.com/watch?v=Un2DUWn3FLE''</u> | <u>''https://www.youtube.com/watch?v=Un2DUWn3FLE''</u> | ||
| Ligne 171 : | Ligne 201 : | ||
<u>''https://www.youtube.com/watch?v=r2hYUxFOHEM''</u> | <u>''https://www.youtube.com/watch?v=r2hYUxFOHEM''</u> | ||
| − | ''''' | + | <div class="mw-translate-fuzzy"> |
| + | '''''Link to by a roller : <nowiki>https://www.google.com/search?q=rouleau+lino+impression&rlz=1C5CHFA_enGB876GB876&source=lnms&tbm=shop&sa=X&ved=2ahUKEwiK5tTs0__5AhWJx4UKHalDBR0Q_AUoAnoECAEQBA&biw=1396&bih=708&dpr=2#spd=13900926477625390458</nowiki>''''' | ||
| + | </div> | ||
__________________________________________________________________________________________________________________________________________________________________________________________________ | __________________________________________________________________________________________________________________________________________________________________________________________________ | ||
Version actuelle datée du 6 septembre 2024 à 09:24
Description
Linocut (wooden stamp for t-shirt)
Sommaire
Sommaire
Introduction
Tutorial T-shirt printing
Instructions in French:
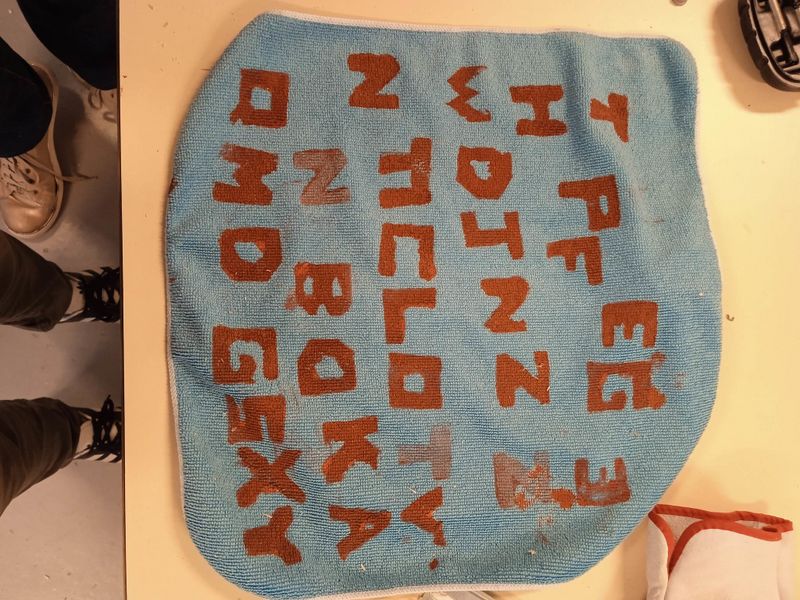
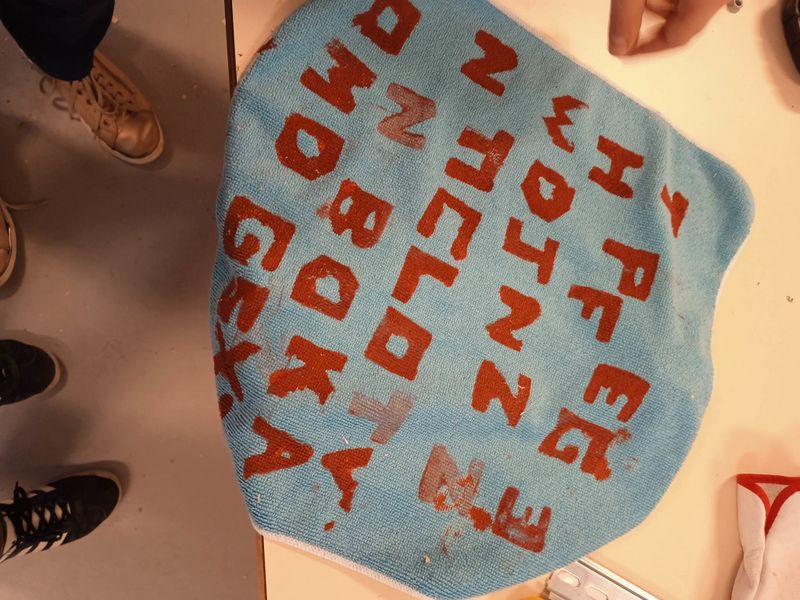
During this tutorial, we are going to explain how to print words on your clothes or your paper sheets using the lino printing technique. We will make a wooden alphabet, to then print any word with painting on the choosen surface.
__________________________________________________________________________________________________________________________________________________________________________________________________
Tutorial T-shirt printing
Instructions in english:
During this tutorial, we are going to explain how to print words on your clothes or your paper sheets using the lino printing technique. We will make a wooden alphabet, to then print any word with painting on the choosen surface.
__________________________________________________________________________________________________________________________________________________________________________________________________
برنامج تعليمي لطباعة القمصان
في هذا البرنامج التعليمي ، سنشرح كيفية طباعة الكلمات على مواد النسيج أو الأوراق باستخدام تقنية لينوكوت. لذلك سنقوم بنحت أبجدية خشبية ثم نقوم بطباعة الكلمة المرغوبة بالطلاء على الدعامة المختارة.
====
====
Étape 1 -
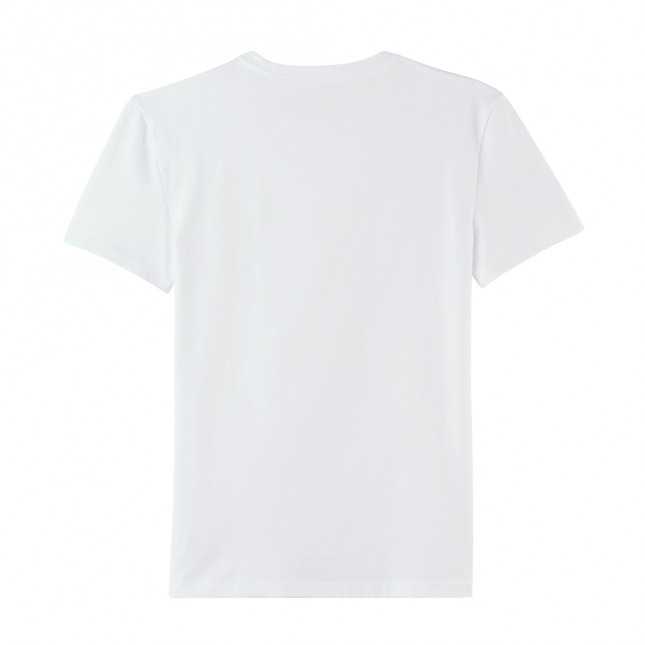
Collect Fabric
Collect Fabric
Collect the fabric you want to customize.
_____________________________________________________________________________________
Collect the fabric you want to customize.
_____________________________________________________________________________________
اجمعوا القماش
Étape 2 -
Prepare the wooden plaque
Prepare the wooden plaque
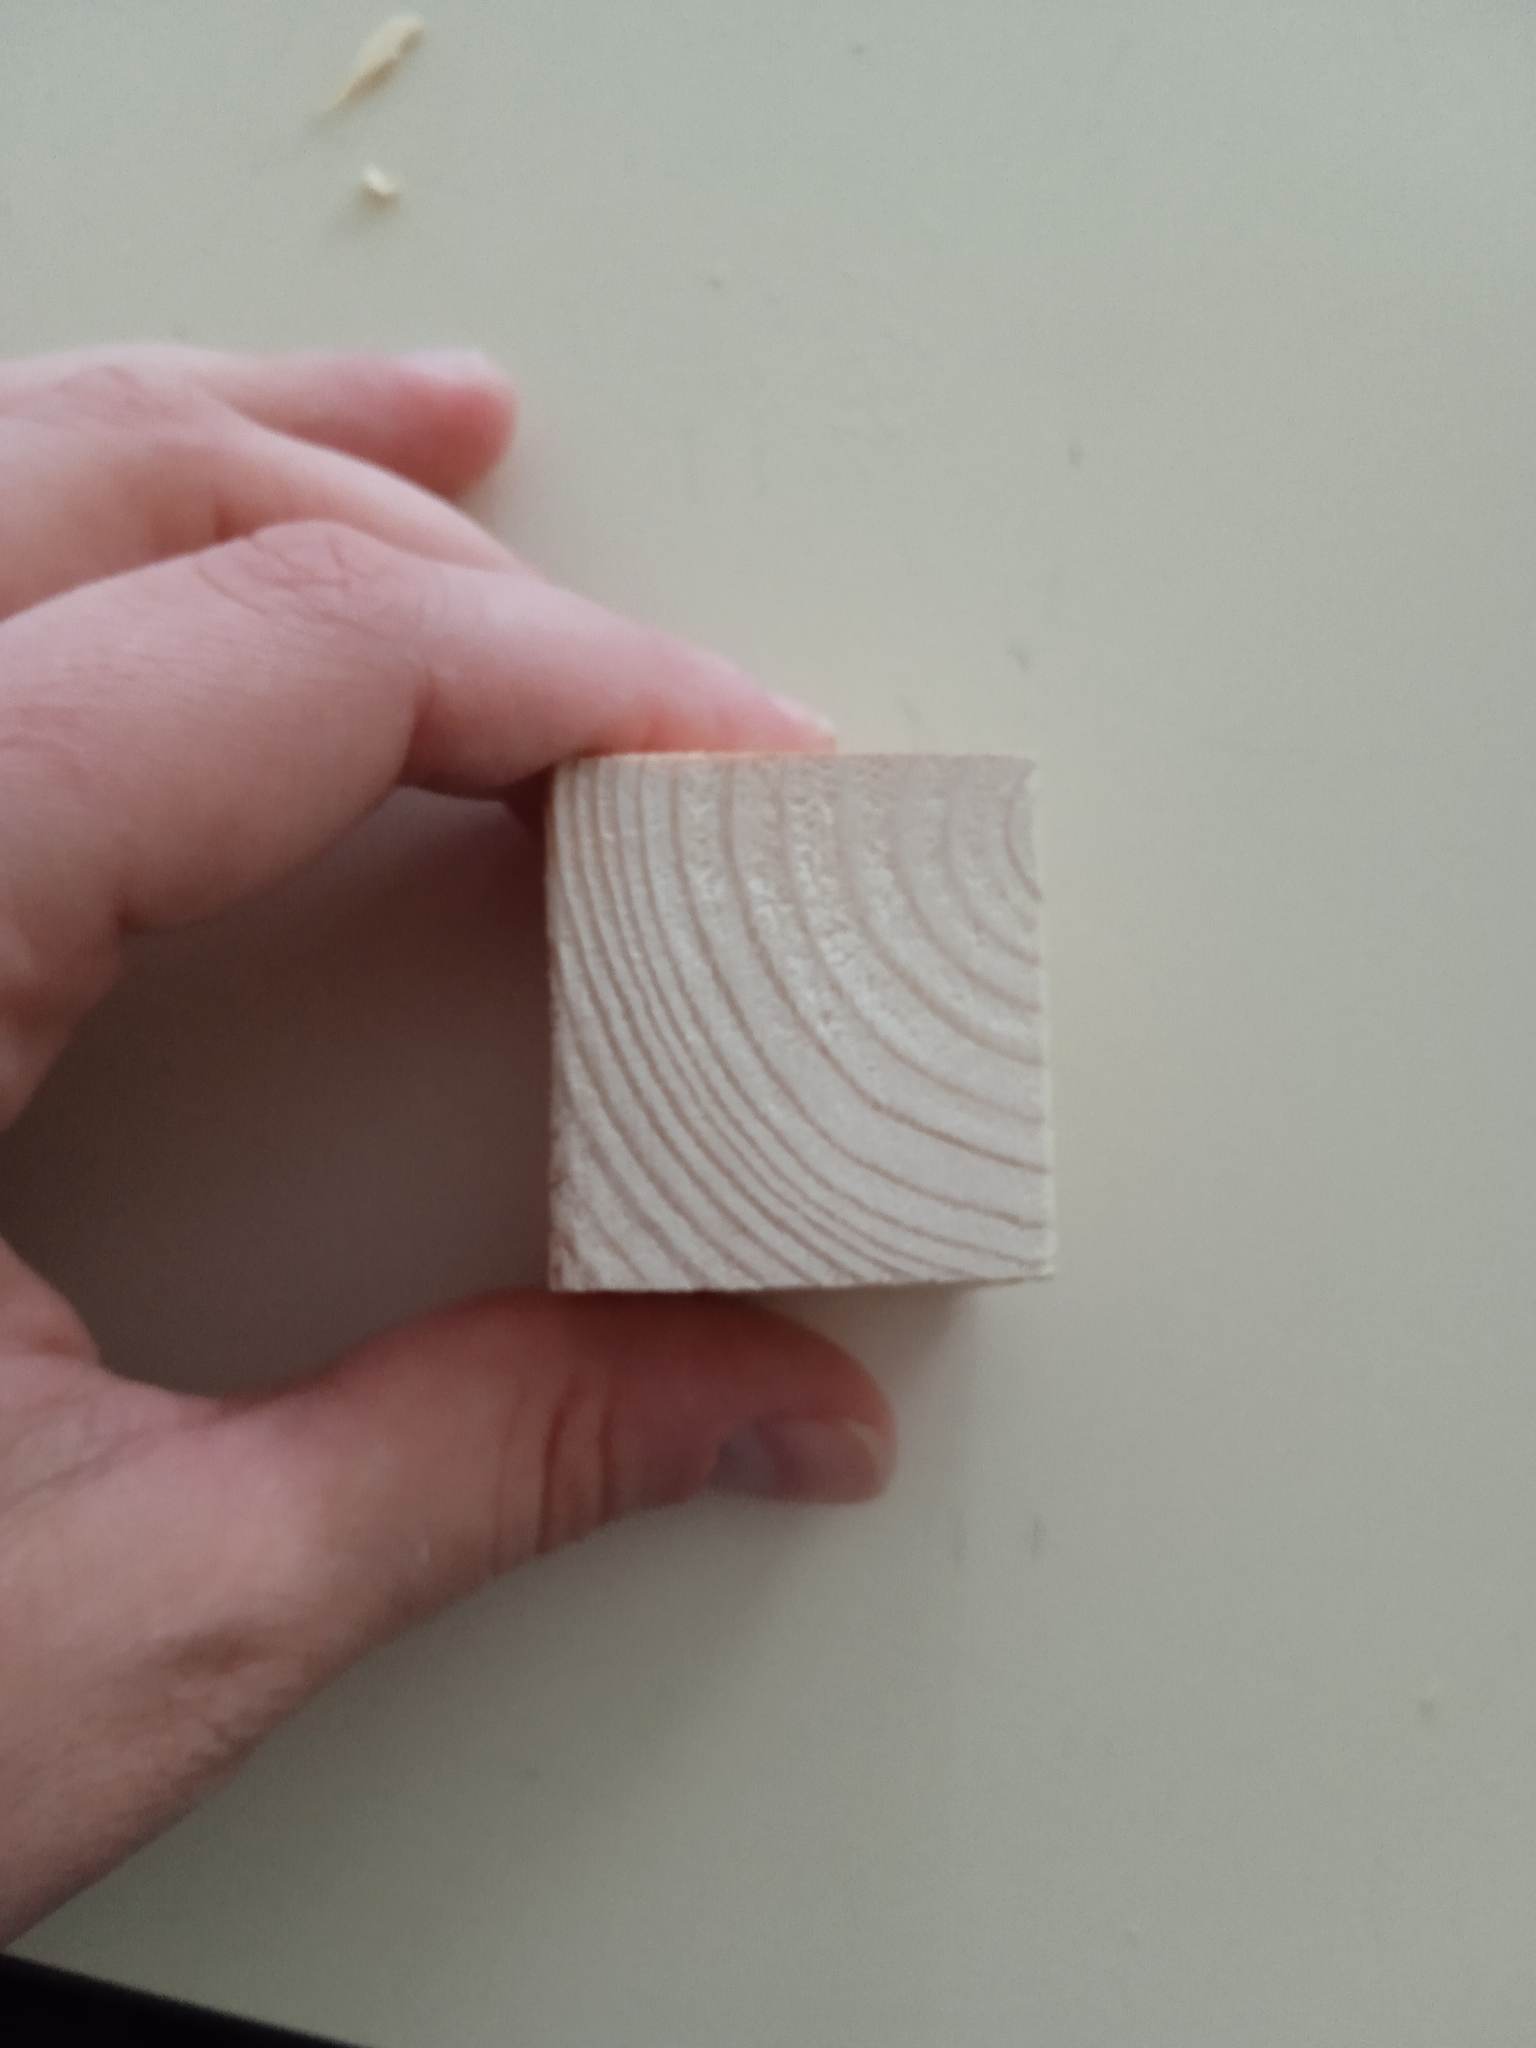
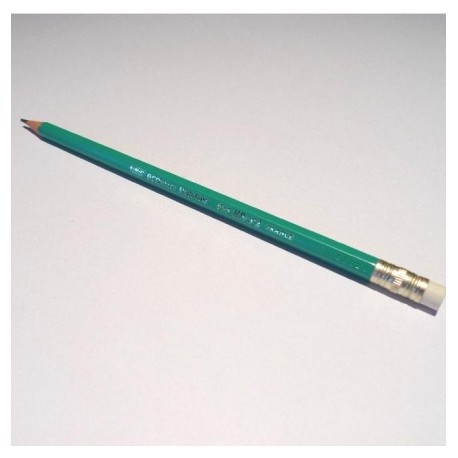
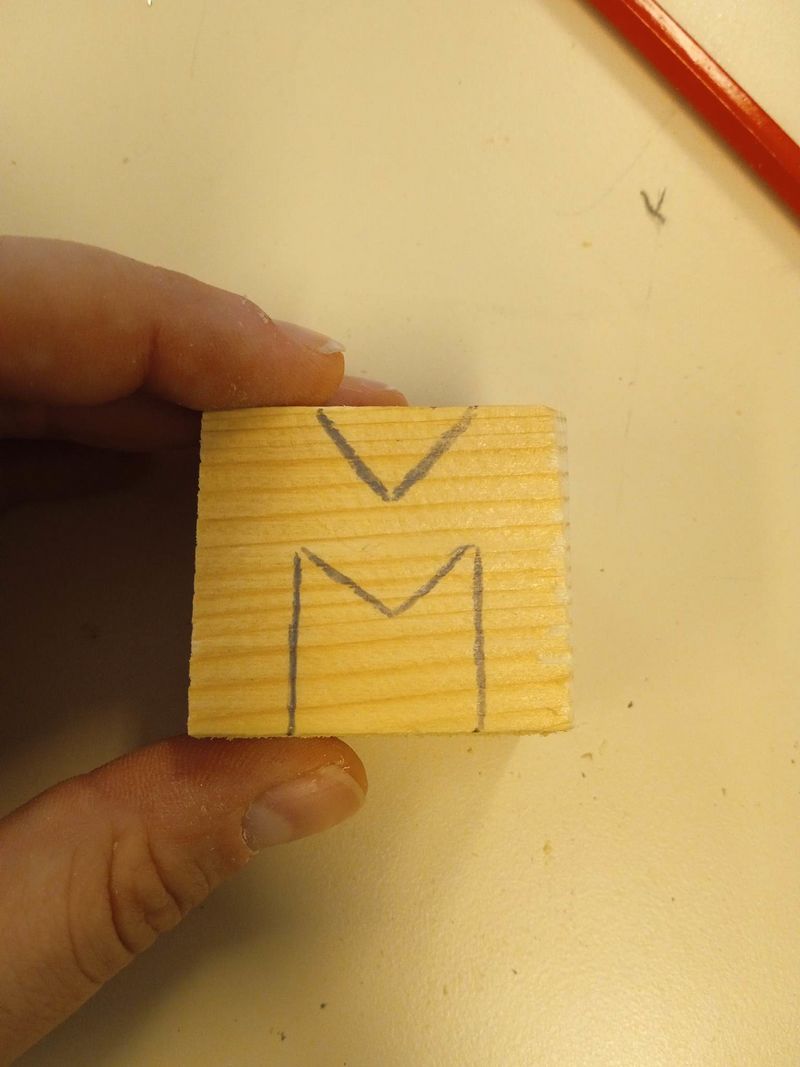
1.) With a pencil, write up the letter on the plaque making sure that the letter, are back to front (therefore making a mirror copy) so that when you print it will come out the right way around.
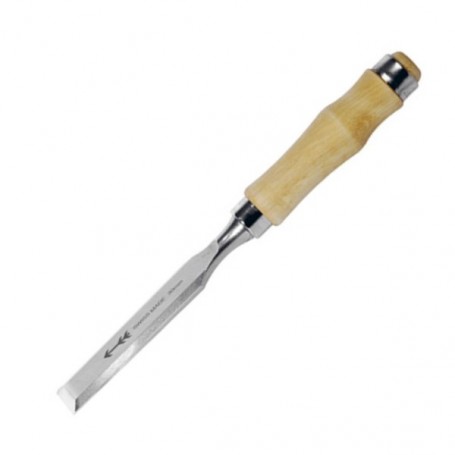
2.)Use carving tools to carve around the letters. N.B: when you print the areas cut out will not take the paint (they will stay the same colour as the t-shirt).
_____________________________________________________________________________________
1) With a pencil, write up the letter on the plaque making sure that the letter, are back to front (therefore making a mirror copy) so that when you print it will come out the right way around.
2)Use graving tools to carve around the letters. N.B: when you print the areas cut out will not take the paint (they will stay the same colour as the t-shirt).
_____________________________________________________________________________________
١-بواسطة قلم اكتبوا الحرف بالجهة المعاكسة
٢-استخدموا الة النحت للنحت حول الحرف
Étape 3 -
Print
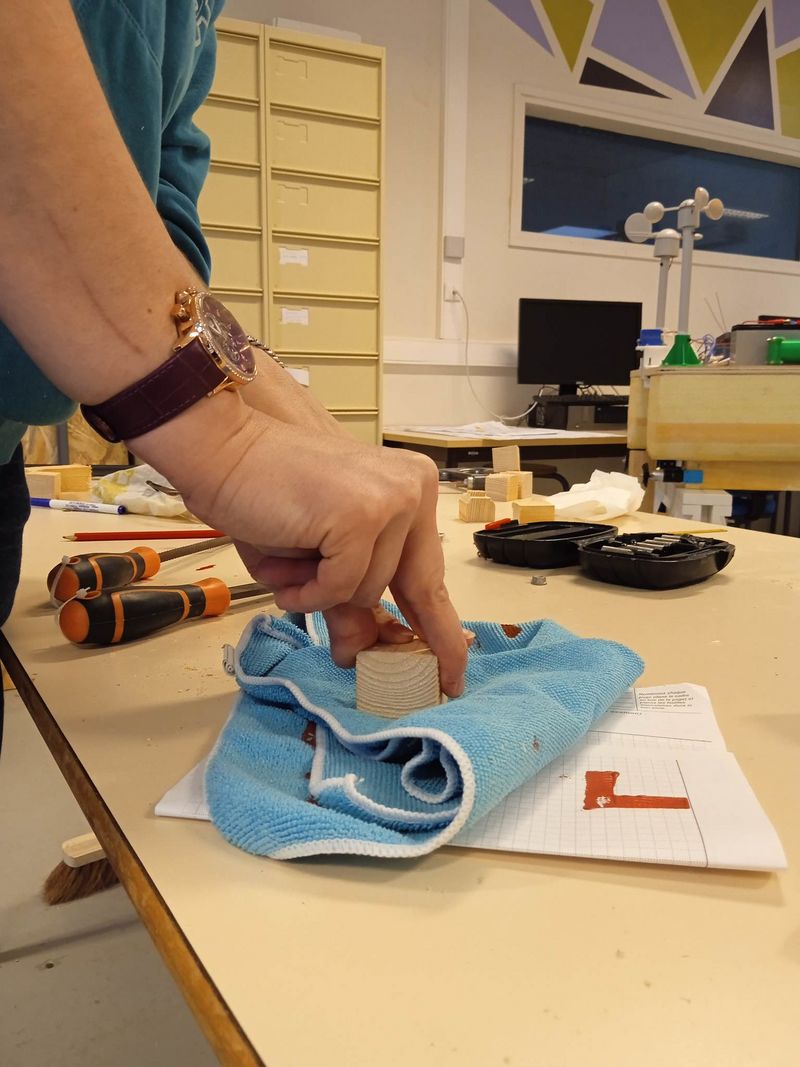
1) Place a sheet of cardboard under or inside your fabric to separate the front and back.
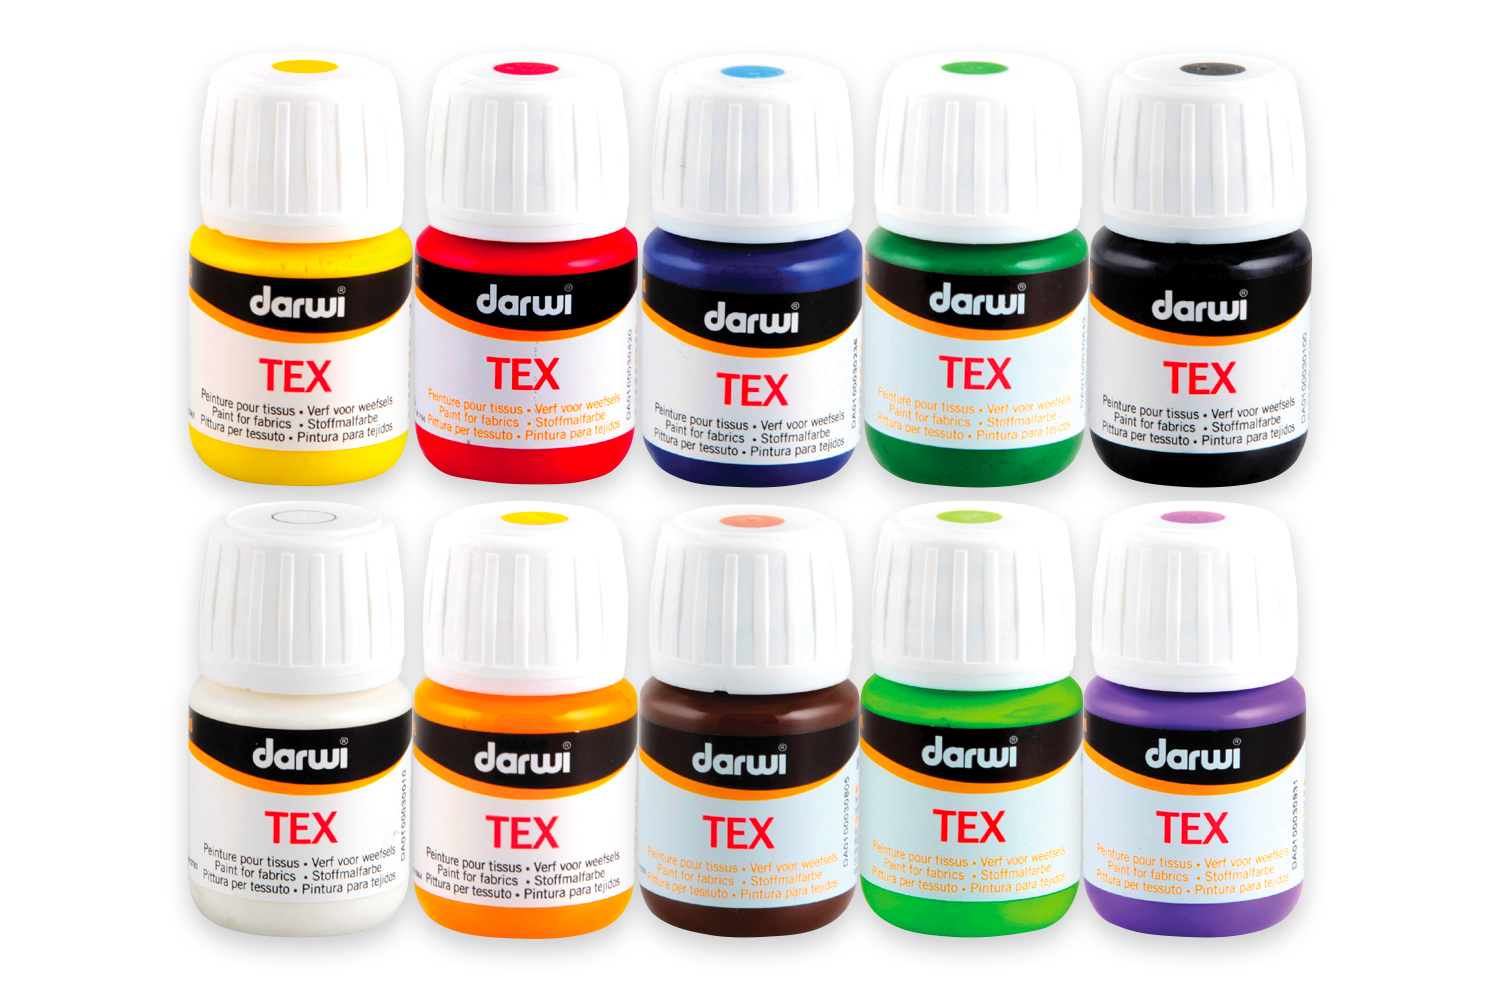
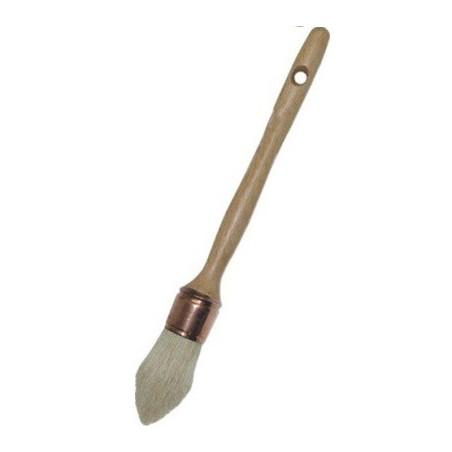
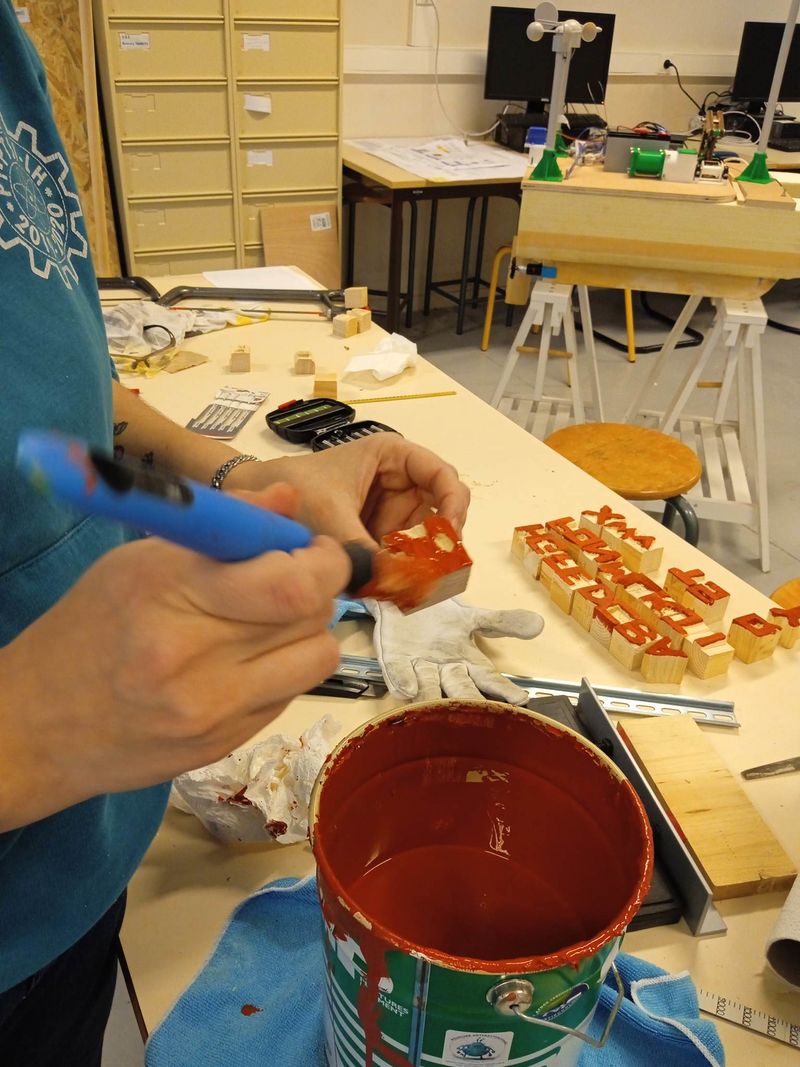
2) Use a brush to put the paint on the stamp (on the embossed letter).
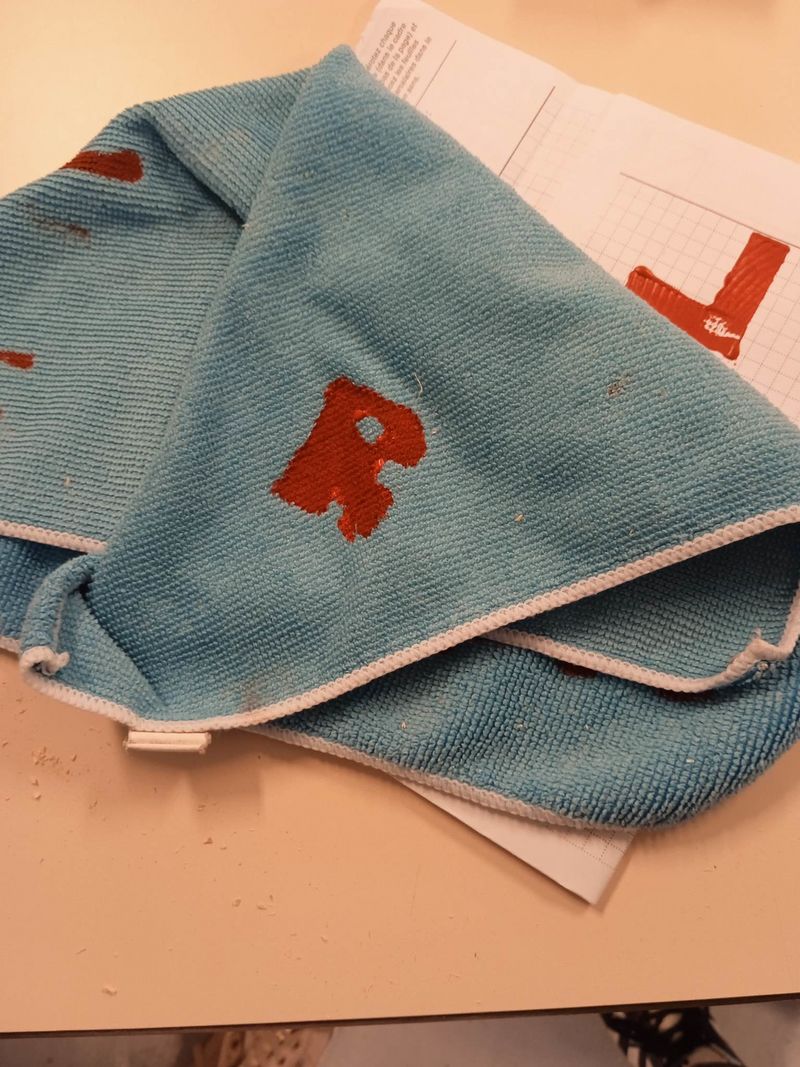
3) Turn the stamp over and press it onto the t-shirt. Hold the pressure for a few seconds. Turn the stamp over and press it on the t-shirt. Hold the pressure for a few seconds
_____________________________________________________________________________________
1.) Place a sheet of cardboard under or inside your fabric to separate the front and back.
2.) Use a brush to put the paint on the stamp (on the embossed letter).
3) Turn the stamp over and press it onto the t-shirt. Hold the pressure for a few seconds. Turn the stamp over and press it on the t-shirt. Hold the pressure for a few seconds
_____________________________________________________________________________________
١-نضع ورقة الكرتون على او داخل القماش
٢-استخدام الريشة للدهن
٣-نقلب بالجهة المعاكسة
Étape 4 -
Peel away
Peel away
Peel away the plaque from the t-shirt and leave to dry for 24 hours.
_____________________________________________________________________________________
Peel away the plaque from the t-shirt and leave to dry for 24 hours.
_____________________________________________________________________________________
نتركه ينشف ل ٢٤ ساعة
Étape 5 -
Repeat
Repeat
Repeat this process with all the recovered fabrics before thoroughly washing all the equipment (pad, brush, etc.).
_____________________________________________________________________________________
Repeat this process with all the recovered fabrics before thoroughly washing all the equipment (pad, brush, etc.).
_____________________________________________________________________________________
اعادة العملية مع باقي قطع القماش
Notes et références
To watch some tutorials and to learn more about the process, you can watch these videos linked below:
https://www.youtube.com/watch?v=Un2DUWn3FLE
https://www.youtube.com/watch?v=HHnQuFxtuQ0
https://www.youtube.com/watch?v=r2hYUxFOHEM
Link to by a roller : https://www.google.com/search?q=rouleau+lino+impression&rlz=1C5CHFA_enGB876GB876&source=lnms&tbm=shop&sa=X&ved=2ahUKEwiK5tTs0__5AhWJx4UKHalDBR0Q_AUoAnoECAEQBA&biw=1396&bih=708&dpr=2#spd=13900926477625390458
__________________________________________________________________________________________________________________________________________________________________________________________________
To watch some tutorials and to learn more about the process, you can watch these videos linked below:
https://www.youtube.com/watch?v=Un2DUWn3FLE
https://www.youtube.com/watch?v=HHnQuFxtuQ0
https://www.youtube.com/watch?v=r2hYUxFOHEM
Draft
 Français
 English
 Deutsch
 Español
 Italiano
 Português