(Page créée avec « Fabric has been added for aesthetic appeal and to improve heat retention. ») |
(Page créée avec « *To finish, pass a thread over the curtain to close and open it. *Use the thread to make a knot on one side and pull on the other to close. ») |
||
| (10 révisions intermédiaires par le même utilisateur non affichées) | |||
| Ligne 51 : | Ligne 51 : | ||
|Step_Picture_03=Rideau_Thermique_2eme_prototype_WhatsApp_Image_2022-02-09_at_10.09.32.jpeg | |Step_Picture_03=Rideau_Thermique_2eme_prototype_WhatsApp_Image_2022-02-09_at_10.09.32.jpeg | ||
|Step_Picture_04=Rideau_Thermique_2eme_prototype_3m-scotch-bande-adhesive-multi-usages-4828-48-mm.jpg | |Step_Picture_04=Rideau_Thermique_2eme_prototype_3m-scotch-bande-adhesive-multi-usages-4828-48-mm.jpg | ||
| − | |Material=* | + | |Material=* Milk bricks (you need more than 5 bricks to make an average curtain). |
| − | * | + | * Fabric (more usable clothes...). |
<br /> | <br /> | ||
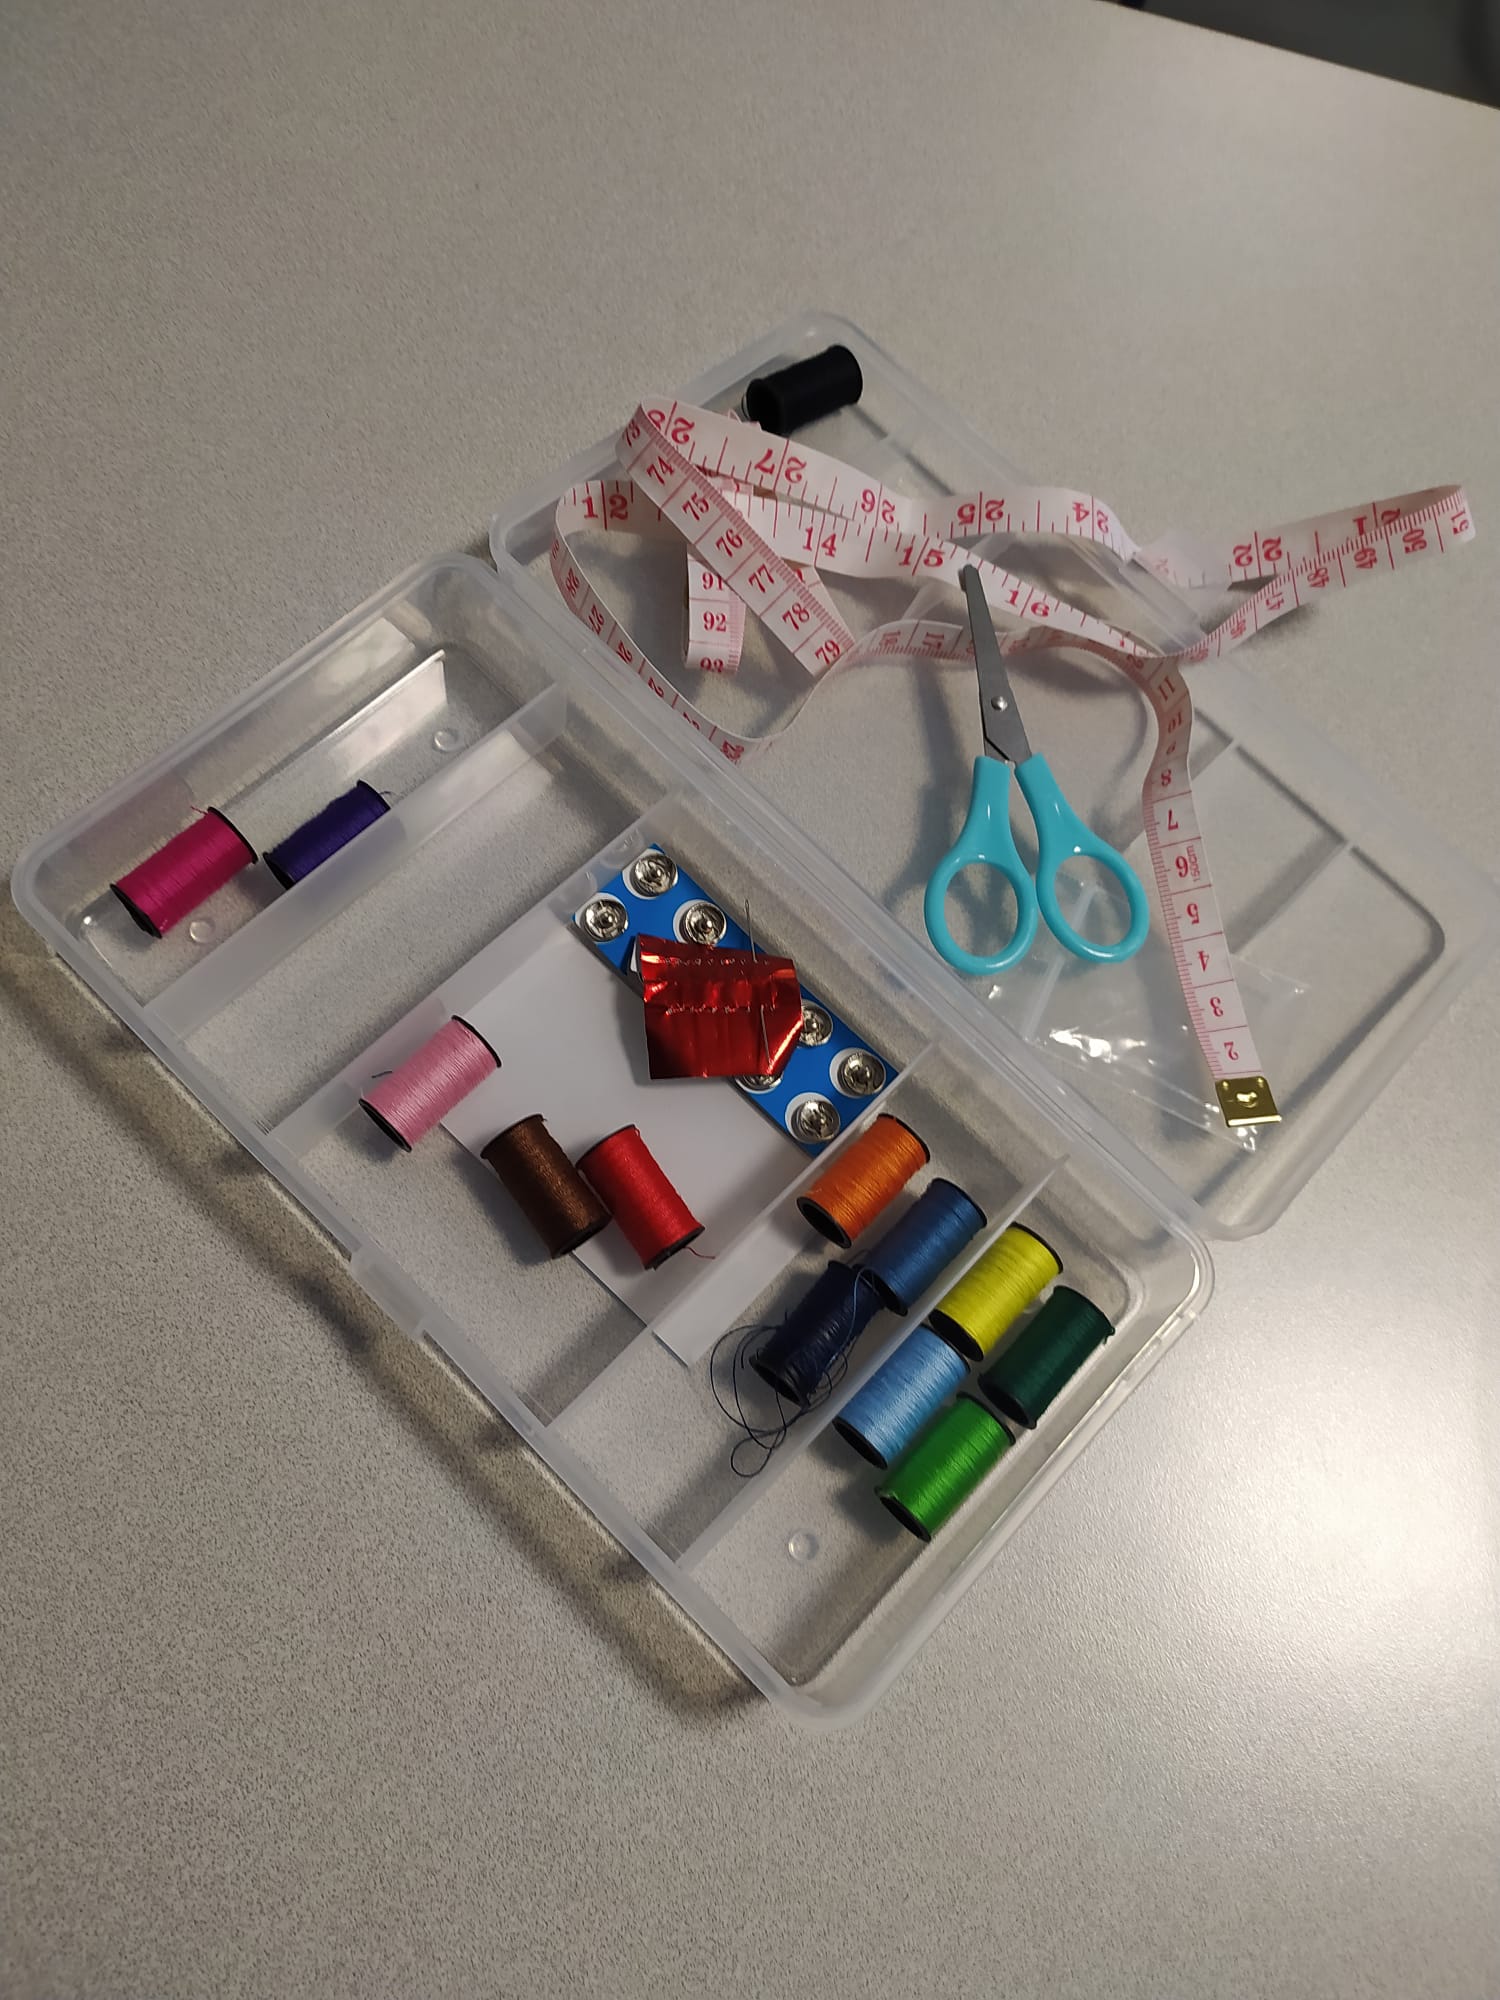
| − | |Tools=* | + | |Tools=* Thread and needle or sewing machine. |
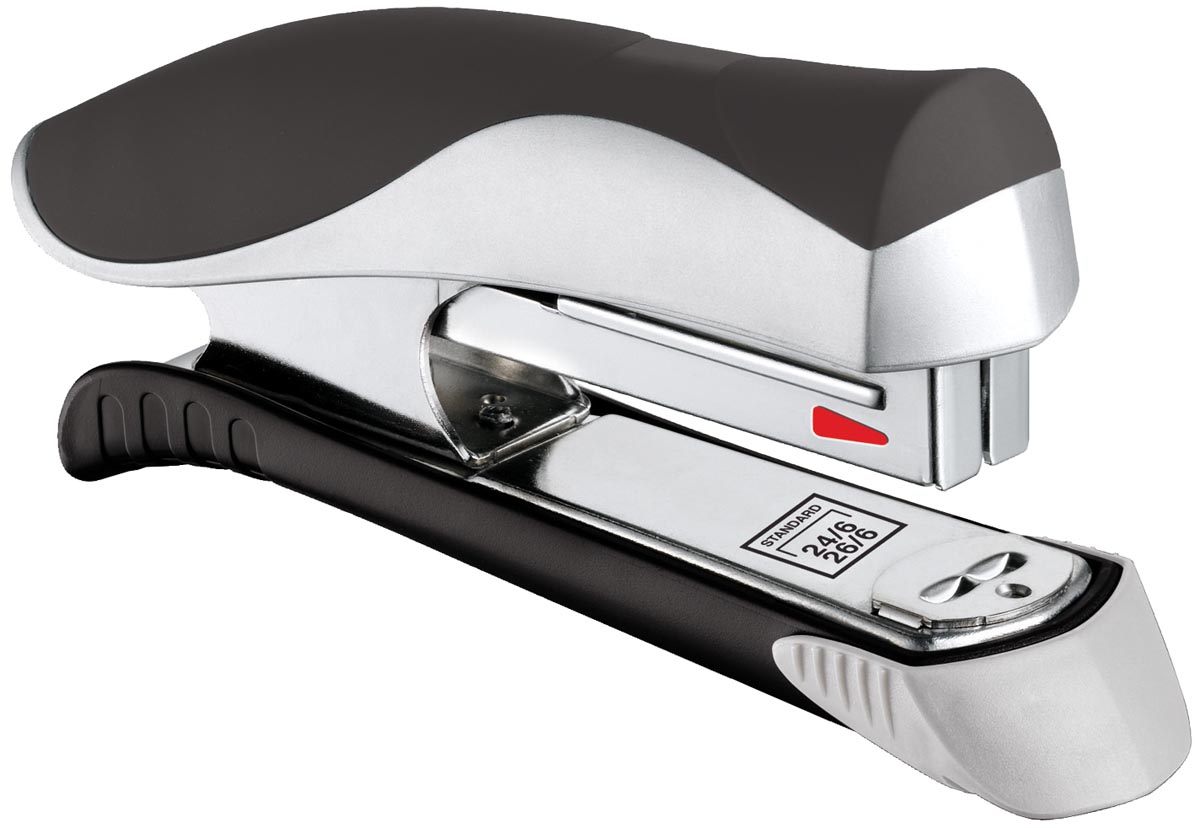
| − | * | + | * scissors and stapler |
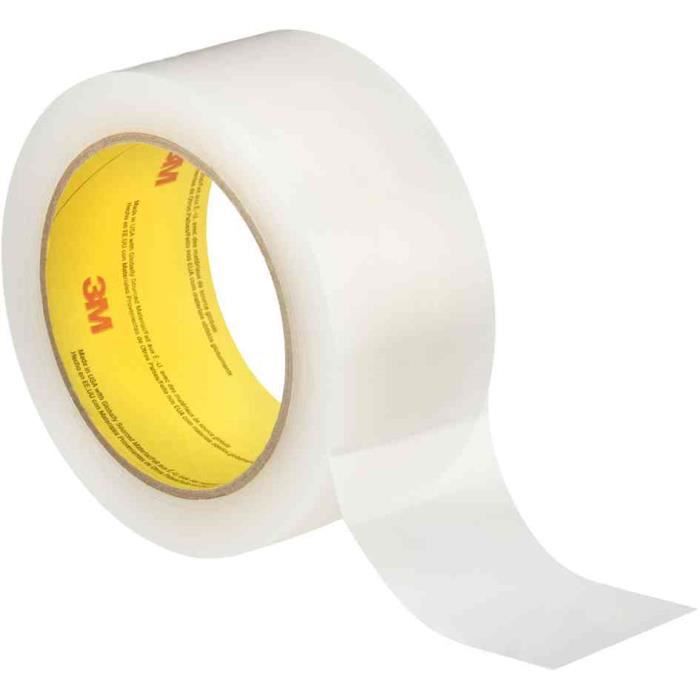
| − | * | + | * tape |
}} | }} | ||
{{Tuto Step | {{Tuto Step | ||
| − | |Step_Title= | + | |Step_Title=Preparation of Milk carton |
| − | |Step_Content=* | + | |Step_Content=*Clean the remaining milk cartons thoroughly. |
| − | * | + | *Flatten the bricks so that there are no creases. |
| − | * | + | *Cut the brick as shown in the photo. |
| − | * | + | *Remove the outer layer of the brick so that a little cardboard remains (be careful not to tear the brick). |
|Step_Picture_00=Rideau_Thermique_2eme_prototype_WhatsApp_Image_2022-02-09_at_09.48.32_1_.jpeg | |Step_Picture_00=Rideau_Thermique_2eme_prototype_WhatsApp_Image_2022-02-09_at_09.48.32_1_.jpeg | ||
|Step_Picture_01=Rideau_Thermique_2eme_prototype_WhatsApp_Image_2022-02-09_at_09.48.32.jpeg | |Step_Picture_01=Rideau_Thermique_2eme_prototype_WhatsApp_Image_2022-02-09_at_09.48.32.jpeg | ||
}} | }} | ||
{{Tuto Step | {{Tuto Step | ||
| − | |Step_Title= | + | |Step_Title=Grouping together the different cartons |
| − | |Step_Content=* | + | |Step_Content=*Attach the different cartons (using scotch tape). |
| − | * | + | *Staple any parts that don't fit properly. |
|Step_Picture_00=Rideau_Thermique_2eme_prototype_WhatsApp_Image_2022-02-09_at_09.48.29.jpeg | |Step_Picture_00=Rideau_Thermique_2eme_prototype_WhatsApp_Image_2022-02-09_at_09.48.29.jpeg | ||
}} | }} | ||
{{Tuto Step | {{Tuto Step | ||
| − | |Step_Title= | + | |Step_Title=Adding fabric |
| − | |Step_Content= | + | |Step_Content=You can add clothes to be thrown away or torn fabrics. |
| − | * | + | *For aesthetics, you can add a decorative fabric to wrap the bricks and also to increase efficiency. |
|Step_Picture_00=Rideau_Thermique_2eme_prototype_WhatsApp_Image_2022-02-09_at_10.17.44.jpeg | |Step_Picture_00=Rideau_Thermique_2eme_prototype_WhatsApp_Image_2022-02-09_at_10.17.44.jpeg | ||
}} | }} | ||
{{Tuto Step | {{Tuto Step | ||
| − | |Step_Title= | + | |Step_Title=Addition of wire for closure |
| − | |Step_Content=* | + | |Step_Content=*To finish, pass a thread over the curtain to close and open it. |
| − | * | + | *Use the thread to make a knot on one side and pull on the other to close. |
|Step_Picture_00=Rideau_Thermique_2eme_prototype_WhatsApp_Image_2022-02-09_at_11.47.35.jpeg | |Step_Picture_00=Rideau_Thermique_2eme_prototype_WhatsApp_Image_2022-02-09_at_11.47.35.jpeg | ||
|Step_Picture_01=Rideau_Thermique_2eme_prototype_fil_rideau.jpeg | |Step_Picture_01=Rideau_Thermique_2eme_prototype_fil_rideau.jpeg | ||
Version actuelle datée du 22 août 2024 à 15:25
Introduction
To create the Thermal Curtain, we have chosen materials with the following properties:
-Limits incoming draughts
Inert, non-toxic, tear-proof material.
-Thermal insulation.
-Good aesthetic level.
-economic.
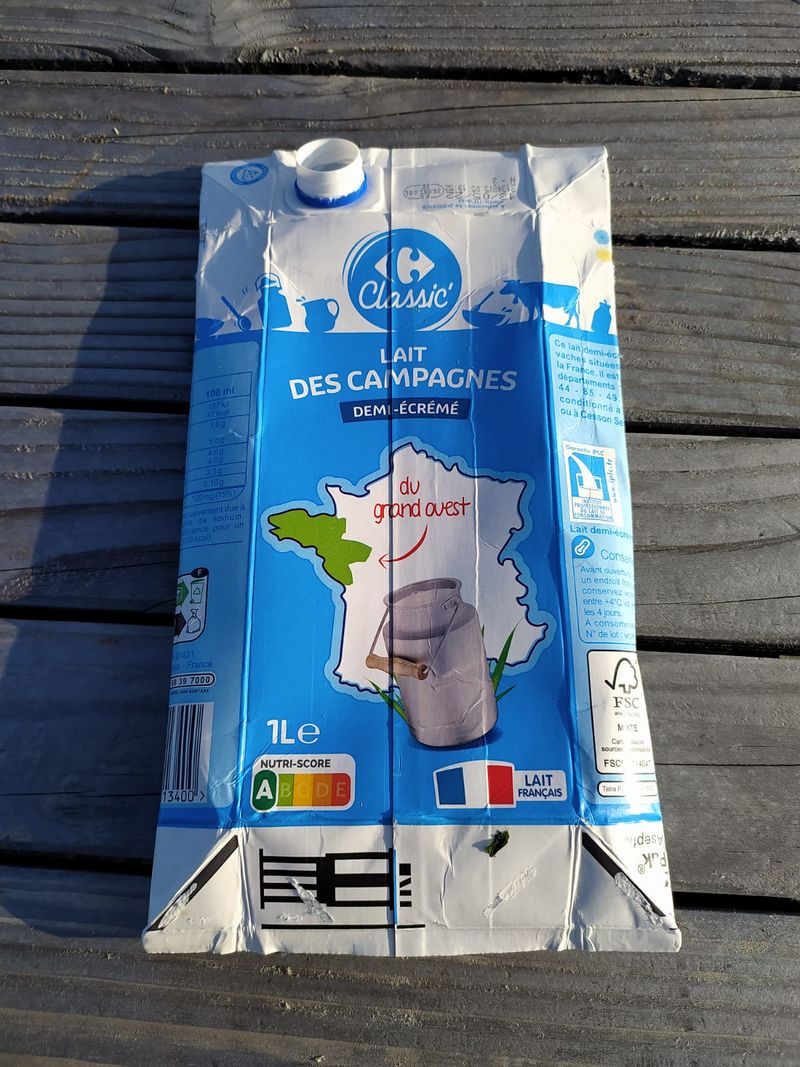
The milk carton contains these materials:
- Polyethylene: (Plastic)
- can catch fire at 260°C
- Non-toxic and tear-proof
- chemically inert material (does not react in any chemical or biological way)
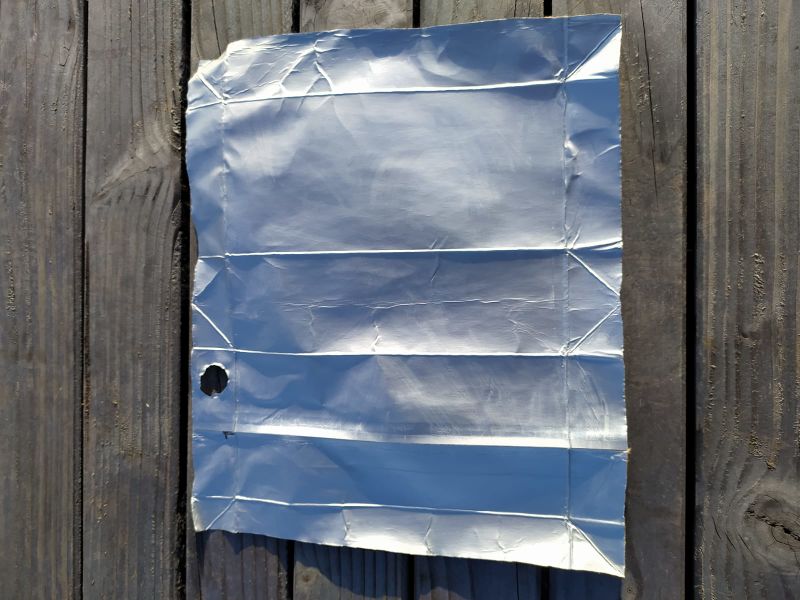
- Aluminium:
- thermal insulation.
- Cardboard and plastic limit wind currents; fewer pores than fabric.
What's more, milk cartons are economical and we recycle.
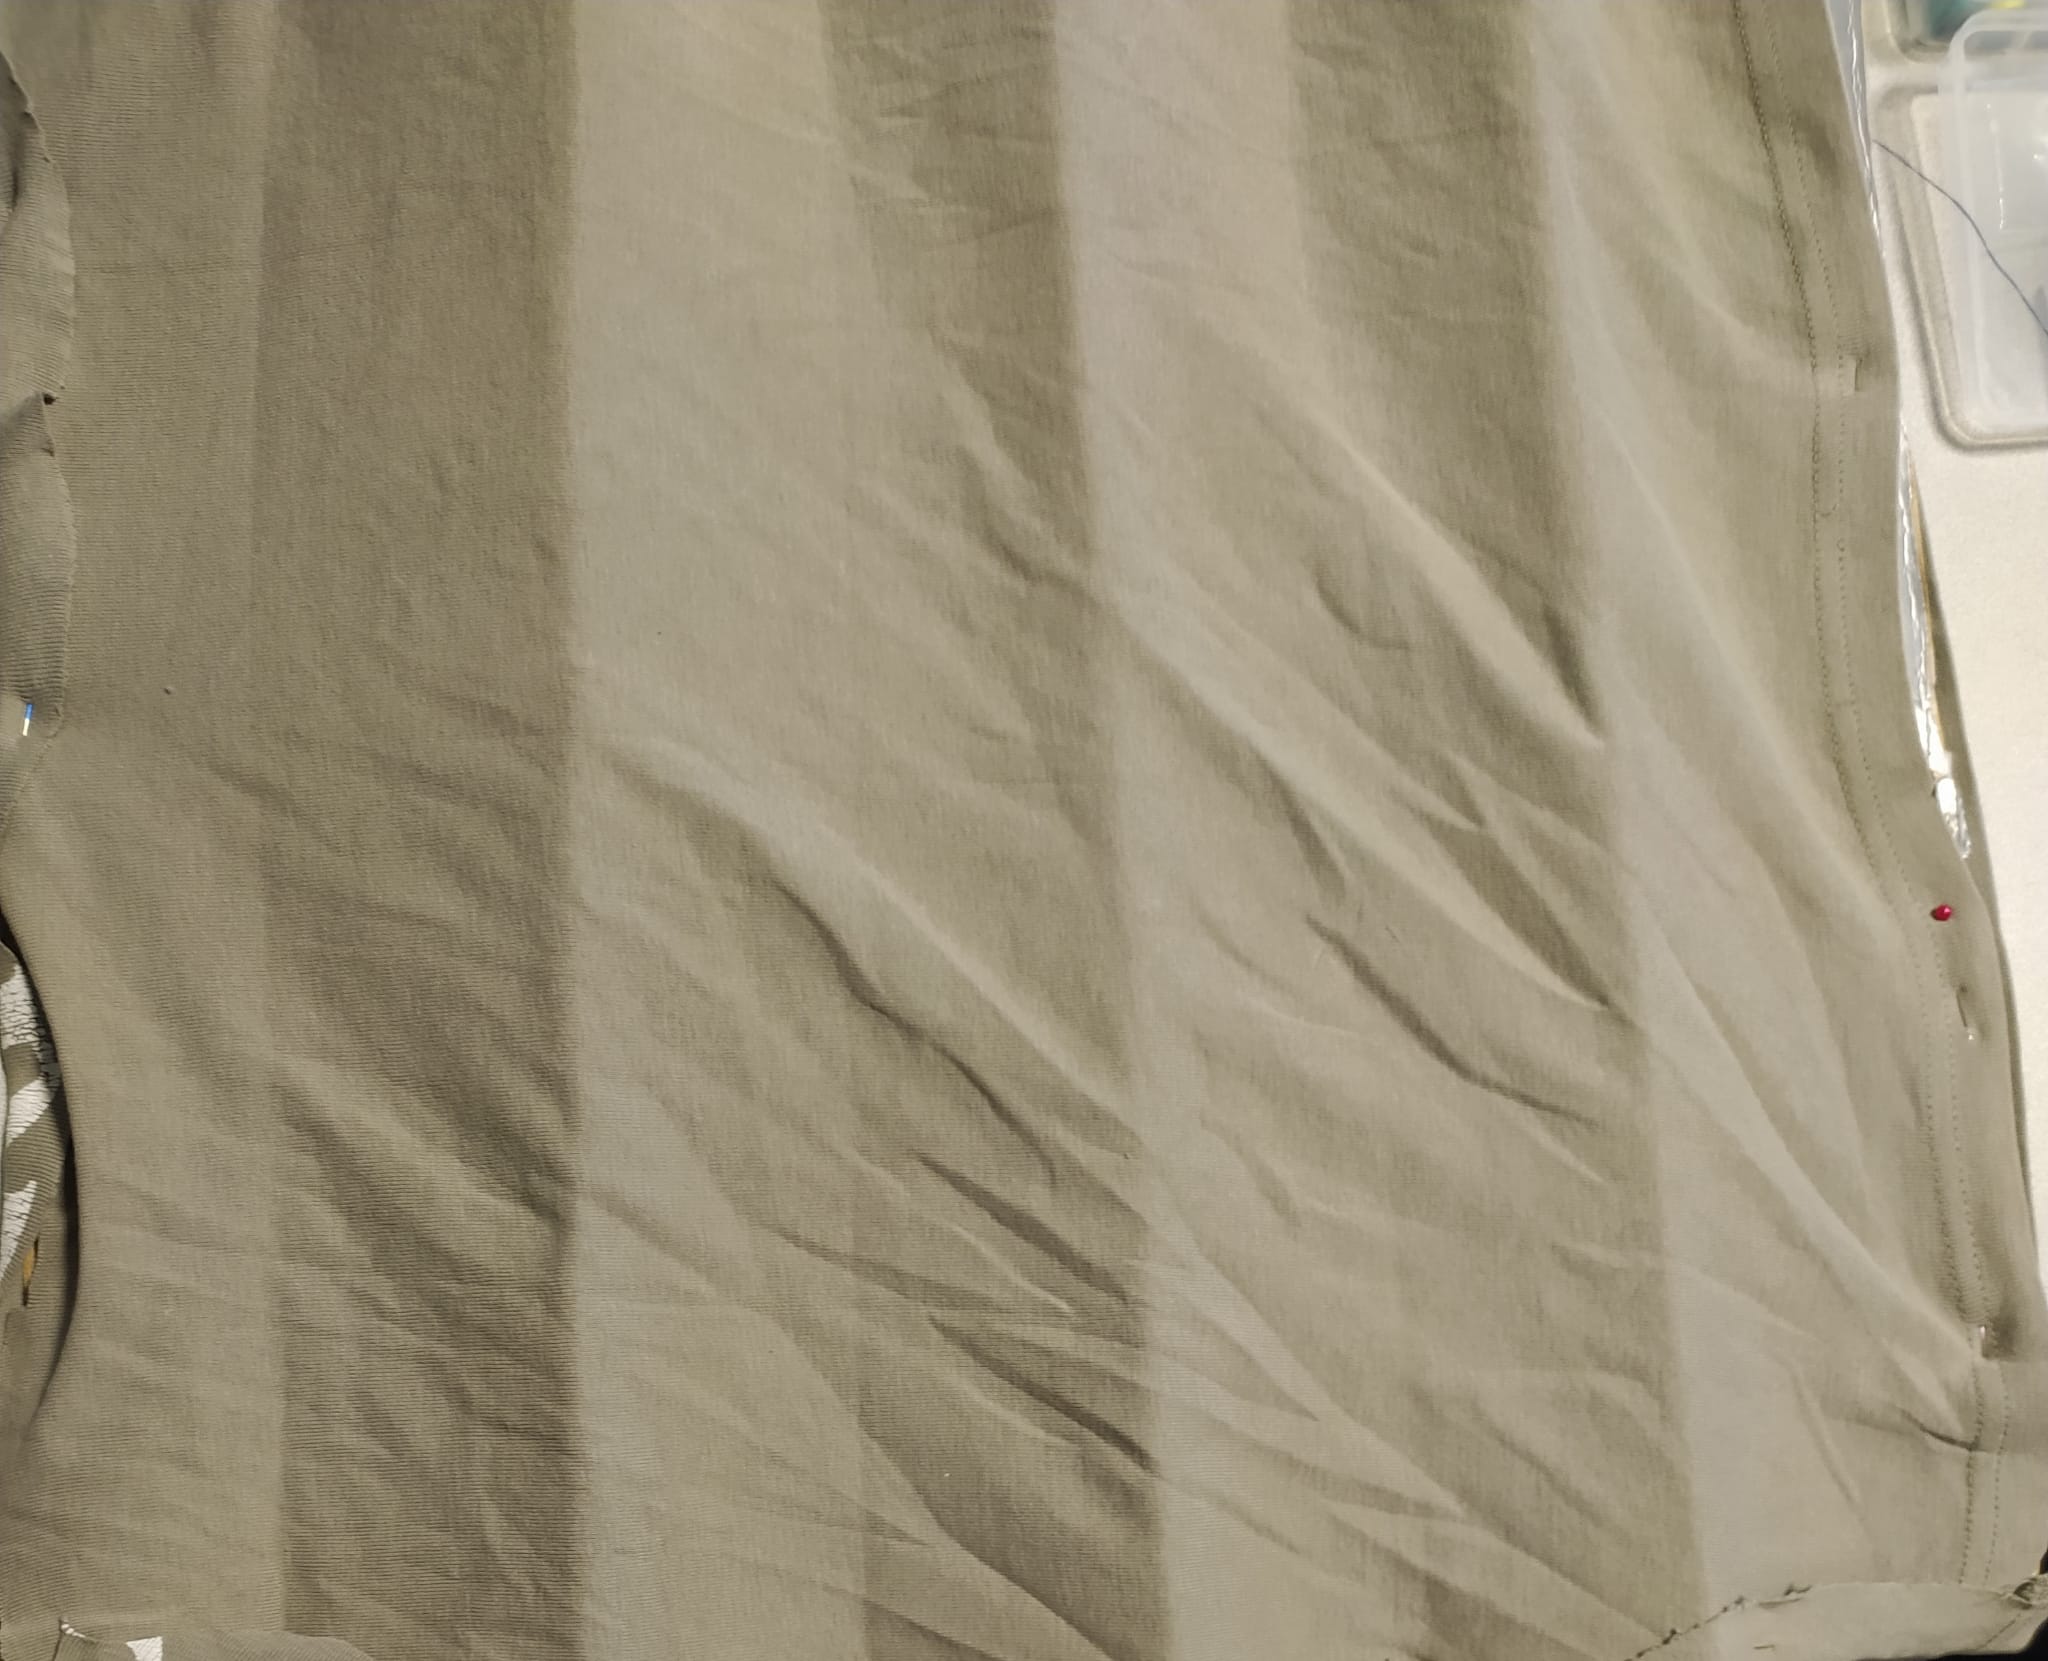
Fabric has been added for aesthetic appeal and to improve heat retention.Étape 1 - Preparation of Milk carton
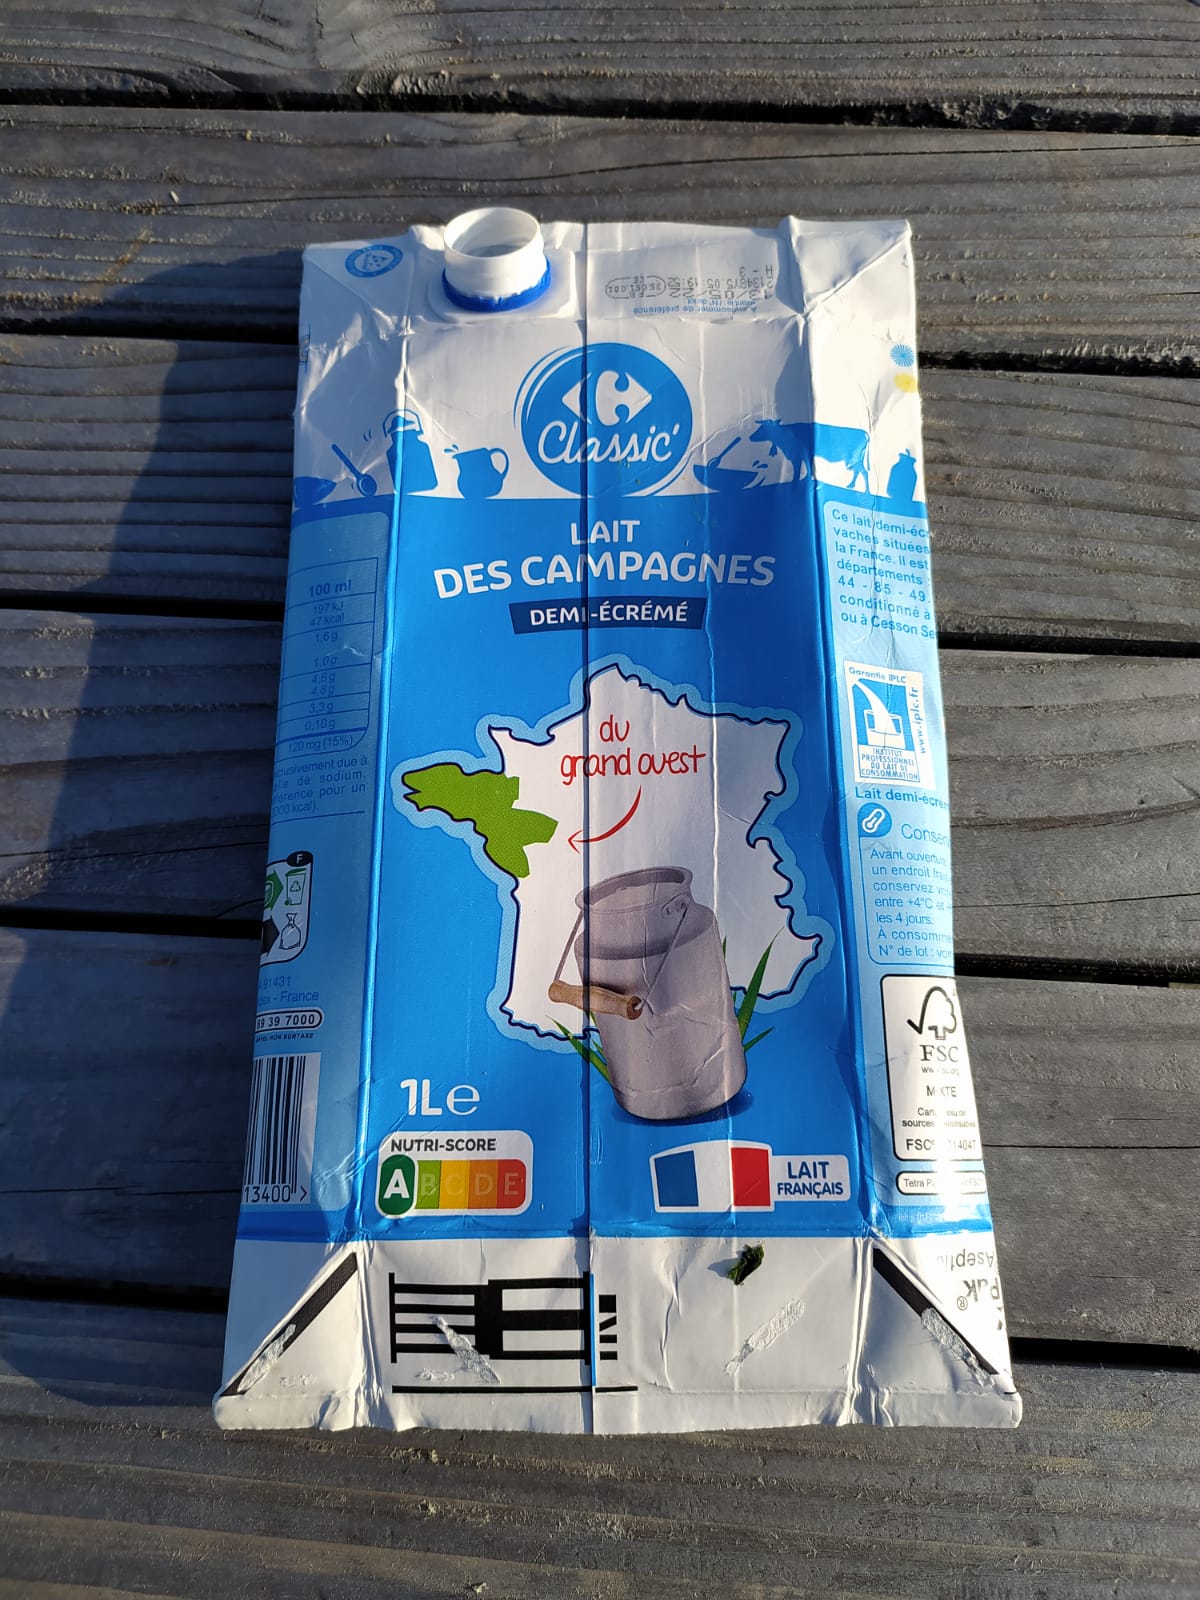
- Clean the remaining milk cartons thoroughly.
- Flatten the bricks so that there are no creases.
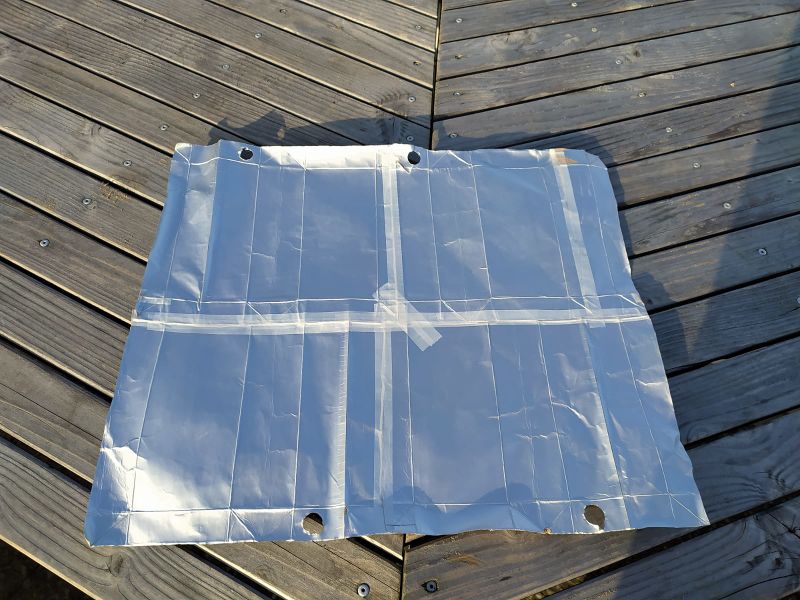
- Cut the brick as shown in the photo.
- Remove the outer layer of the brick so that a little cardboard remains (be careful not to tear the brick).
Étape 2 - Grouping together the different cartons
- Attach the different cartons (using scotch tape).
- Staple any parts that don't fit properly.
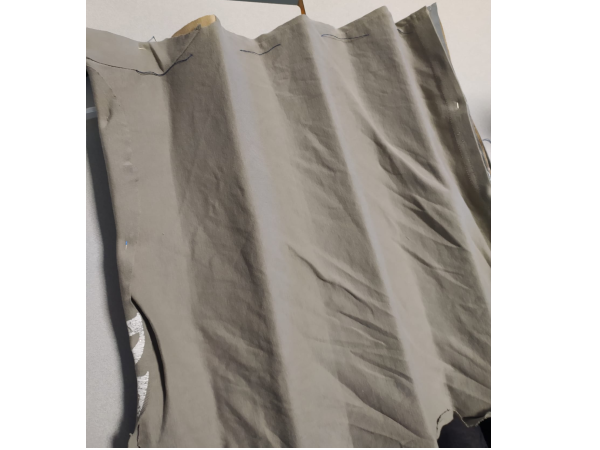
Étape 3 - Adding fabric
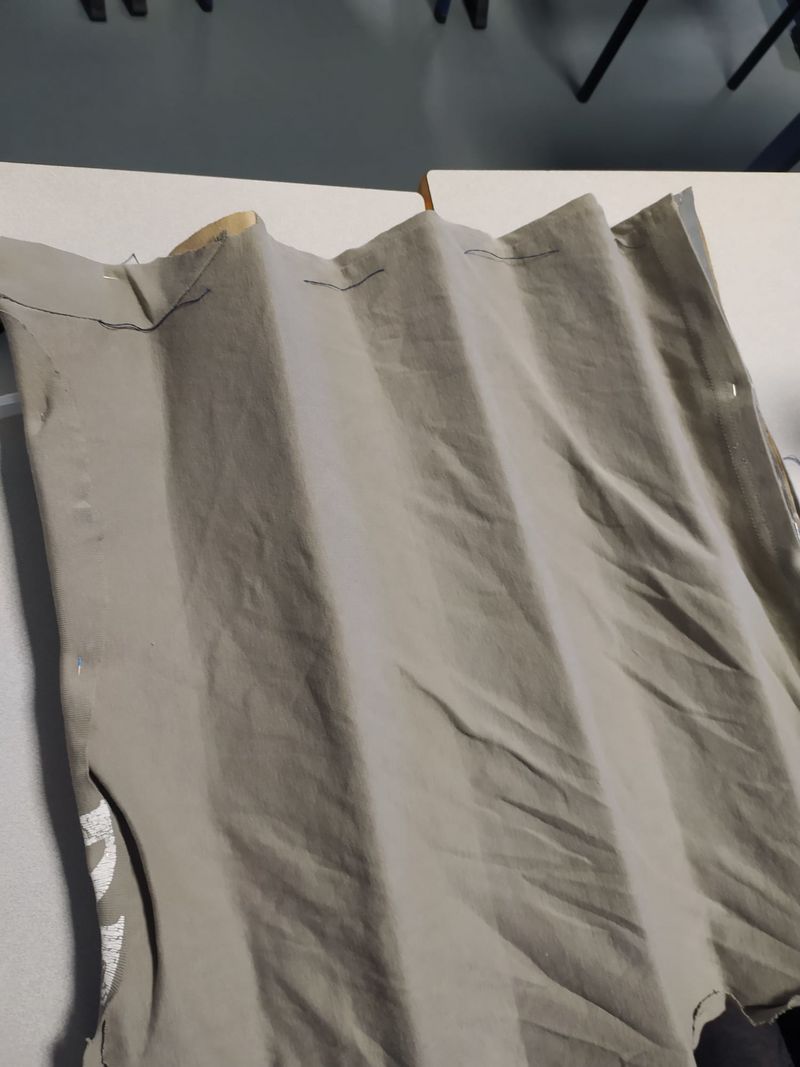
You can add clothes to be thrown away or torn fabrics.
- For aesthetics, you can add a decorative fabric to wrap the bricks and also to increase efficiency.
Étape 4 - Addition of wire for closure
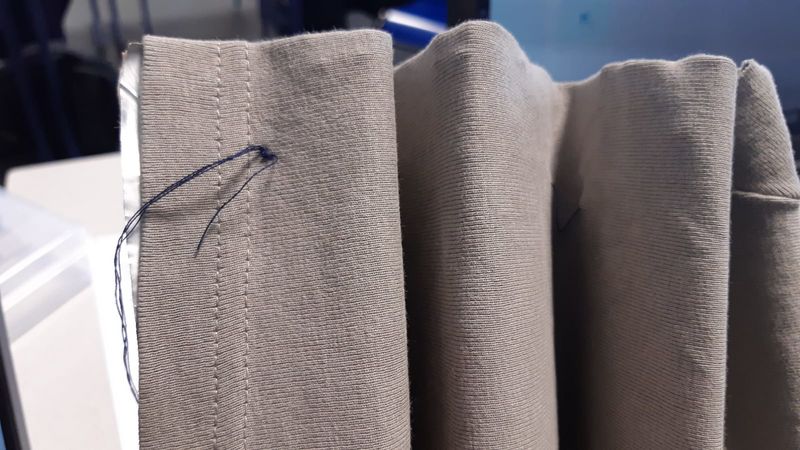
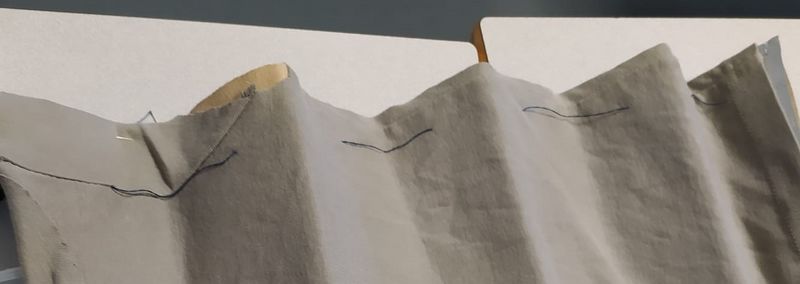
- To finish, pass a thread over the curtain to close and open it.
- Use the thread to make a knot on one side and pull on the other to close.
Draft
 Français
 English
 Deutsch
 Español
 Italiano
 Português