(Page créée avec « Sew! ») |
(Page créée avec « ''it'll be easier if we use a sewing machine''. ») |
||
| (2 révisions intermédiaires par le même utilisateur non affichées) | |||
| Ligne 70 : | Ligne 70 : | ||
}} | }} | ||
{{Tuto Step | {{Tuto Step | ||
| − | |Step_Title= | + | |Step_Title=Sewing |
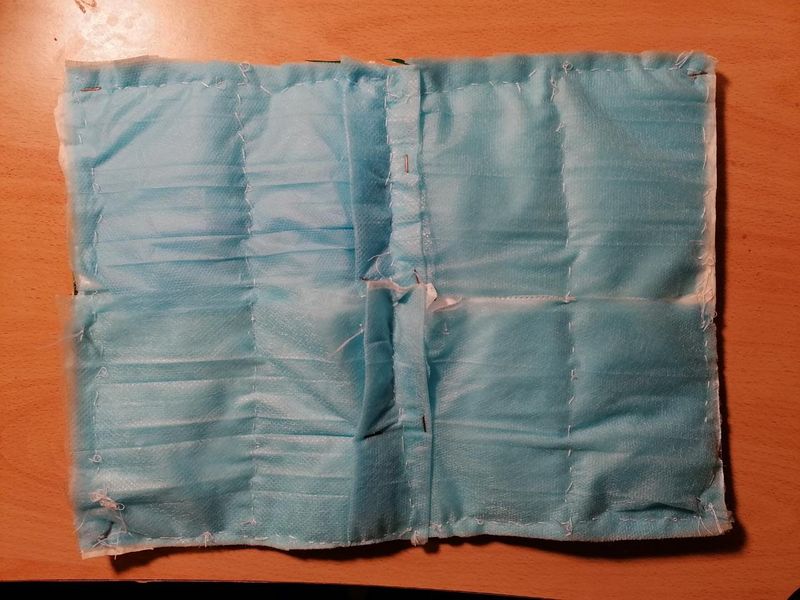
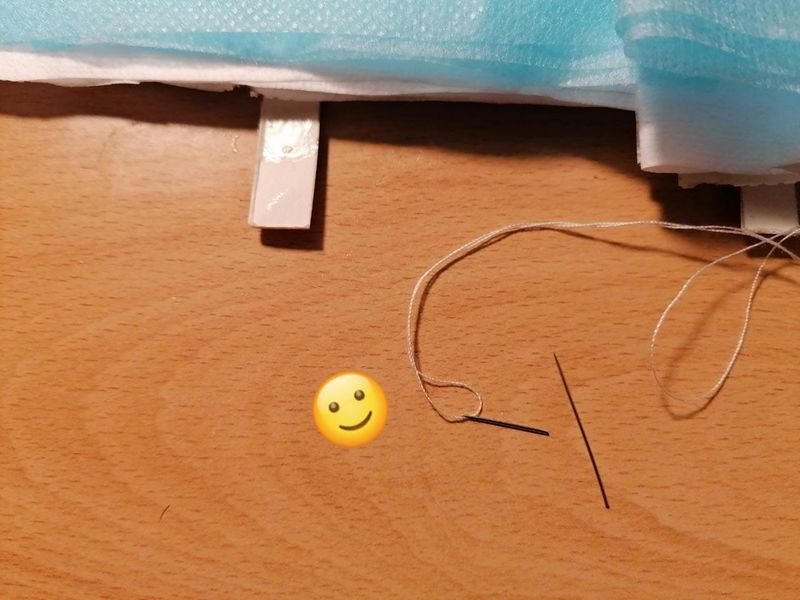
|Step_Content=Sew! | |Step_Content=Sew! | ||
| − | + | As simple as that! | |
| − | .... | + | ....Not really 🙄 |
| − | + | ''it'll be easier if we use a sewing machine''. | |
|Step_Picture_00=Rideau_thermique_coutu.jpeg | |Step_Picture_00=Rideau_thermique_coutu.jpeg | ||
}} | }} | ||
Version actuelle datée du 17 août 2024 à 14:59
Dernière modification le 17/08/2024
Difficulté
Moyen
Durée
7 heure(s)
Coût
1 EUR (€)
Description
The aim of this tutorial is to show the steps involved in producing a prototype thermal curtain.
Introduction
Insulating curtains are essential accessories for the home, for nomads in a van, converted lorry or camper van.
They protect your home on wheels from the cold in winter and the heat in summer.
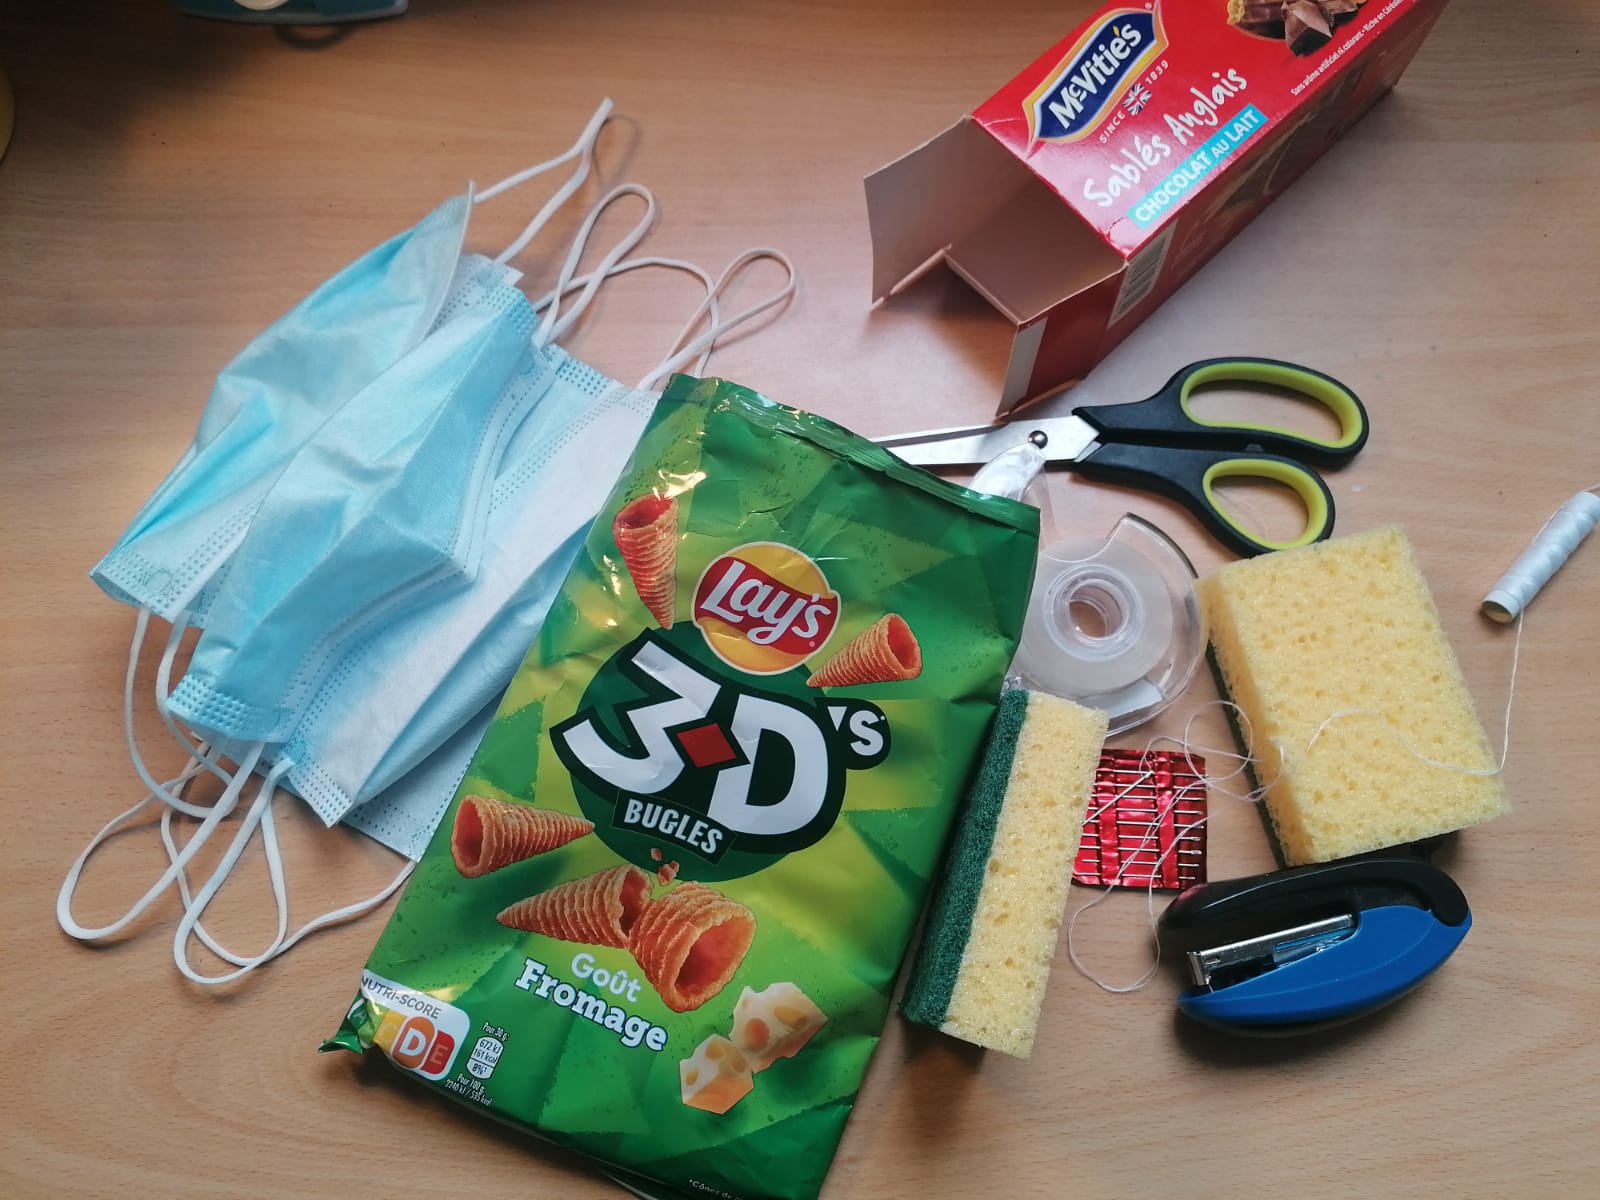
Matériaux
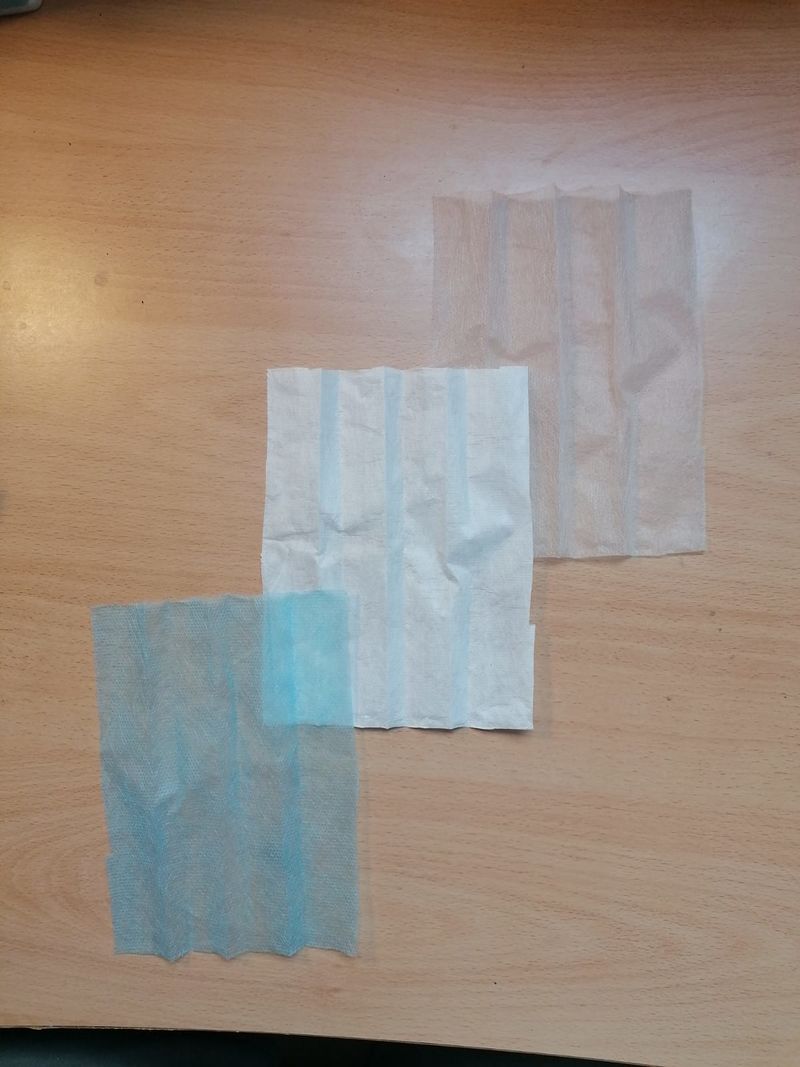
- Blue part of the mask :
- Waterproof
- Inter-layer part of the mask (white part) :
- Contains polypropylene (High durability - excellent insulation - recyclable ...)
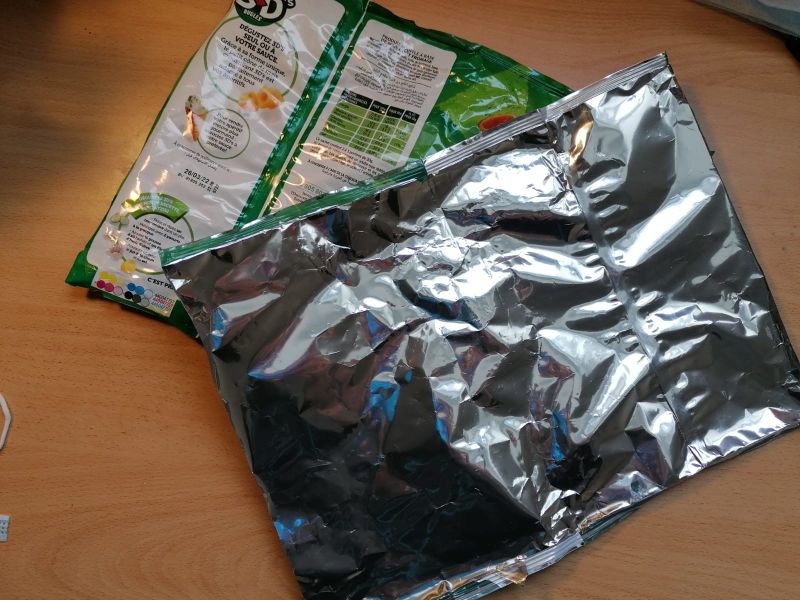
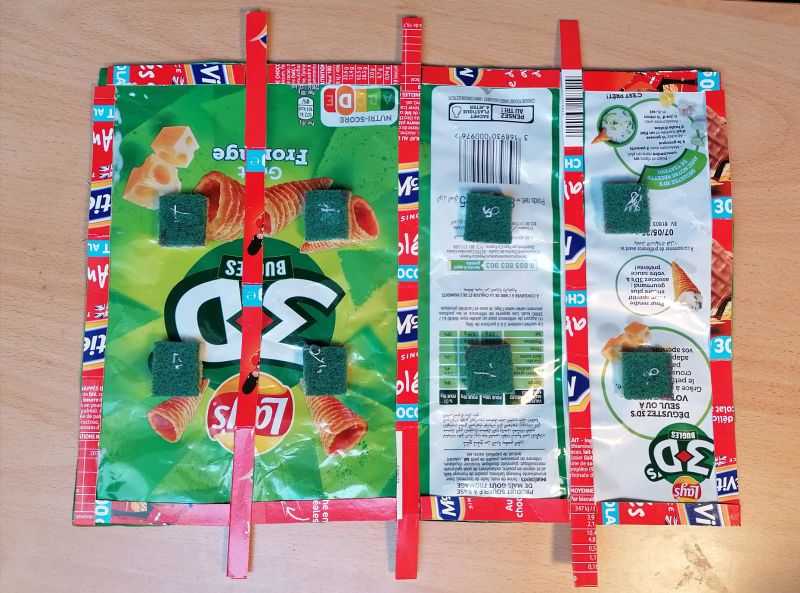
- Empty packet of crisps (contains aluminium):
- Heat-reflecting layer
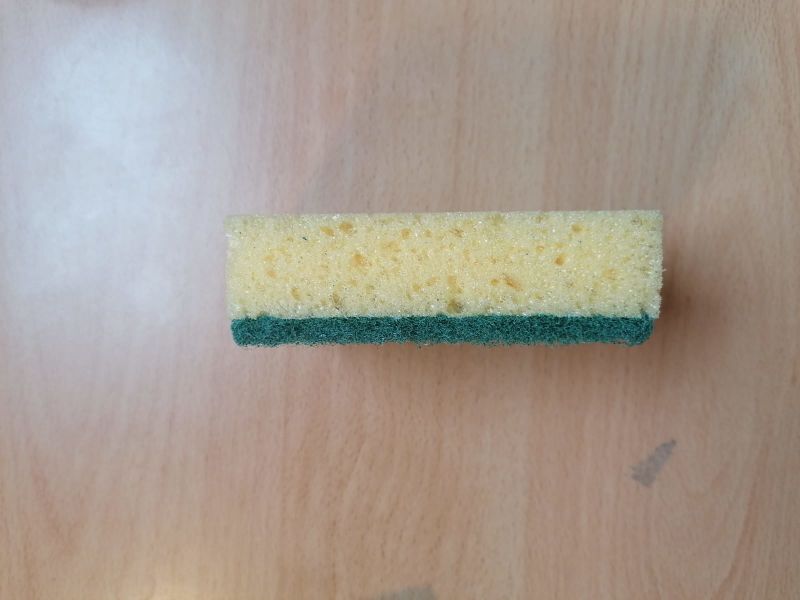
- Sponge:
- To separate showers from aluminium, to create a gap between two layers of aluminium to increase thermal insulation (R-value).
- Cartoon:
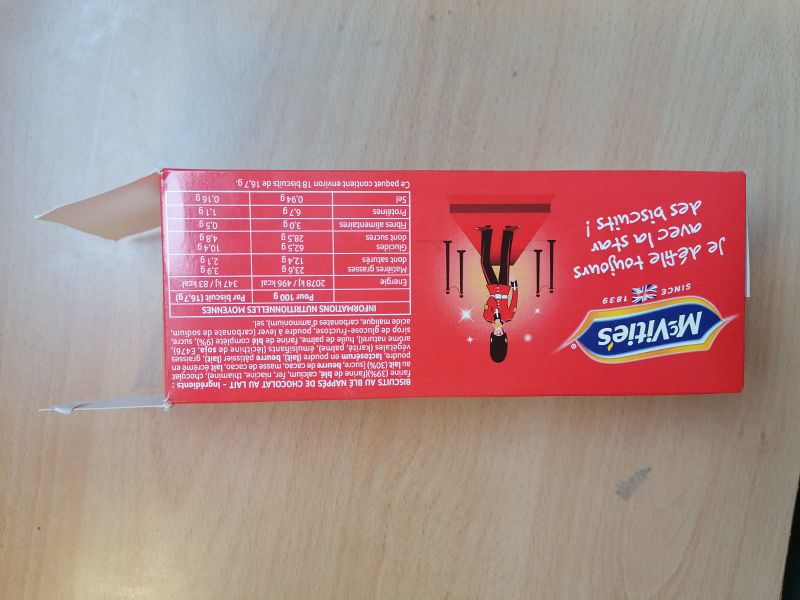
- More specifically, in the areas where the stitching runs, so that the two layers of aluminium don't stick together, thus avoiding heat transmission.
Outils
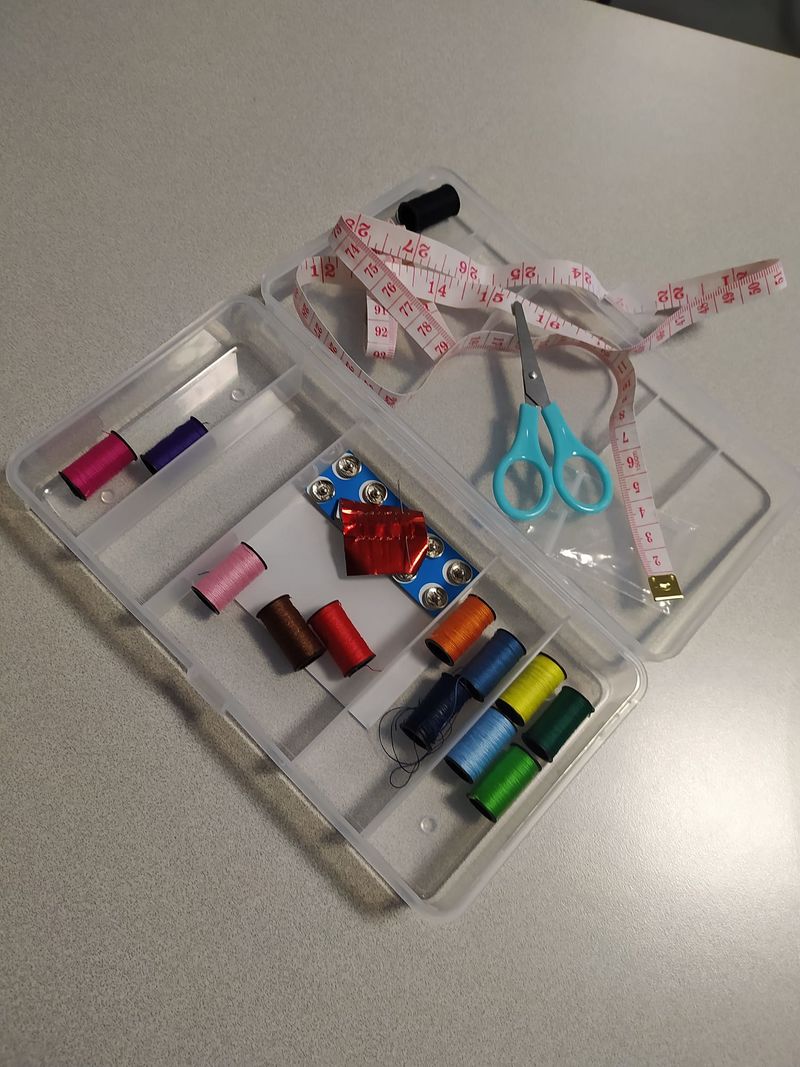
Scissors, needle thread (many), stapler
Étape 2 - material assembly
from outside to inside:
- Overlay 4 layers of the blue part of the mask.
- Overlay 4 layers of the part in the middle of the mask (white-poplypropylene part).
- Add a layer of the extended chip package (reflective layer).
- Glue the rough part of the sponge previously cut into pieces.
- Glue pieces of card on the lines where the seam will be made.
- Mettre l'autre couche de l'aluminium (pour réfléchir la chaleur qui est à l'intérieur).
- Superposer 2 couches du tissu de polypropylène.
Draft
 Français
 English
 Deutsch
 Español
 Italiano
 Português