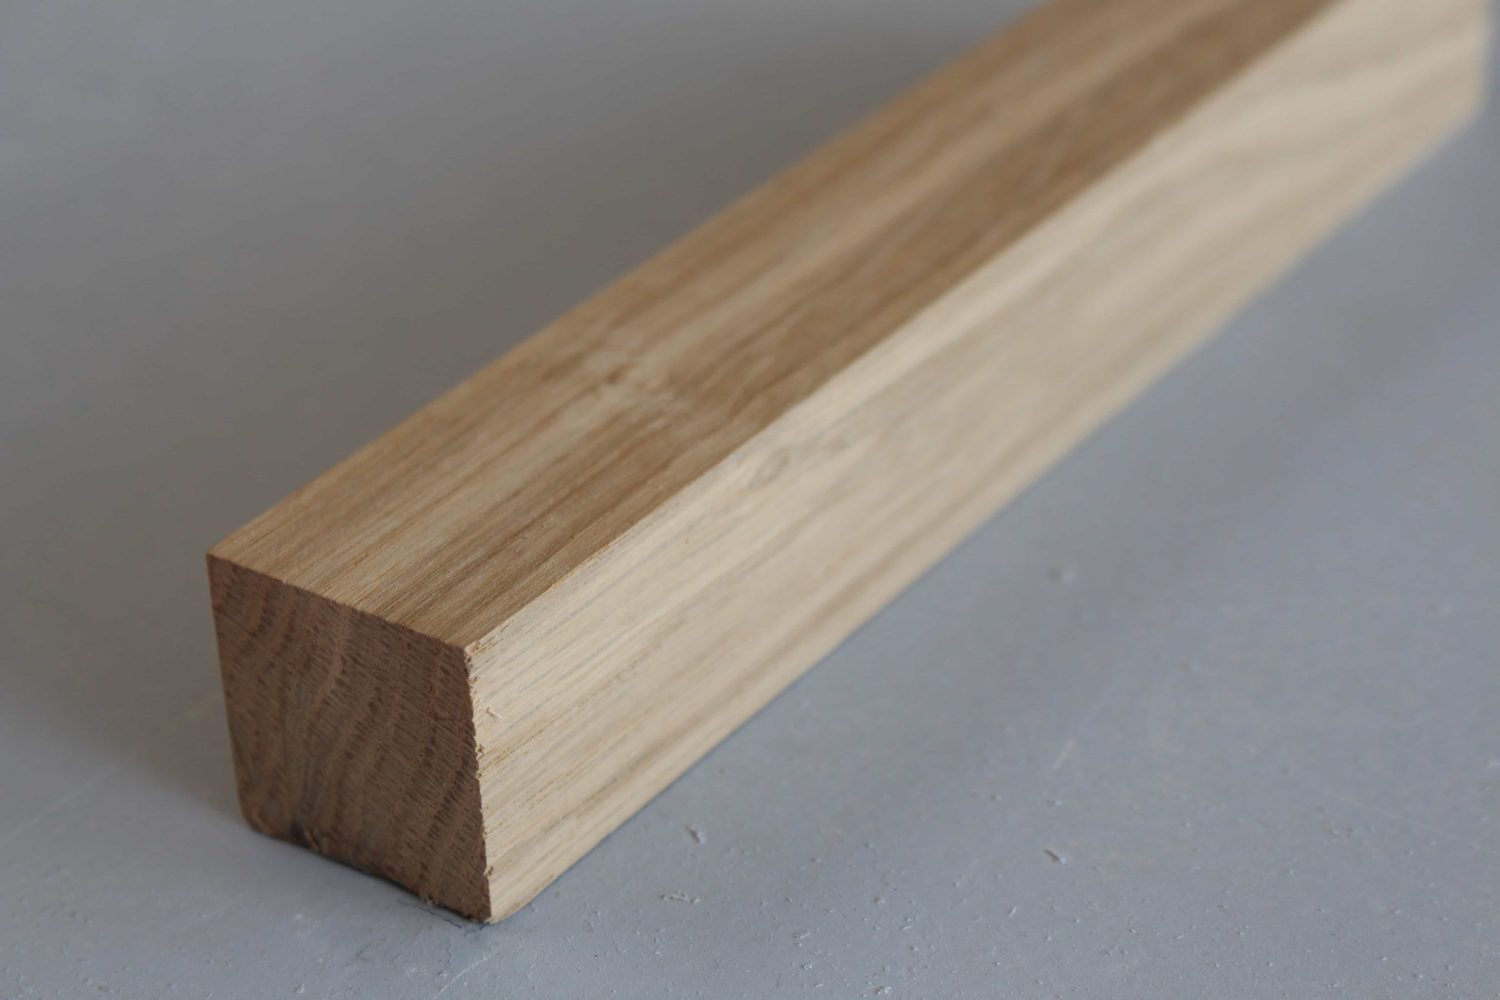
(Page créée avec « Rectangular piece of wood ») |
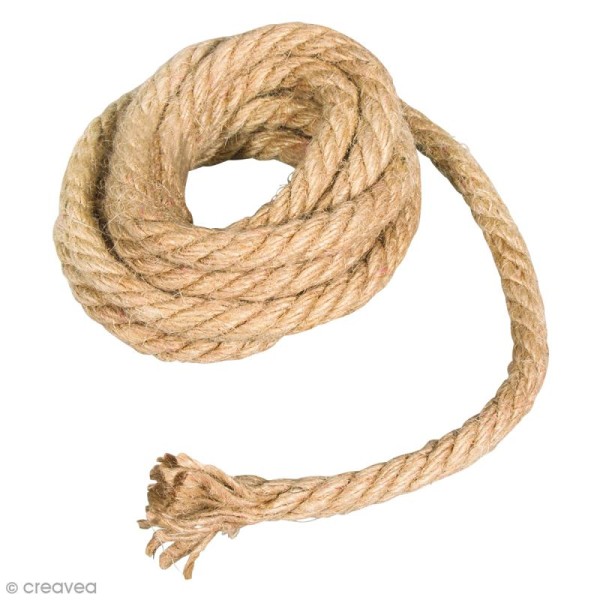
(Page créée avec « You can roll it on itself and hold it in place with a rope. ») |
||
| (18 révisions intermédiaires par le même utilisateur non affichées) | |||
| Ligne 25 : | Ligne 25 : | ||
|Step_Picture_04=Matelas_LowTech_grosse-corde-en-jute-naturel-9-mm-x-2-m-p.jpg | |Step_Picture_04=Matelas_LowTech_grosse-corde-en-jute-naturel-9-mm-x-2-m-p.jpg | ||
|Step_Picture_05=Matelas_LowTech_Tasseaux34-x-34-2.jpg | |Step_Picture_05=Matelas_LowTech_Tasseaux34-x-34-2.jpg | ||
| − | |Material= | + | |Material=Tarpaulin : Farmer |
Bubble wrap : Removal company | Bubble wrap : Removal company | ||
| Ligne 37 : | Ligne 37 : | ||
}} | }} | ||
{{Tuto Step | {{Tuto Step | ||
| − | |Step_Title= | + | |Step_Title=Fitting bubble wrap in the tarpaulin |
| − | |Step_Content= | + | |Step_Content=Stretching the tarpaulin over a table |
| − | + | Place several layers of bubble wrap* to form a compact rectangle. | |
| − | + | Bubble wrap can be replaced by different materials such as blankets, but bubble wrap is water-resistant and very light. | |
|Step_Picture_00=Matelas_LowTech_142712748_399255651377942_8565515149177324699_n.jpg | |Step_Picture_00=Matelas_LowTech_142712748_399255651377942_8565515149177324699_n.jpg | ||
}} | }} | ||
{{Tuto Step | {{Tuto Step | ||
| − | |Step_Title= | + | |Step_Title=Fold the tarpaulin in on itself |
| − | |Step_Content= | + | |Step_Content=Cover the bubble wrap with the other part of the tarpaulin so that the bubble wrap is no longer visible. |
<br /> | <br /> | ||
| Ligne 53 : | Ligne 53 : | ||
}} | }} | ||
{{Tuto Step | {{Tuto Step | ||
| − | |Step_Title= | + | |Step_Title=Fold the sides of the tarpaulin |
| − | |Step_Content= | + | |Step_Content=Fold the sides of the tarpaulin to make the welds |
|Step_Picture_00=Matelas_LowTech_143097626_347323756255433_8469546549742195900_n.jpg | |Step_Picture_00=Matelas_LowTech_143097626_347323756255433_8469546549742195900_n.jpg | ||
}} | }} | ||
{{Tuto Step | {{Tuto Step | ||
| − | |Step_Title= | + | |Step_Title=Making the welds |
| − | |Step_Content=- | + | |Step_Content=- Place the fold of the tarpaulin in the folded can and place the piece of wood to hold it together. |
| − | - | + | - Heat the whole can with the blowtorch for 30 seconds |
| − | + | The can must be folded like a sheet of paper | |
| − | + | Be careful not to heat the tarpaulin directly with the torch. | |
| − | - | + | - Apply pressure with the piece of wood on the can to complete the weld for about 30 seconds. |
| − | - | + | - Carefully peel off the can |
| − | - | + | - Carry out this step and the previous one as often as necessary on all the contours of the mattress. |
|Step_Picture_00=Matelas_LowTech_142423047_1141049139666238_6915400484983899730_n.jpg | |Step_Picture_00=Matelas_LowTech_142423047_1141049139666238_6915400484983899730_n.jpg | ||
|Step_Picture_01=Matelas_LowTech_142713780_702723733732434_4773087471152750021_n.jpg | |Step_Picture_01=Matelas_LowTech_142713780_702723733732434_4773087471152750021_n.jpg | ||
| Ligne 82 : | Ligne 82 : | ||
{{Tuto Step | {{Tuto Step | ||
|Step_Title=Bonus | |Step_Title=Bonus | ||
| − | |Step_Content= | + | |Step_Content=You have your mattresse !!! |
| − | + | You can roll it on itself and hold it in place with a rope. | |
|Step_Picture_00=Matelas_LowTech_143603225_773555530174988_3621913337573228116_n.jpg | |Step_Picture_00=Matelas_LowTech_143603225_773555530174988_3621913337573228116_n.jpg | ||
|Step_Picture_01=Matelas_LowTech_142924347_127536945882980_7208122561586895183_n.jpg | |Step_Picture_01=Matelas_LowTech_142924347_127536945882980_7208122561586895183_n.jpg | ||
Version actuelle datée du 14 août 2024 à 11:36
Description
Creation of an insulating, compact, waterproof and comfortable mattress. The mattress can be made from recycled materials. Creation of an insulating, compact, waterproof and comfortable mattress. The mattress can be made from recycled materials
Introduction
Étape 1 - Fitting bubble wrap in the tarpaulin
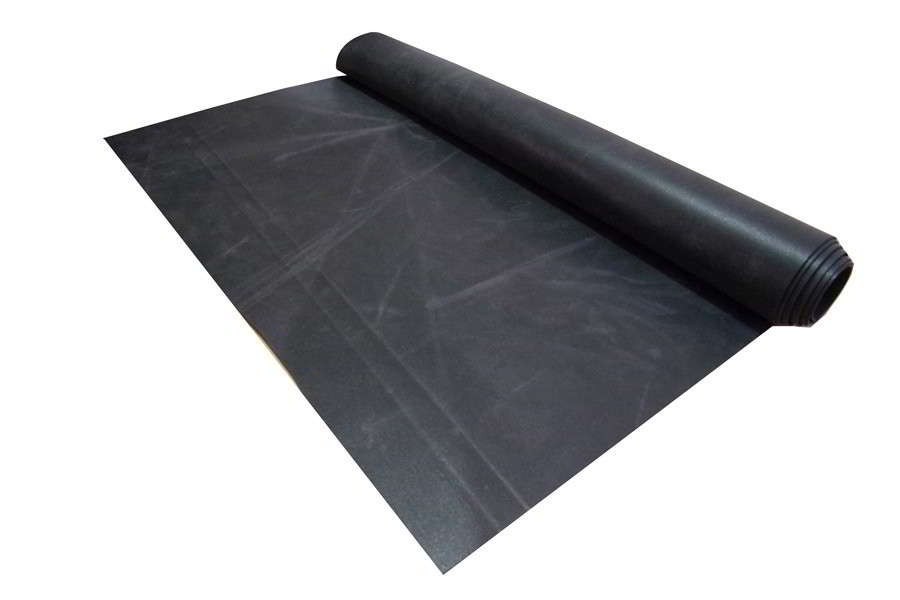
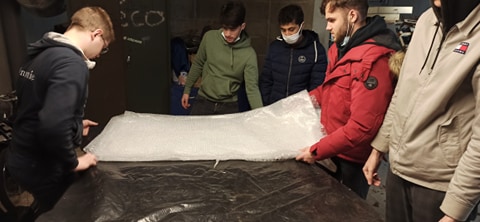
Stretching the tarpaulin over a table
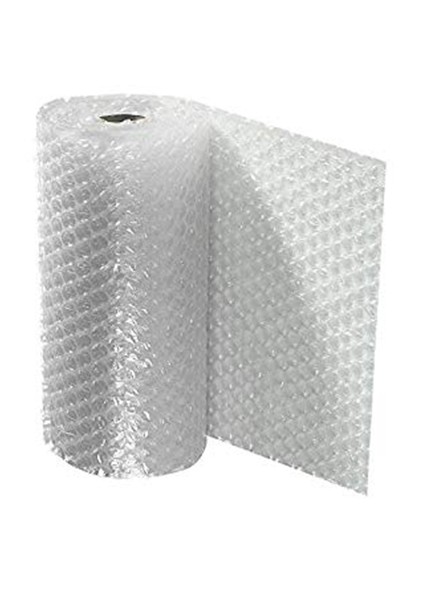
Place several layers of bubble wrap* to form a compact rectangle.
Bubble wrap can be replaced by different materials such as blankets, but bubble wrap is water-resistant and very light.
Étape 2 - Fold the tarpaulin in on itself
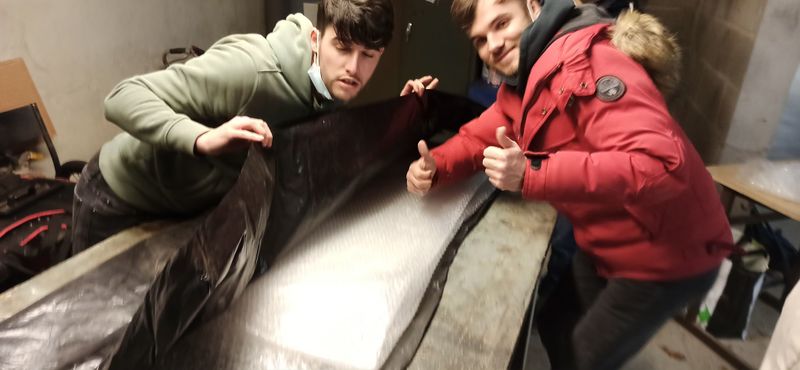
Cover the bubble wrap with the other part of the tarpaulin so that the bubble wrap is no longer visible.
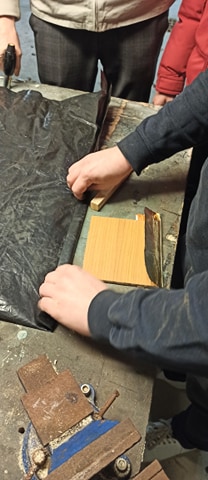
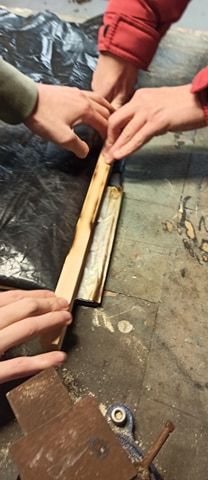
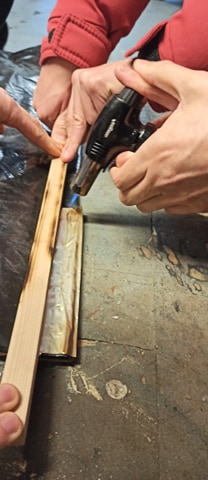
Étape 4 - Making the welds
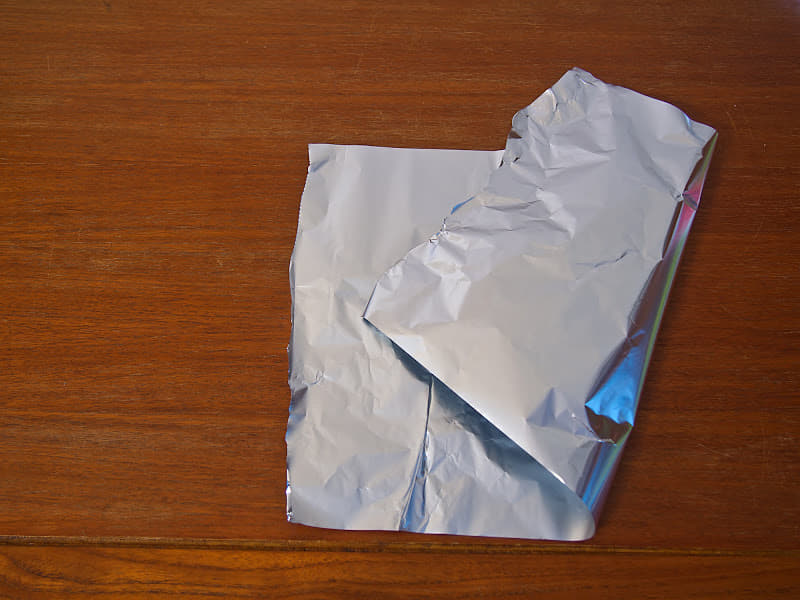
- Place the fold of the tarpaulin in the folded can and place the piece of wood to hold it together.
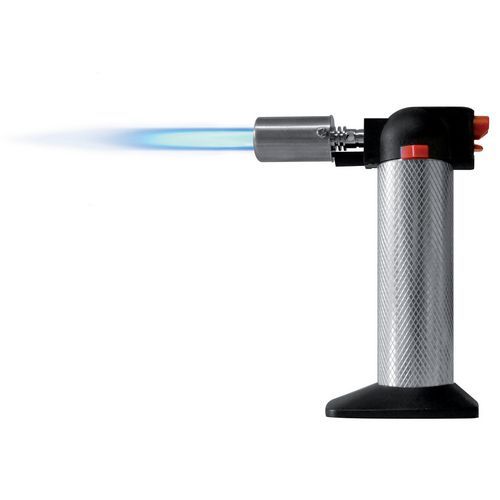
- Heat the whole can with the blowtorch for 30 seconds
The can must be folded like a sheet of paper
Be careful not to heat the tarpaulin directly with the torch.
- Apply pressure with the piece of wood on the can to complete the weld for about 30 seconds.
- Carefully peel off the can
- Carry out this step and the previous one as often as necessary on all the contours of the mattress.
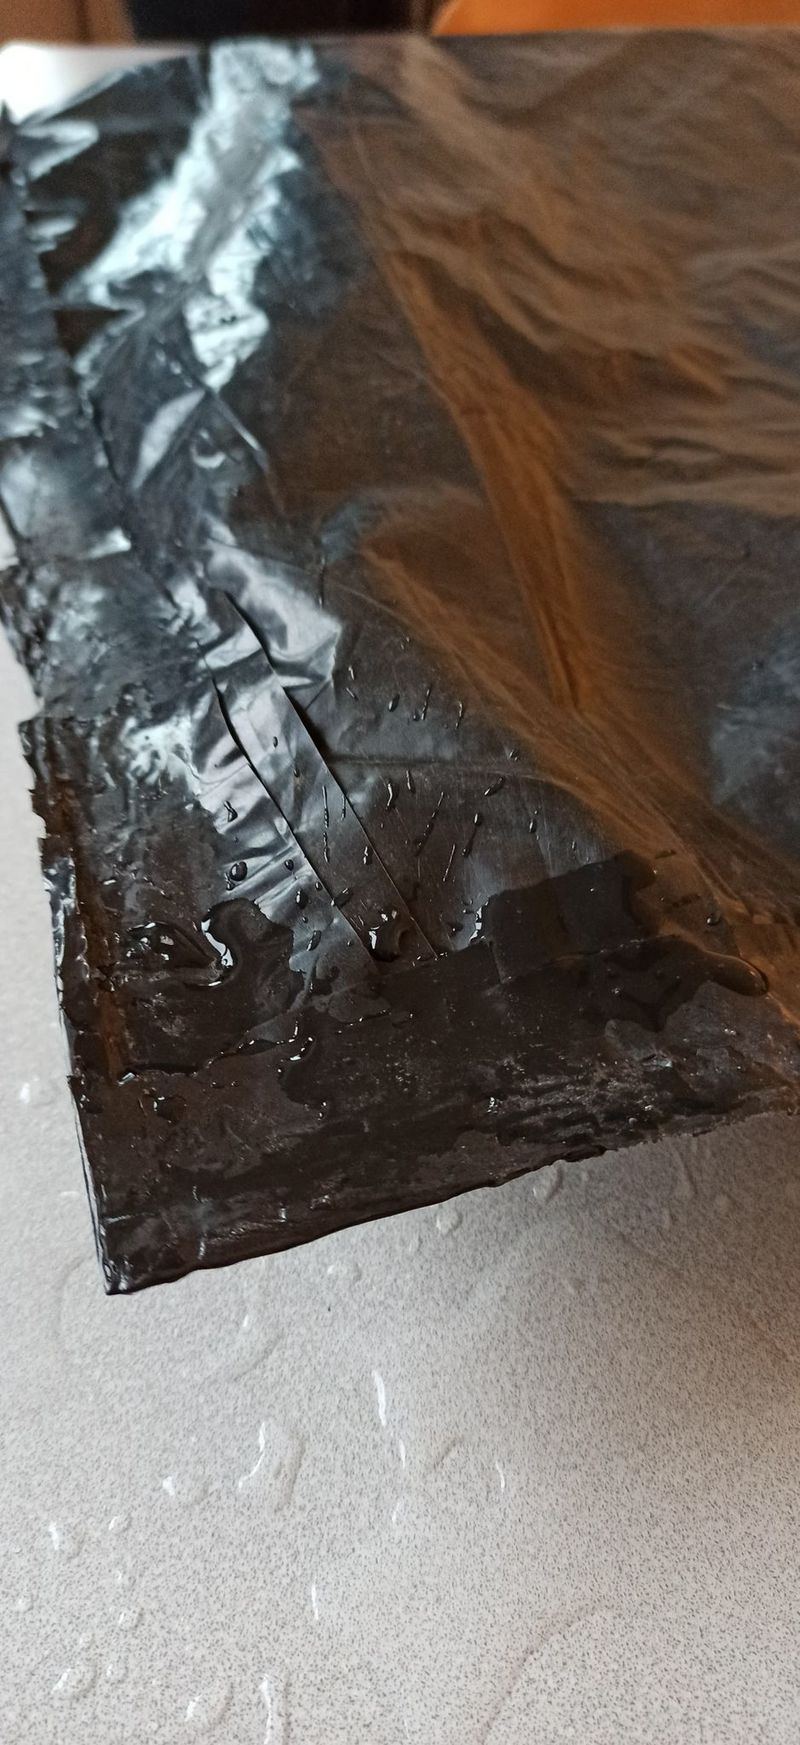
Étape 5 - Bonus
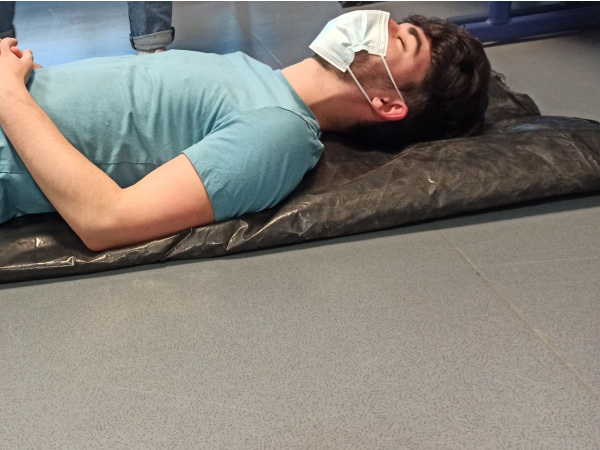
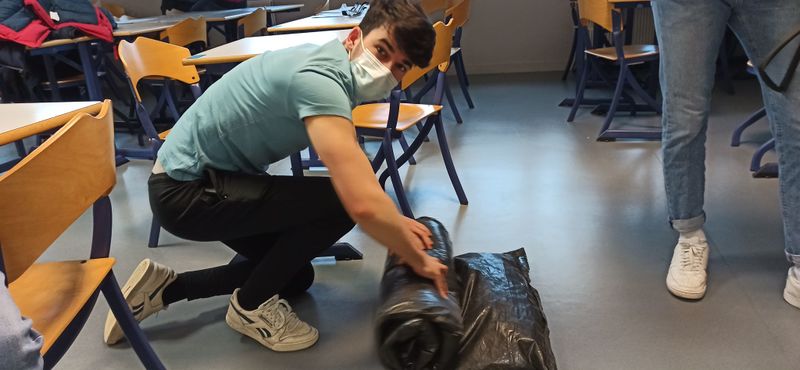
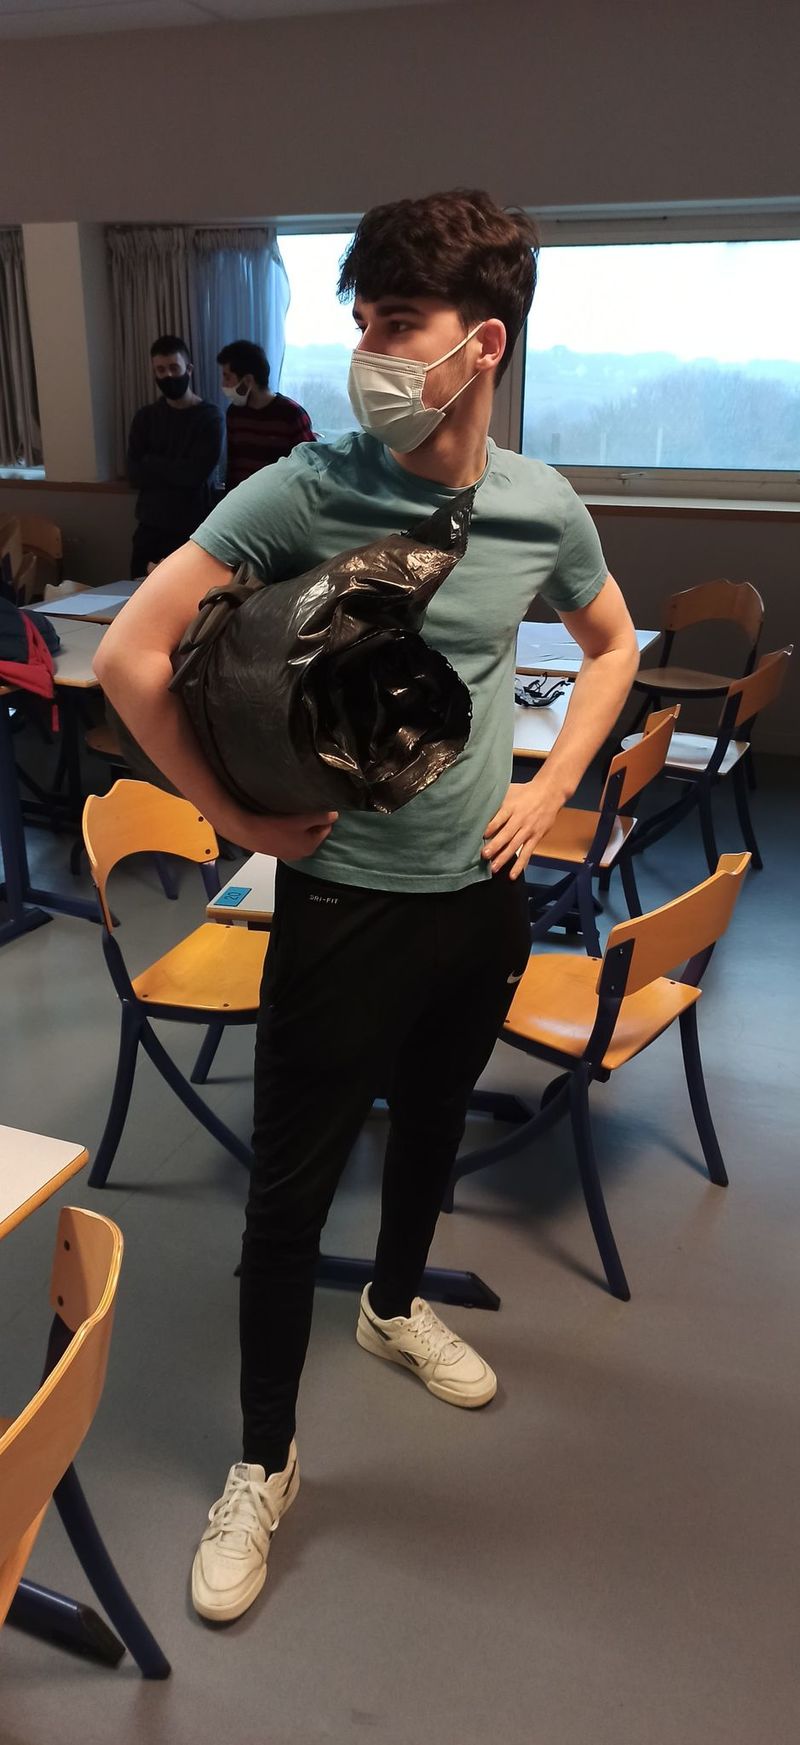
You have your mattresse !!!
You can roll it on itself and hold it in place with a rope.
Notes et références
Draft

 Français
 English
 Deutsch
 Español
 Italiano
 Português