(Page créée avec « Removing the Seat, Disconnecting the Brakes, Removing the Handlebars ») |
(Page créée avec « This tutorial aims to guide the creation of an adapted bike for autistic children, offering a safe and enjoyable experience when out and about. Each step must be carried o... ») |
||
| (16 révisions intermédiaires par le même utilisateur non affichées) | |||
| Ligne 110 : | Ligne 110 : | ||
{{Tuto Step | {{Tuto Step | ||
|Step_Title=Removing the Seat, Disconnecting the Brakes, Removing the Handlebars | |Step_Title=Removing the Seat, Disconnecting the Brakes, Removing the Handlebars | ||
| − | |Step_Content=* | + | |Step_Content=*For this stage, it's essential to have the right tools and to be patient. |
|Step_Picture_00=V_lo_pour_enfants_autiste_decoupe_velo.jpeg | |Step_Picture_00=V_lo_pour_enfants_autiste_decoupe_velo.jpeg | ||
}} | }} | ||
{{Tuto Step | {{Tuto Step | ||
| − | |Step_Title= | + | |Step_Title=Removing the freewheel |
| − | |Step_Content=* | + | |Step_Content=*Disassembly of the wheel followed by the cutting of the spokes in order to extract the freewheel from the rear wheel of the bike used, due to a compatibility problem. |
|Step_Picture_00=V_lo_pour_enfants_autiste_WhatsApp_Image_2024-02-06_at_15.48.42.jpeg | |Step_Picture_00=V_lo_pour_enfants_autiste_WhatsApp_Image_2024-02-06_at_15.48.42.jpeg | ||
}} | }} | ||
{{Tuto Step | {{Tuto Step | ||
| − | |Step_Title= | + | |Step_Title=Cutting off one of the rear legs |
| − | |Step_Content=* | + | |Step_Content=*One of the bike's rear drop-outs is cut out to allow freewheel operation and propulsion on one of the rear wheels, without using the second wheel and leaving it freewheeling. |
|Step_Picture_00=arriere.jpeg | |Step_Picture_00=arriere.jpeg | ||
}} | }} | ||
{{Tuto Step | {{Tuto Step | ||
| − | |Step_Title= | + | |Step_Title=Creating an attachment to link the two bicycles : |
| − | |Step_Content=* | + | |Step_Content=*The clamp is fixed to the seatpost of the front bike and is secured in the fork of the adapted bike. |
<br /> | <br /> | ||
| Ligne 131 : | Ligne 131 : | ||
}} | }} | ||
{{Tuto Step | {{Tuto Step | ||
| − | |Step_Title= | + | |Step_Title=Addition of the safety/comfort section |
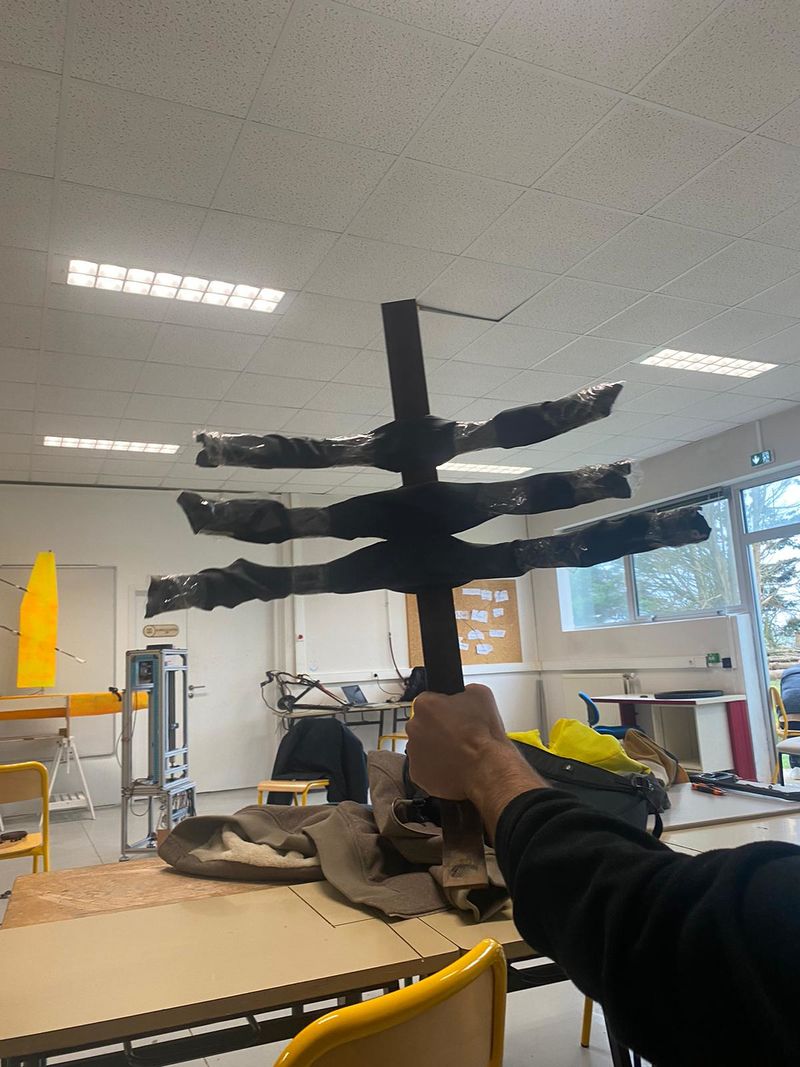
| − | |Step_Content= | + | |Step_Content=Removing the wheel: The wheel has been removed from an unused bike, taking care to keep the spokes intact for future use. |
| − | + | Cleaning and preparation: The wheel has been cleaned to remove any dirt or grease. The spokes have been inspected for strength. | |
| − | + | Cutting and fitting: Depending on the size required, the wheel was carefully cut to create a back to match the main bike frame. Adjustments were made to ensure smooth integration. | |
| − | + | Fixing with Scotch tape: The cut-out part of the wheel was fixed to the main bike frame using strong adhesive tape. The tape was carefully applied to ensure a secure fit. | |
| − | + | Reinforced protection: Several layers of scotch tape have been added to reinforce the protection of the back, creating a resistant barrier against impacts and scratches. | |
|Step_Picture_00=dossier.jpeg | |Step_Picture_00=dossier.jpeg | ||
}} | }} | ||
{{Tuto Step | {{Tuto Step | ||
|Step_Title=Conclusion | |Step_Title=Conclusion | ||
| − | |Step_Content= | + | |Step_Content=All you have to do is complete the welds and the bike is ready for use. |
| − | + | To sum up, this project has enabled us to tackle a number of technical issues, underlining the importance of carrying out an in-depth theoretical study of the system beforehand. | |
| − | + | It should be noted that all the materials were recovered second-hand, and the systems are easily accessible and therefore repairable. It also meets a significant demand. | |
}} | }} | ||
{{Notes | {{Notes | ||
| − | |Notes= | + | |Notes=This tutorial aims to guide the creation of an adapted bike for autistic children, offering a safe and enjoyable experience when out and about. Each step must be carried out with precision and taking into account the individual needs of the users. |
}} | }} | ||
{{PageLang | {{PageLang | ||
Version actuelle datée du 13 août 2024 à 09:25
Description
The aim of the project is to design and develop an adapted bicycle designed to provide a safe and enjoyable experience for autistic children when out and about. The adapted bike will be attached to the back of a standard bicycle. The bike is specially designed to accommodate a child with severe autism.
Sommaire
Sommaire
- 1 Description
- 2 Sommaire
- 3 Introduction
- 4 Video d'introduction
- 5 Étape 1 - Dismantling existing bikes
- 6 Étape 2 - Identification of components to be dismantled
- 7 Étape 3 - Removing the Seat, Disconnecting the Brakes, Removing the Handlebars
- 8 Étape 4 - Removing the freewheel
- 9 Étape 5 - Cutting off one of the rear legs
- 10 Étape 6 - Creating an attachment to link the two bicycles :
- 11 Étape 7 - Addition of the safety/comfort section
- 12 Étape 8 - Conclusion
- 13 Notes et références
- 14 Commentaires
Introduction
The project to create an adapted bike for autistic children embodies the combination of innovation and inclusivity, aimed at providing a safe and rewarding riding experience. Combining creative re-use of existing materials with mechanical and design solutions, this tutorial provides a detailed guide to making this unique bike. The aim is to provide an adapted means of transport that encourages autistic children to participate and flourish when out and about in the great outdoors. Follow each step carefully to create a bike that transcends boundaries, bringing comfort, safety and happiness to the children who will benefit from it.
Mp4
WhatsApp Video 2024-02-13 at 11.01.54 de10ff1e.mp4
Matériaux
1. The bicycle frame (for the child)
2. Metal bar with hook between the two bikes
3. Two wheels and an axle between them for stability and propulsion
4. Cast-iron bar with tape (backrest)
Outils
Drill + metal drill bits + wood drill bits
Screwdriver
Hammer
Wire cutters
Bicycle "crankset disassembler"
Release agent
Wood and metal grinder or saw
Keys
Soldering iron
Étape 1 - Dismantling existing bikes
1 - Preparing the tools
Make sure you have the appropriate tools to hand: spanners of various sizes, pliers, a screwdriver and any other spanners specific to your model of bike.
2 - Identification of components to be dismantled
Examine the bike and identify the components that need to be dismantled. This may include the seat, pedals, brakes, handlebars, wheels and chain.
3 - Withdrawal of the seat
Use a suitable spanner to unscrew and remove the seat from the bike. Be careful not to damage the seatpost during this process.
4 - Disconnecting the brakes
Use a spanner to unscrew the brake cables or remove the brake callipers, depending on the type of braking. Be sure to identify each cable to make reassembly easier later.
5 - Removing the handlebars
Unscrew the handlebar pivot bolt using an appropriate spanner. Note the position of the handlebars for correct reassembly.
6 - Removing the wheels
Use a spanner to unscrew the wheel axle nuts. Remove the wheels from the frame, making sure you understand the fastening system used.
7 - Removing the chain
Use pliers to remove the chain from the crankset. This may involve using a quick link or removing the rear derailleur.
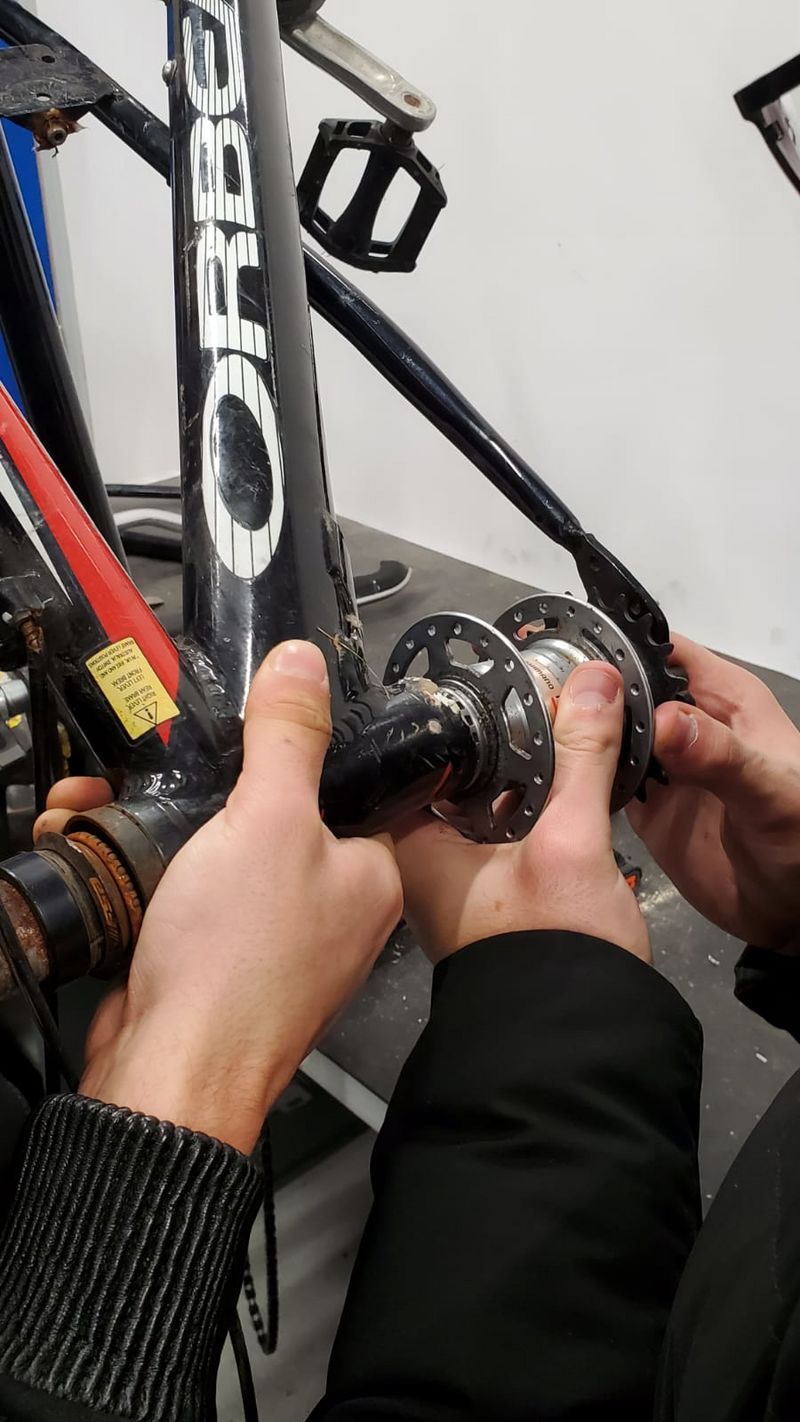
8 - Removing the freewheel
Allow plenty of time for this part, as it involves completely dismantling a wheel (cutting out the spokes, etc.).
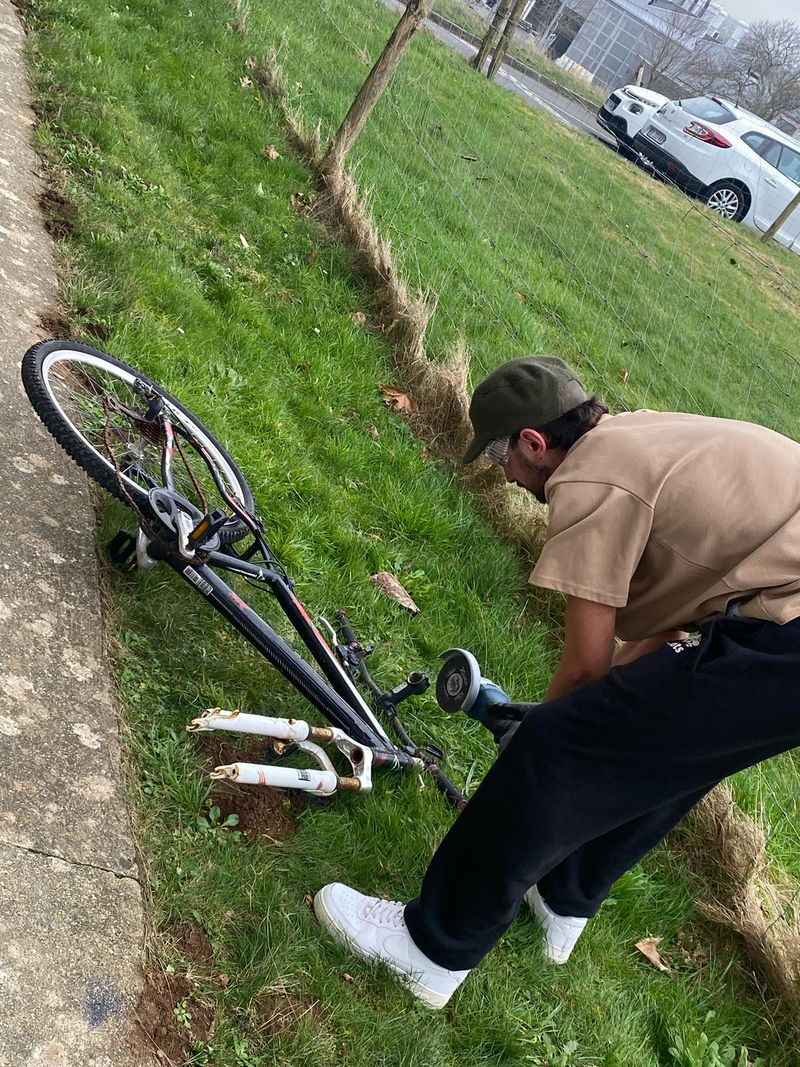
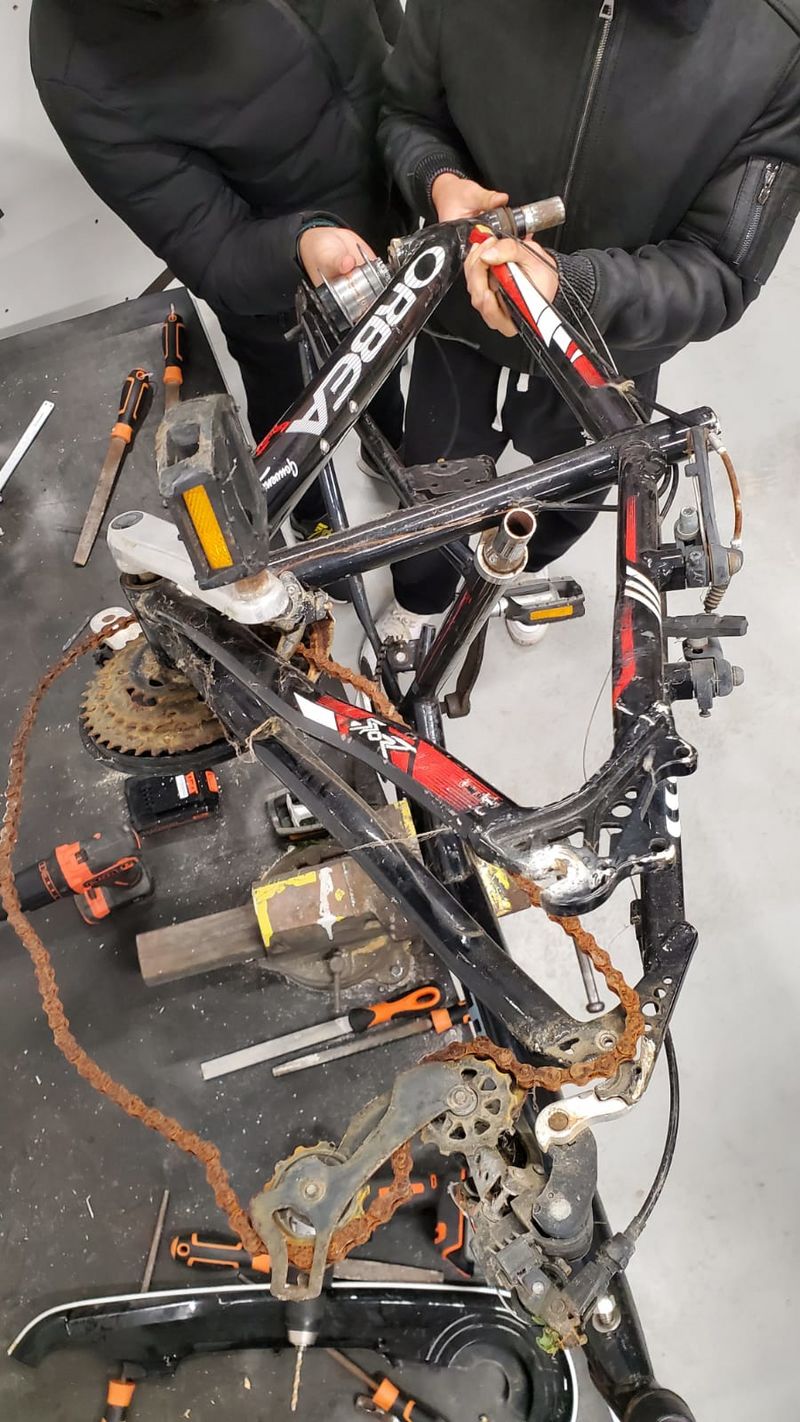
9 - Cutting off one of the rear legs
Using the appropriate saw, start cutting out the hind leg according to the marks you have made. Follow the lines as precisely as possible to ensure a clean cut.
10 - Creating an attachment to link the two bicycles
The clamp is fixed to the seatpost of the front bike and is secured in the fork of the adapted bike.
11 - Welding
The penultimate step is to weld the different parts together. To do this, you need to calculate the dimensions carefully to avoid having to redo everything.
12 - Addition of the safety/comfort section
In addition to the weld on the seatpost to attach the adapted backrest, Velcro fasteners can also be added to the pedals.
Étape 2 - Identification of components to be dismantled
- Carry out tests on several bicycles in the ENIB garage to assess the geometry of the frame with a view to optimising the connections.
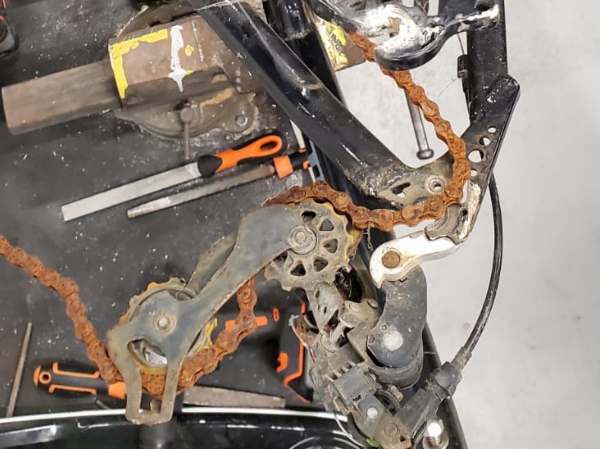
Étape 3 - Removing the Seat, Disconnecting the Brakes, Removing the Handlebars
- For this stage, it's essential to have the right tools and to be patient.
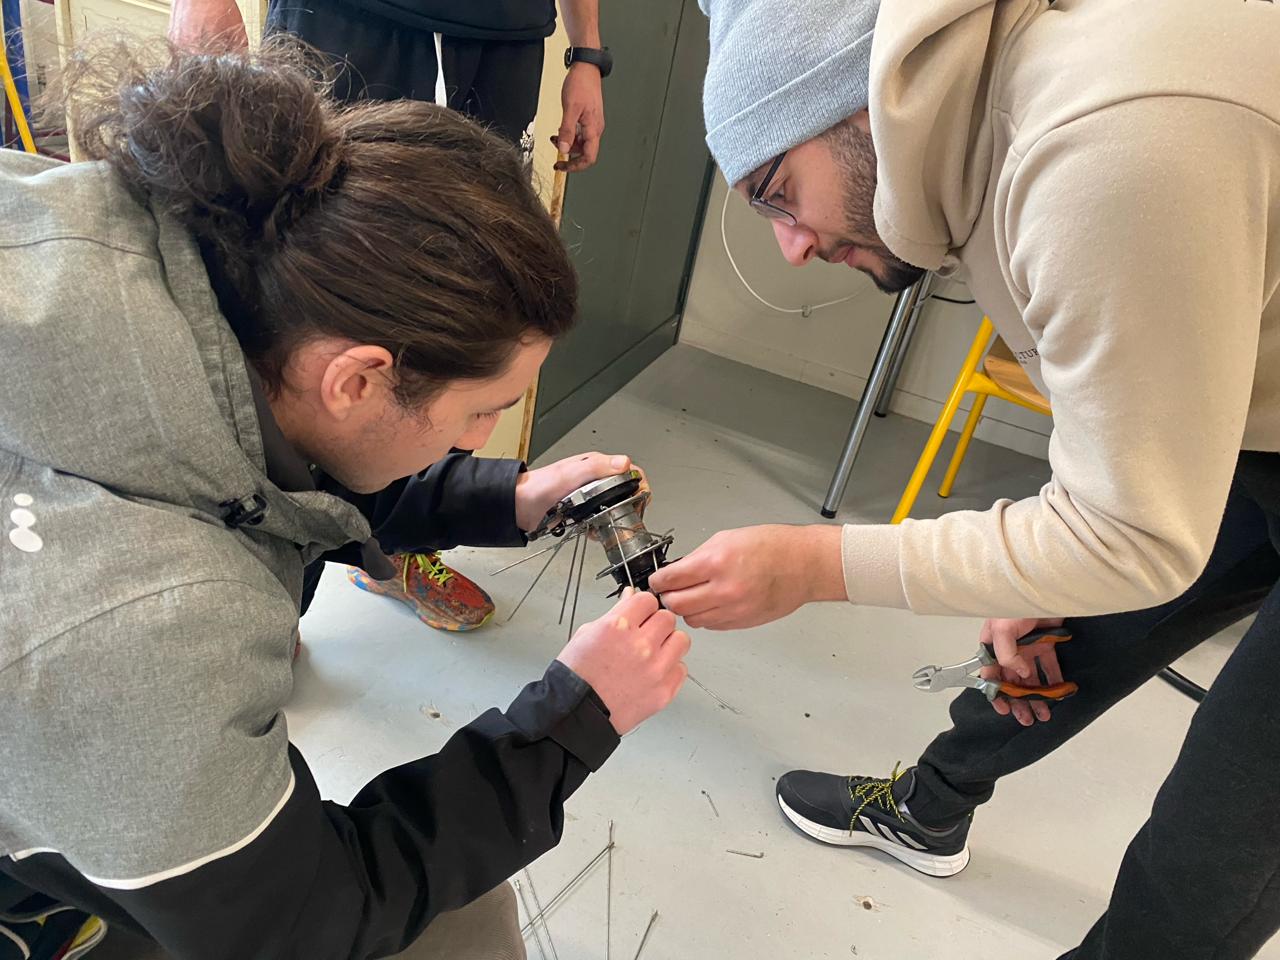
Étape 4 - Removing the freewheel
- Disassembly of the wheel followed by the cutting of the spokes in order to extract the freewheel from the rear wheel of the bike used, due to a compatibility problem.
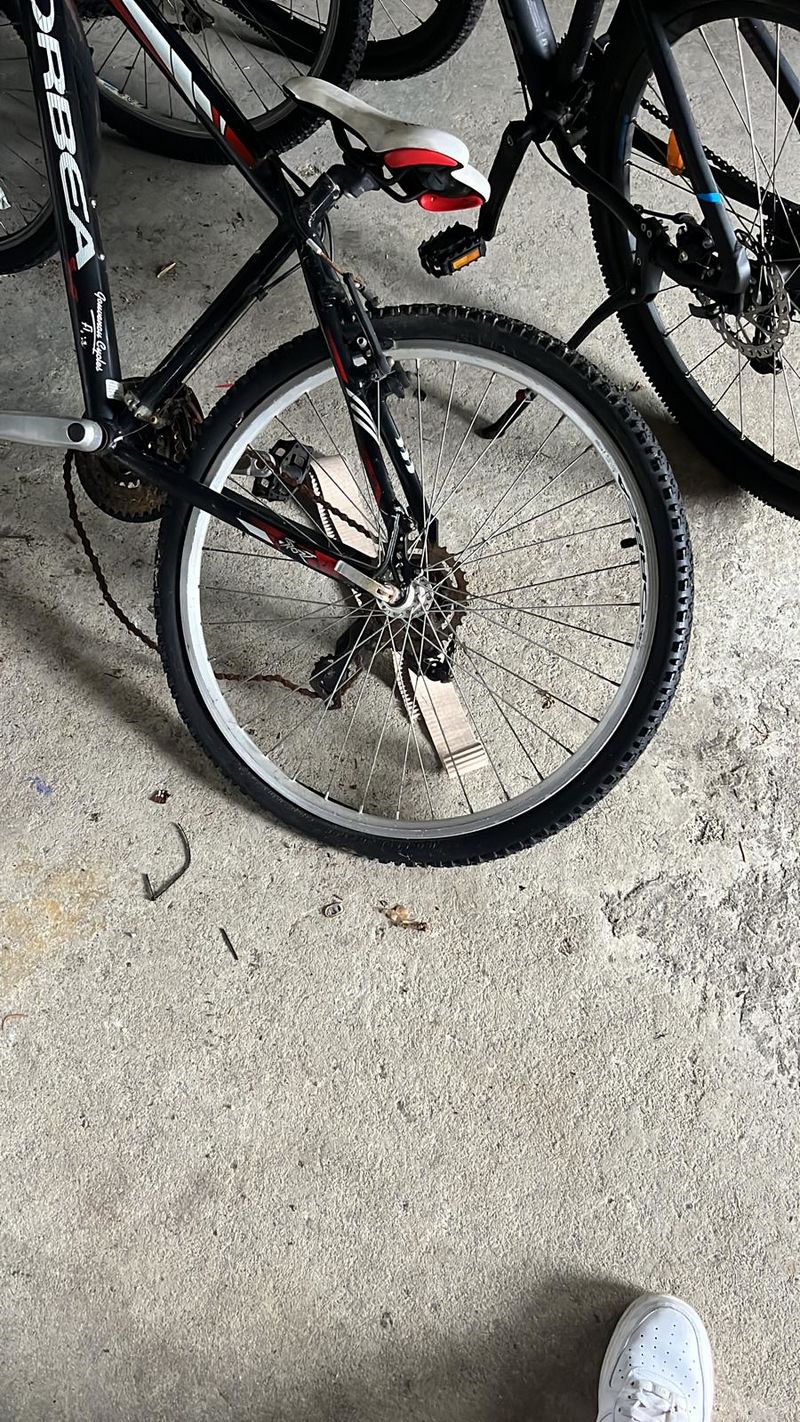
Étape 5 - Cutting off one of the rear legs
- One of the bike's rear drop-outs is cut out to allow freewheel operation and propulsion on one of the rear wheels, without using the second wheel and leaving it freewheeling.
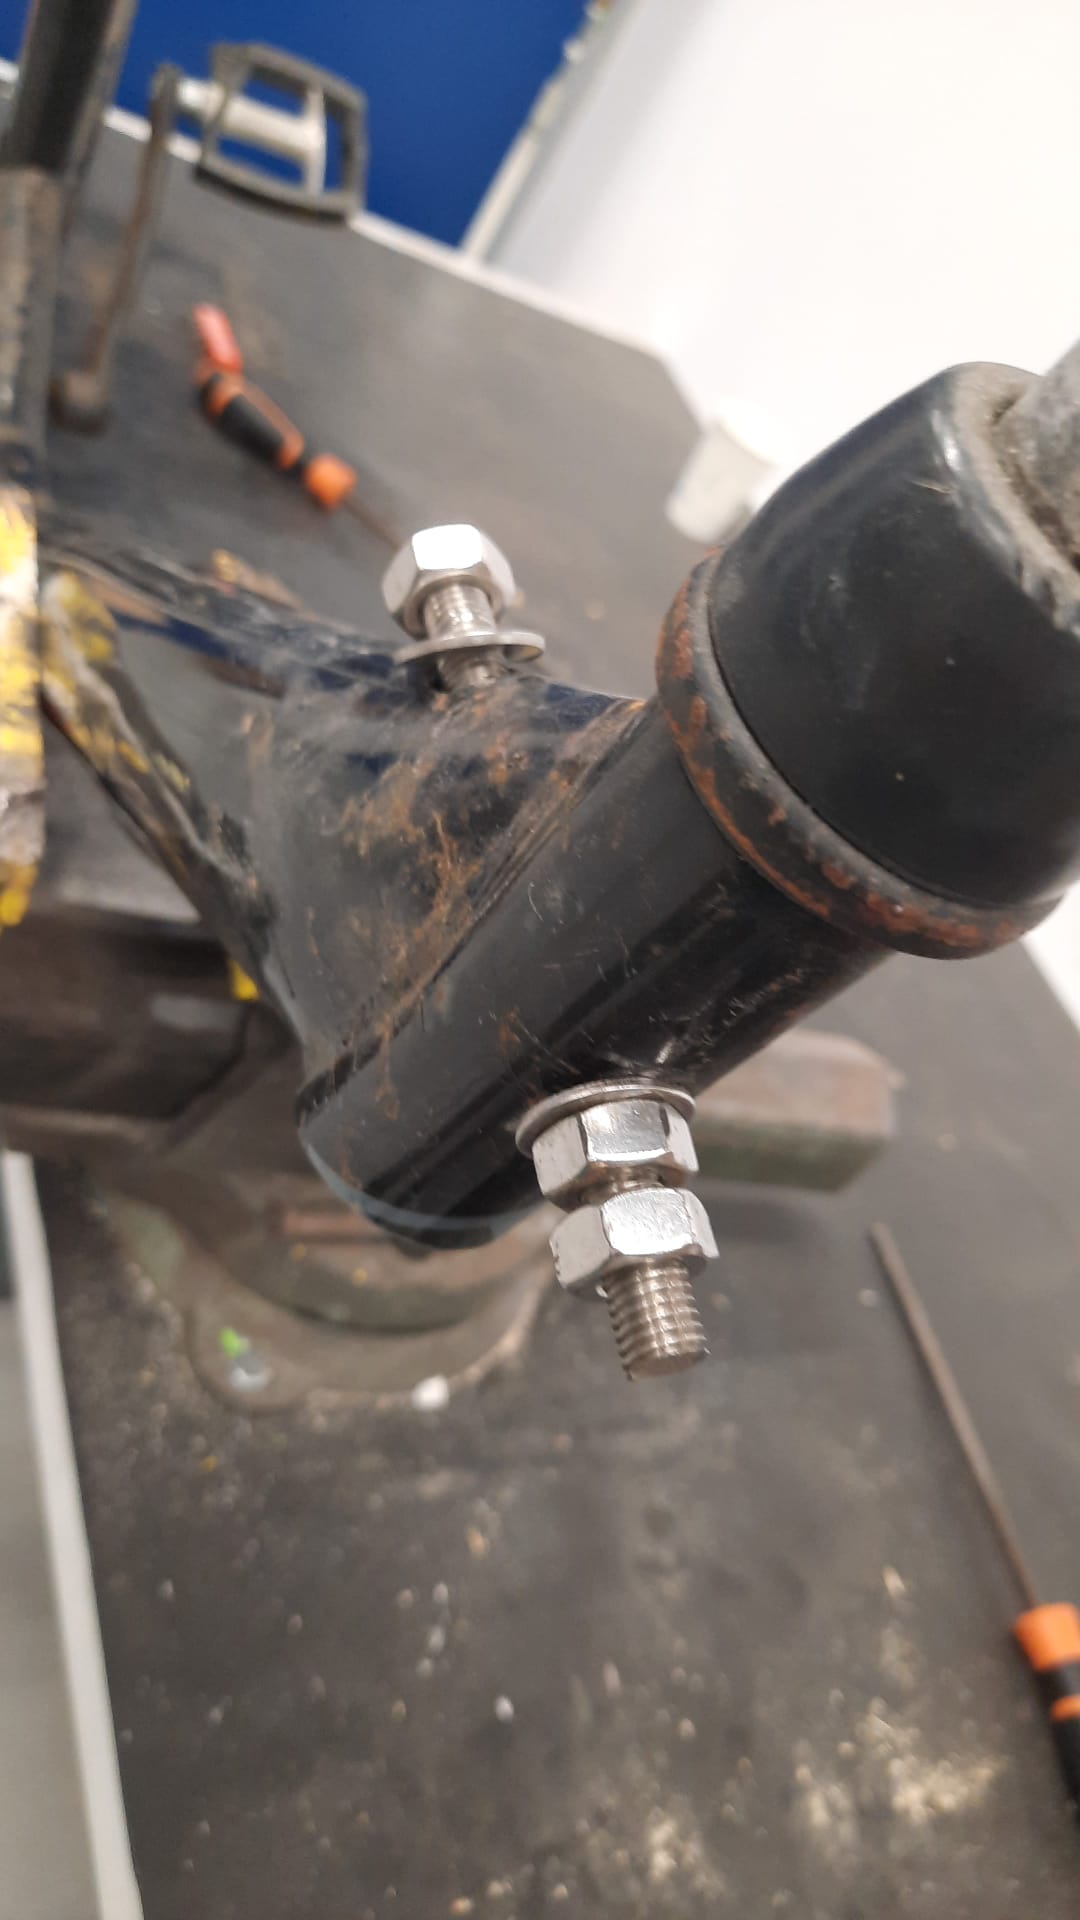
Étape 6 - Creating an attachment to link the two bicycles :
- The clamp is fixed to the seatpost of the front bike and is secured in the fork of the adapted bike.
Étape 7 - Addition of the safety/comfort section
Removing the wheel: The wheel has been removed from an unused bike, taking care to keep the spokes intact for future use.
Cleaning and preparation: The wheel has been cleaned to remove any dirt or grease. The spokes have been inspected for strength.
Cutting and fitting: Depending on the size required, the wheel was carefully cut to create a back to match the main bike frame. Adjustments were made to ensure smooth integration.
Fixing with Scotch tape: The cut-out part of the wheel was fixed to the main bike frame using strong adhesive tape. The tape was carefully applied to ensure a secure fit.
Reinforced protection: Several layers of scotch tape have been added to reinforce the protection of the back, creating a resistant barrier against impacts and scratches.
Étape 8 - Conclusion
All you have to do is complete the welds and the bike is ready for use.
To sum up, this project has enabled us to tackle a number of technical issues, underlining the importance of carrying out an in-depth theoretical study of the system beforehand.
It should be noted that all the materials were recovered second-hand, and the systems are easily accessible and therefore repairable. It also meets a significant demand.
Notes et références
This tutorial aims to guide the creation of an adapted bike for autistic children, offering a safe and enjoyable experience when out and about. Each step must be carried out with precision and taking into account the individual needs of the users.
Draft
 Français
 English
 Deutsch
 Español
 Italiano
 Português