(Page créée avec « *'''The programming part :''' 💻 ») |
(Page créée avec « This project is considered a ‘low-tech’ project because it aims to use simple, accessible and sustainable technologies to solve specific problems, in this case maximis... ») |
||
| (17 révisions intermédiaires par le même utilisateur non affichées) | |||
| Ligne 35 : | Ligne 35 : | ||
| − | + | After studying the chronology of sunset and sunrise in Brest over 365 days, we obtained the time difference between them (in minutes) and noted the variation in sunset and sunrise times throughout the year. For example, we found that the duration of sunshine increases each day until the 173rd day, then decreases until the end of the year, each day increasing/decreasing by 2.7 minutes. | |
| − | + | In addition, the servomotor that controls the rotation of the solar panel supports changes direction every day from 0 to 180 degrees. However, the servomotor that controls the tilt follows the movement of the sun, depending on the year. | |
}} | }} | ||
{{Materials | {{Materials | ||
| Ligne 46 : | Ligne 46 : | ||
|Step_Picture_04=Panneau_solaire___orientation_autonome_-_LE_TOURNESOL_mix.jpg | |Step_Picture_04=Panneau_solaire___orientation_autonome_-_LE_TOURNESOL_mix.jpg | ||
|Step_Picture_05=Panneau_solaire___orientation_autonome_-_LE_TOURNESOL_Solar_panel_stand.jpg | |Step_Picture_05=Panneau_solaire___orientation_autonome_-_LE_TOURNESOL_Solar_panel_stand.jpg | ||
| − | |Material=🔬 ''' | + | |Material=🔬 '''3D Printing''' |
| − | |Tools=🗂️Nous | + | |Tools=🗂️Nous used PLA filaments to print all the existing parts. We also bought 2 servo motors, 8 rechargeable batteries and 8 solar panels. |
|Tuto_Attachments={{Tuto Attachments | |Tuto_Attachments={{Tuto Attachments | ||
|Attachment=Panneau_solaire___orientation_autonome_-_LE_TOURNESOL_Circlepart.stl | |Attachment=Panneau_solaire___orientation_autonome_-_LE_TOURNESOL_Circlepart.stl | ||
| Ligne 80 : | Ligne 80 : | ||
{{Tuto Step | {{Tuto Step | ||
|Step_Title=1️⃣ Sketch | |Step_Title=1️⃣ Sketch | ||
| − | |Step_Content=✏️ ''' | + | |Step_Content=✏️ '''In the first stage: Sketch''' |
| − | + | we drew a sketch to visualise the mechanism so that we could start with a more finished form. | |
|Step_Picture_00=Panneau_solaire___orientation_autonome_-_LE_TOURNESOL_Sketch_1.jpg | |Step_Picture_00=Panneau_solaire___orientation_autonome_-_LE_TOURNESOL_Sketch_1.jpg | ||
|Step_Picture_01=Panneau_solaire___orientation_autonome_-_LE_TOURNESOL_Sketch_2.jpg | |Step_Picture_01=Panneau_solaire___orientation_autonome_-_LE_TOURNESOL_Sketch_2.jpg | ||
| Ligne 89 : | Ligne 89 : | ||
{{Tuto Step | {{Tuto Step | ||
|Step_Title=2️⃣ Drawing Catia | |Step_Title=2️⃣ Drawing Catia | ||
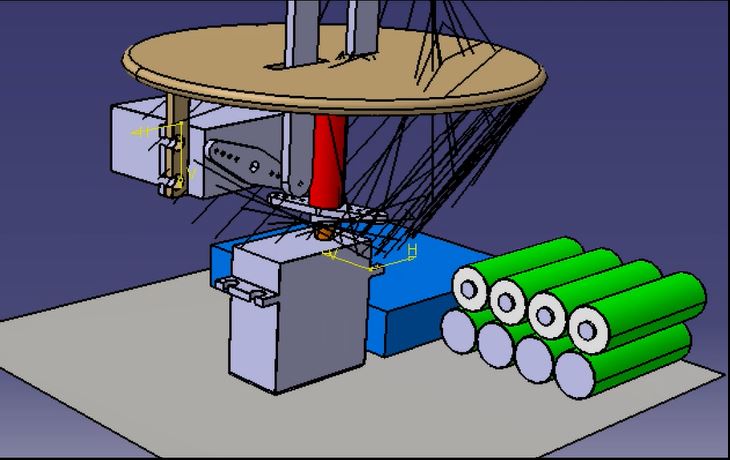
| − | |Step_Content=''' | + | |Step_Content=🖥️'''In the second stage: drawing the parts on CATIA V5.''' |
| − | + | Based on the first part, we started drawing all the parts for the assembly. | |
|Step_Picture_00=Panneau_solaire___orientation_autonome_-_LE_TOURNESOL_Capture.JPG | |Step_Picture_00=Panneau_solaire___orientation_autonome_-_LE_TOURNESOL_Capture.JPG | ||
|Step_Picture_01=Panneau_solaire___orientation_autonome_-_LE_TOURNESOL_Lowerbox.JPG | |Step_Picture_01=Panneau_solaire___orientation_autonome_-_LE_TOURNESOL_Lowerbox.JPG | ||
| Ligne 101 : | Ligne 101 : | ||
}} | }} | ||
{{Tuto Step | {{Tuto Step | ||
| − | |Step_Title=3️⃣ Printing | + | |Step_Title=3️⃣ 3D Printing |
| − | |Step_Content=''' | + | |Step_Content=🖨️ '''In the third stage: 3D printing.''' |
| − | + | Once all the parts have been completed, we print all the important parts for the mechanism. | |
|Step_Picture_00=Panneau_solaire___orientation_autonome_-_LE_TOURNESOL_Printing_3D_video.mp4 | |Step_Picture_00=Panneau_solaire___orientation_autonome_-_LE_TOURNESOL_Printing_3D_video.mp4 | ||
|Step_Picture_01=Panneau_solaire___orientation_autonome_-_LE_TOURNESOL_Printing_Picture_1_.jpg | |Step_Picture_01=Panneau_solaire___orientation_autonome_-_LE_TOURNESOL_Printing_Picture_1_.jpg | ||
| Ligne 111 : | Ligne 111 : | ||
}} | }} | ||
{{Tuto Step | {{Tuto Step | ||
| − | |Step_Title=4️⃣ | + | |Step_Title=4️⃣ Assembly |
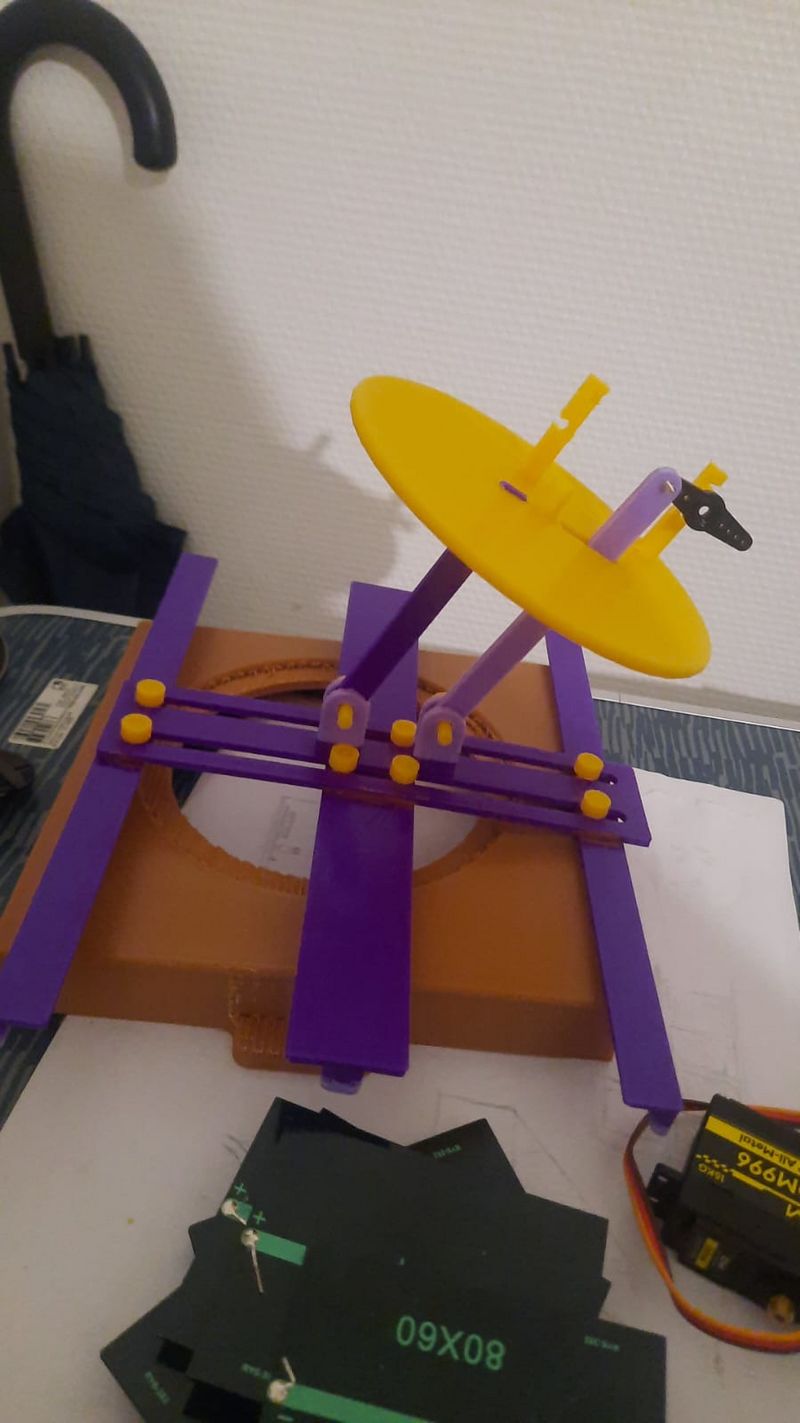
| − | |Step_Content=📦 ''' | + | |Step_Content=📦 '''In the fourth stage: Assembly.''' |
| − | + | We proceed by connecting all the parts to create the mechanism. | |
|Step_Picture_00=Panneau_solaire___orientation_autonome_-_LE_TOURNESOL_Assembly.JPG | |Step_Picture_00=Panneau_solaire___orientation_autonome_-_LE_TOURNESOL_Assembly.JPG | ||
|Step_Picture_01=Panneau_solaire___orientation_autonome_-_LE_TOURNESOL_Assembly_4.JPG | |Step_Picture_01=Panneau_solaire___orientation_autonome_-_LE_TOURNESOL_Assembly_4.JPG | ||
| Ligne 124 : | Ligne 124 : | ||
}} | }} | ||
{{Notes | {{Notes | ||
| − | |Notes=👍 | + | |Notes=👍 The mechanism works well. |
| − | 👎 | + | 👎 We didn't have enough time to work on the programming and electronics part. |
| − | + | This project is considered a ‘low-tech’ project because it aims to use simple, accessible and sustainable technologies to solve specific problems, in this case maximising the energy efficiency of solar panels. The term ‘low-tech’ refers to solutions that are often less expensive, easier to repair and maintain, and which reduce reliance on complex and expensive technologies. This project uses mechanical principles and proven technologies, such as servomotors and solar panels, combined in an innovative way to track the position of the sun, similar to the natural behaviour of the sunflower. This approach promotes sustainability, resource efficiency and accessibility, in line with the principles of low-technology. | |
}} | }} | ||
{{PageLang | {{PageLang | ||
Version actuelle datée du 30 juillet 2024 à 14:05
Description
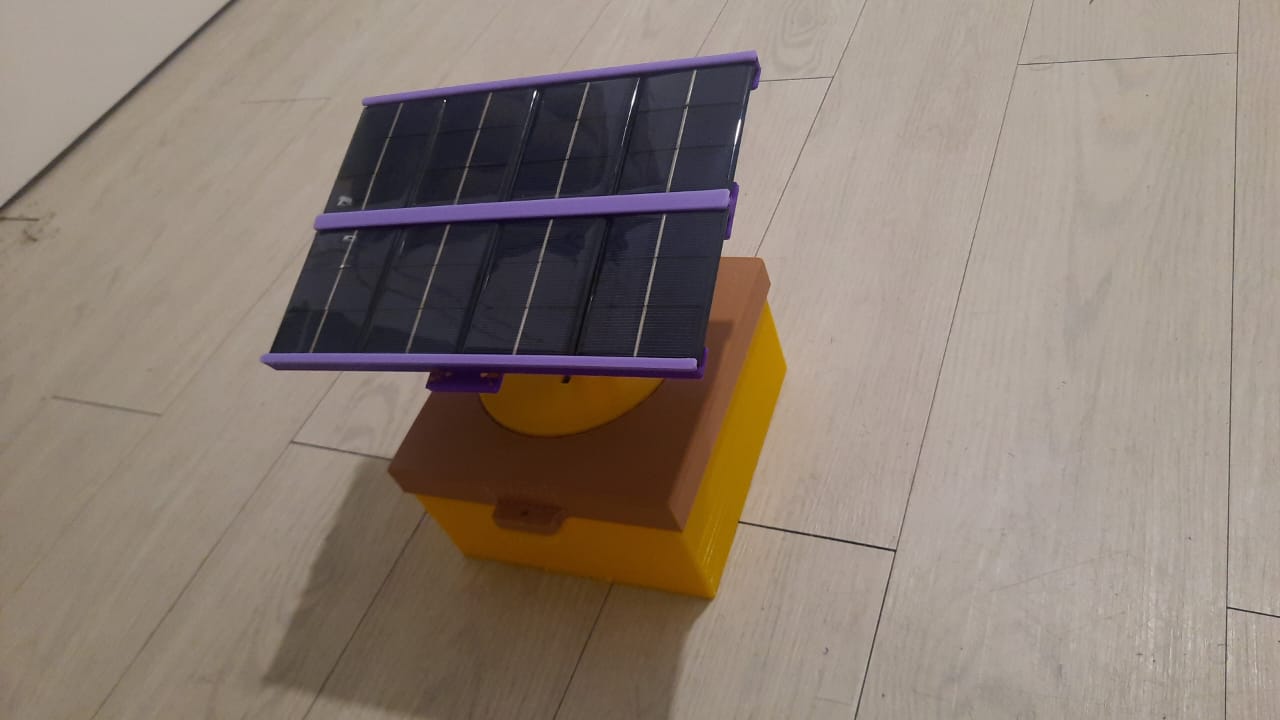
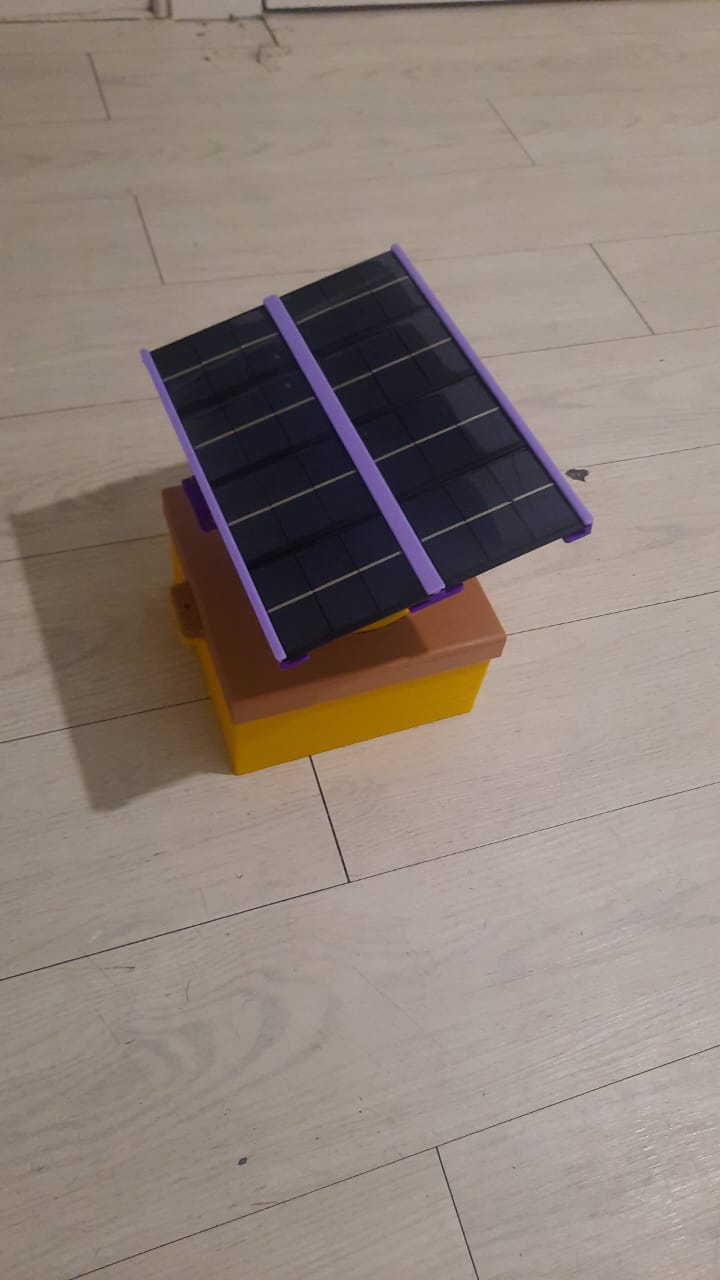
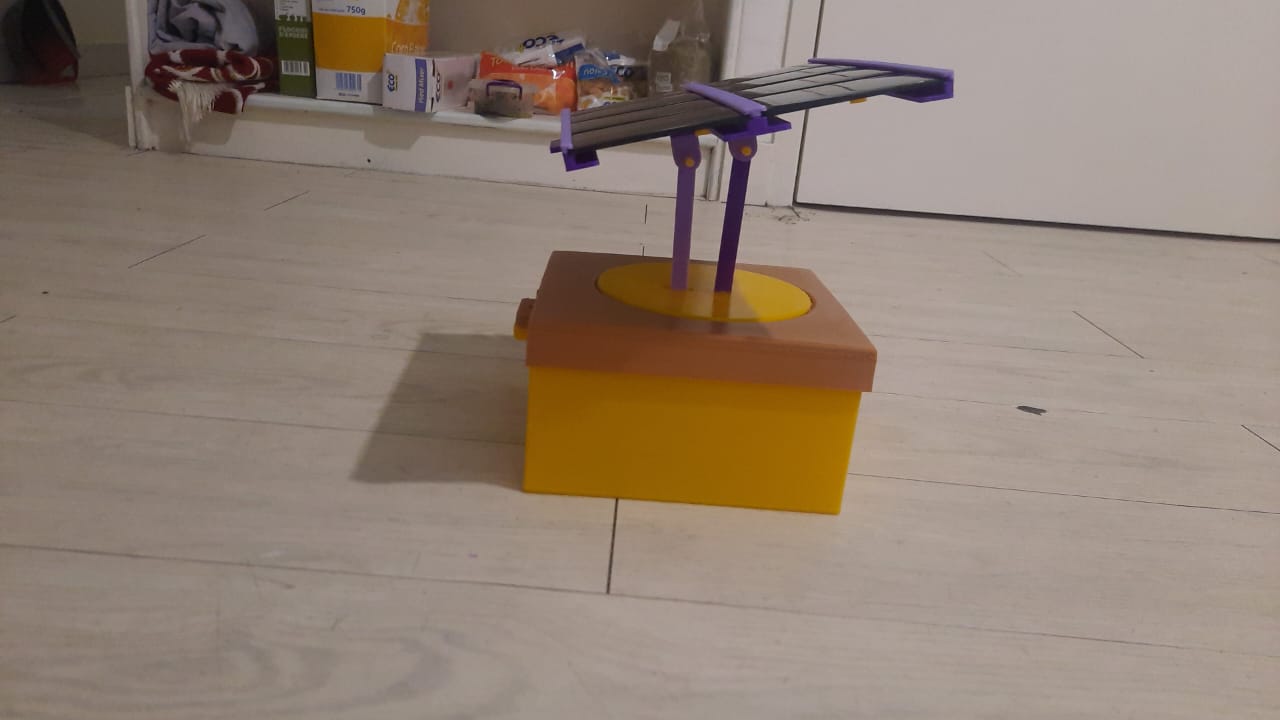
"The Sunflower" ⚡🌻 Inspired by the concept of the sunflower, which changes direction according to the position of the sun. This project is a precursor to a larger project. The idea of this project is to maximise exposure to the sun by changing the direction and inclination of the solar panels according to the position of the sun. This is done using programmable servomotors controlled by a microprocessor.
Introduction
This project is divided into 3 parts: mechanics (the most difficult), programming and electronics.
- The mechanic part : 🔧
First of all, we made a sketch of the mechanism for this project, then we used CATIA V5 to design the 23 parts of the project. We then used PrusaSlicer to 3D print them using PLA filaments. This is the most difficult part, because we need to know exactly how the mechanism will work. So we bought 8 solar panels, 2 servomotors and rechargeable batteries. Finally, we put it all together.
- The electronic part : 🔌
We used rechargeable batteries of 1.5 V each, connected in series to give 12 volts. We then connected these batteries in parallel to the solar panels, of which there are 8, which also gives us 12 volts. In addition, 4 of the batteries power the STM32 microprocessor, and from the STM32 we power the servomotors.
- The programming part : 💻
After studying the chronology of sunset and sunrise in Brest over 365 days, we obtained the time difference between them (in minutes) and noted the variation in sunset and sunrise times throughout the year. For example, we found that the duration of sunshine increases each day until the 173rd day, then decreases until the end of the year, each day increasing/decreasing by 2.7 minutes.
Étape 1 - 1️⃣ Sketch
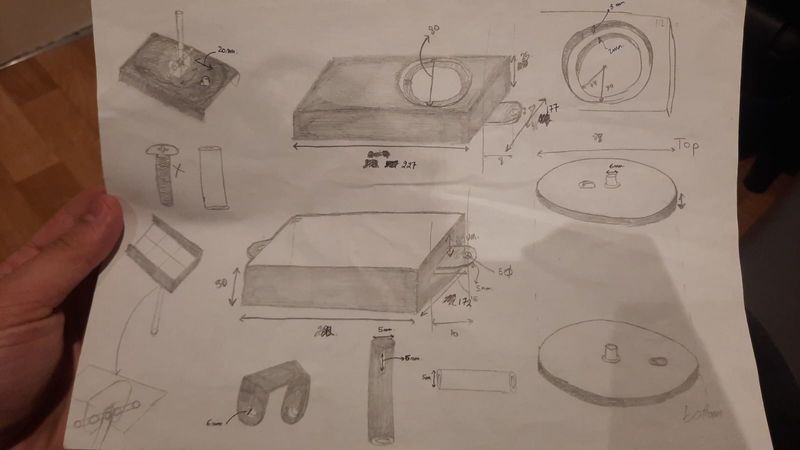
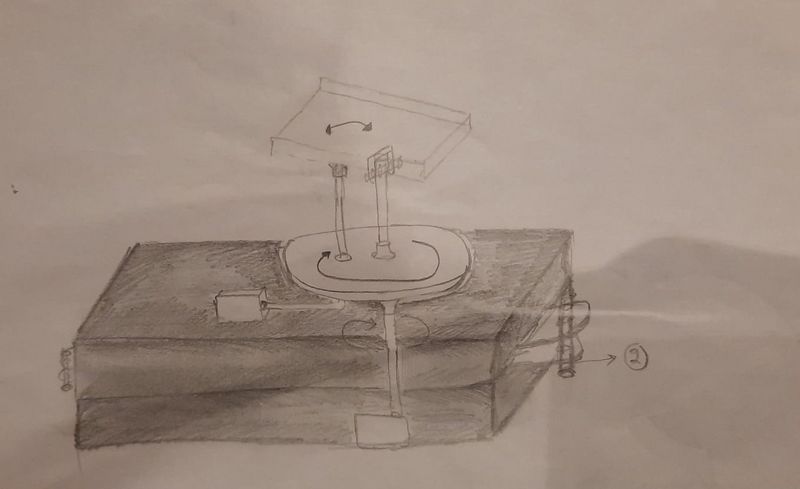
✏️ In the first stage: Sketch
we drew a sketch to visualise the mechanism so that we could start with a more finished form.
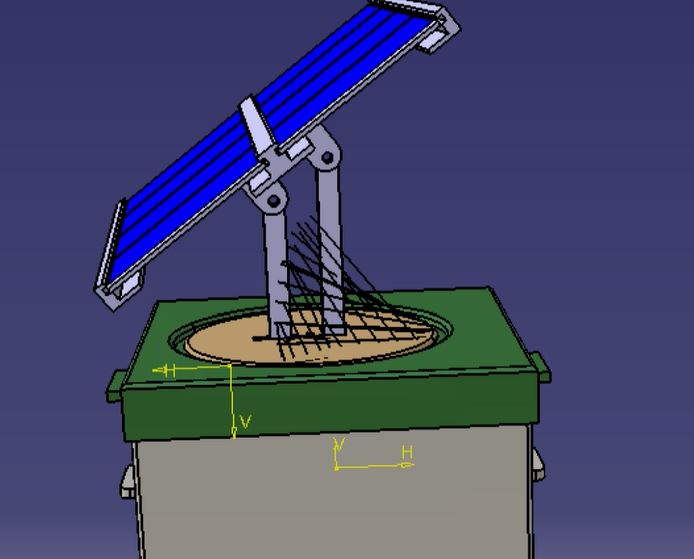
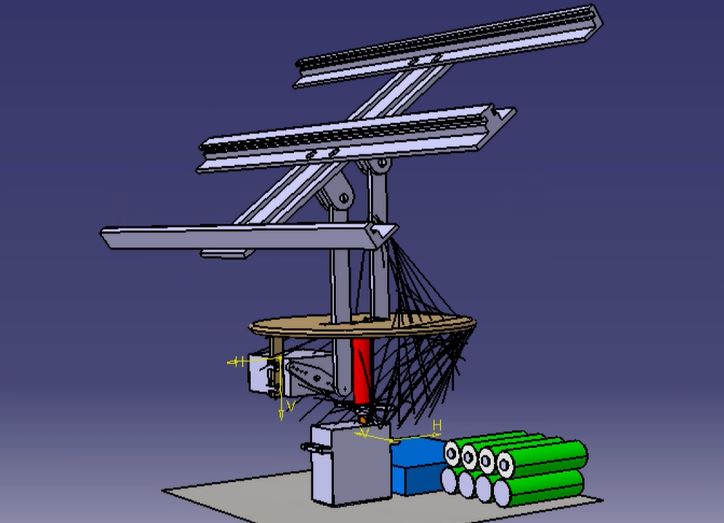
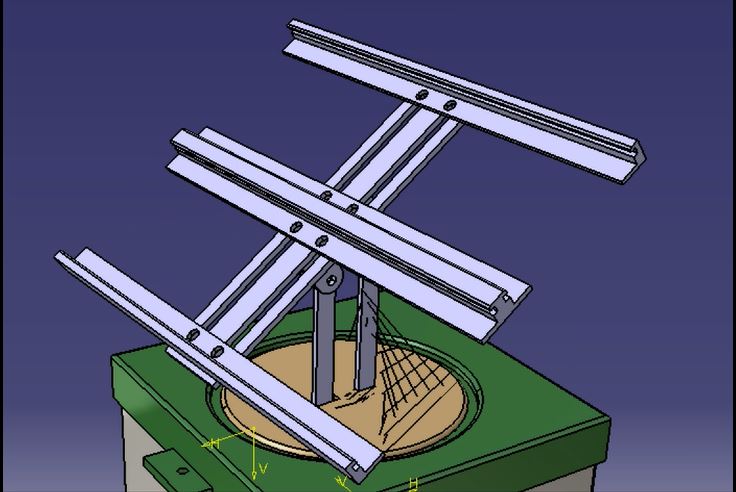
Étape 2 - 2️⃣ Drawing Catia
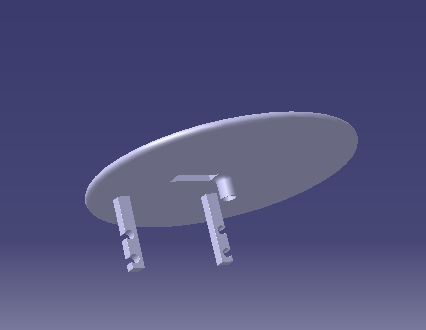
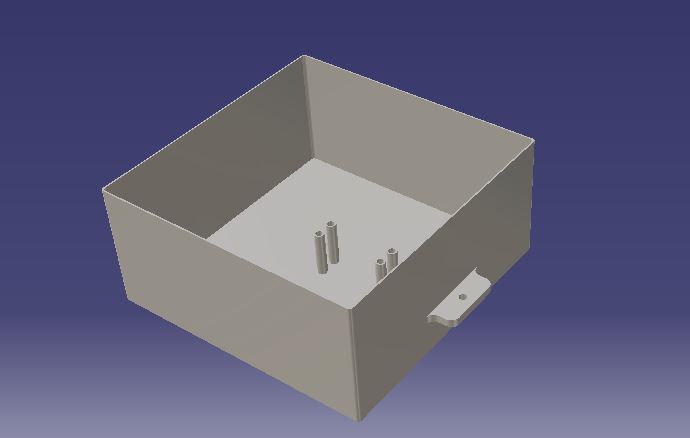
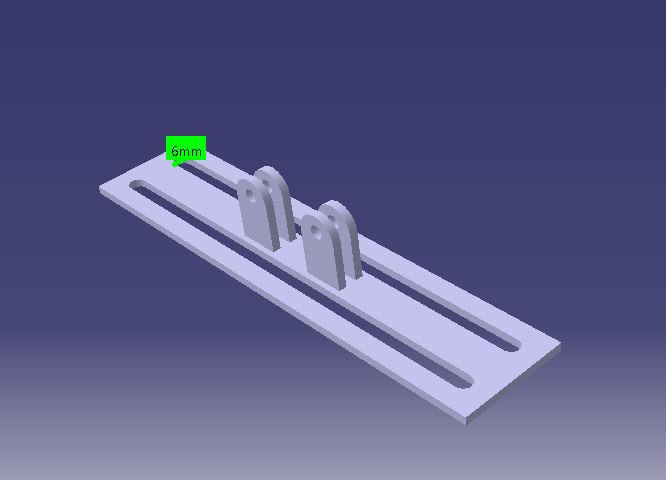
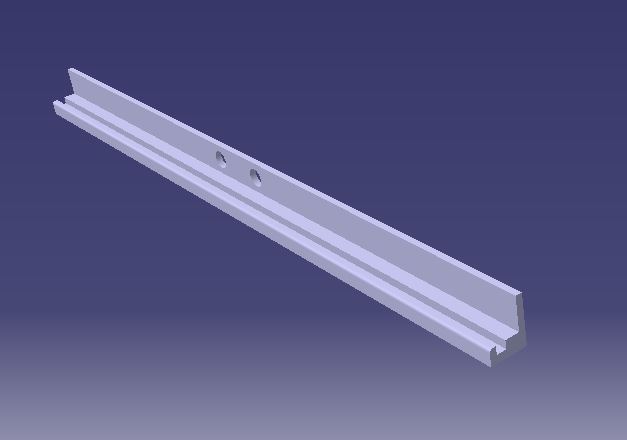
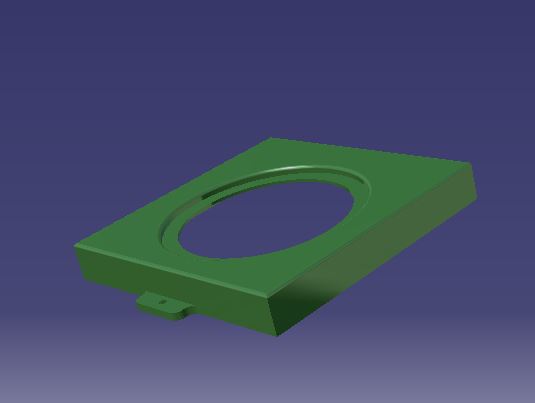
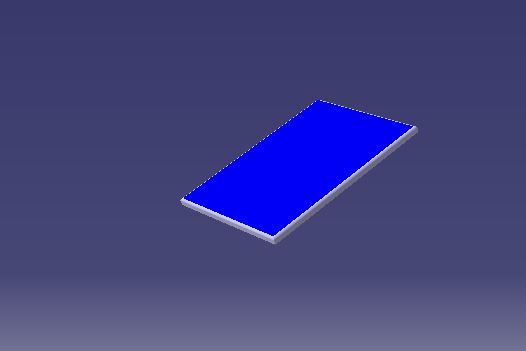
🖥️In the second stage: drawing the parts on CATIA V5.
Based on the first part, we started drawing all the parts for the assembly.
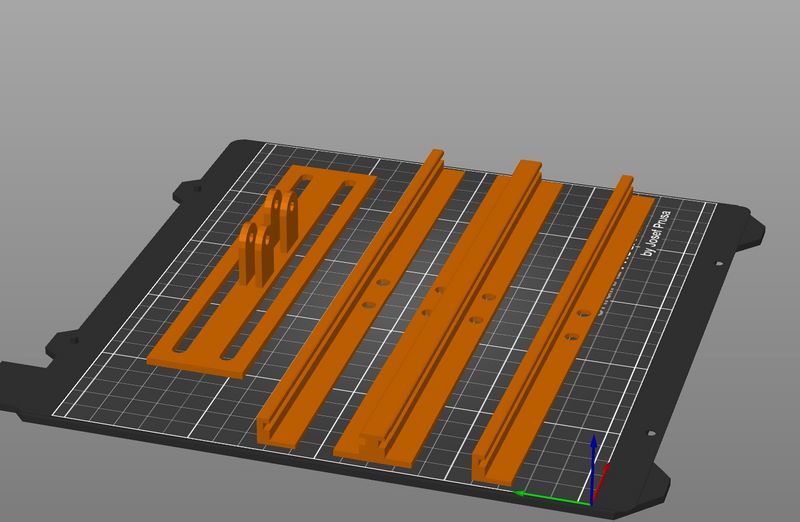
Étape 3 - 3️⃣ 3D Printing
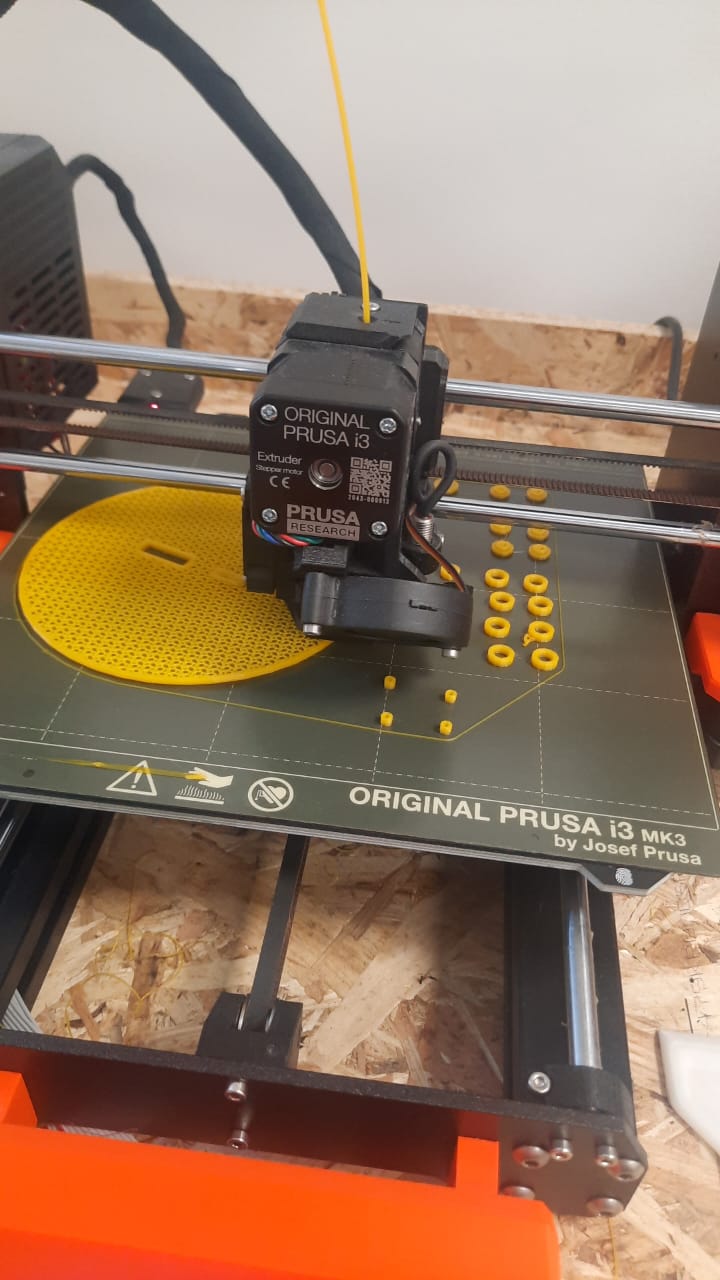
🖨️ In the third stage: 3D printing.
Once all the parts have been completed, we print all the important parts for the mechanism.
Étape 4 - 4️⃣ Assembly
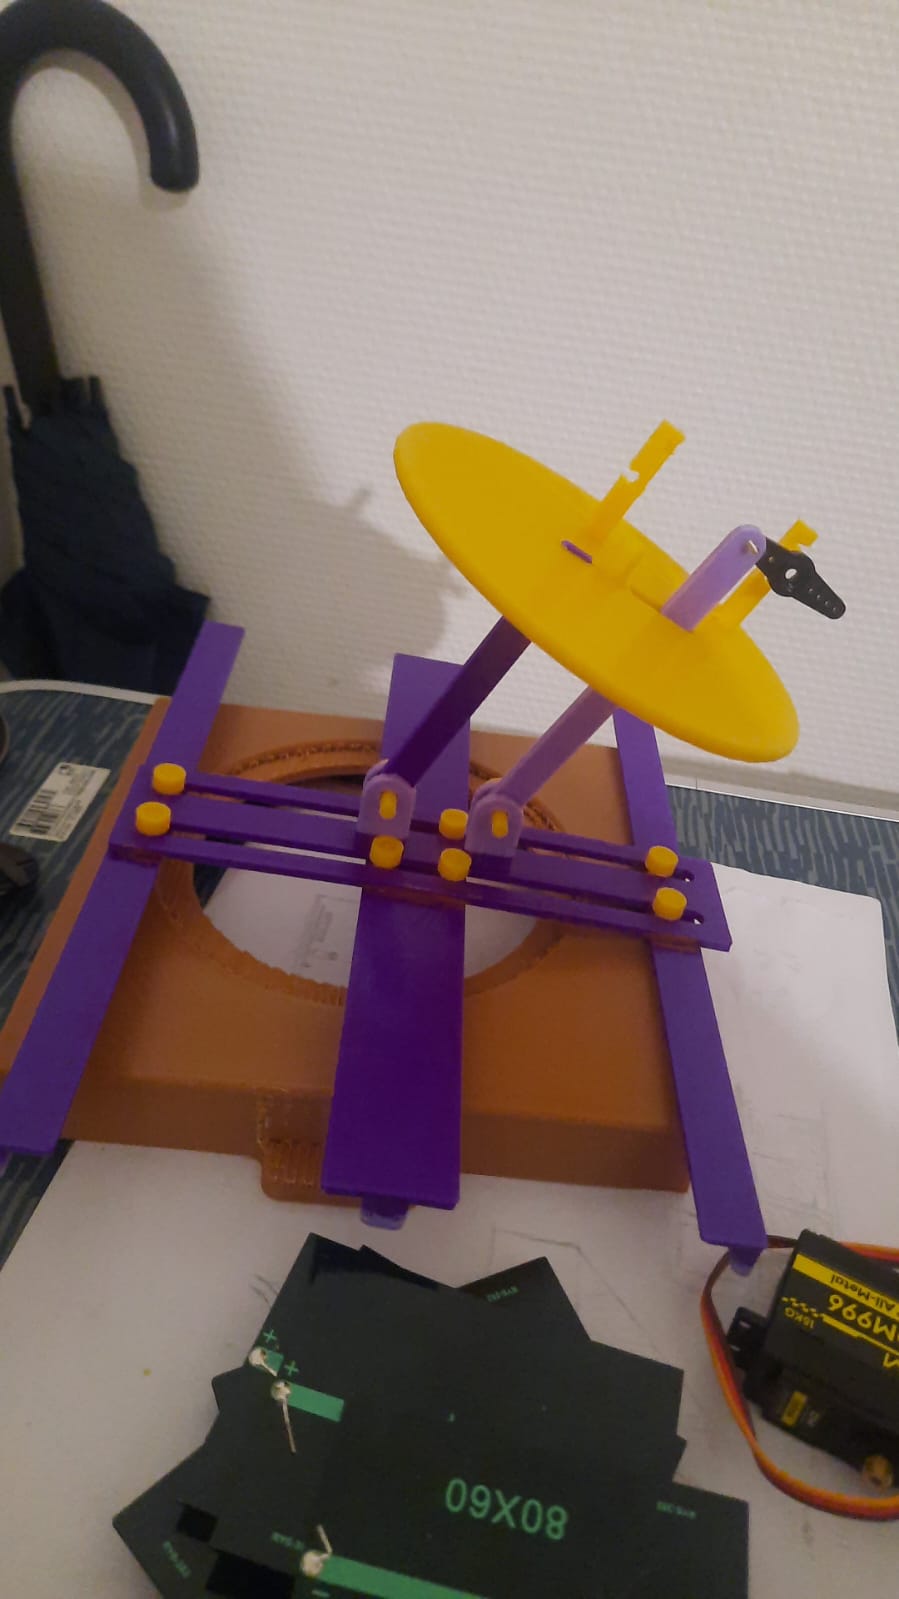
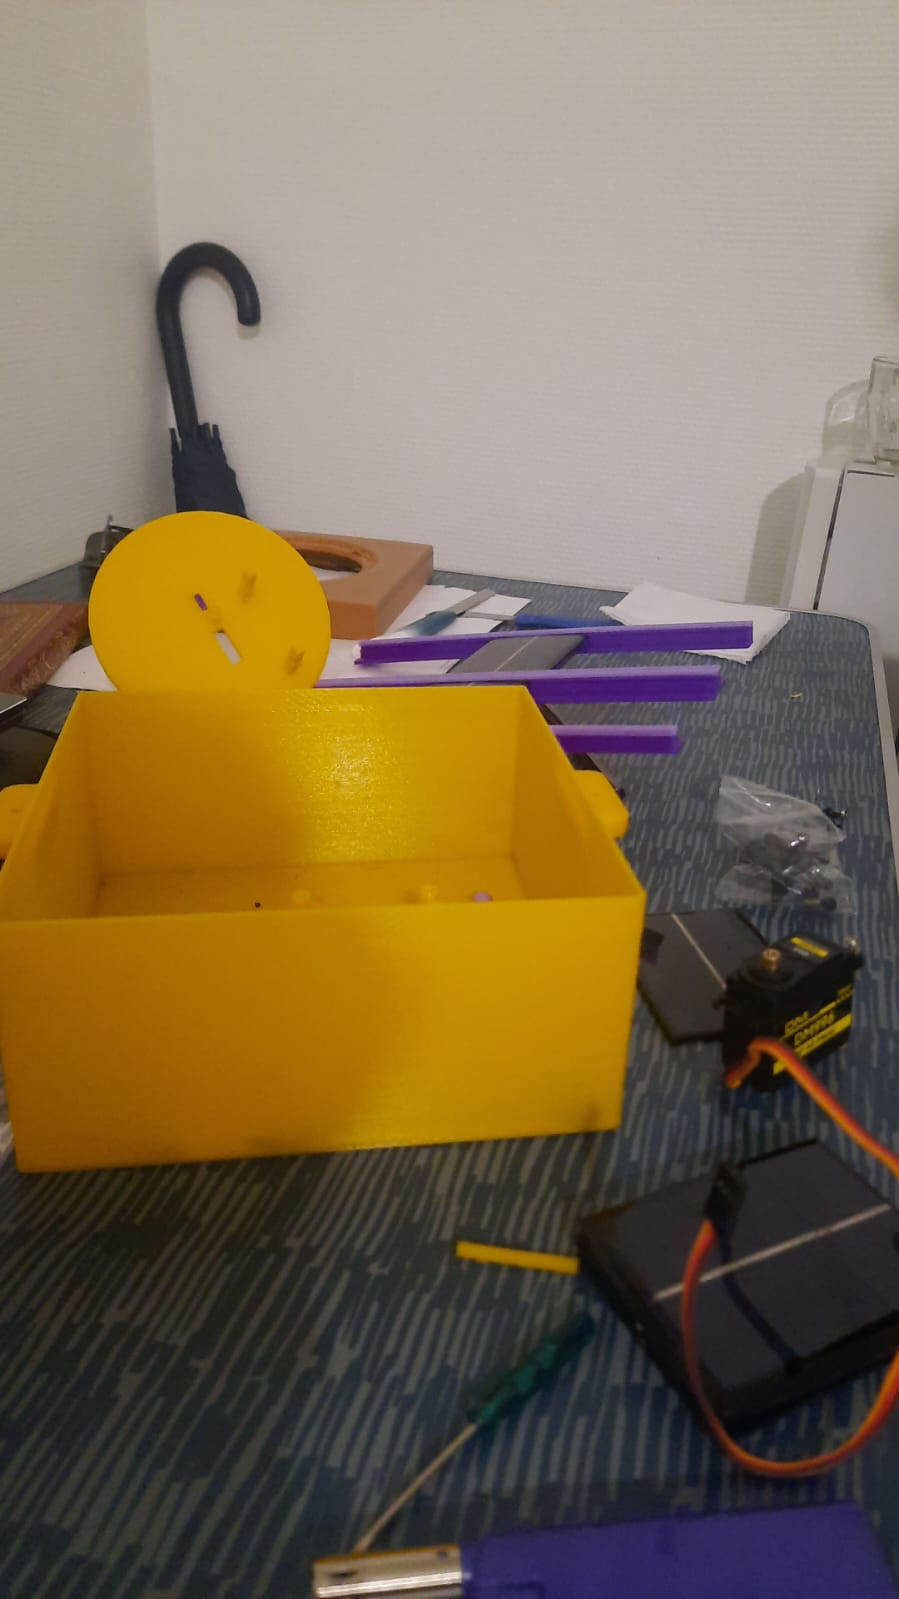
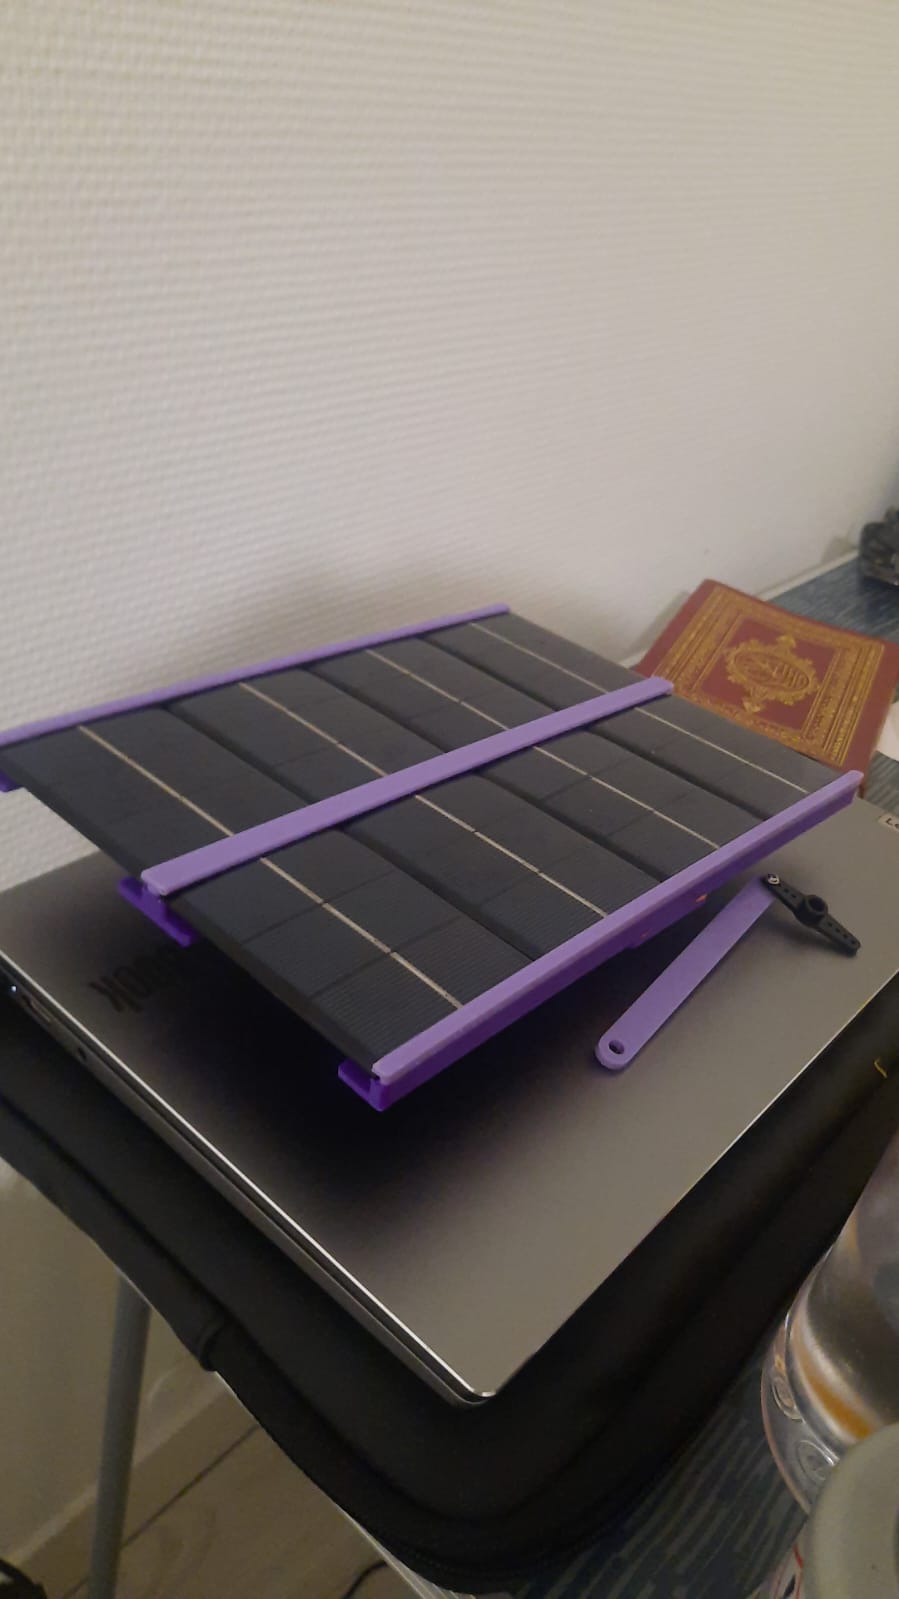
📦 In the fourth stage: Assembly.
We proceed by connecting all the parts to create the mechanism.
Notes et références
👍 The mechanism works well.
👎 We didn't have enough time to work on the programming and electronics part.
This project is considered a ‘low-tech’ project because it aims to use simple, accessible and sustainable technologies to solve specific problems, in this case maximising the energy efficiency of solar panels. The term ‘low-tech’ refers to solutions that are often less expensive, easier to repair and maintain, and which reduce reliance on complex and expensive technologies. This project uses mechanical principles and proven technologies, such as servomotors and solar panels, combined in an innovative way to track the position of the sun, similar to the natural behaviour of the sunflower. This approach promotes sustainability, resource efficiency and accessibility, in line with the principles of low-technology.
Published
 Français
 English
 Deutsch
 Español
 Italiano
 Português