(Page créée avec « Entrelaza las 5 anillas restantes horizontalmente dentro y fuera de las anillas verticales. Empieza enganchando una anilla al clavo superior izquierdo del lado izquierdo d... ») |
(Page créée avec « Cerrar los bucles ») |
||
| Ligne 65 : | Ligne 65 : | ||
}} | }} | ||
{{Tuto Step | {{Tuto Step | ||
| − | |Step_Title= | + | |Step_Title=Cerrar los bucles |
|Step_Content=Unhook any ring/loop from its nail, then unhook a second loop right next to it. Pass the second loop into the first loop. Hold on to the second loop and let go of the first loop. The second loop now becomes the “first loop”. Continue this step all around your square. Tighten as you go, as needed. | |Step_Content=Unhook any ring/loop from its nail, then unhook a second loop right next to it. Pass the second loop into the first loop. Hold on to the second loop and let go of the first loop. The second loop now becomes the “first loop”. Continue this step all around your square. Tighten as you go, as needed. | ||
Version du 25 juillet 2024 à 16:00
Description
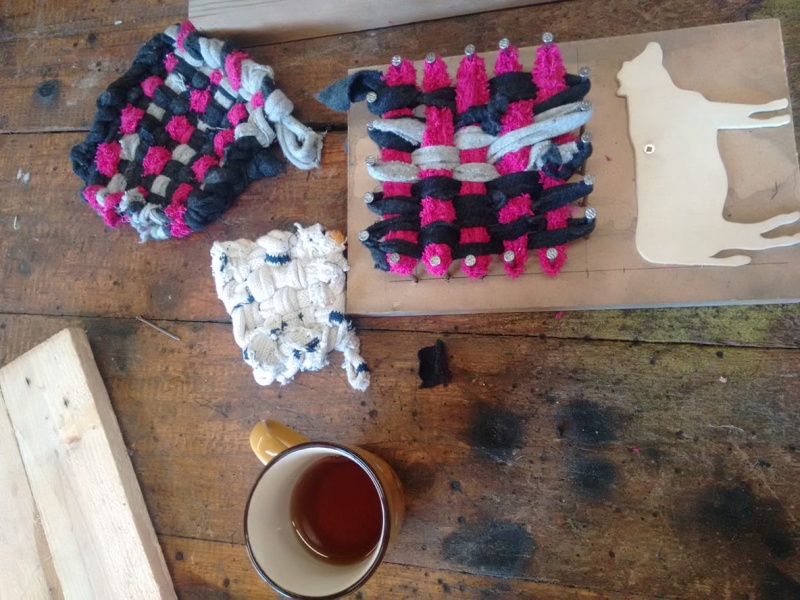
Este tutorial pretende dar otra vida a tu tela o trozos de tela viejos haciendo una esponja ecológica.
Introduction
Youtube
Étape 1 - Crear el telar
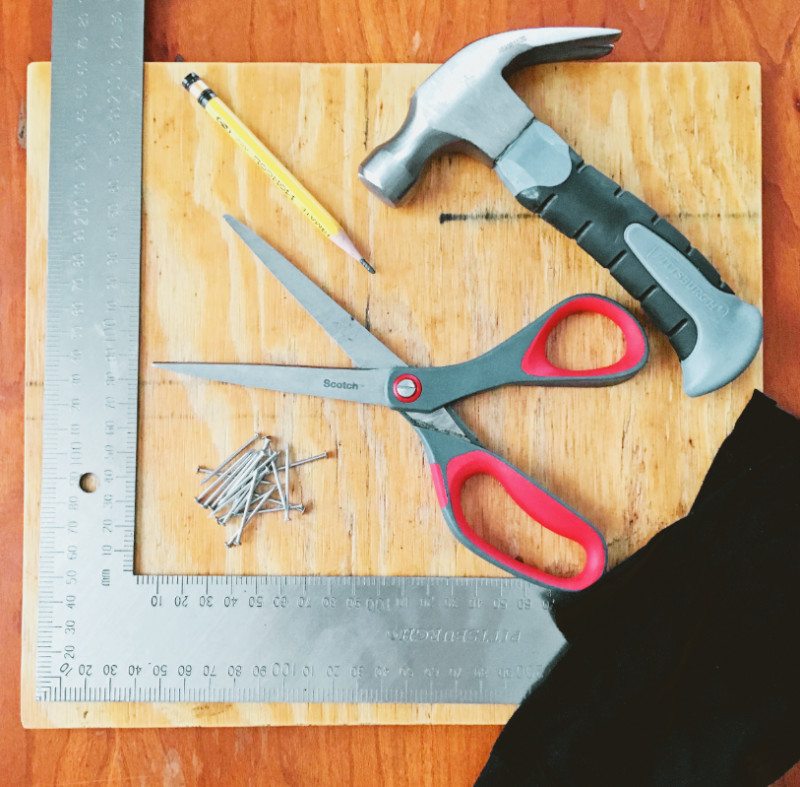
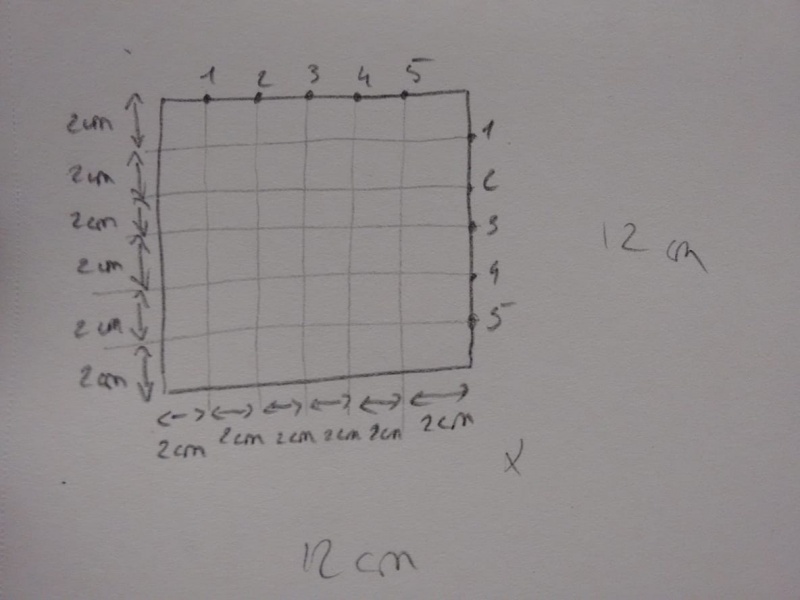
Utiliza el lápiz y la regla para dibujar un cuadrado de 12cmx12cm.
Coloca 20 clavos cada 2 cm. Con tu martillo, planta firmemente los clavos en el tablero sobre cada uno de los 20 puntos.
Étape 2 - Preparar la tela
Elige un calcetín que pueda estirarse más de 12 cm.
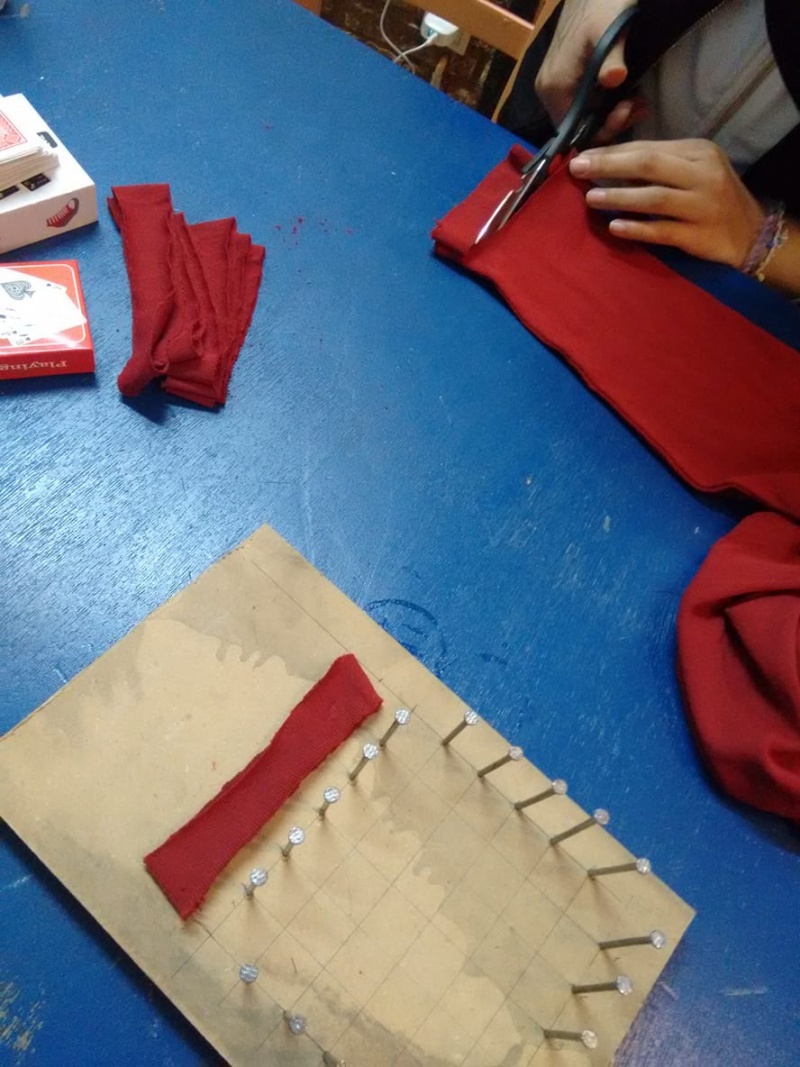
Utiliza las tijeras para cortar 10 anillas de 4 cm de ancho en los calcetines.
Étape 3 - Fijar las anillas
Sujeta las anillas a los clavos verticalmente, sólo en un lado.
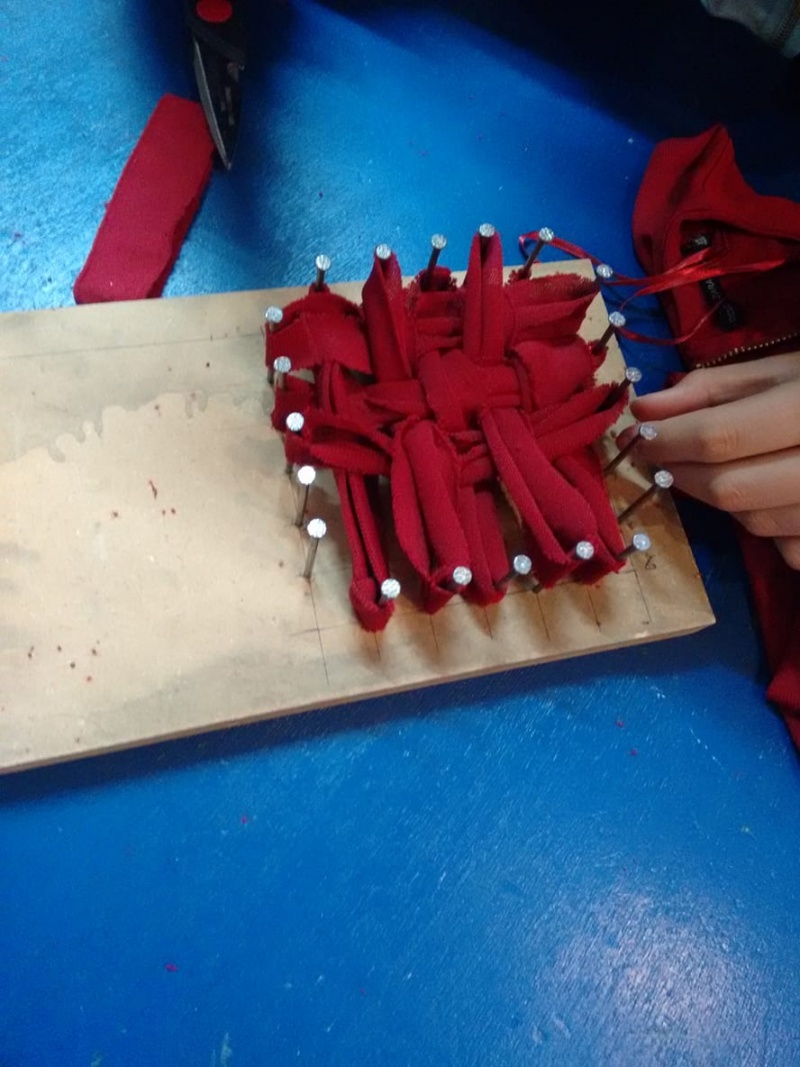
Coloca 5 anillas en vertical (ver imagen).
Étape 4 - Tejido
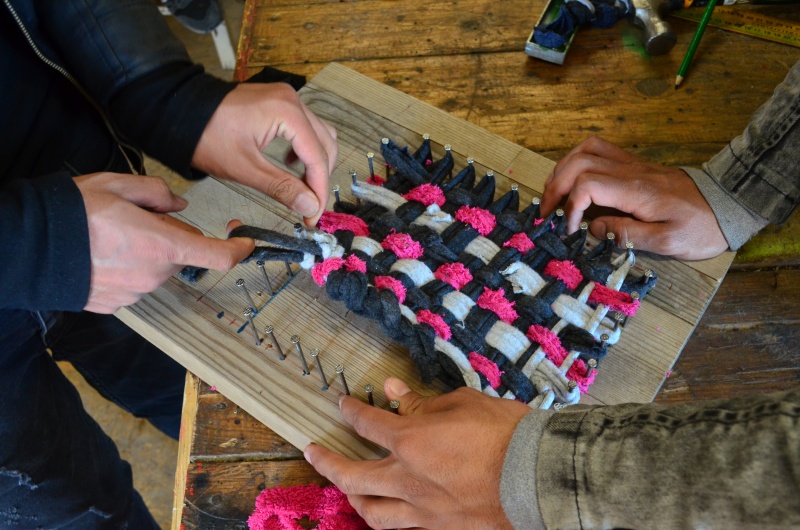
Entrelaza las 5 anillas restantes horizontalmente dentro y fuera de las anillas verticales. Empieza enganchando una anilla al clavo superior izquierdo del lado izquierdo del cuadrado y pásala por encima de la primera anilla vertical, por debajo de la segunda anilla vertical, por encima, por debajo y por encima y, a continuación, engánchala al clavo superior derecho opuesto del lado derecho del cuadrado. Engancha 4 anillas horizontales más, pero tejiendo en sentido contrario con cada nueva anilla: Los anillos horizontales 2 y 4 serían debajo, encima, debajo, encima, debajo. (ver imagen).
Étape 5 - Cerrar los bucles
Unhook any ring/loop from its nail, then unhook a second loop right next to it. Pass the second loop into the first loop. Hold on to the second loop and let go of the first loop. The second loop now becomes the “first loop”. Continue this step all around your square. Tighten as you go, as needed.
The final loop that you end up with is the hook that you’ll use to hang and dry your tawashi sponge!
Published
 Français
 English
 Deutsch
 Español
 Italiano
 Português