(Page créée avec « Side/front seams ») |
(Page créée avec « Pin the two pieces previously created to the sides of the front panel. ») |
||
| Ligne 65 : | Ligne 65 : | ||
{{Tuto Step | {{Tuto Step | ||
|Step_Title=Side/front seams | |Step_Title=Side/front seams | ||
| − | |Step_Content= | + | |Step_Content=Pin the two pieces previously created to the sides of the front panel. |
|Step_Picture_00=Banane_design_en_kakemono_cot_3.PNG | |Step_Picture_00=Banane_design_en_kakemono_cot_3.PNG | ||
}} | }} | ||
Version du 24 juillet 2024 à 13:30

Difficulté
Moyen
Durée
1,5 heure(s)
Coût
3 EUR (€)
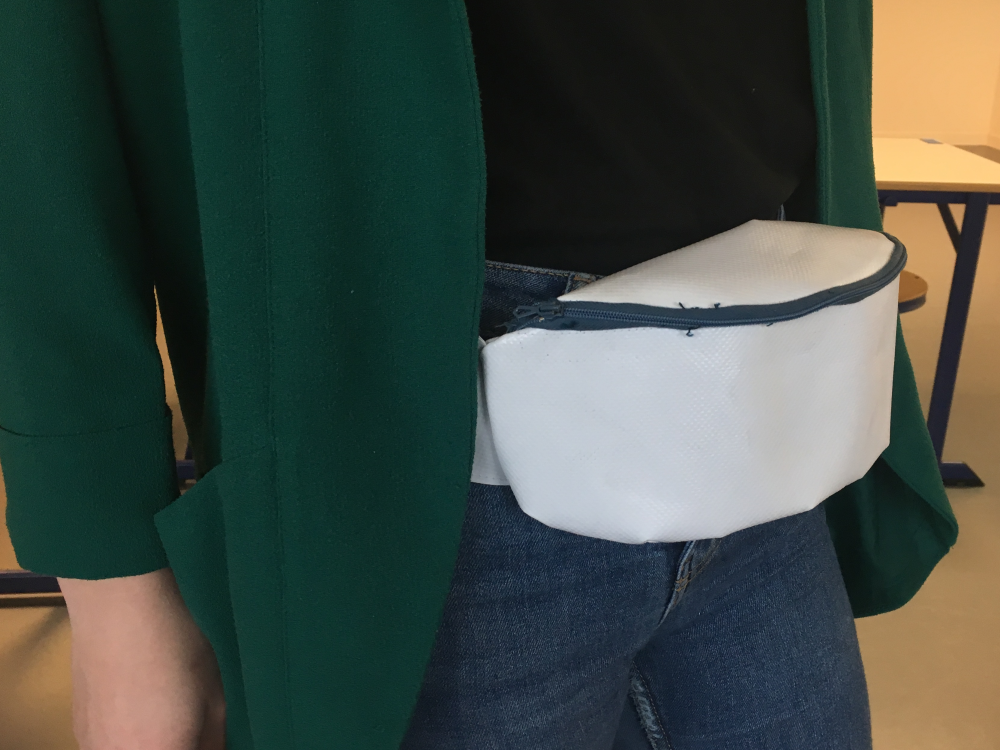
Description
A design fanny pack that's perfect for keeping things you care about safe!
Sommaire
Sommaire
Introduction
In this tutorial, you'll learn how to make a superb banana into a kakemono (communication poster) using a sewing machine.


Erreur lors de la création de la miniature : convert: unable to extend cache `/var/www/dokitfarm/sites/Low_tech_Lab/images/0/04/Banane_design_en_kakemono_IMG_4611.JPG': File too large @ error/cache.c/OpenPixelCache/4006. convert: no images defined `/tmp/transform_a96e7198c81a.jpg' @ error/convert.c/ConvertImageCommand/3258. Error code: 1


- Erreur lors de la création de la miniature : convert: unable to extend cache `/var/www/dokitfarm/sites/Low_tech_Lab/images/0/04/Banane_design_en_kakemono_IMG_4611.JPG': File too large @ error/cache.c/OpenPixelCache/4006. convert: no images defined `/tmp/transform_8dc6eeb06358.jpg' @ error/convert.c/ConvertImageCommand/3258. Error code: 1
Matériaux
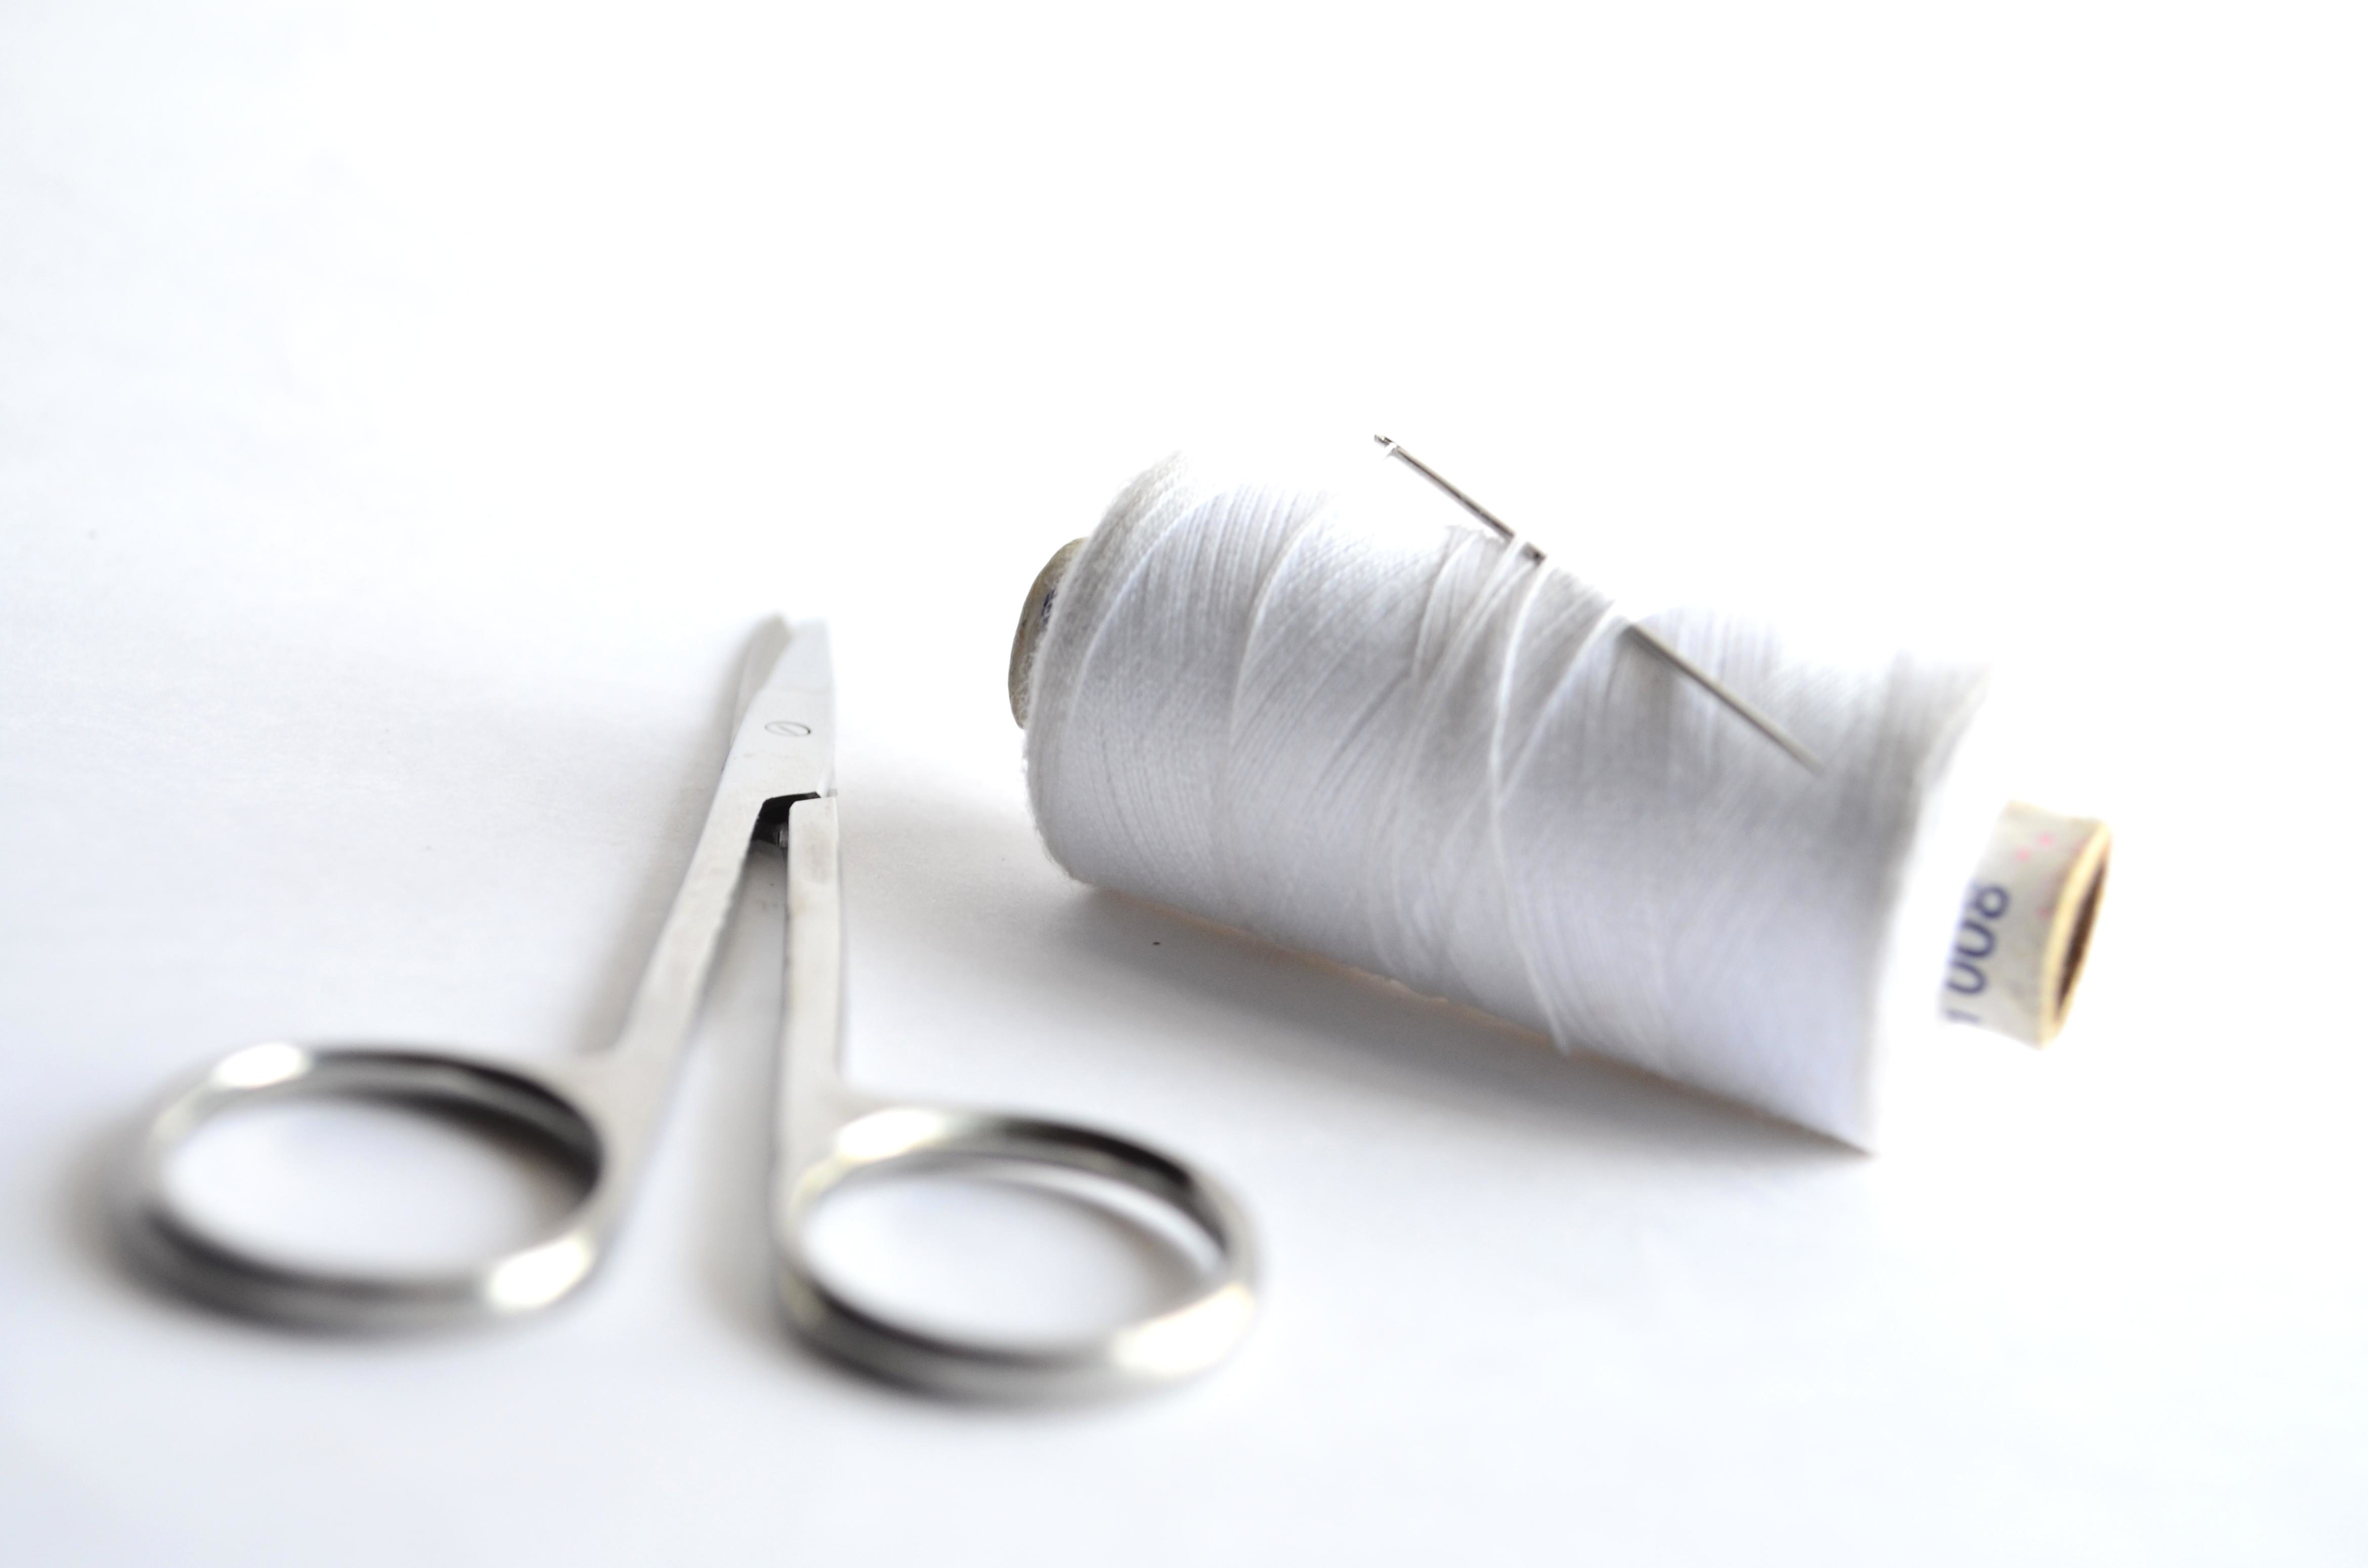
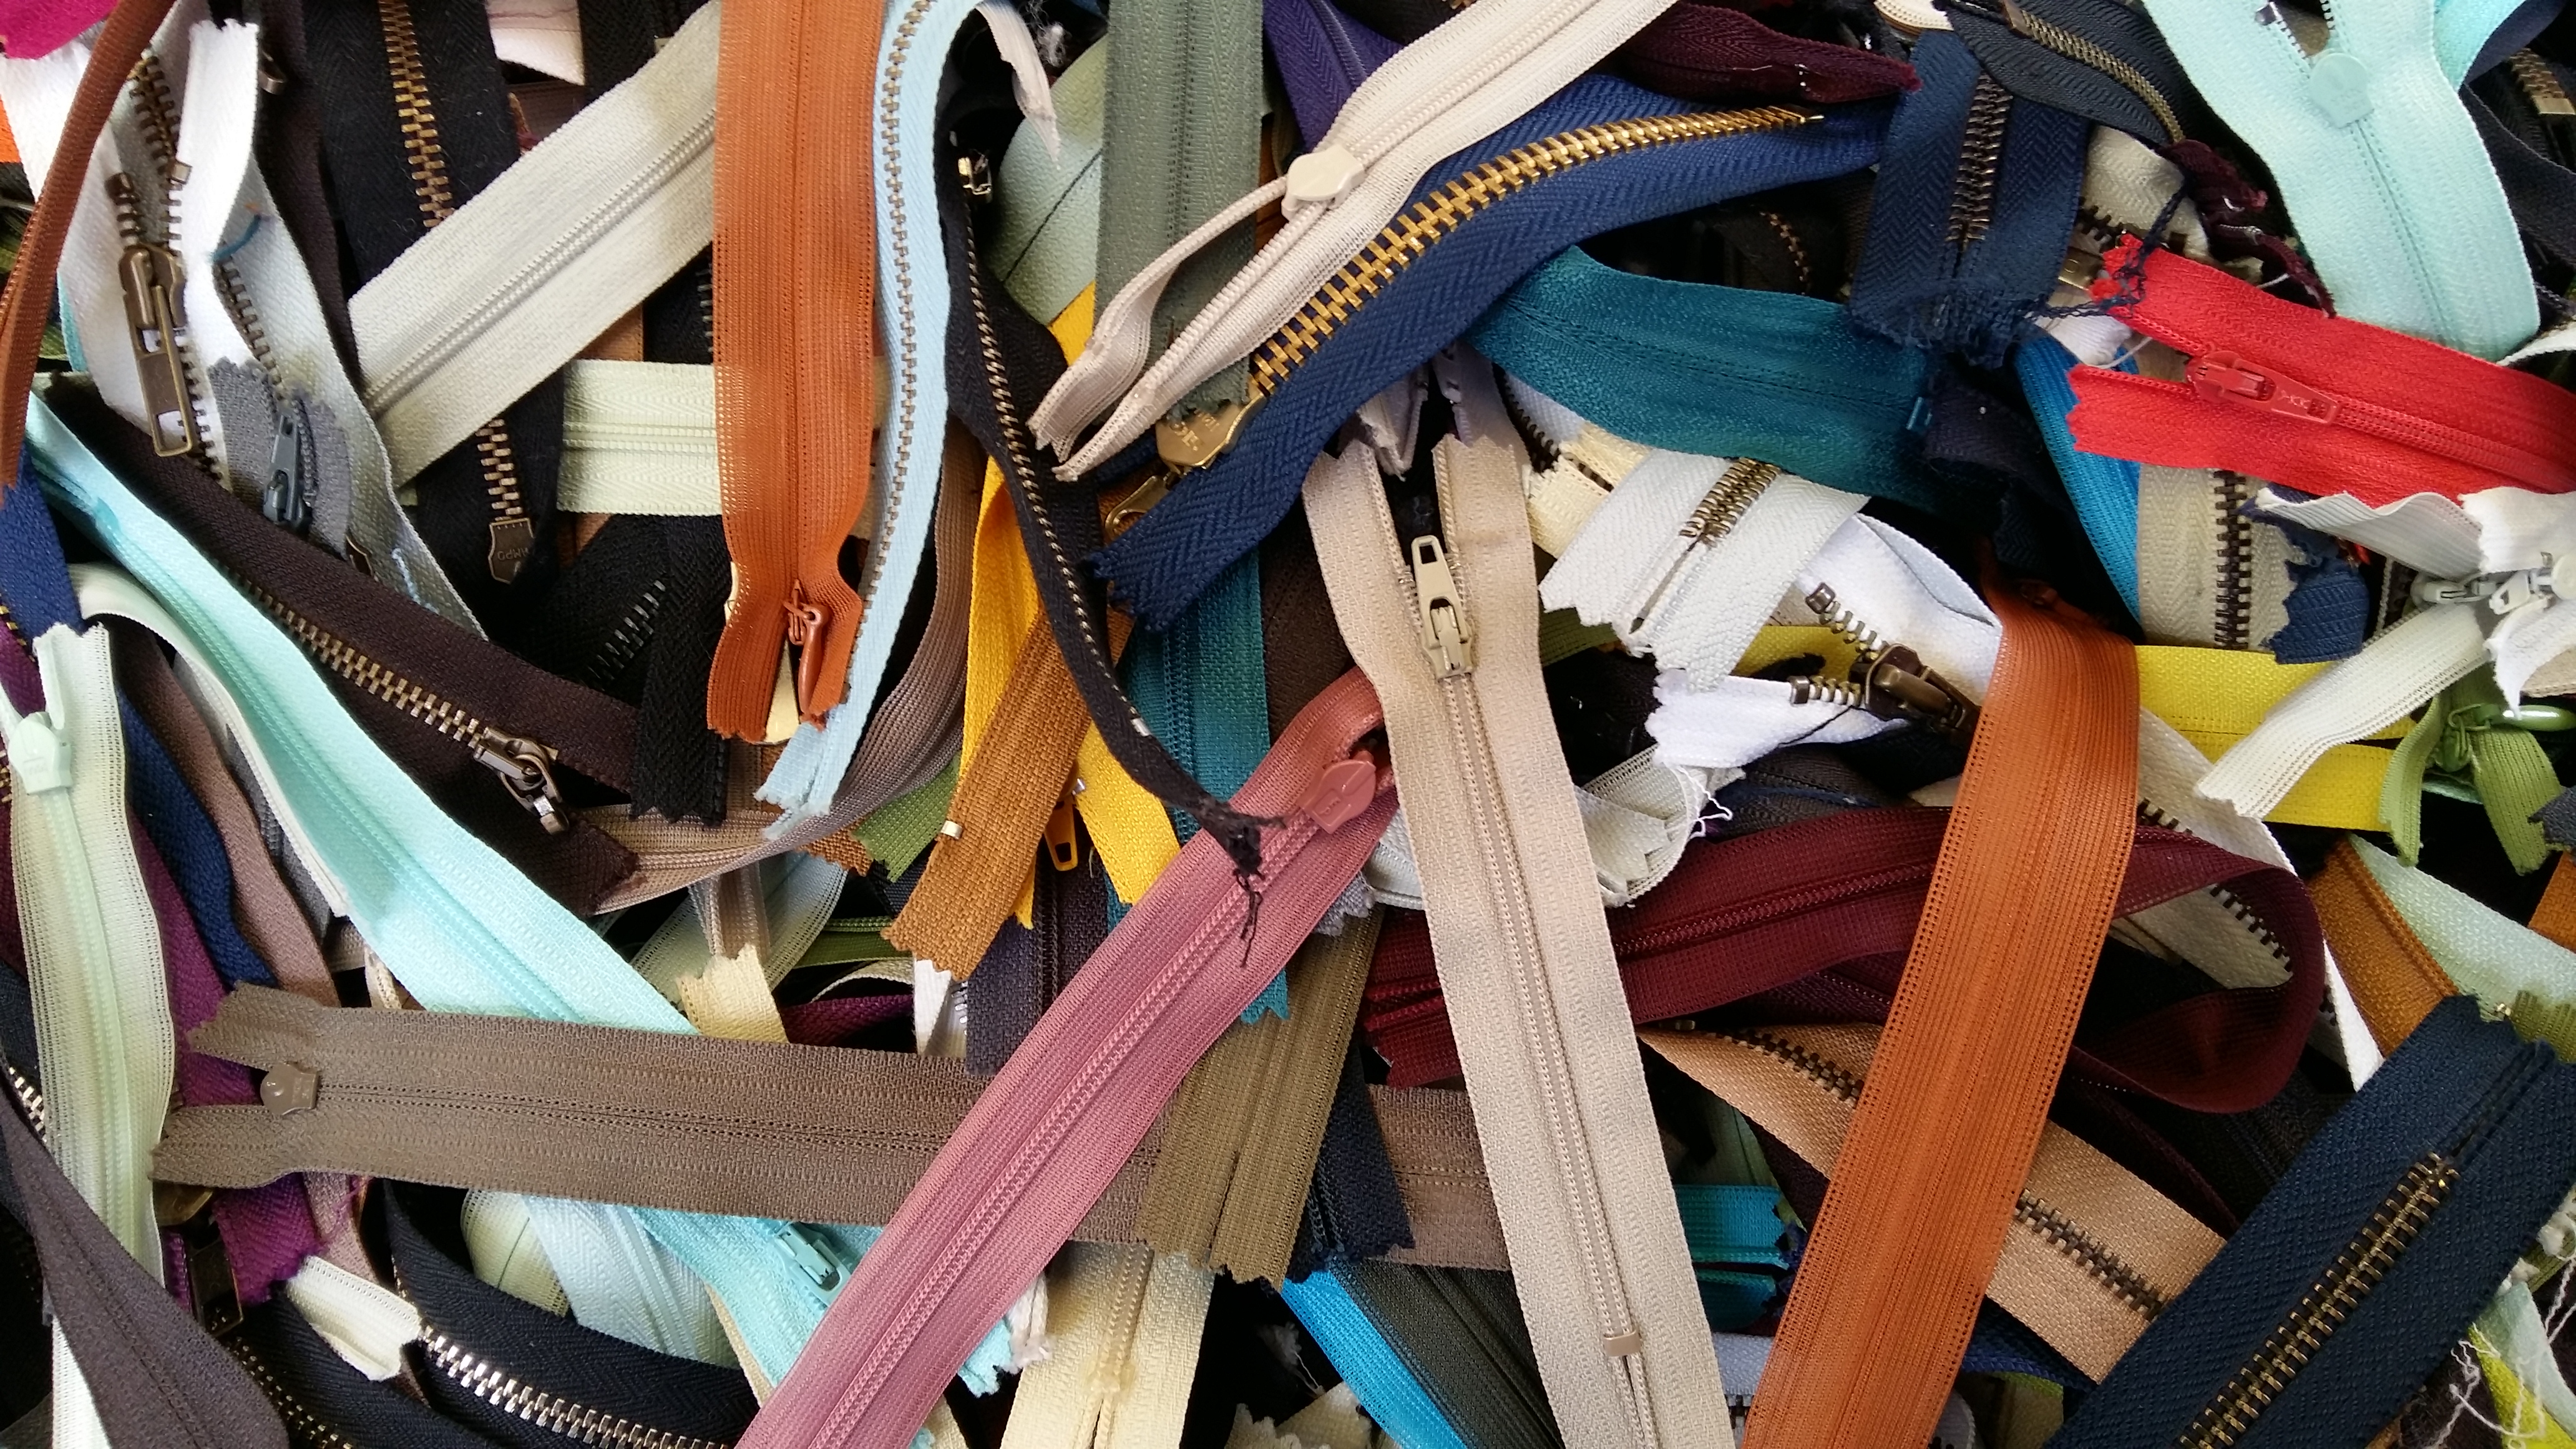
Kakemono, Thread, Inner tube, Zipper
Outils
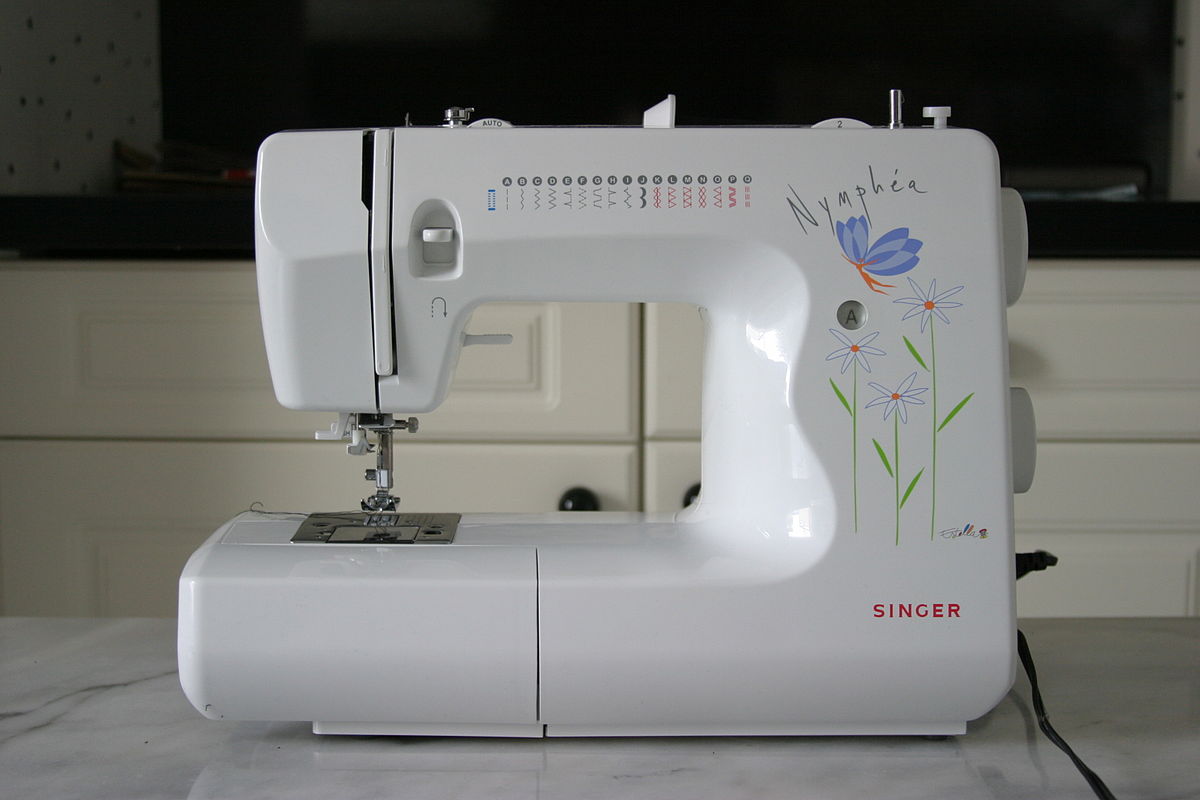
Sewing machine, scissors, needle > 90
Étape 1 - Making the pattern
Copy the attached pattern onto the coloured part of the kakemono (unlike the photo in the tutorial). Then cut out the different parts using scissors.
Pattern inspired by the video: https://www.youtube.com/watch?v=tS9vXfhAzlU&feature=youtu.be

Étape 2 - Zip seam/overlay
For the sewing you can follow the tutorial by starting the video at 5:45 because the kakemono is too rigid to make zip covers: https://www.youtube.com/watch?v=tS9vXfhAzlU&feature=youtu.be
You can use pins to hold the fabric in place.
For steps 2 and 3, open the zip to make it easier.
Sew the rounded part of the top face with part of the zip.


Étape 3 - Zipper/front seam
Sew the other part of the zip to the longer side of the front.

Étape 4 - Front/back sewing
Sew the second long side of the front panel to the rounded part of the underside.


Étape 5 - Side seams
Sew the 2 pieces on opposite sides together (top and bottom), with the plain side facing outwards (as the piece is small, it cannot be turned inside out).


Étape 6 - Side/front seams
Pin the two pieces previously created to the sides of the front panel.

Étape 7 - Couture arrière
Epingler la face arrière aux faces dessus et dessous ainsi qu'aux côtés de la face avant puis coudre la face arrière et les côtés. Attention à ne pas oublier les pièces pour accrocher la ceinture.


Étape 8 - Sangle en chambre à air
Mesurer et découper la chambre à air à la taille souhaitée en fonction de comment vous voulez la porter (à la taille, en bandoulière...).
Il est aussi possible de mettre un système de boucle pour rendre la sangle réglable.
Passer ensuite la chambre à air dans l'espace laissé ouvert sur les côtés puis coudre pour assurer le maintien de la sangle avec le reste du sac.

Published
 Français
 English
 Deutsch
 Español
 Italiano
 Português