(Page créée avec « The top must fit over the cap. If necessary, cut a narrow strip around the opening to allow the lid to fit properly. ») |
(Page créée avec « Gluing ») |
||
| Ligne 51 : | Ligne 51 : | ||
}} | }} | ||
{{Tuto Step | {{Tuto Step | ||
| − | |Step_Title= | + | |Step_Title=Gluing |
|Step_Content=En utilisant la colle, mettez la colle sur les faces internes du bouchon, et mettez attentivement le bouchon en bas du col de la bouteille. | |Step_Content=En utilisant la colle, mettez la colle sur les faces internes du bouchon, et mettez attentivement le bouchon en bas du col de la bouteille. | ||
Version du 23 juillet 2024 à 11:04
Description
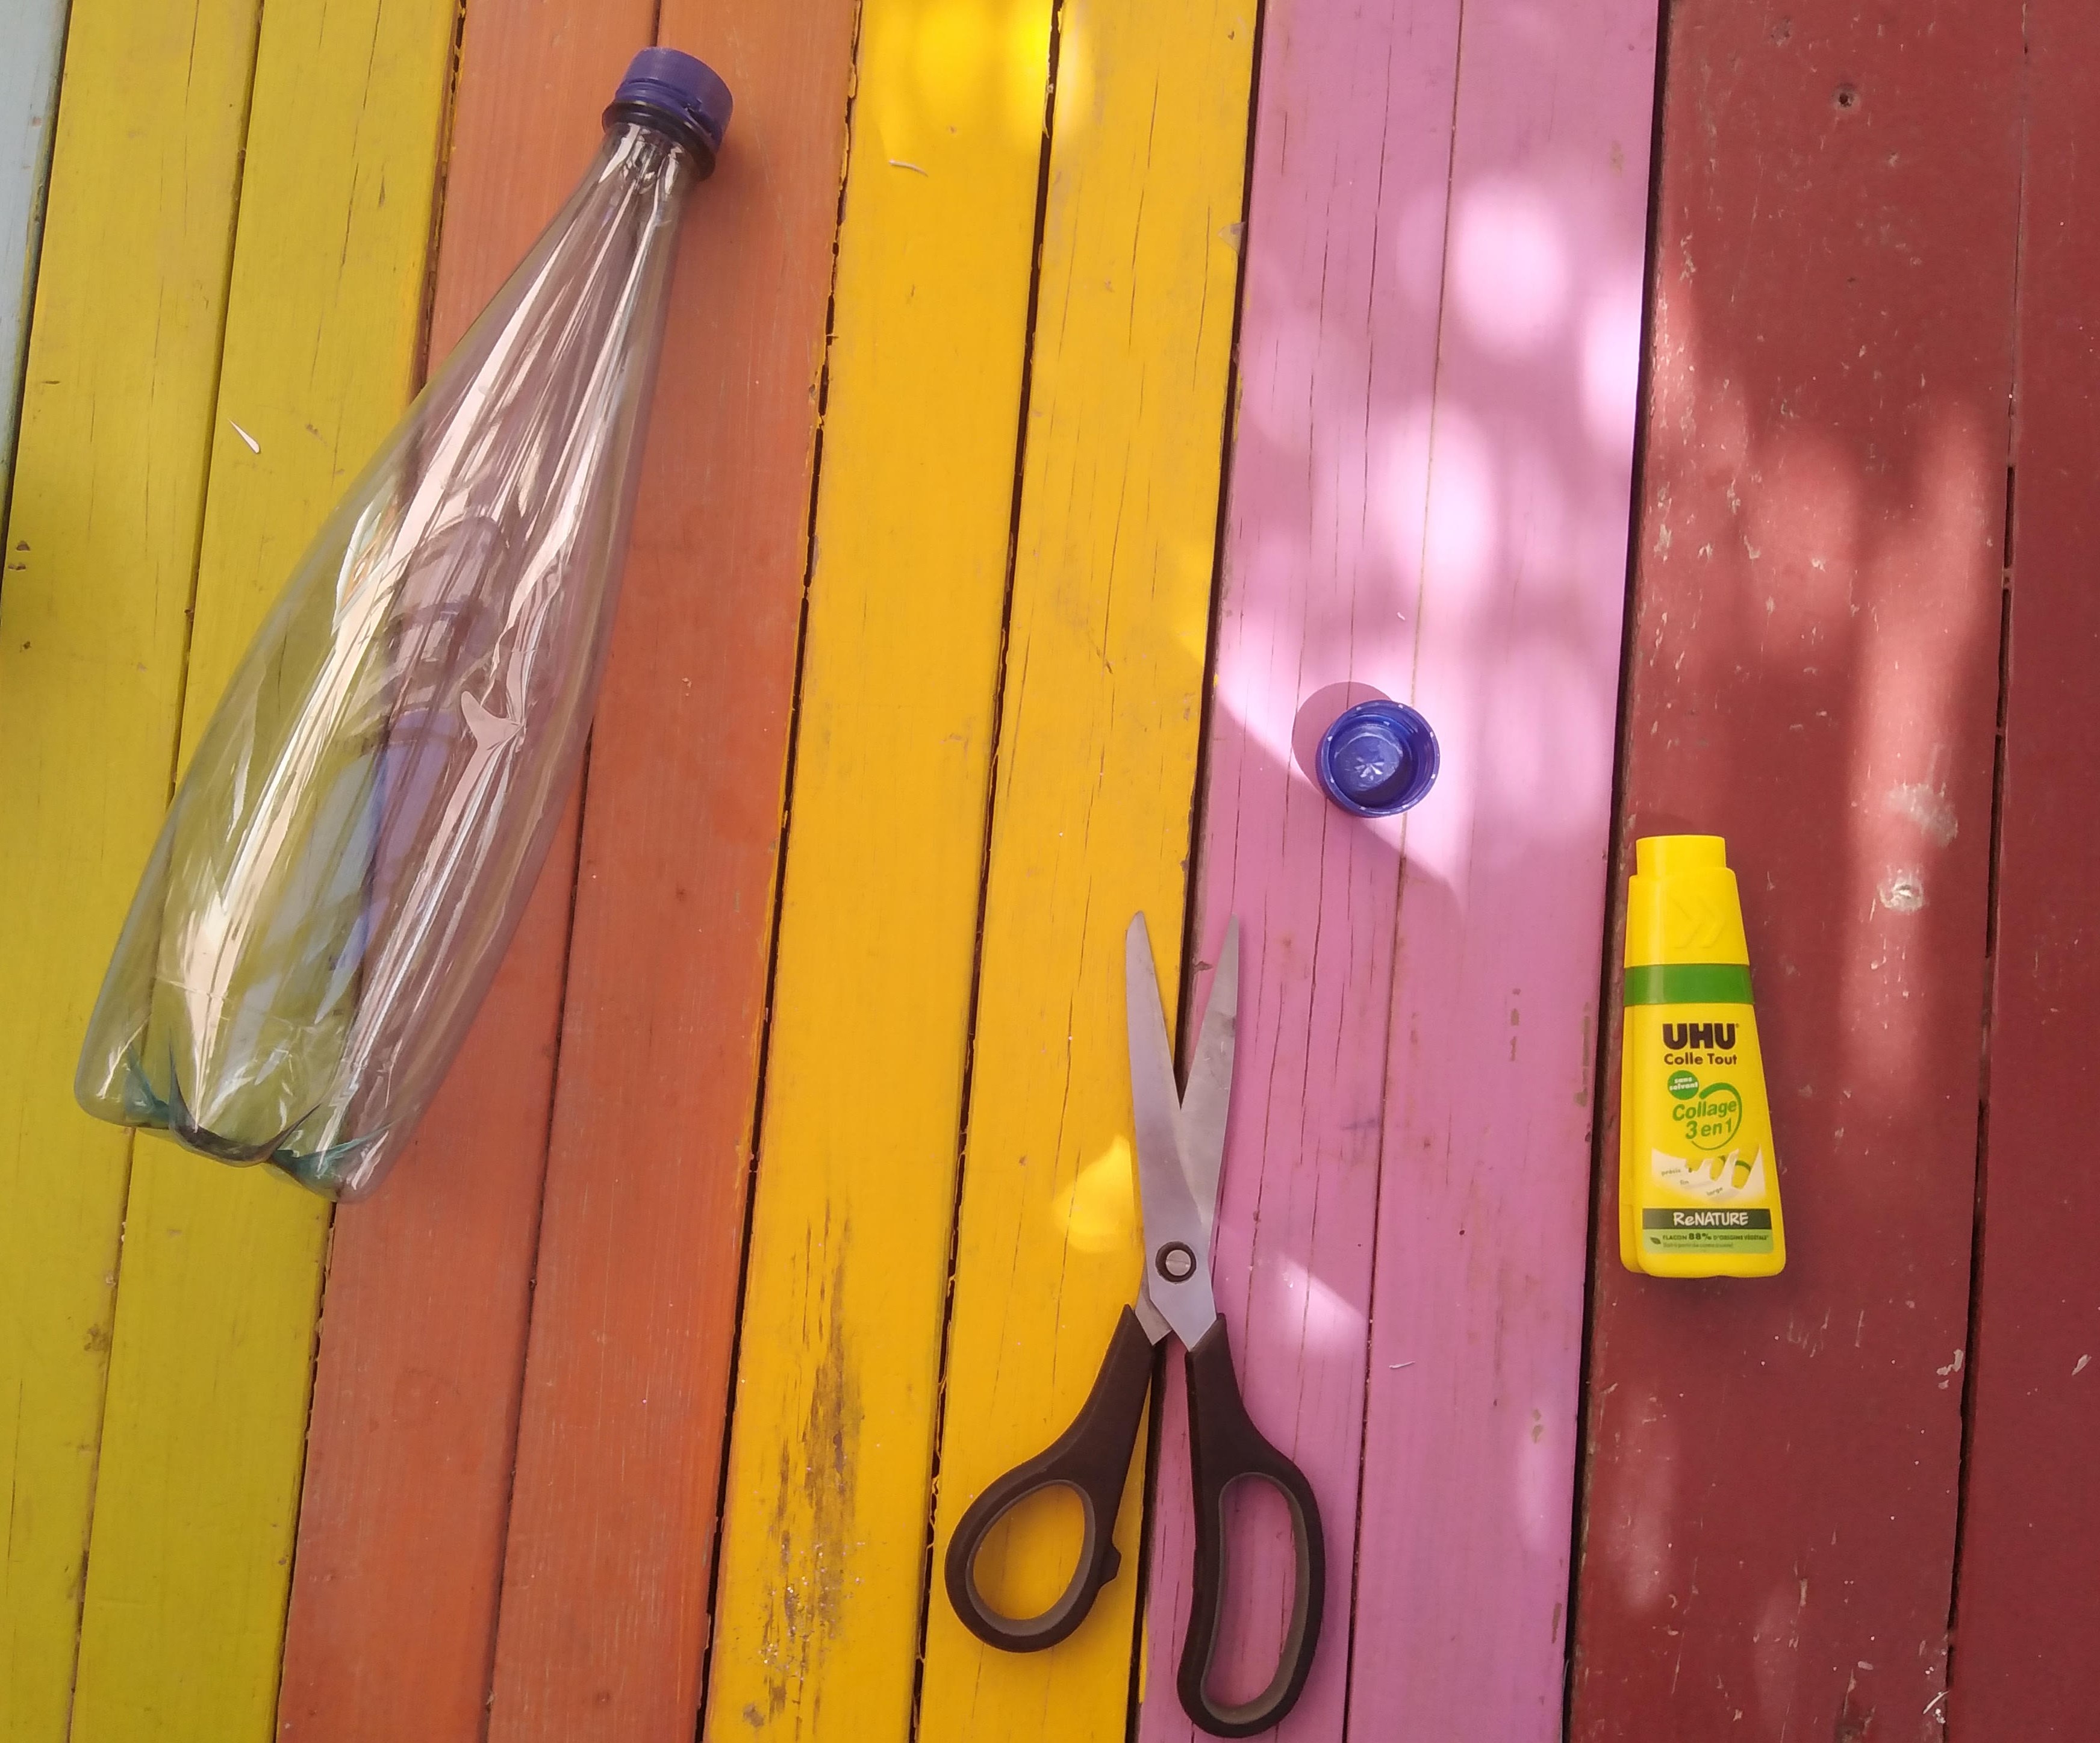
Recycling plastic bottles to make small boxes is a great way to reuse materials and create useful objects. This tutorial provides a step-by-step breakdown of how to cut and assemble the bottles to create practical storage boxes. The tutorial covers the materials needed, the cutting technique and tips on how to ensure the boxes are both functional and aesthetically pleasing.
Introduction
Étape 1 - Preparation of the bottles
Wash and dry plastic bottles thoroughly.
Étape 2 - Cutting
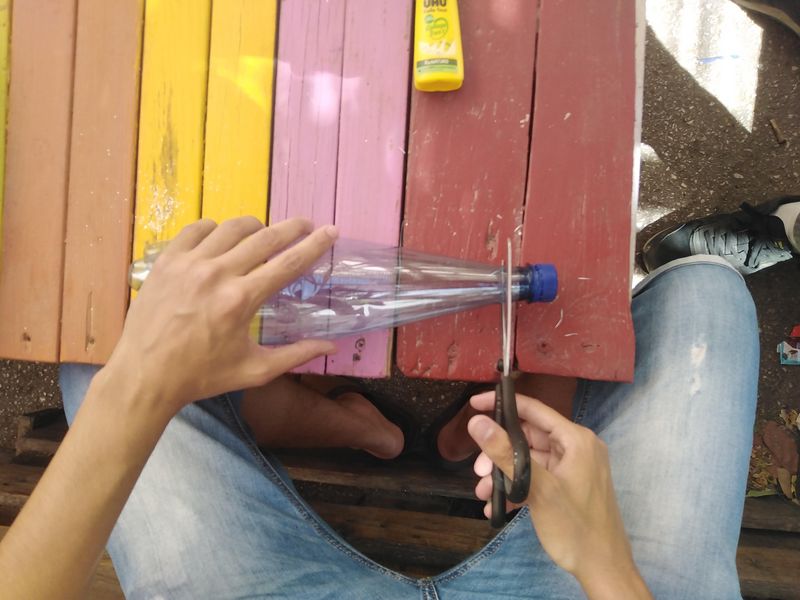
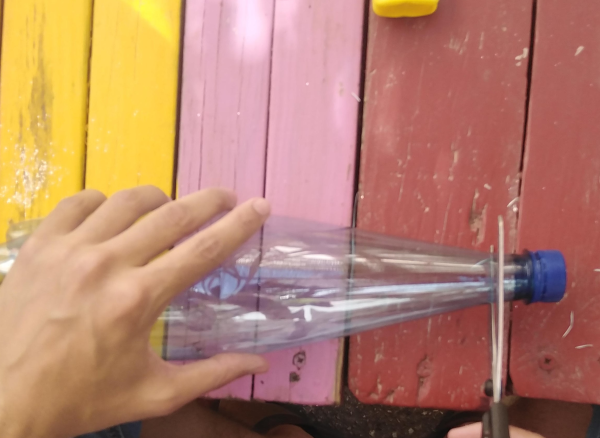
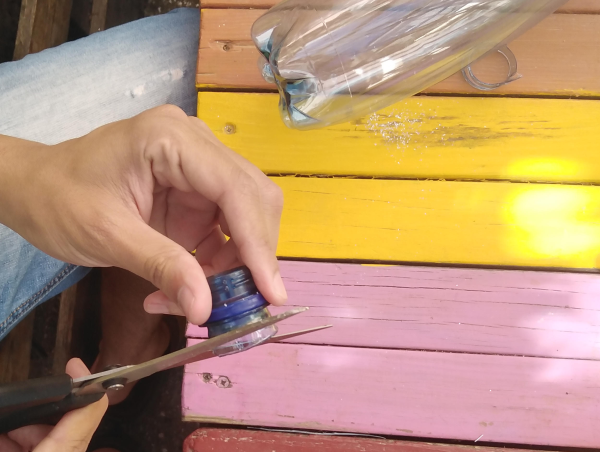
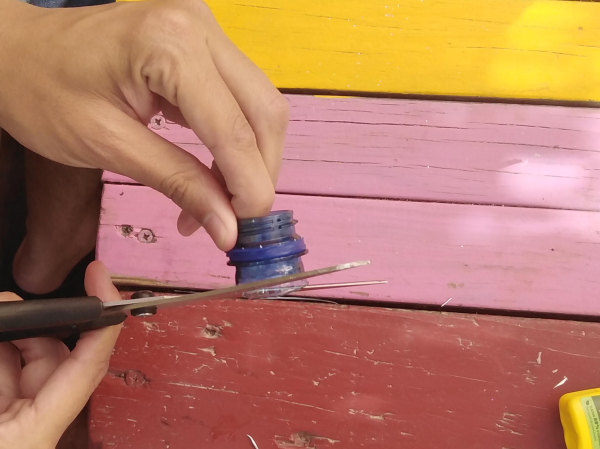
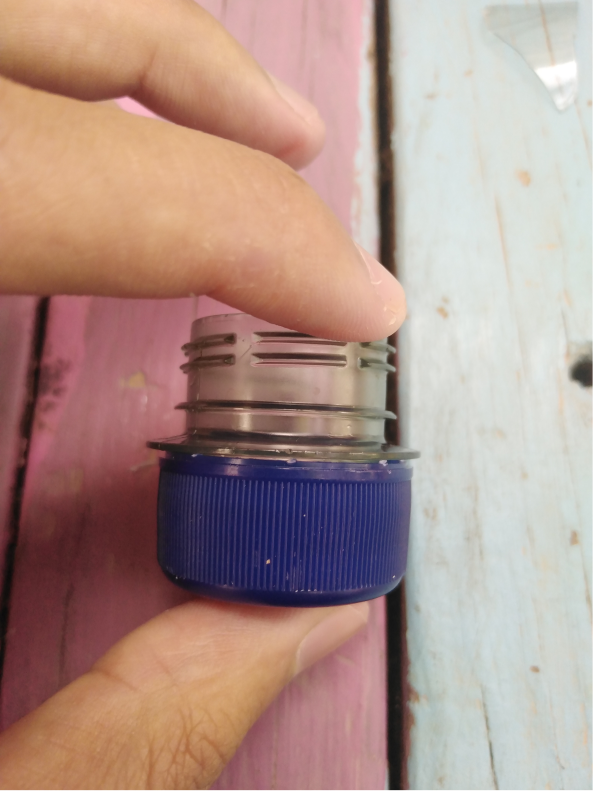
Use scissors or a cutter to cut off the neck of the bottle, to get the top part we're interested in.
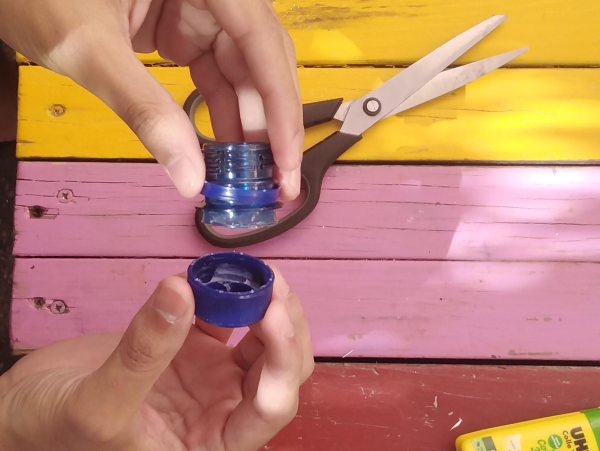
The top must fit over the cap. If necessary, cut a narrow strip around the opening to allow the lid to fit properly.
Étape 3 - Gluing
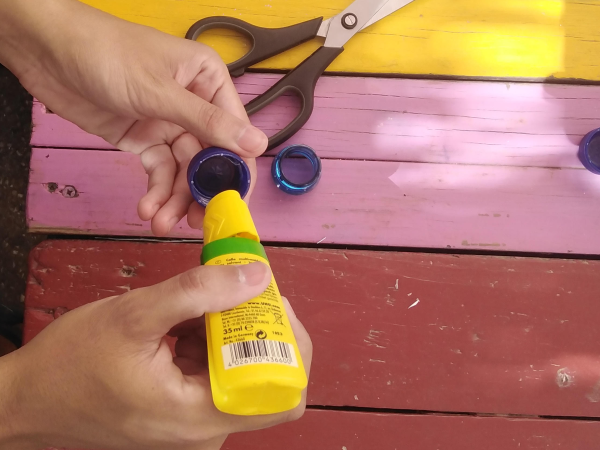
En utilisant la colle, mettez la colle sur les faces internes du bouchon, et mettez attentivement le bouchon en bas du col de la bouteille.
Et laissez la colle sécher complètement.
Étape 4 - Résultat final
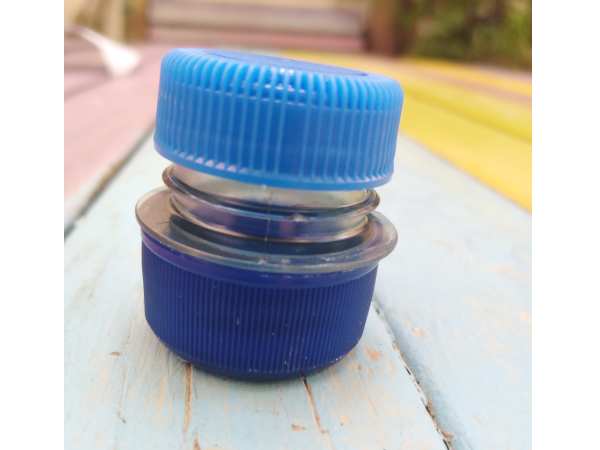
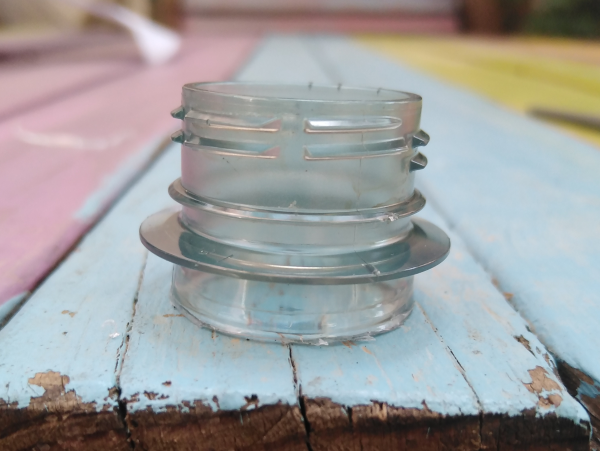
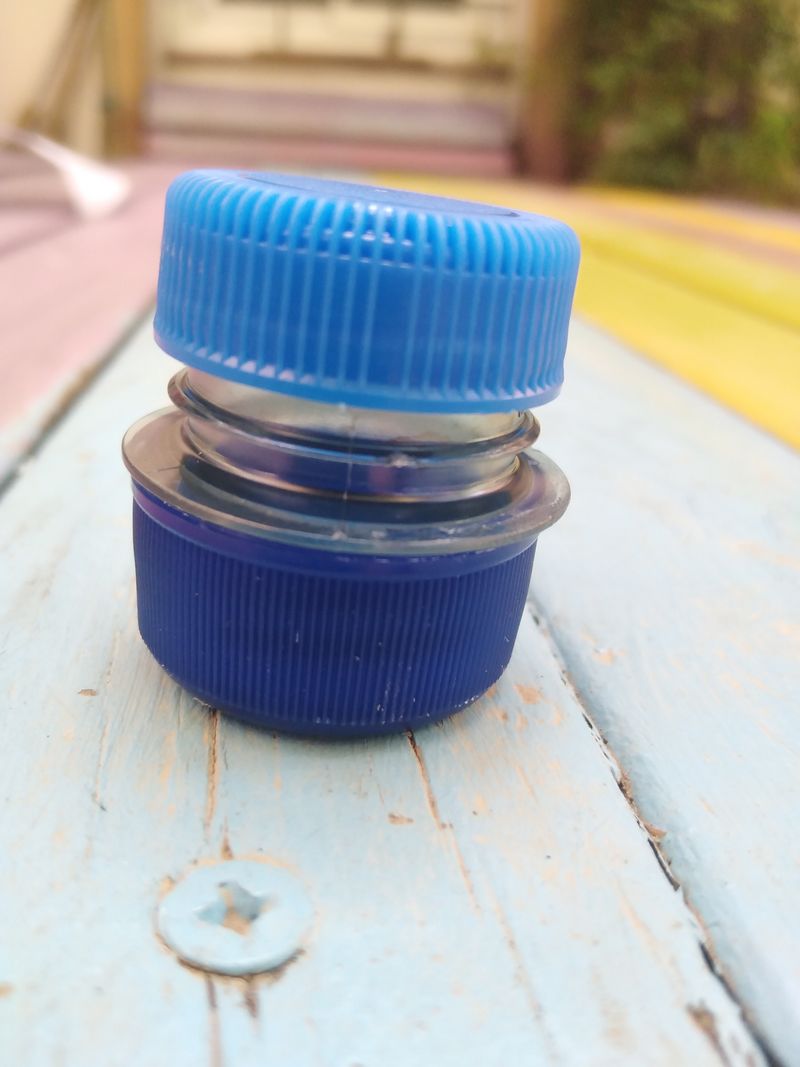
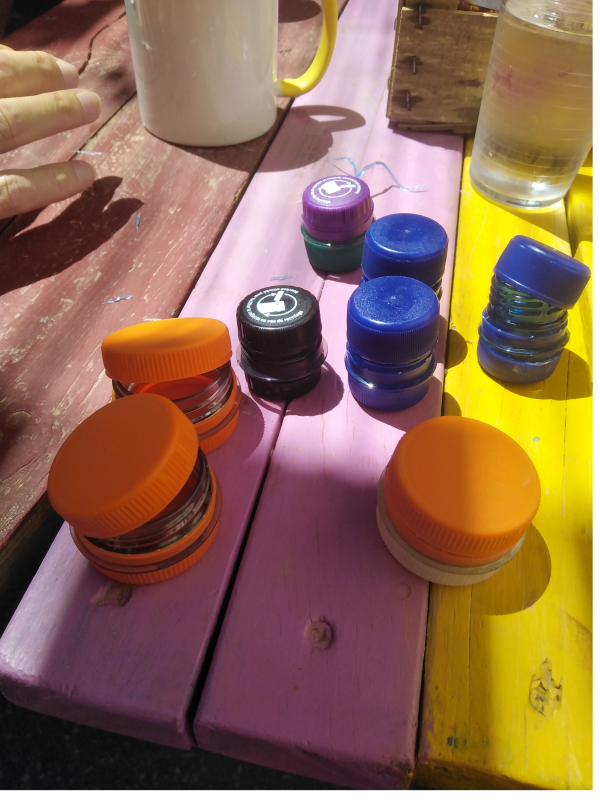
Et voilà, vous obtenez une petite boîte que vous pouvez utiliser pour conserver les produits cosmétiques et d’autres.
Draft
 Français
 English
 Deutsch
 Español
 Italiano
 Português