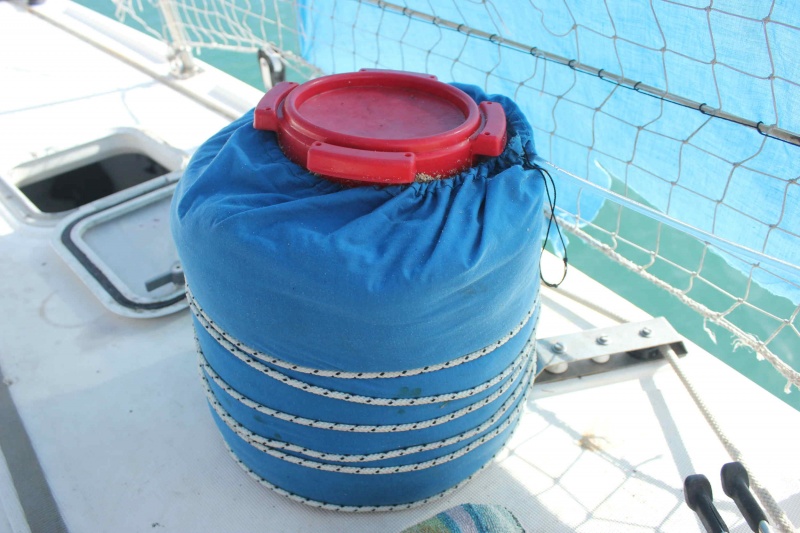
(Page créée avec « Making (or finding) a cylindrical bag allowing the introduction of the container surrounded by 5 centimetres of sand under it and around it. Providing a slide and enough f... ») |
|||
| Ligne 34 : | Ligne 34 : | ||
{{ {{tntn|Tuto Step}} | {{ {{tntn|Tuto Step}} | ||
|Step_Title=External envelope | |Step_Title=External envelope | ||
| − | |Step_Content= | + | |Step_Content=Making (or finding) a cylindrical bag allowing the introduction of the container surrounded by 5 centimetres of sand under it and around it. Providing a slide and enough fabric height to be able to close the bag around the container. |
}} | }} | ||
{{ {{tntn|Tuto Step}} | {{ {{tntn|Tuto Step}} | ||
Version du 22 février 2018 à 21:47
Description
A traditional zeerpot (or desert fridge) made with terra cotta pots quickly becomes heavy and difficult to carry around. The version presented here is a lighter and less expensive variant, feasible with materials that can be more easily found. The envelope is made out of fabric. The container can be in plastic, metal or any other sand-proof material. This container can be closed with a plug/cover or a fabric.
Matériaux
- Container of the desired size, either in plastic either in any other sand-proof material
- Fabric with a thin stitch
- Board, either in wood either any other material
- Little plastic hose with a tap
- Bottle of 5 or 6 litters
- Sand
Outils
- Scissors
- Needle
- Thread
Étape 1 - External envelope
Making (or finding) a cylindrical bag allowing the introduction of the container surrounded by 5 centimetres of sand under it and around it. Providing a slide and enough fabric height to be able to close the bag around the container.
Étape 2 - Sand filling
Renforcer le fond du sac avec une planche découpée en cercle, et déposer une couche de 5 centimètres de sable. Poser le bidon puis remplir les côtés de sable en le tassant. Monter le plus haut possible. Pour renforcer l'ensemble, une ficelle ou un fil de fer peut venir entourer le sac par l'extérieur une fois le sable rempli et tassé.
Étape 3 - Dripping
Percer le tuyau de quelques trous d'aiguille à coudre et prévoir un robinet de sortie pour pouvoir siphonner l'arrivée d'eau. Faire faire un cercle au tuyau percé autour du bidon, pour que l'eau se répartisse uniformément dans le sable lors de l'utilisation. Prévoir un robinet pour régler le débit.
Étape 4 - Using
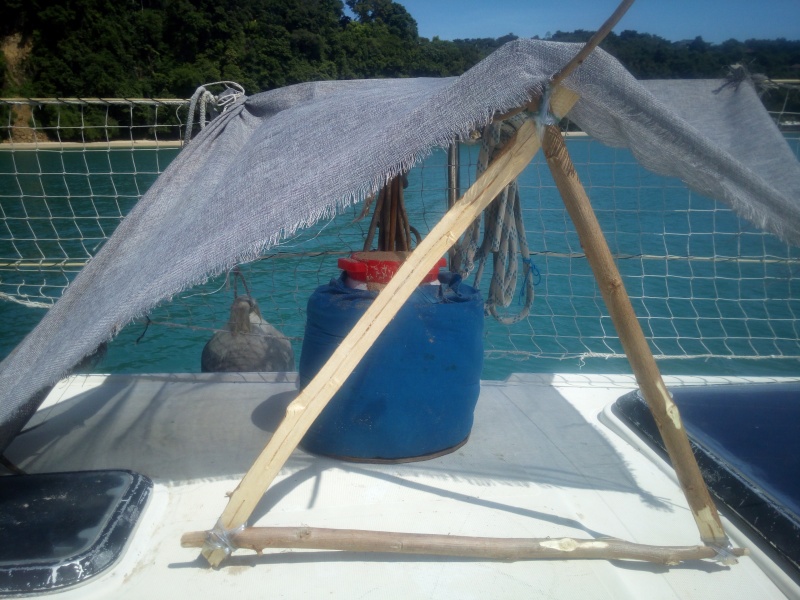
Suspendre une réserve d'eau en hauteur et siphonner. Régler le débit comme bon vous semble, en fonction du vent et la température. Le contenu du bidon sera maintenu au frais ! Le zeerpot doit être placé à l'abri du soleil dans un endroit venté.
Étape 5 - On-going tests
This zeerpot model is being tested on the boat of Nomade des Mers. It is tested :
- the dropping intensity
- the internal and external temperatures measurement
- the inertia
Notes et références
- Made by Thomas Piboum and Karel Janik for Nomade des Mers
Yes


 Français
 English
 Deutsch
 Español
 Italiano
 Português