(Page créée avec « For ergonomics, the front is lower than the bottom. 30 cm at the front, 40 at the back of the basin. To improve the production, we isolate the basin, it will keep the heat... ») |
(Mise à jour pour être en accord avec la nouvelle version de la source de la page) |
||
| (15 révisions intermédiaires par un autre utilisateur non affichées) | |||
| Ligne 29 : | Ligne 29 : | ||
}} | }} | ||
{{ {{tntn|TutoVideo}} | {{ {{tntn|TutoVideo}} | ||
| − | | | + | |VideoType=Youtube |
| − | | | + | |VideoURLYoutube=https://www.youtube.com/watch?v=kk7um3d8MyQ |
}} | }} | ||
{{ {{tntn|Materials}} | {{ {{tntn|Materials}} | ||
| Ligne 101 : | Ligne 101 : | ||
| − | * | + | * Place a cleats frame on the floor 18 mm from the edges of the floor. Distance to adapt according to the thickness of the trench used to make the basin, |
| − | * | + | * Make a lath frame inside the cleats frame, |
| − | * | + | * Make a lath frame outside the cleats frame, |
| − | * | + | * Put cleats vertically between the two lath frames, as an extension of the central legs, and one on each side of the four angles, |
| − | * | + | * Cut some planks to lift the initial frames (inside and outside) so that the height of the pool is 30 cm at the front and 40 cm at the back. The two sideboards must be cut diagonally to bind the two sides of the basin, |
| − | * | + | * Fix the two new frames (inside and outside) on the vertical cleats resting on the first frames. Start with the inner frame, |
| − | * | + | * Cut the parts of the vertical cleats that protrude. |
| − | '''ATTENTION''' '' | + | '''ATTENTION''' '' For the inner frame, the screws must come from the inside and go outwards otherwise there is a risk of bursting the tarpaulin. '' |
| − | ''' | + | '''HINT''' '' Add straw, wool, newspaper or cardboard between the two frames to insulate even better. '' |
}} | }} | ||
{{ {{tntn|Tuto Step}} | {{ {{tntn|Tuto Step}} | ||
| Ligne 115 : | Ligne 115 : | ||
|Step_Picture_01=Bassin_de_culture_de_spiruline_capot.jpg | |Step_Picture_01=Bassin_de_culture_de_spiruline_capot.jpg | ||
|Step_Picture_02=Bassin_de_culture_de_spiruline_capot_3.jpg | |Step_Picture_02=Bassin_de_culture_de_spiruline_capot_3.jpg | ||
| − | |Step_Title= | + | |Step_Title=Culture pond : hood |
| − | |Step_Content= | + | |Step_Content=A translucent cover placed on the basin allows the culture medium's temperature to rise quickly in the morning and to keep its heat at night. A polycarbonate plate acts as a canopy. A film of greenhouse tarpaulin or food film prevents the contact between spirulina and polycarbonate whose health effects are not known. |
| − | * | + | * Make a half-rafter frame the size of the top of the basin, |
| − | * | + | * Put two central stiffeners, |
| − | * | + | * Put a bracket of about 30 cm in each corner, |
| − | * | + | * Put the greenhouse cover or the food film on one side, turn the frame and staple the plastic film on the frame, |
| − | * | + | * Make a silicone bead on the frame's contour, where the tarpaulin is stapled, |
| − | * | + | * Place the polycarbonate plate at frame size on the silicone joint, |
| − | * | + | * Screw, |
| − | * | + | * Set the hood aside to proceed to the isolation and sealing steps. |
}} | }} | ||
{{ {{tntn|Tuto Step}} | {{ {{tntn|Tuto Step}} | ||
|Step_Picture_00=Bassin_de_culture_de_spiruline_isolation.jpg | |Step_Picture_00=Bassin_de_culture_de_spiruline_isolation.jpg | ||
| − | |Step_Title= | + | |Step_Title=Insulation |
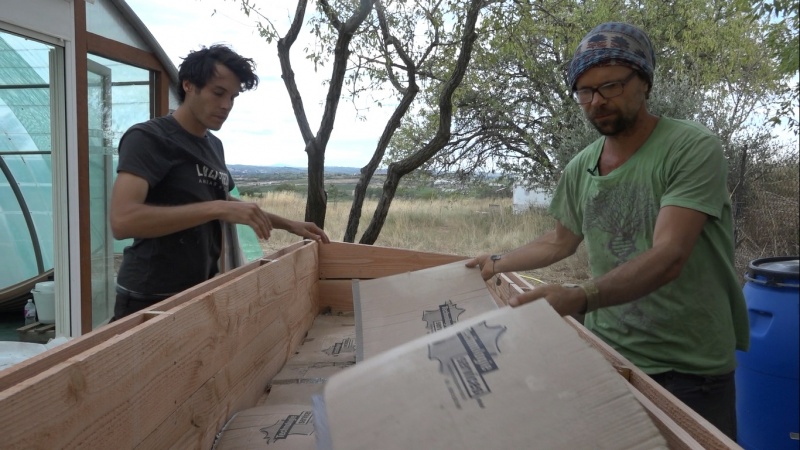
| − | |Step_Content=* | + | |Step_Content=* Put two or three cardboard layers on the floor inside the pond. |
}} | }} | ||
{{ {{tntn|Tuto Step}} | {{ {{tntn|Tuto Step}} | ||
| Ligne 137 : | Ligne 137 : | ||
|Step_Picture_03=Bassin_de_culture_de_spiruline_bache.jpg | |Step_Picture_03=Bassin_de_culture_de_spiruline_bache.jpg | ||
|Step_Picture_04=Bassin_de_culture_de_spiruline_bache_2.jpg | |Step_Picture_04=Bassin_de_culture_de_spiruline_bache_2.jpg | ||
| − | |Step_Title= | + | |Step_Title=Sealing |
| − | |Step_Content= | + | |Step_Content=A geotextile makes it possible to improve the insulation and especially to prevent the tarpaulin from being torn apart. |
| − | * | + | * Lay the geotextile at the bottom of the pool and go up along the walls, |
| − | * | + | * Smooth the fabric by hand to avoid wrinkles and thickenings, |
| − | * | + | * Favor a little "slack" on the geotextile so that it does not tear with the pressure of the water, |
| − | * | + | * Bend the angles properly, |
| − | * | + | * Staple every 20 cm on the outer frame, |
| − | * | + | * Cut the over-lengths of geotextile 2 cm from the top of the basin, |
| − | * | + | * Lay the tarpaulin at the bottom of the pool and bring it up along the walls, |
| − | * | + | * Smooth the tarpaulin by hand to avoid wrinkles and thickenings, |
| − | * | + | * Favor a little "slack" on the tarpaulin so that it does not tear with the pressure of the water, |
| − | * | + | * Bend the angles properly, |
| − | * | + | * Staple every 20 cm on the outer frame, |
| − | * | + | * Cut the over-lengths of tarpaulin to 2 cm from the top of the basin, |
}} | }} | ||
{{ {{tntn|Tuto Step}} | {{ {{tntn|Tuto Step}} | ||
| Ligne 156 : | Ligne 156 : | ||
|Step_Picture_01=Bassin_de_culture_de_spiruline_couronne.jpg | |Step_Picture_01=Bassin_de_culture_de_spiruline_couronne.jpg | ||
|Step_Picture_02=Bassin_de_culture_de_spiruline_couronne_2.jpg | |Step_Picture_02=Bassin_de_culture_de_spiruline_couronne_2.jpg | ||
| − | |Step_Title= | + | |Step_Title=Assembly |
| − | |Step_Content=* | + | |Step_Content=* Put a hinge every meter between the hood and the rear face of the pond, |
| − | * | + | * Screw cleats "in crown" of the outer frame to cover the tarpaulin and the geotextile at the staples and hinges level, |
| − | * | + | * Lay a shade cloth on the hood. |
| − | + | The pond is done ! Now prepare the culture medium, install an aquarium pump and then sow the spirulina. | |
}} | }} | ||
{{ {{tntn|Notes}} | {{ {{tntn|Notes}} | ||
| − | |Notes= | + | |Notes=For more informations on the family spirulina culture : |
| − | [http://lab.lowtechlab.org/index.php?title=Culture_de_la_spiruline | + | [http://lab.lowtechlab.org/index.php?title=Culture_de_la_spiruline The tutorial] |
| − | + | For ponds construction : | |
* [http://spiruviecian.wixsite.com/site Spiruviecian] | * [http://spiruviecian.wixsite.com/site Spiruviecian] | ||
| − | * [https://www.facebook.com/groups/spiruvie | + | * [https://www.facebook.com/groups/spiruvie Facebook page of Spiruvie] |
| − | + | For materials and products necessary to spirulina culture : | |
* [https://spirulinasolutions.fr/ spirulinasolutions.fr] | * [https://spirulinasolutions.fr/ spirulinasolutions.fr] | ||
| − | + | Other references : | |
* [http://universlavie.org/ Universlavie] | * [http://universlavie.org/ Universlavie] | ||
* [https://www.antenna-france.org/notre-combat/la-spiruline/ Antenna] | * [https://www.antenna-france.org/notre-combat/la-spiruline/ Antenna] | ||
* [https://fr.wikipedia.org/wiki/Spiruline Wikipedia] | * [https://fr.wikipedia.org/wiki/Spiruline Wikipedia] | ||
| − | * Documentation | + | * Documentation made by Amandine Garnier, Camille Duband & Clément Chabot, Aug 2017 |
}} | }} | ||
{{ {{tntn|Tuto Status}} | {{ {{tntn|Tuto Status}} | ||
|Complete=Yes | |Complete=Yes | ||
}} | }} | ||
Version du 24 avril 2019 à 17:20
Description
Building of a spirulina-growing raised pond
Sommaire
Sommaire
- 1 Description
- 2 Sommaire
- 3 Introduction
- 4 Video d'introduction
- 5 Étape 1 - Pond support structure: low frame
- 6 Étape 2 - Pond support structure : raising
- 7 Étape 3 - Pond support structure : high frame
- 8 Étape 4 - Pond support structure : support floor
- 9 Étape 5 - Culture pond : pond structure
- 10 Étape 6 - Culture pond : hood
- 11 Étape 7 - Insulation
- 12 Étape 8 - Sealing
- 13 Étape 9 - Assembly
- 14 Notes et références
- 15 Commentaires
Introduction
The construction of a family culture pond makes it possible to produce a large quantity of spirulina in a relative small space. For an ideal production the culture pond must be 20 cm in depth. With less than 20 cm, the pool is not fully exploited, whereas with more spirulina is not sufficiently exposed to light, the production is slowed down. The French Spirulina Federation recommends a consumption of 50 grams a day. It takes 1 m² of pond to produce these 50 grams of micro-algae on a daily basis. The size of the pool is to be adapted according to the number of people wishing to consume spirulina every day. In our case, we are three, so we will build a pool of 3 m².
The pond presented in this tutorial is raised to allow to work standing, which is more comfortable. It also allows material to be stored under the basin. Starting at the "Culture pond" step offers a more economical and quick alternative.
This tutorial is done in collaboration with Enkidou Burtschell, specialist in bioclimatic eco-construction and state-certified spirulina producer.
See the video here and spirulina culture.Youtube
Matériaux
- 50 to 100 mm long wood screws
- 18mm lath
- Half-rafter
- Leveling feet
- Geotextile
- Waterproof tarpaulin
- Staples
- Greenhouse tarpaulin or food film
- Polycarbonate plate 3x1 m
- Cardboards
- Silicone
Outils
- Circular saw / miter saw
- Hand saw
- Screwdriver
- Electric planes
- Stapler
- Silicone gun
Étape 1 - Pond support structure: low frame
- Make 3x1m frame with half-rafters,
- Place a bracket of about 30 cm in each corner,
- Add two half-rafter stiffeners, one at 1 m, the other at 2 m lengthwise.
Étape 2 - Pond support structure : raising
For ergonomics, it is necessary to adjust the height of the basin to the worker's size. The basin is 30 centimeters high. In our case the bottom of the basin is one meter above the ground. When calculating the height of the legs, the thickness of the low and high frames must also be taken into account.
- Make 4 legs with half-rafters,
- Place the corner legs aligned with the corners of the bottom frame,
- Install four central legs, of a single half-rafter, facing each stiffener of the low frame,
- Place a bracket about 30 cm between each center leg and its bottom frame stiffener, four in total.
Étape 3 - Pond support structure : high frame
The top chassis is a copy of the bottom chassis.
- Lay two new 3m long half-rafters on the legs, above the bottom frame ones, to make the length of the high frame.
TIP Start by screwing the half-chevrons on the corner legs and then on the central legs
- Lay the two half-chevrons that close the frame breadthwise,
- Install two central stiffeners, above the low frame and the central legs ones,
- Place a bracket of about 30 cm in each corner of the top frame.
Étape 4 - Pond support structure : support floor
- Install a plywood floor approximately 18 mm thick on the high frame,
- Screw the boards on the stiffeners.
The raising of the pond is finished.
Étape 5 - Culture pond : pond structure
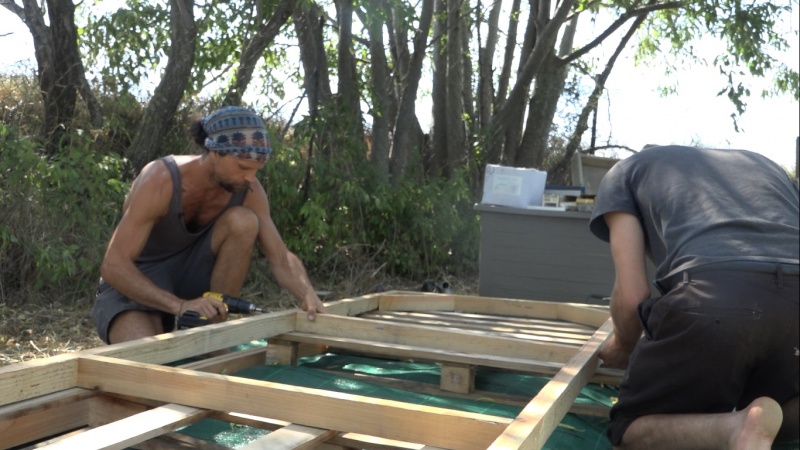
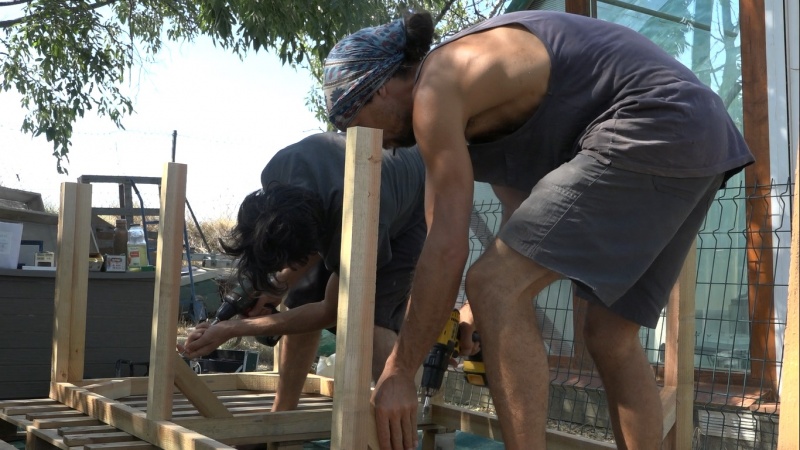
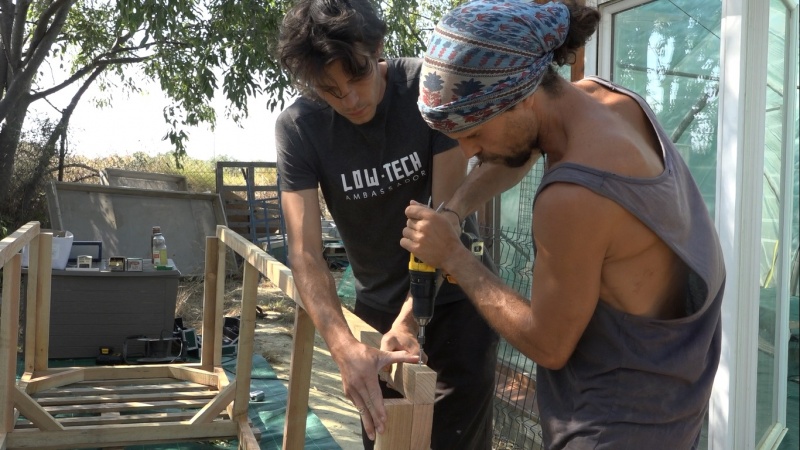
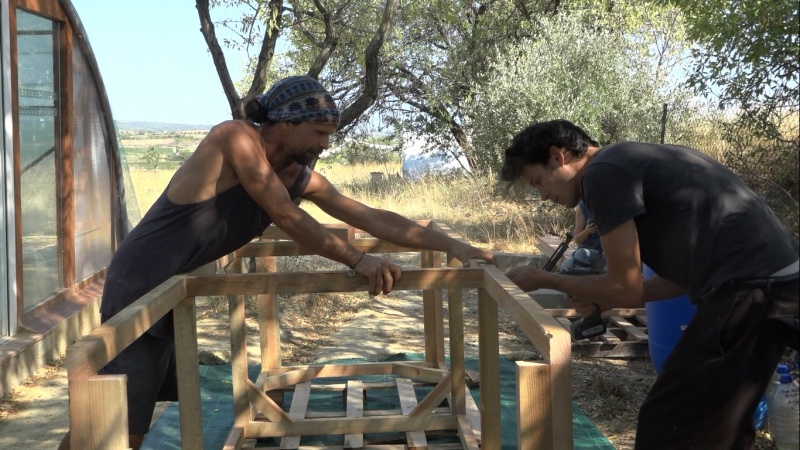
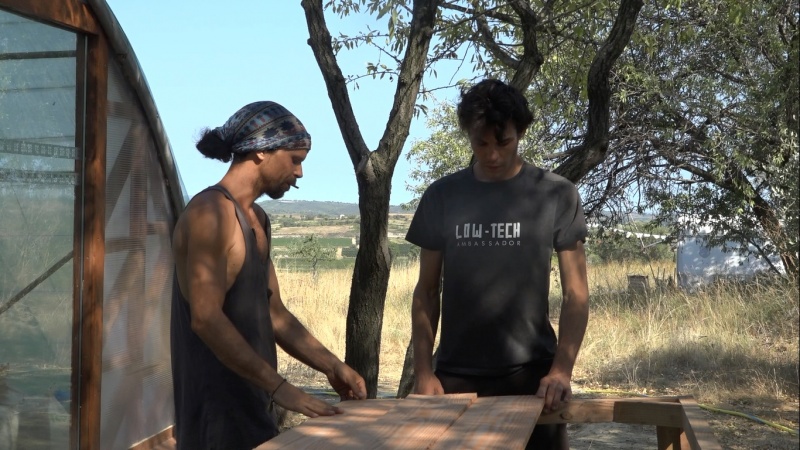
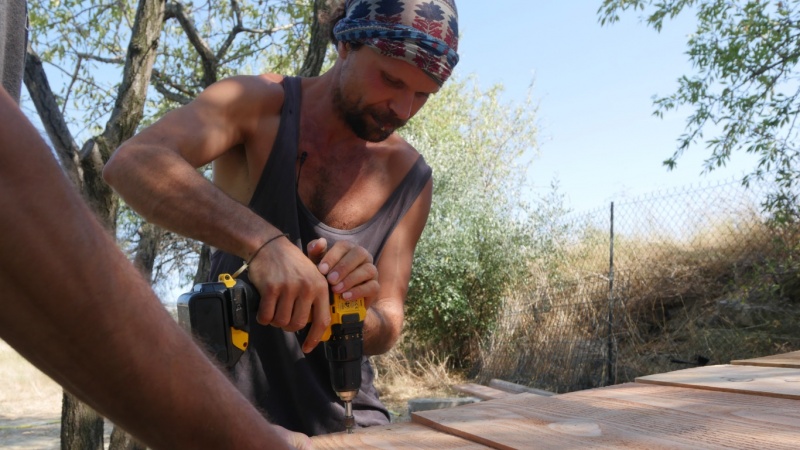
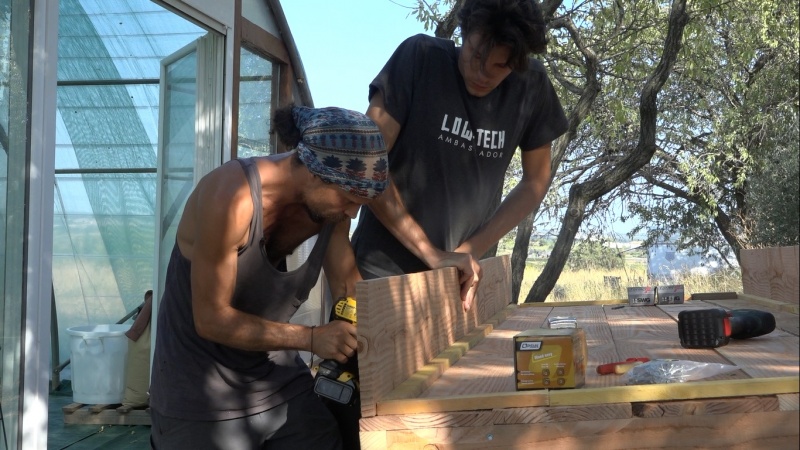
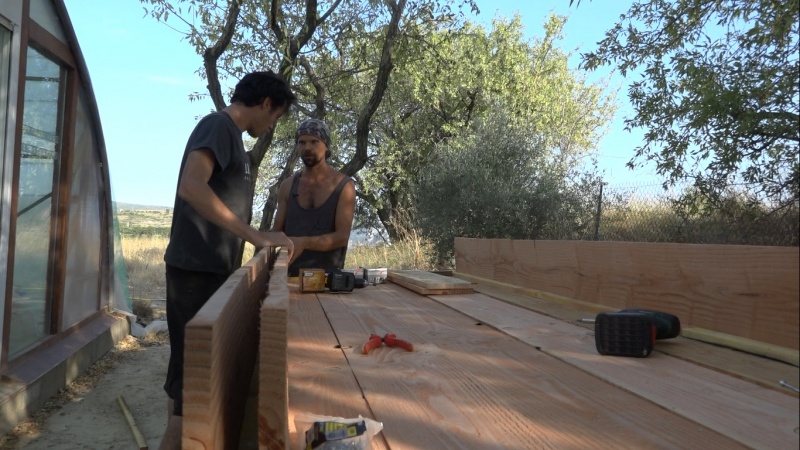
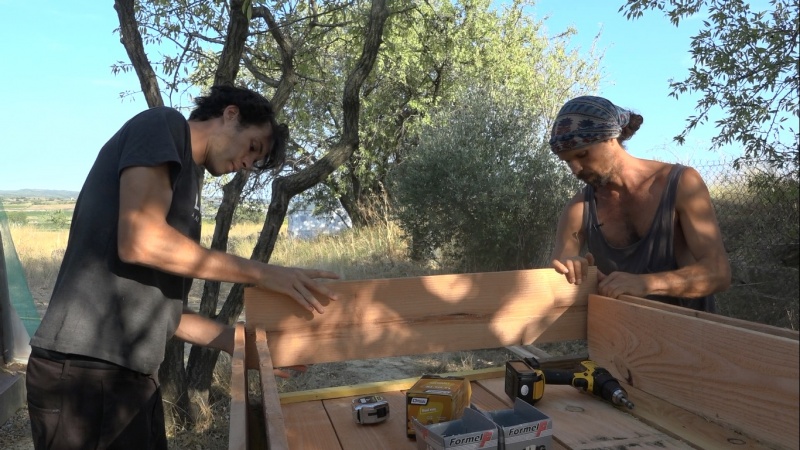
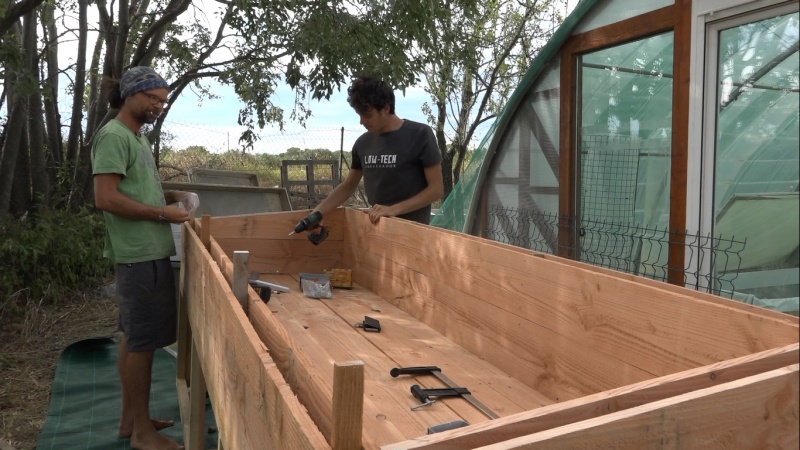
For ergonomics, the front is lower than the bottom. 30 cm at the front, 40 at the back of the basin. To improve the production, we isolate the basin, it will keep the heat longer during the day, which is important for spirulina. In our case, an air gap between two planks isolates the culture.
- Place a cleats frame on the floor 18 mm from the edges of the floor. Distance to adapt according to the thickness of the trench used to make the basin,
- Make a lath frame inside the cleats frame,
- Make a lath frame outside the cleats frame,
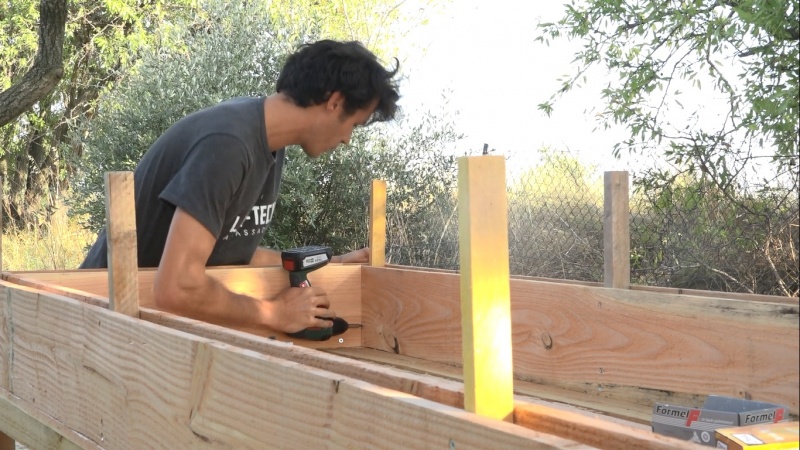
- Put cleats vertically between the two lath frames, as an extension of the central legs, and one on each side of the four angles,
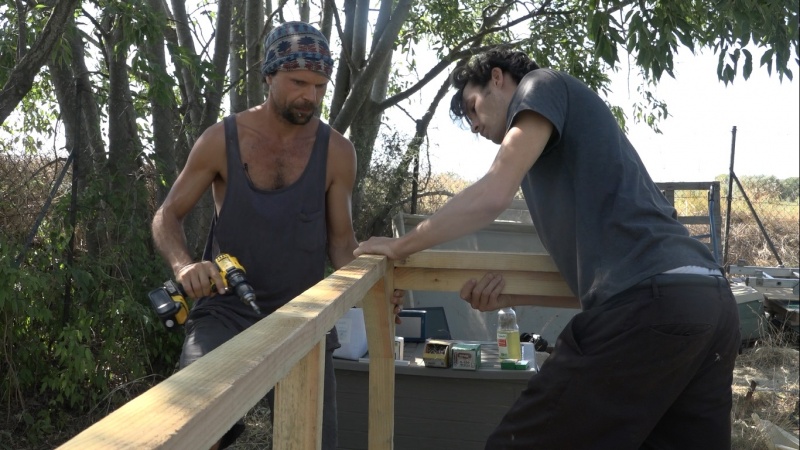
- Cut some planks to lift the initial frames (inside and outside) so that the height of the pool is 30 cm at the front and 40 cm at the back. The two sideboards must be cut diagonally to bind the two sides of the basin,
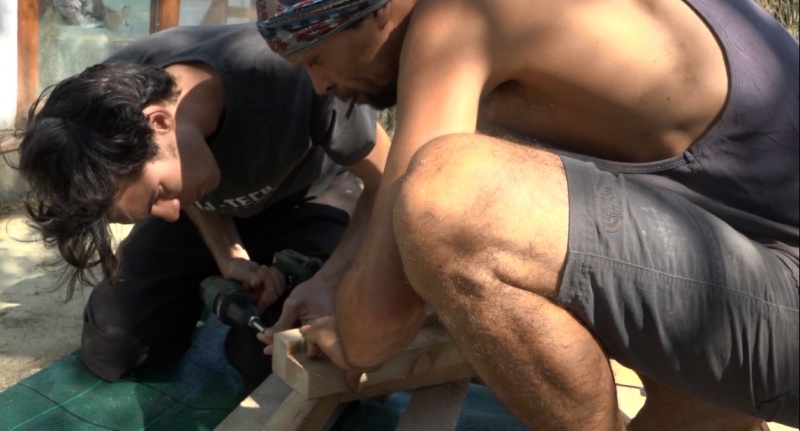
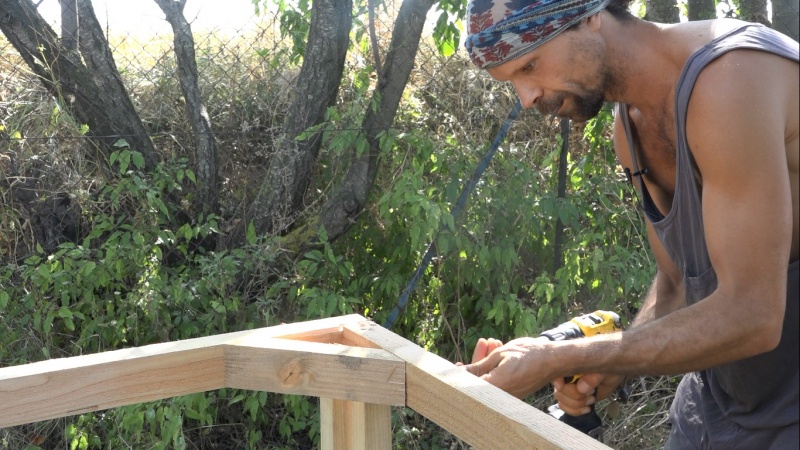
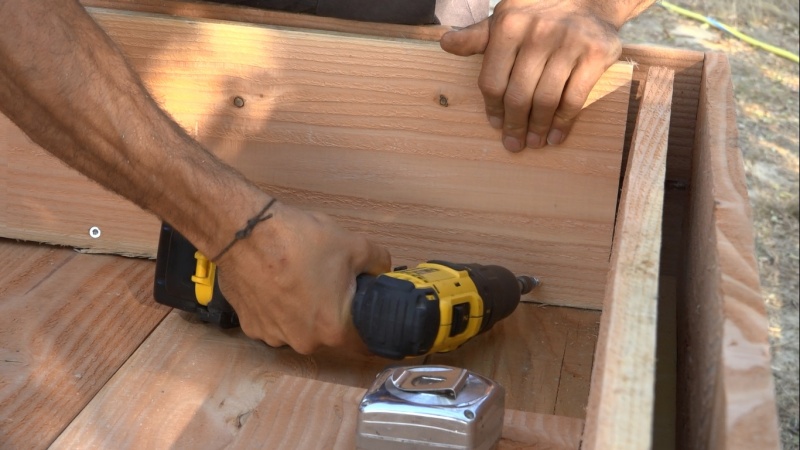
- Fix the two new frames (inside and outside) on the vertical cleats resting on the first frames. Start with the inner frame,
- Cut the parts of the vertical cleats that protrude.
ATTENTION For the inner frame, the screws must come from the inside and go outwards otherwise there is a risk of bursting the tarpaulin. HINT Add straw, wool, newspaper or cardboard between the two frames to insulate even better.
Étape 6 - Culture pond : hood
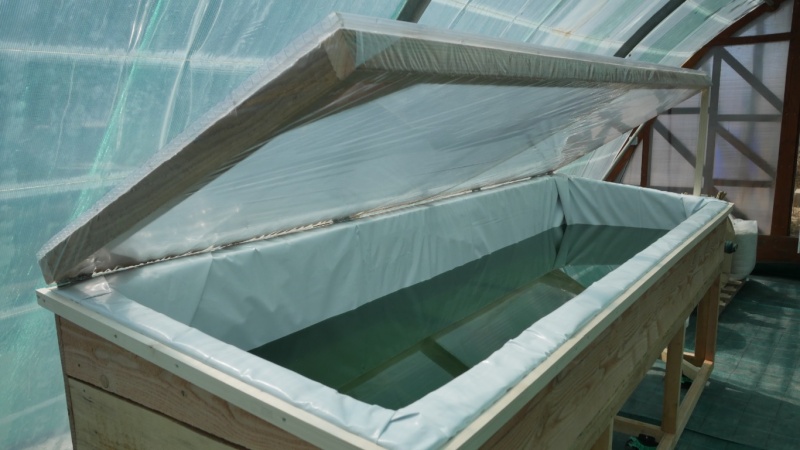
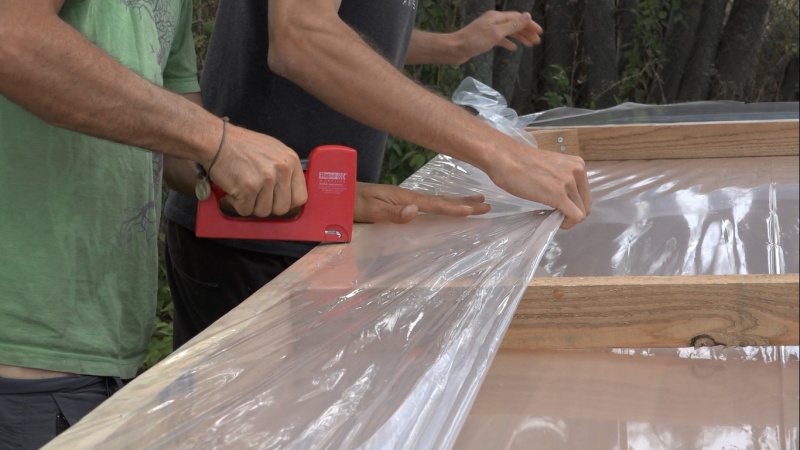
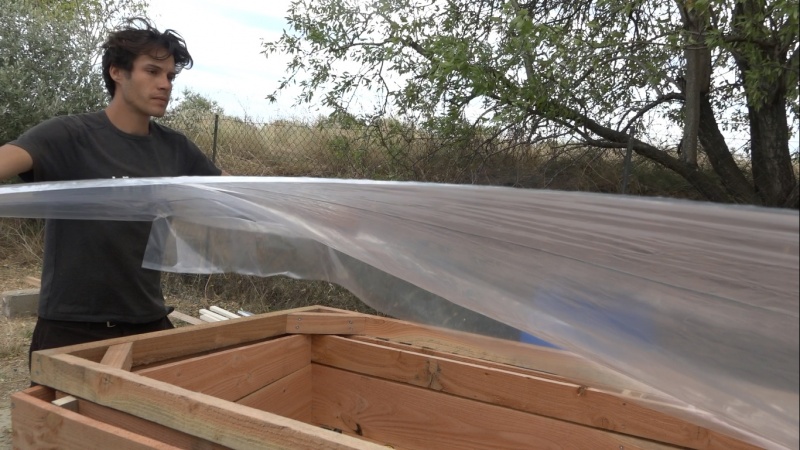
A translucent cover placed on the basin allows the culture medium's temperature to rise quickly in the morning and to keep its heat at night. A polycarbonate plate acts as a canopy. A film of greenhouse tarpaulin or food film prevents the contact between spirulina and polycarbonate whose health effects are not known.
- Make a half-rafter frame the size of the top of the basin,
- Put two central stiffeners,
- Put a bracket of about 30 cm in each corner,
- Put the greenhouse cover or the food film on one side, turn the frame and staple the plastic film on the frame,
- Make a silicone bead on the frame's contour, where the tarpaulin is stapled,
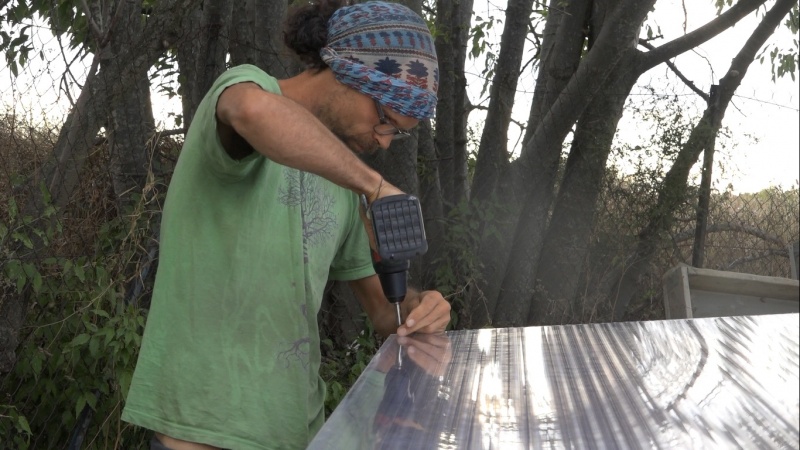
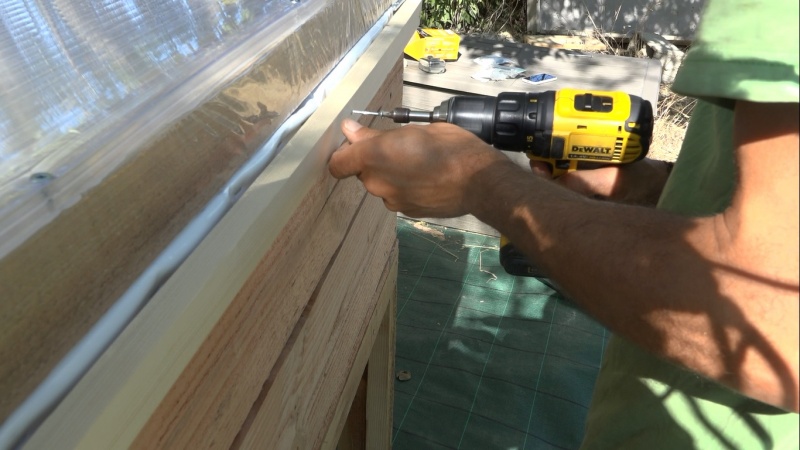
- Place the polycarbonate plate at frame size on the silicone joint,
- Screw,
- Set the hood aside to proceed to the isolation and sealing steps.
Étape 8 - Sealing
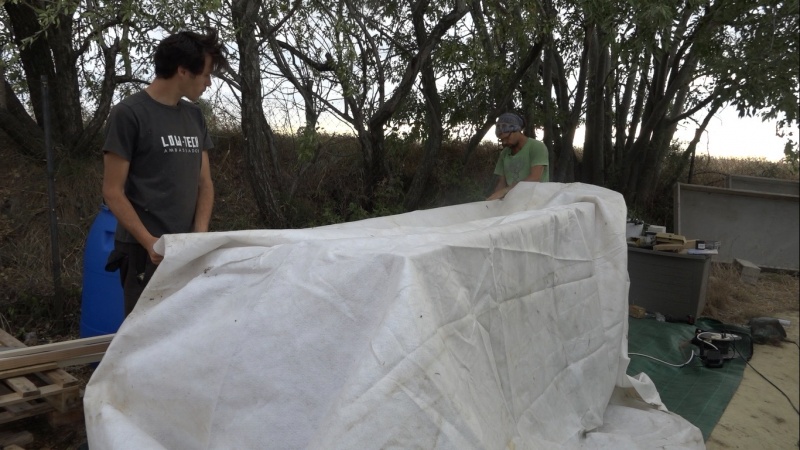
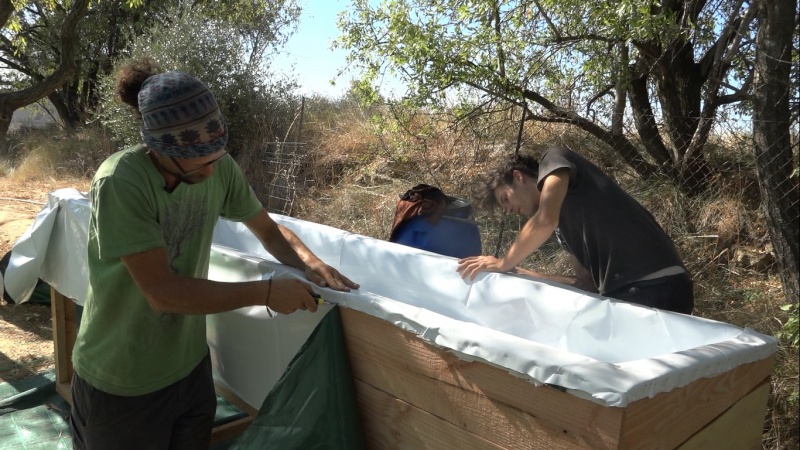
A geotextile makes it possible to improve the insulation and especially to prevent the tarpaulin from being torn apart.
- Lay the geotextile at the bottom of the pool and go up along the walls,
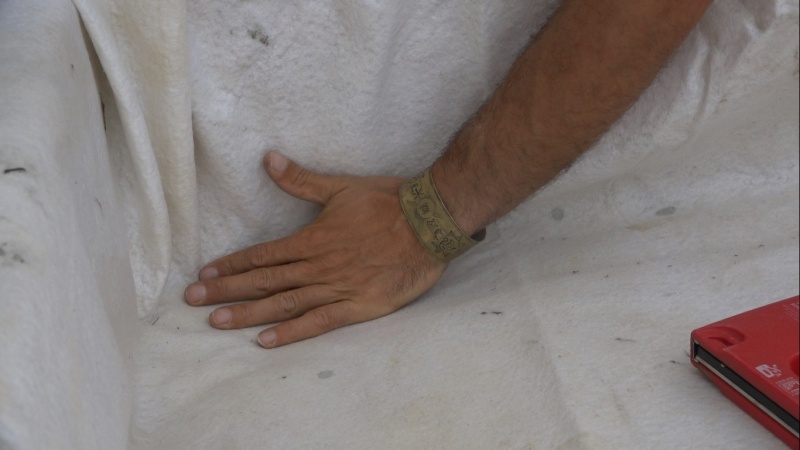
- Smooth the fabric by hand to avoid wrinkles and thickenings,
- Favor a little "slack" on the geotextile so that it does not tear with the pressure of the water,
- Bend the angles properly,
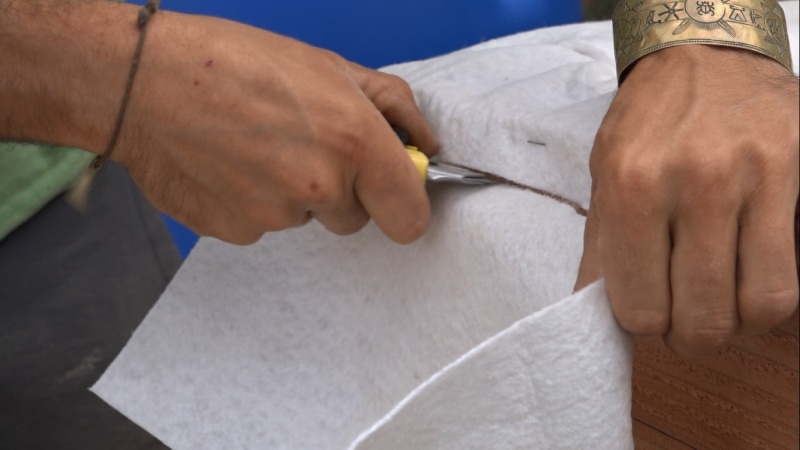
- Staple every 20 cm on the outer frame,
- Cut the over-lengths of geotextile 2 cm from the top of the basin,
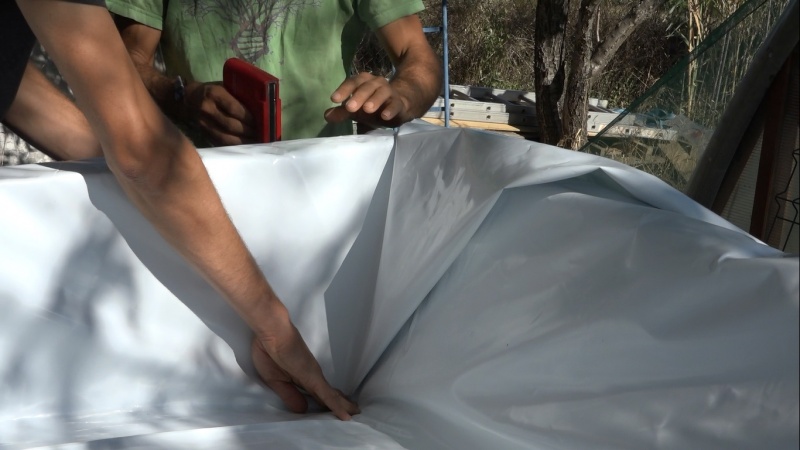
- Lay the tarpaulin at the bottom of the pool and bring it up along the walls,
- Smooth the tarpaulin by hand to avoid wrinkles and thickenings,
- Favor a little "slack" on the tarpaulin so that it does not tear with the pressure of the water,
- Bend the angles properly,
- Staple every 20 cm on the outer frame,
- Cut the over-lengths of tarpaulin to 2 cm from the top of the basin,
Étape 9 - Assembly
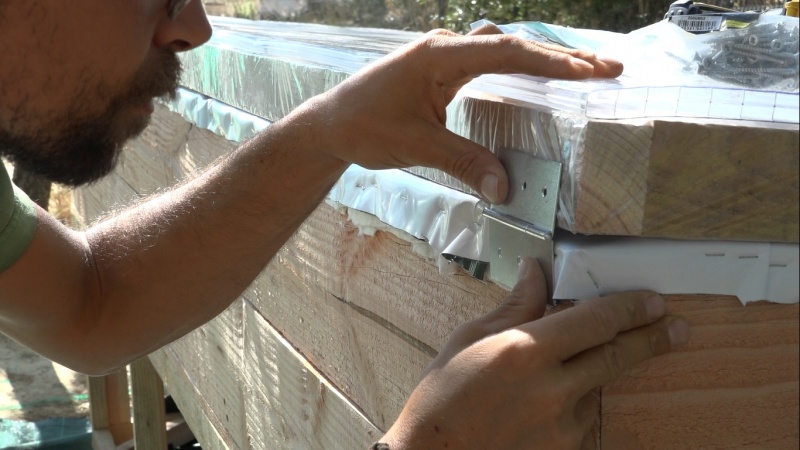
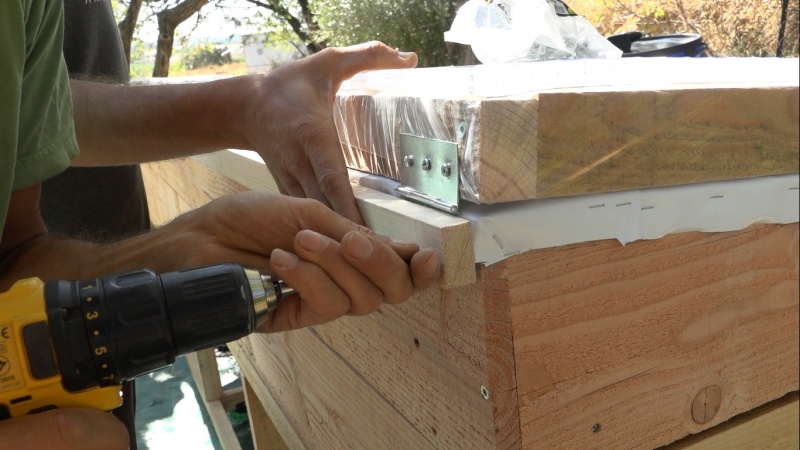
- Put a hinge every meter between the hood and the rear face of the pond,
- Screw cleats "in crown" of the outer frame to cover the tarpaulin and the geotextile at the staples and hinges level,
- Lay a shade cloth on the hood.
The pond is done ! Now prepare the culture medium, install an aquarium pump and then sow the spirulina.
Notes et références
For more informations on the family spirulina culture : The tutorial
For ponds construction :
For materials and products necessary to spirulina culture :
Other references :
- Documentation made by Amandine Garnier, Camille Duband & Clément Chabot, Aug 2017
Yes
 Français
 English
 Deutsch
 Español
 Italiano
 Português